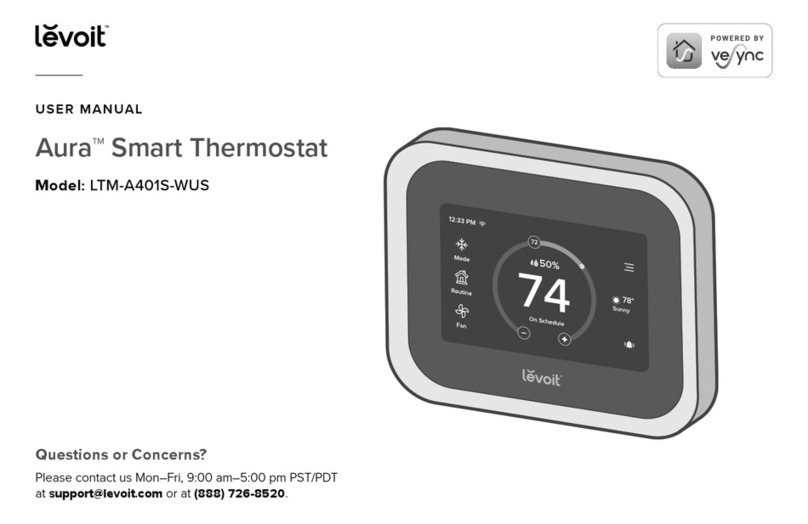
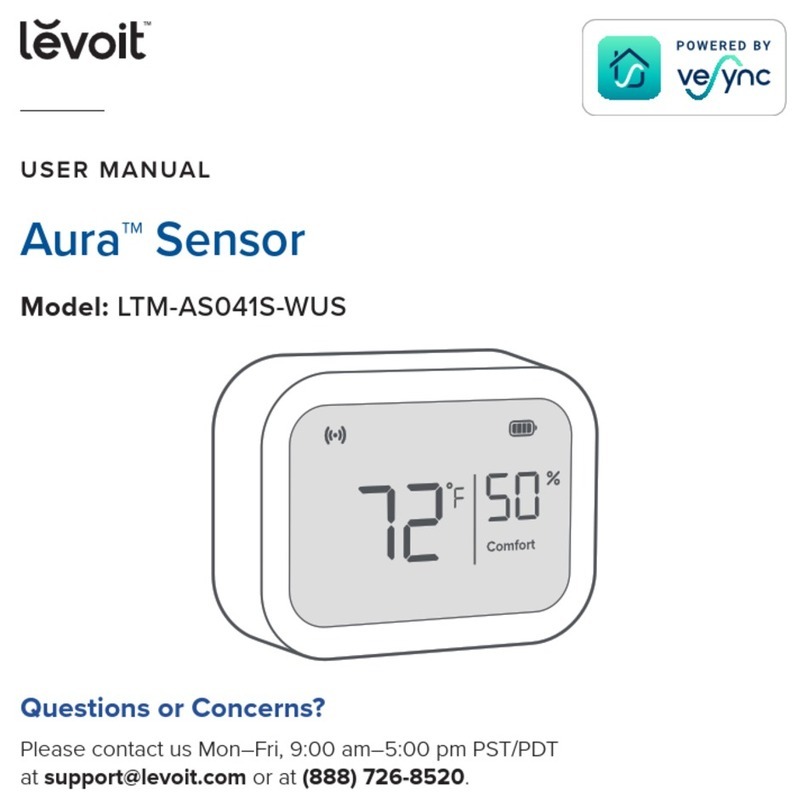
Levoit Aura Sensor User manual

Aura™ Sensor
USER MANUAL
Questions or Concerns?
Please contact us Mon–Fri, 9:00 am–5:00 pm PST/PDT
Model: LTM-AS041S-WUS

2
Table of Contents
Package Contents
Specifications
Safety Information
Getting Started
Operation
VeSync App Setup
Connecting the sensor to the VeSync app
VeSync App Functions
Maintenance
Troubleshooting
Warranty Information
Customer Support
2
3
6
11
16
16
17
18
20
22
29
34
Package Contents
1 x Aura Sensor
1 x Wall Bracket
1 x Desktop Stand
2 x AAA Battery (Pre-Installed)
1 x User Manual

3
Specifications
Battery 2 x 1.5V AAA Batteries
Power Supply 3V⎓
Dimensions 2.40 x 1.84 x 0.86 in /
6.10 x 4.67 x 2.18 cm
Weight 0.15 lb / 0.07 kg
Connectivity Zigbee™ 3.0
Temperature
Display Range
32°–122°F / 0°–50°C
Temperature Display Accuracy:
±1°F during 32°–122°F
±0.5°C during 0°–50°C
Temperature
Increments
0.1°F / 0.1°C

4
SPECIFICATIONS (CONT.)
Relative Humidity
Display Range
1–99%
Humidity Display Accuracy:
±3% during 20–80% humidity
±5% during 0–99% humidity
Relative Humidity
Increments
1%
Max Connectivity
Distance
Indoor: 164 ft / 50 m
Outdoor: 492 ft / 150 m
Note: Outdoor distance is
measured in a straight line without
obstacles.
FCC ID (Inside Battery
Compartment)
2ARBY-AS041S

5
SPECIFICATIONS (CONT.)
Compatibility
• Levoit Aura™ Smart Thermostat
Note: To access additional smart functions, download the free
VeSync app (see page 16).

6
SAFETY INFORMATION
READ AND SAVE THESE
INSTRUCTIONS
Please read and follow all instructions and safety guidelines in this manual.
• Keep out of reach of children.
• Do not tamper with the sensor’s internal components.
• Do not dispose of any part of the sensor in a fire.
• Do not submerge or place the sensor in direct contact with water
or any other liquid.
• Not for commercial use. Household use only.
General Safety

7
• When installing or changing batteries, make sure to place the batteries
in the correct polarity.
• Using batteries that are not alkaline may shorten the operating time of
the sensor.
• Do not mix new and old batteries.
• Do not replace batteries while hands are wet or while the sensor is in
a wet environment.
• If the sensor is not in use for an extended period of time, remove the
batteries to conserve battery life and extend sensor lifetime.
Use & Care
SAFETY INFORMATION (CONT.)

8
A. Battery Compartment B. FCC ID and 4-Digit
Code (Inside Battery
Compartment)
C. Wall Bracket D. Desktop Stand
Function Diagram
FCC ID:2ARBY-AS041S
4-Digit Code:XXXX
FCC ID:2ARBY-AS041S
4-Digit Code:XXXX

9
Connectivity
Signal
Battery Level
Temperature
Humidity
Percentage
Humidity
Comfort Level
Display Diagram

10
DISPLAY DIAGRAM (CONT.)
Connectivity Signal
Humidity Comfort Level
is displayed when the sensor is connected to the Aura Smart
Thermostat.
Displays Comfort, Low, or High depending on the humidity that’s
detected by the sensor.
Note: You must first connect the sensor to the VeSync app in
order to pair it with the smart thermostat (see Connecting the
sensor to the VeSync app, page 17).
Comfort The humidity is between 40% and 60%
Low The humidity is below 40%
High The humidity is above 60%

11
Installation
When using the sensor with the smart thermostat, make sure the
sensor is no more than 164 ft / 50 m away from the thermostat.
The Aura Sensor can be used by itself, or with the Aura Smart
Thermostat.
Note: To access smart features, the sensor must be connected to
the VeSync app and the smart thermostat.
Getting Started

12
GETTING STARTED (CONT.)
If there are obstructions between the sensor and smart thermostat
like dividing walls, dierent floor levels, and furniture, move the sensor
closer as these may aect the sensor’s connectivity.
Note:
• Before first use, remove the battery pull tab from the sensor’s
battery compartment. [Figure 1.1]
• Take a picture or write down the 4-digit code in the battery
compartment of the sensor. This will be used later when
connecting multiple sensors to the VeSync app.
Figure 1.1

13
GETTING STARTED (CONT.)
1. Attach the wall bracket to the back of the sensor. [Figure 1.2]
2. Peel o the sticker cover on the wall side of the bracket.
Hanging the sensor on a wall
Note: The wall bracket is dicult to remove from the wall once
it is placed. Make sure the sensor is in range of the smart
thermostat before placing it on the wall.
Figure 1.2

14
GETTING STARTED (CONT.)
3. Place the sensor onto the wall and press firmly to make sure the
sensor is secured. [Figure 1.3]
Figure 1.3
Note: Do not press directly on the sensor’s display screen while
hanging it on to the wall.

15
GETTING STARTED (CONT.)
1. Attach the desktop stand to the back of the sensor. [Figure 1.4]
2. Place your sensor on a flat surface like a shelf or desk.
Placing the sensor on a flat surface
Figure 1.4

16
1. To download the VeSync app,
scan the QR code or search
“VeSync” in the Apple App Store®
or Google Play Store.
2. Open the VeSync app. If you already have an account, tap Log In.
To create a new account, tap Sign Up.
VeSync App Setup
Operation
Note: The VeSync app is continually being improved and may
change over time. If there are any dierences, follow the in-app
instructions.
Note: For Android™ users, choose “Allow” to use VeSync.
Note: You must create your own VeSync account to use third-
party services and products. These will not work with a guest
account. With a VeSync account, you can also allow your family
and friends to control your sensor.

17
1. Tap the +icon on the VeSync app home screen.
2. Choose the Levoit Aura™ Sensor.
3. Remove and reinsert the batteries to put the sensor in pairing
mode.
4. If you only have one sensor, the sensor will automatically pair with
your smart thermostat.
Connecting the sensor to the VeSync app
Note: Make sure the battery tab is removed. Otherwise, the
sensor will not work and will not go into pairing mode.
Note: Sensors will automatically pair with all Levoit smart
thermostats associated with your VeSync account.
OPERATION (CONT.)
• If you are pairing multiple sensors at once, select the 4-digit
code that matches the sensor you are currently trying to pair.

18
VeSync App Functions
Remote Monitoring
• Monitor your home’s temperature and humidity conditions
from anywhere.
Instant App Alert
• Get notified about thermostat alerts directly to your
smartphone.
OPERATION (CONT.)
Note:
• You can change the sensor’s name and icon at any time by going to
the sensor’s screen in the VeSync app and tapping .
• The sensor must be paired with a Levoit smart thermostat in the
VeSync app in order to remotely monitor the sensor’s temperature
and humidity data.
5. Pick a room for your sensor.
6. Name your sensor (e.g., “living room sensor”).

19
Smart Scenes
• Prioritize comfort and air quality in your home using Smart
Scenes, which can control your Levoit thermostat, humidifier,
and sensor all at the same time.
Smart Routines
• Customize your sensor’s settings by selecting Smart Routines
for it to follow.
Temperature & Humidity Graphs
• View your sensor’s temperature and humidity history.
Changing the temperature unit
OPERATION (CONT.)
1. Open the VeSync app and tap the sensor’s settings icon.
2. Tap Change Unit and select the desired temperature unit.
3. Remove and reinstall the sensor’s batteries.
4. Wait for the sensor’s display to show the temperature unit has
changed.

20
1. Flip the sensor over and open the battery compartment.
[Figure 2.1]
Maintenance
Replacing Batteries
Figure 2.1
Other manuals for Aura Sensor
1
Table of contents
Other Levoit Thermostat manuals
Popular Thermostat manuals by other brands

Honeywell
Honeywell VisionPRO 8000 Installation

nest
nest Thermostat E installation guide

Step warmfloor
Step warmfloor EPI-LX-TC Installation & operation manual

COLDBUSTER FLOORHEATING
COLDBUSTER FLOORHEATING MWD5 QUICK REFERENCE USER MANUAL

meitav-tec
meitav-tec ETN-24-SUPER-SF Series Installation and operating instructions

thermotouch
thermotouch 4.3dC Installation & user guide