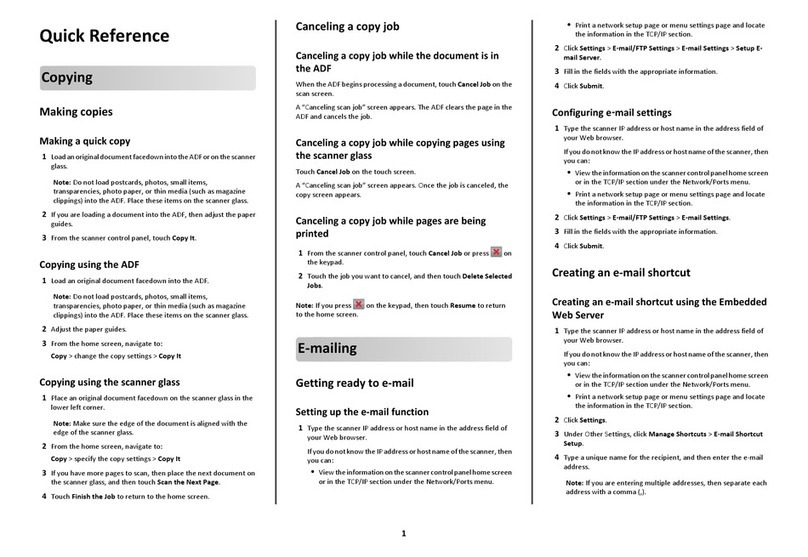
Configuring the e-mail settings
1Type the printer IP address into the address field of your Web
browser.
Note: If you do not know the IP address of the printer, then
print a network setup page and locate the IP address in the
TCP/IP section.
2Click Settings.
3Click E-mail/FTP Settings.
4Click E-mail Settings.
5Fill in the fields with the appropriate information.
6Click Submit.
Creating an e-mail shortcut
Creating an e-mail shortcut using the
Embedded Web Server
1Type the printer IP address into the address field of your Web
browser.
Note: If you do not know the IP address of the printer, then
print a network setup page and locate the IP address in the
TCP/IP section.
2Click Settings.
3Under Other Settings, click Manage Shortcuts.
4Click E-mail Shortcut Setup.
5Type a unique name for the recipient, and then enter the e-
mail address.
Note: If you are entering multiple addresses, then separate
each address with a comma (,).
6Select the scan settings (Format, Content, Color, and
Resolution).
7Enter a shortcut number, and then click Add.
If you enter a number that is already in use, then you are
prompted to select another number.
Creating an e-mail shortcut using the
touch screen
1On the home screen, touch E-mail.
2Type the recipient's e-mail address.
To create a group of recipients, touch Next address, and then
type the next recipient’s e-mail address.
3Touch Save as Shortcut.
4Type a unique name for the shortcut, and then touch Enter.
5Verify thatthe shortcut name and number are correct, and then
touch OK.
If the name or number is incorrect, then touch Cancel, and
then reenter the information.
Canceling an e-mail
•When using the ADF, touch Cancel Job while Scanning…
appears.
•When using the scanner glass, touch Cancel Job while
Scanning… appears or while Scan the Next Page /
Finish the Job appears.
Faxing
Sending a fax
Sending a fax using the printer
control panel
1Load an original document faceup, short edge first into the
ADF or facedown on the scanner glass.
Note: Do not load postcards, photos, small items,
transparencies, photo paper, or thin media (such as magazine
clippings) into the ADF. Place these items on the scanner glass.
2If you are loading a document into the ADF, then adjust the
paper guides.
3On the home screen, touch Fax.
4Enter the fax number or a shortcut using the touch screen or
keypad.
To add recipients, touch Next Number, and then enter the
recipient's telephone number or shortcut number, or search
the address book.
Note: To place a dial pause within a fax number, press .
The dial pause appears as a comma in the “Fax to” box. Use
this feature if you need to dial an outside line first.
5Touch Fax It.
Sending a fax using the computer
Faxing from a computer lets you send electronic documents
without leaving your desk. This gives you the flexibility of faxing
documents directly from software programs.
For Windows users
1With a file open, click File Print.
2Click Properties, Preferences, Options, or Setup.
3Click the Other Options tab, and then click Fax.
4On the Fax screen, type the name and number of the fax
recipient.
5Click OK, and then click OK again.
6Click Send.
For Mac OS X version 10.5 users
The steps for sending a fax from the computer vary depending on
your operating system. For specific instructions using other
Macintosh OS versions, see your Mac OS Help.
1With a document open, choose File > Print.
2From the Printer pop-up menu, choose your printer.
Note: In order to see the fax options on the Print dialog, you
must use the fax driver for your printer. To install the fax driver,
choose Add a printer, and then install the printer again with
a different name, choosing the fax version of the driver.
3Enter the fax information (for example, the name and number
of the fax recipient).
4Click Fax.
2
