4
About the Symbol Display
“ ” may appear on your TV display during operation and indicates that the
function explained in this owner’s manual is not available on that disc.
Regional Codes
This unit has a regional code printed on the rear of the unit. This unit can play
only DVD discs labeled same as the rear of the unit or “ALL”.
•Most DVD discs have a globe with one or more numbers in it clearly visible
on the cover. This number must match your unit’s regional code or the disc
cannot play.
•If you try to play a DVD with a different regional code from your player, the
message “Check Regional Code” appears on the TV screen.
Copyrights
It is forbidden by law to copy, broadcast, show, broadcast via cable, play in
public, or rent copyrighted material without permission. This product features
the copy protection function developed by Macrovision. Copy protection signals
are recorded on some discs. When recording and playing the pictures of these
discs picture noise will appear. This product incorporates copyright protection
technology that is protected by method claims of certain U.S. patents and
other intellectual property rights owned by Macrovision Corporation and other
rights owners. Use of this copyright protection technology must be authorized
by Macrovision Corporation, and is intended for home and other limited view-
ing uses only unless otherwise authorized by Macrovision Corporation.
Reverse engineering or disassembly is prohibited.
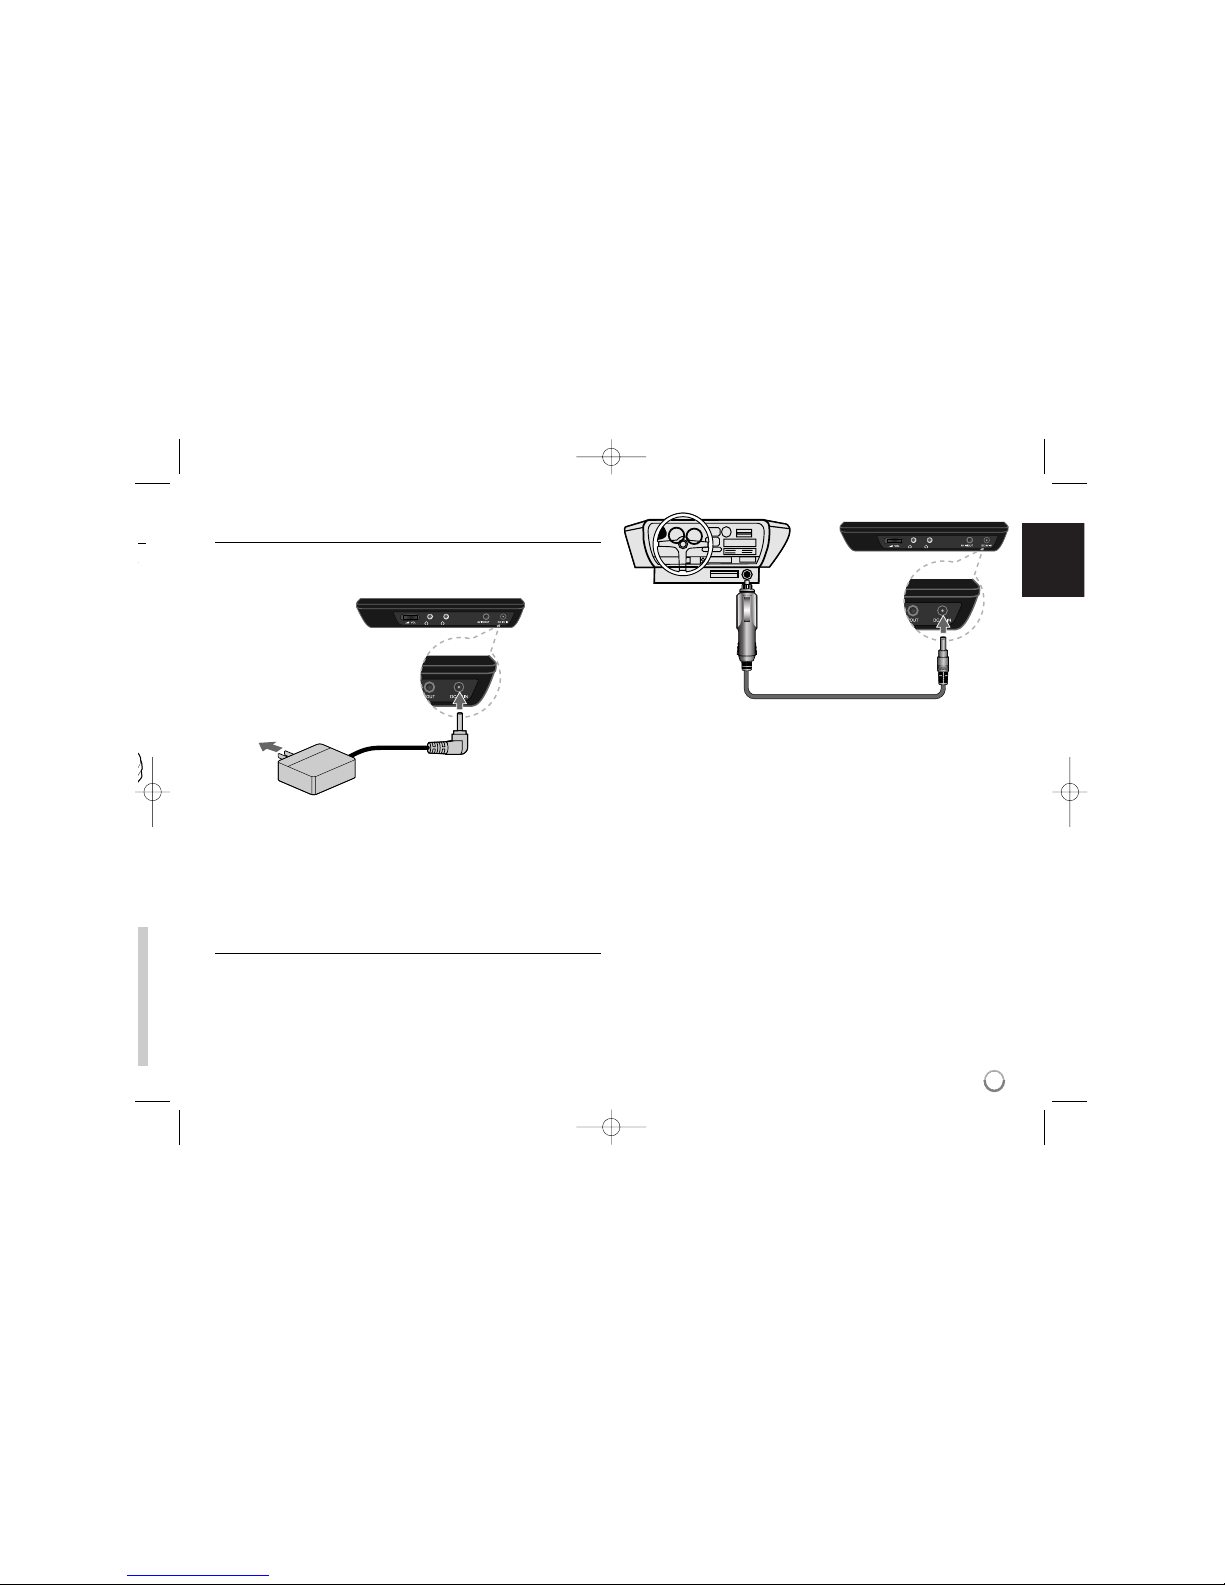
Rechargeable battery
•Its internal rechargeable battery provides you with the freedom to pass it
around and play the files without the power cord.
•The internal rechargeable battery will start charging only when the unit is
turned off and the AC adapter is connected to a power outlet.
•The charging stops if you turn on the unit.
•The charging will take approximately 3 hour 30 minutes.
•Operating time on battery: approximately 3 hour 30 minutes
The operating time on battery may vary depending on the battery status,
operational status and environment conditions.
•The battery indicator will turn red while charging. Once the charging is com-
plete, the indicator light changes to green.
•When the remaining time of the battery power is under a few minutes,
“Check Battery Status” will appear on the screen.
DVD-VIDEO: Discs such as movies that can be
purchased or rented.
DVD-R: Video mode and finalized only
DVD-RW: VR mode, Video mode and finalized only
DVD+R: Video mode only
DVD+RW: Video mode only
Audio CD: Music CDs or CD-R/CD-RW in music CD
format that can be purchased.
This unit plays DVD±R/RW and CD-R/RW that contains audio titles, MP3, WMA
and/or JPEG files. Some DVD±RW/DVD±R or CD-RW/CD-R cannot be played
on this unit due to the recording quality or physical condition of the disc, or the
characteristics of the recording device and authoring software.
Logo
Types of Playable Discs
Type
Safety Precaution . . . . . . . . . . . . . . . . . . . . . . . . . . . . . . . . . .2-3
Important Safety Instructions . . . . . . . . . . . . . . . . . . . . . . . . . . .3
Types of Playable Discs . . . . . . . . . . . . . . . . . . . . . . . . . . . . . . .4
Rechargeable battery . . . . . . . . . . . . . . . . . . . . . . . . . . . . . . . . .4
Main Unit . . . . . . . . . . . . . . . . . . . . . . . . . . . . . . . . . . . . . . . . . .5
Remote Control . . . . . . . . . . . . . . . . . . . . . . . . . . . . . . . . . . . . .6
Power connections . . . . . . . . . . . . . . . . . . . . . . . . . . . . . . . . . . .7
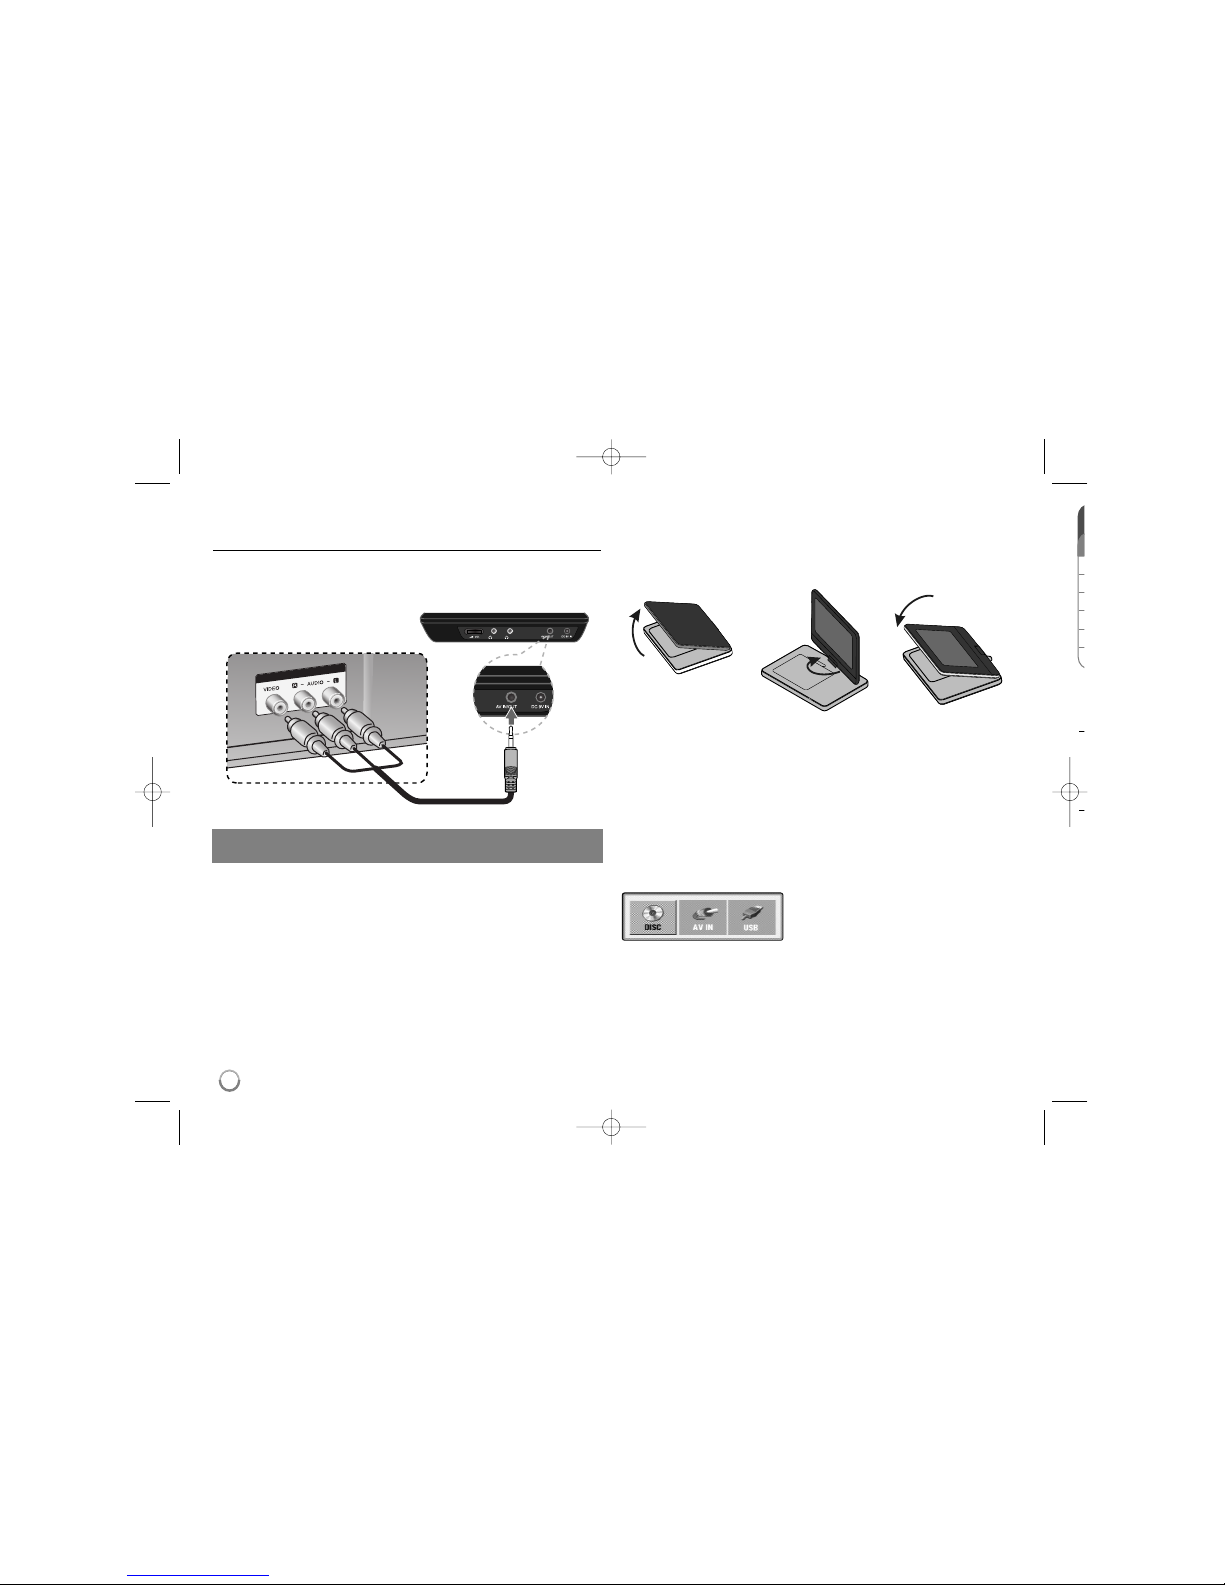
Hooking up the unit . . . . . . . . . . . . . . . . . . . . . . . . . . . . . . . . . .8
Revolving the LCD panel . . . . . . . . . . . . . . . . . . . . . . . . . . . . . .8
Selecting the operation mode . . . . . . . . . . . . . . . . . . . . . . . . . . .8
Adjust the settings . . . . . . . . . . . . . . . . . . . . . . . . . . . . . . . . .9-10
Displaying Disc Information . . . . . . . . . . . . . . . . . . . . . . . . . . .10
Playing a Disc . . . . . . . . . . . . . . . . . . . . . . . . . . . . . . . . . . .11-12
Listening to Music Disc or files . . . . . . . . . . . . . . . . . . . . . . . . .13
Viewing photo files . . . . . . . . . . . . . . . . . . . . . . . . . . . . . . . . . .13
Using a USB Flash Drive . . . . . . . . . . . . . . . . . . . . . . . . . . . .14
Watching a AV input . . . . . . . . . . . . . . . . . . . . . . . . . . . . . . . . .14
Language Codes / Area Codes . . . . . . . . . . . . . . . . . . . . . . . .15
Troubleshooting / Specifications . . . . . . . . . . . . . . . . . . . . . . . .16
Contents
M
V
o
E
s