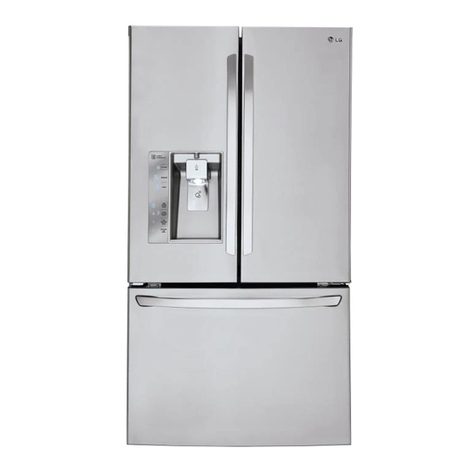
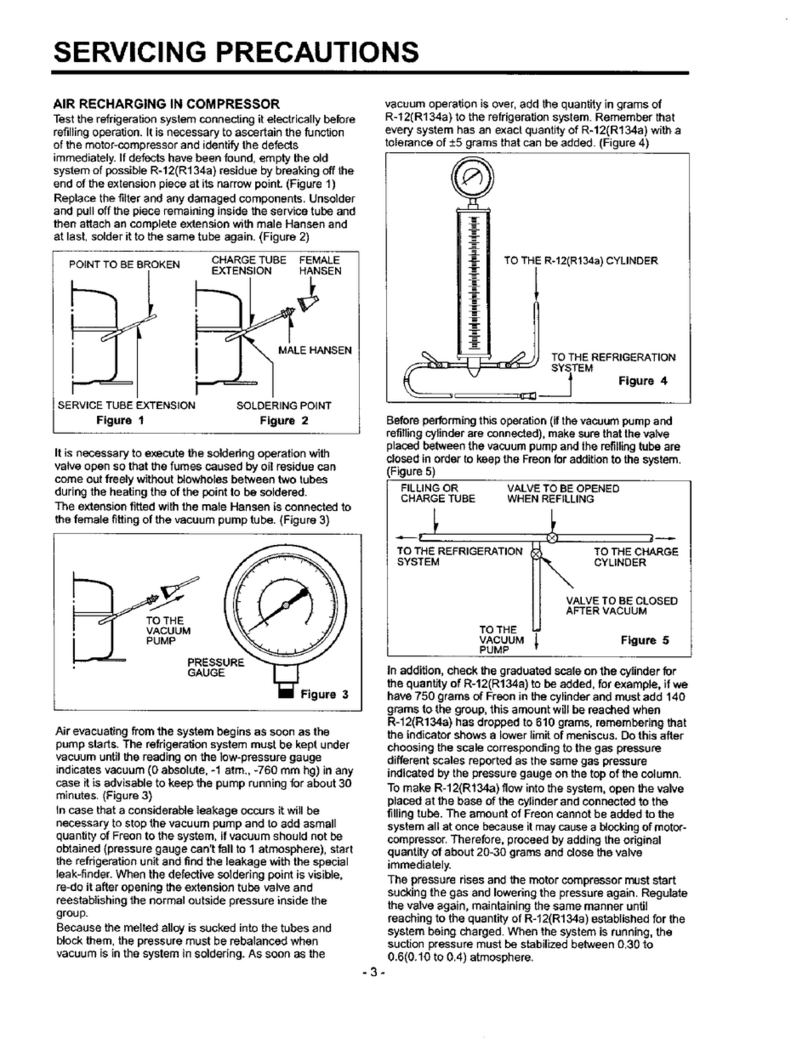
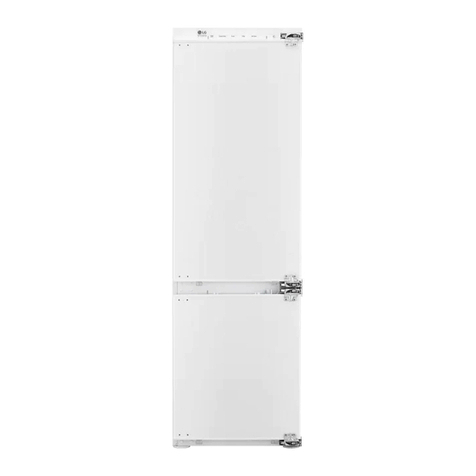
LG LRSOC2306 Series User manual

CAUTION
PLEASE READ CAREFULLY THE SAFETY PRECAUTIONS OF THIS
BOOK BEFORE CHECKING OR OPERATING THE REFRIGERATOR .
REFRIGERATOR
SERVICE MANUAL
Copyright © 2021 LG Electronics Inc. All rights reserved. Only training and service purposes.
Any reproduction, duplication, distribution (including by way of email, facsimile or other electronic means), publication,
consent of the LG Electronics entity from which you received this Service Manual. The material covered by this prohibition includes,
without limitation, any text, graphics or logos in this Service Manual.
MODEL :
LRSOC2306*

-2-
CONTENTS
Copyright © 2021 LG Electronics Inc. All rights
reserved. Only training and service purposes
WARNINGS AND PRECAUTIONS FOR SAFETY ....................................................................................... 3
SERVICING PRECAUTIONS ................................................................................................................................... 4
COMP TRIP SUMMARY
............................................................................................................................................ 5
TROUBLE SHOOTING ............................................................................................................................................... 6
HEAVY REPAIR METHOD OF REFRIGERATOR BY APPLICATION OF REFRIGERANT
19
SPECIFICATION ........................................................................................................................................................
................
26
CIRCUIT DIAGRAM ................................................................................................................................................... 28
PCB PICTURE ................................................................................................................................................................ 29
TROUBLE SHOOTING WITHOUT ERROR DISPLAY ............................................................................. 57
TROUBLE DIAGNOSIS .............................................................................................................................................. 74
HOW TO INSTALL REFRIGERATOR ................................................................................................................ 84
HOW TO SERVICE DOOR DISPLAY
.............................................................................................................. 90
HOW TO SERVICE FUNNEL ASSEMBLY
....................................................................................................... 91
EXPLODED VIEW .......................................................................................................................................................... 93
TROUBLE SHOOTING ............................................................................................................................................... 30

-3-
WARNINGS AND PRECAUTIONS FOR SAFETY
Copyright © 2021 LG Electronics Inc. All rights
reserved. Only training and service purposes
Please observe the following safety precautions in
order to use safely and correctly the refrigerator and to
prevent accident and danger during repair.
1. Be care of an electric shock. Disconnect power
cord from wall outlet and wait for more than three
minutes before replacing PWB parts. Shut off the
power whenever replacing and repairing electric
components.
2. When connecting power cord, please wait for more
than five minutes after power cord was disconnected
from the wall outlet.
3. Please check if the power plug is pressed down by
the refrigerator against the wall. If the power plug
was damaged, it may cause fire or electric shock.
4. If the wall outlet is over loaded, it may cause fire.
Please use its own individual electrical outlet for the
refrigerator.
5. Please make sure the outlet is properly earthed,
particularly in wet or damp area.
6. Use standard electrical components when replacing
them.
7. Make sure the hook is correctly engaged.
Remove dust and foreign materials from the housing
and connecting parts.
8. Do not fray, damage, machine, heavily bend, pull
out, or twist the power cord.
9. Please check the evidence of moisture intrusion
in the electrical components. Replace the parts or
mask it with insulation tapes if moisture intrusion was
confirmed.
10. Do not touch the icemaker with hands or tools to
confirm the operation of geared motor.
11. Do not let the customers repair, disassemble, and
reconstruct the refrigerator for themselves. It may
cause accident, electric shock, or fire.
12. Do not store flammable materials such as ether,
benzene, alcohol, chemicals, gas, or medicine in
the refrigerator.
13. Do not put flower vase, cup, cosmetics, chemicals,
etc., or container with full of water on the top of the
refrigerator.
14. Do not put glass bottles with full of water into the
freezer. The contents shall freeze and break the
glass bottles.
15. When you scrap the refrigerator, please disconnect
the door gasket first and scrap it where children are
not accessible.
-4-
SERVICING PRECAUTIONS
Copyright © 2021 LG Electronics Inc. All rights
reserved. Only training and service purposes

-5-
Comp Trip Summary
Copyright © 2021 LG Electronics Inc. All rights
reserved. Only training and service purposes
■Protection Logic
Recipro BLDC
(BMA & BMG series)
Linear Compressor
(Before FLA150NBMA)
Linear Compressor
(After FLA150NBMA)
Protection LED Purpose Trip name LED Purpose Trip name LED Purpose
FCT0
(Short Circuit) 1
Micom Sensing
Circuit problem
decision
FCT0 1
Micom Sensing
Circuit problem
decision
FCT0 1
Micom Sensing
Circuit problem
decision
OverVoltage Trip 2
DC Link
OverVoltage
Detect
Stroke Trip 2 Over Stroke
Detect Stroke Trip 2 Stroke error
detect
No Connect Trip 3 Comp Harness
no connect deteft
OverVoltage Trip 4
DC Link
OverVoltage
Detect
Pistion Lock 5 Piston Lock
detect Pistion Lock 5 Piston Lock
detect
Over Current
Detection 6Over Current
detect
Current
Detection 6Over Current
detect
Current
Detection 6Over Current
detect
Fault(Fo) 7
IPM armshort
detect
(IPM Fault
detect)
Fault(Fo) 7
IPM armshort
detect
(IPM Fault
detect)
Fault(Fo) 7
IPM armshort
detect
(IPM Fault
detect)
Communication
Error 8Communication
Error
Communication
Error 8Communication
Error
Communication
Error 8Communication
Error
Remark: When 1 trip occurs, keep it
permanently until power OFF
After ‘19 Year Model, When the
trip occurs, the LED lights the
same as before. Comp. OFF signal
(intermittent, defrost) LED is initialized.
Remark: When 1 trip occurs, keep it
permanently until power OFF
Remark: When the trip occurs, the
LED lights the same as before. Comp.
OFF signal (intermittent, defrost) LED
is initialized.

-6-
TROUBLE SHOOTING
Copyright © 2021 LG Electronics Inc. All rights
reserved. Only training and service purposes
Comp Operation Defect
z
-PCB COVER OPEN Check the LED Blinking
(Information about LED blinking is following
next page)
If the Comp & Fan is not operated then input the test mode and check the comp condition.
(Operation or not)
If It is normal condition then
LED is not work.

-7- Copyright © 2021 LG Electronics Inc. All rights
reserved. Only training and service purposes
- Simple Check Flow Chart
Check Comp.
PCBA Output
> 60V?
LED7 Blinks
LED2 Blinks
LED1 Blinks
Replace PCB
Comp.
Operation?
Replace PCB
LED6 Blinks Comp.
Operation?
LED
Blinking?
Not Cooling
Harness
wiring?
Repair Harness
LED8 Blinks Replace PCB
Reset
LED7 Blinks
LED1 Blinks
LED2 Blinks
LED6 Blinks
LED8 Blinks
LED3 Blinks LED 3 Blinks
LED5 Blinks Comp.
Operation?
LED5 Blinks
Check Comp.
Check Comp.
Test Mode
1 Input
Check
Cycle leakage
Cycle
Cycle leakage
Check
Cycle leakage
About 5min
About 5min
About 5min
About 5min
About 5min
About 5min
About 5min
LED4 Blinks Replace PCB
LED4 Blinks
About 5min
Reset
Reset
Reset
Reset
Reset
Reset
Reset
Test Mode
1 Input
Test Mode
1 Input
Test Mode
1 Input
Test Mode
1 Input
Test Mode
1 Input
Test Mode
1 Input
Test Mode
1 Input
Test Mode
1 Input PCBA Output
> 60V Replace PCB
Replace PCB
Check
Cycle leakage
Comp.
Operation? PCBA Output
> 60V Replace PCB
Check the Comp.
About 5min
Y
N
N
N
Y
Y
Y
N
Y
N
Y
N
Y
N
Y
N
N
Y
* Transmits LED blinking number to PDA after completing action
LED Trip Information
1 Current/Voltage Sensing Error
2 Over Stroke
3 Comp Connection Error
4 Over Voltage Error
5 Comp Lock Error
6 Over Current Error
7 IPM Error
8 Communication Error

-8- Copyright © 2021 LG Electronics Inc. All rights
reserved. Only training and service purposes
Trip & LED Bliking Information
1. FCT0 Trip and LED Blinking 1 time (FCT0 Fault)
Blink OFF Blink OFF
→ Purpose : To detect the compressor voltage and current sensing error.
→ Restart every 30 seconds after compressor off.
LED 1
Blinks Replace PCB
LED 1
Blinks
About 5min
Reset Test Mode
1 Input

-9- Copyright © 2021 LG Electronics Inc. All rights
reserved. Only training and service purposes
Trip & LED Bliking Information
2. Stroke Trip and LED Blinking 2 times (Stroke Trip)
Blink OFF Blink OFFBlink Blink
ÆPurpose : Protection piston crash by abnormally large Stroke.
ÆCase 1. Do not operate Comp.
: Harness connection failure between the PCB, Comp, Capacitor.
ÆCase 2. Do operate Comp. intermittently
: Condenser Fan or Freezer Fan Error.
System Error like water-clogging, capillary-clogging, refrigerant-leakage
ÆLogic: After the Comp. Off every 1 minute restart Comp.
PCBA Output
> 60V?
N
LED 2
Blinks
Comp.
Operation?
Y
Harness
wiring?
Y
Repair
Harness
N
LED 2
Blinks
Check
Comp.
Cycle
Cycle leakage
About 5min
Reset Test Mode
1 Input
Replace PCB
Y
N

-10- Copyright © 2021 LG Electronics Inc. All rights
reserved. Only training and service purposes
Trip & LED Bliking Information
3. No Connect Trip and LED Blinking 3 times (No Connection Trip)
Blink Blink OFFBlink
ÆPurpose : Prevention Over-Voltage and Over-Current by detecting connection error check.
ÆCause : Harness connection failure between PCB, Comp, Capacitor.
Comp. insulation breakdown.
ÆLogic : After the Comp. Off every 40 seconds restart Comp.
OFF Blink BlinkBlink
PCBA Output
> 60V?
N
LED 3
Blinks
Comp.
Operation?
Y
Harness
wiring?
Y
Repair
Harness
N
LED 3
Blinks
Check
Comp.
Cycle
Cycle leakage
About 5minReset Test Mode
1 Input Replace PCB
Y
N

-11- Copyright © 2021 LG Electronics Inc. All rights
reserved. Only training and service purposes
Trip & LED Bliking Information
4. Over Voltage Trip and LED Blinking 4 times (Over Voltage Trip)
Blink BlinkBlink
ÆPurpose : Protection the PCB by Over Voltage
ÆCause : Applying the Over Voltage to DC Link(450VDC or higher)
ÆLogic: Restart every 90 seconds after compressor off.
OFFBlink
LED 4
Blinks Replace PCB
LED 4
Blinks
About 5min
Reset Test Mode
1 Input

-12- Copyright © 2021 LG Electronics Inc. All rights
reserved. Only training and service purposes
Trip & LED Bliking Information
5. L/Piston Trip and LED Blinking 5 times (Locked Piston)
Check Comp.
Y
N
LED 5
Blinks
Comp.
Operation?
LED 5
Blinks
Check
Cycle leakage
After 5Min
Reset Test Mode
1 Input
Blink OFFBlink Blink Blink Blink
ÆPurpose : Detect locked piston.
ÆCause : Oil shortage of the cylinder, Cylinder or Piston damage, clogging the discharge, Comp. internal debris.
ÆLogic : After the Comp. Off every 2 min 30 seconds restart Comp.

-13- Copyright © 2021 LG Electronics Inc. All rights
reserved. Only training and service purposes
Trip & LED Bliking Information
6. Current Trip and LED Blinking 6 times (Current Trip)
Blink OF
F
Blink Blink Blink Blink Blink
ÆPurpose : Protection Over-Current(Over-Load)
ÆCause : Abnormally ambient temperature(Over 43℃), Abnormally conditions like Shield machine room etc.
Condenser Fan failure, Comp. failure, PCB failure(IPM breakdown)
Oil shortage of the cylinder, Cylinder or Piston damage, clogging the discharge, Comp. internal debris.
ÆLogic : After the Comp. Off every 6 minutes restart Comp.
N
Y
Comp.
Action?
Check Comp.
Check
Cycle
leakage
Replace PCB
Y
N
PCBA Output
> 60V
LED 6
Blinks
LED 6
Blinks
About 5minReset Test Mode
1 Input

-14- Copyright © 2021 LG Electronics Inc. All rights
reserved. Only training and service purposes
Trip & LED Bliking Information
7. IPM Fault Trip and LED Blinking 7 times (IPM Fault)
Blink OFFBlink Blink Blink Blink Blink Blink
ÆPurpose : Protection Over-Current by failure IPM(IPM short)
ÆCause : IPM Short and failure
ÆLogic : After the Comp. Off every 20 seconds restart Comp.
LED 7
Blinks Replace PCB
LED 7
Blinks
About 5min
Reset Test Mode
1 Input

-15- Copyright © 2021 LG Electronics Inc. All rights
reserved. Only training and service purposes
Trip & LED Bliking Information
8. Comp Tx Error Trip and LED Blinking 8 times (Communication Error)
Blink Blink Blink Blink Blink Blink Blink
ÆPurpose : Detection communication error with the Micom of the refrigerator control.
ÆCause : Communication Error
ÆLogic : Only LED blinking without the Comp. Off
(Comp. is operate command before communication error)
OFF
Blink
LED 8
Blinks Replace PCB
Reset LED 8
Blinks
About 5min
Test Mode
1 Input

-16- Copyright © 2021 LG Electronics Inc. All rights
reserved. Only training and service purposes
Check the PCB Output
ÆCheck output voltage from PCB to Compressor.
IPM Output check
A-Inverter
ÆTo judge whether there is any issue with the PCB operation, check the PCB output voltage.
Normal: Voltage 60[V] or higher output at ((COMMON,POWER) or ②(COMMOM,SAVE)
Multi
Tester
①
②①
②
SAMPLE
SAMPLE

-17- Copyright © 2021 LG Electronics Inc. All rights
reserved. Only training and service purposes
Check the Compressor & Harness
Power
off Check the Resistance
(point A)
Harness Connection
OK
A~B
Connection error
Check the Resistance
(point B)
Check the Resistance
(point D)
Replace
Compressor
B~D
Connection error
Check the Harness
Y
N
N
Y
Y
Y
N
N
Check
Comp. terminal
Harness
failure
Y
N
Y
1. Check the Harness connection
2. Check the Compressor
ÆStep 1. Power off.
Step 2. Check the Resistance(point A)
Step 3. Check the Harness(INF ohm).
Step 4. Check the Resistance(point B)
Step 5. Check the Resistance(point D)

-18- Copyright © 2021 LG Electronics Inc. All rights
reserved. Only training and service purposes
Compressor & Harness
ÆComp Terminal resistance measurement (Power & Common, Save & Common)
ÆCheck the broken-down insulation : Comp. Save - Earth resistance measurement
Check insulation break-down
Multi
Tester
Co
Sa Po
Sa: Save
Po: Power
Co: Common
Point A
Point B
Point D
Multi
Tester
Multi
Tester
Multi
Tester
※ The resistance can differ by few Ω depending on
the surrounding temperature or operating condition.
Earth
Mode Resistance
Power(ᐭ)5.6 ~ 9
Save(ᐮ)9 ~ 14
①
②①
②
②①
FLD165NBMA
FLD165NCMA

-19- Copyright © 2021 LG Electronics Inc. All rights
reserved. Only training and service purposes
HEAVY REPAIR METHOD OF REFRIGERATOR BY APPLICATION OF REF RIGERANT
Heavy Repair Method of Refrigerator by Application of Refrigerant
1.Outline
1-1. Checkpoints before Heavy Repair
Open the Cover ASM, Back-M/C of refrigerator and check the type of refrigerant indicated on a compressor before
starting work.A yellow label is adhered to the compressor for the refrigerator using R600a as refrigerant.
1-2. Features of R600a Refrigerant
t Non-polar natural gas refrigerant (CH(CH3)3)
t
DPODFOUSBUJPOFYUSFNFIBOEMJOHJTSFRVJSFEGPSIFBWZSFQBJSPGDZDMF
Explosion concentration: .8% ~ 8.4%/Vol.
Burning temperature: 494
1-3. Features of R600a Refrigerator
Κ۷With refrigerant quantity of 60% or so for the refrigerator using R134a as refrigerant
Κ۷Large vacuum level at suction pressure (at low pressure side)
Κ۷COMP capacity of the refrigerator using R609a as refrigerant is large by 1.7 times than that of the refrigerator
using R134a.
Κ۷Labels as in Figure are displayed at the compressor of a refrigerant for R600a and the back plate of refrigerator.
1-4. Location and Environment for Heavy Repair
t Check that drafting and air ventilation are well done at a working area and perform work after making drafting
and air ventilation smooth (use refrigerant return bag indoors).
t
XPSL
t
t Be sure to follow heavy repair SVC procedures during work.
ADVERTENCIA

-20- Copyright © 2021 LG Electronics Inc. All rights
reserved. Only training and service purposes
1-5. Heave Repair Work Tool
R600a refrigerant
Bombe
Pinch Pliers
Refrigerant Discharge Hose
Refrigerant Return Bag
Vacuum Pump
Handy Welding Machine
Charging Tube
Leakage Tester
Drier
This manual suits for next models
1
Table of contents
Other LG Refrigerator manuals

LG
LG GV-B258R4 Series User manual

LG
LG LUPXS3186N User manual

LG
LG GR-B202SLC User manual

LG
LG GM-B258R4S User manual

LG
LG LSSB2791ST Assembly instructions

LG
LG BOTTOM FREEZER REFRIGERATOR User manual

LG
LG LSC27970ST User manual

LG
LG GC-L207GPQV User manual

LG
LG Refrigerator-freezer User manual

LG
LG LFX25971 Series User manual