îÌßÞÔÛ ÑÚ ÝÑÒÌÛÒÌÍ
ÌßÞÔÛ ÑÚ ÝÑÒÌÛÒÌÍ
3 ÐÎÑÜËÝÌ ÚÛßÌËÎÛÍ
4
7 ÝÑÓÐÑÒÛÒÌÍ
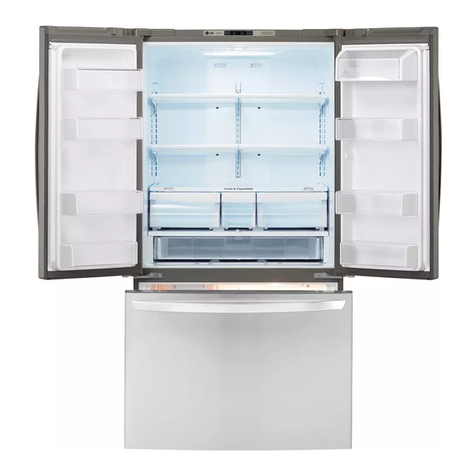
7 Refrigerator Exterior
8 Refrigerator Interior
9 ×ÒÍÌßÔÔßÌ×ÑÒ
9 Installation Overview
10 Specifications
11 Unpacking Your Refrigerator
11 Choosing the Proper Location
11 - Flooring
12 - Ambient Temperature
12 - Measuring the Clearances
12 Removing/Assembling the Refrigerator
Door Handles
13 Removing/Assembling the Freezer
Drawer Handle
13 Removing/Assembling the Doors and
Drawers
14 - Removing the Left Refrigerator Door
15 - Removing the Right Refrigerator Door
16 - Assembling the Right Refrigerator Door
17 - Assembling the Left Refrigerator Door
18 - Removing the Freezer Drawers
20 - Assembling the Freezer Drawers
21 Connecting the Water Line
21 - Before You Begin
21 - Water Pressure
21 - What You Will Need
22 - Water Line Installation Instructions
24 Turning On the Power
25 Leveling and Door Alignment
25 - Leveling
25 - Door Alignment
26 ØÑÉ ÌÑ ËÍÛ
26 Before Use
27 Control Panel
27 - Control Panel Features
30 Smart Features
34 In-Door Ice Bin
34 - Detaching the In-Door Ice Bin
34 - Assembling the In-Door Ice Bin
35 Automatic Icemaker
35
36 - When You Should Turn the Icemaker Off
36 - Normal Sounds You May Hear
36 - Preparing for Vacation
37 Ice and Water Dispenser
37 - Dispenser
37 - Using the Dispenser
37 - Locking the Dispenser
37 - Cleaning the Dispenser Stand
38 Storing Food
38 - Food Preservation Location
39 - Food Storage Tips
39 - Storing Frozen Food
40 Humidity Controlled Crisper and
Glide’N’Serve
41
44 Adjusting the Refrigerator Shelves
45 Óß×ÒÌÛÒßÒÝÛ
45 Cleaning
46 Replacing the Fresh Air Filter
46 Replacing the Water Filter
51 ÍÓßÎÌ Ü×ßÙÒÑÍ×͇
51 Using Smart Diagnosis™
52 ÌÎÑËÞÔÛÍØÑÑÌ×ÒÙ
62 ÉßÎÎßÒÌÇ

