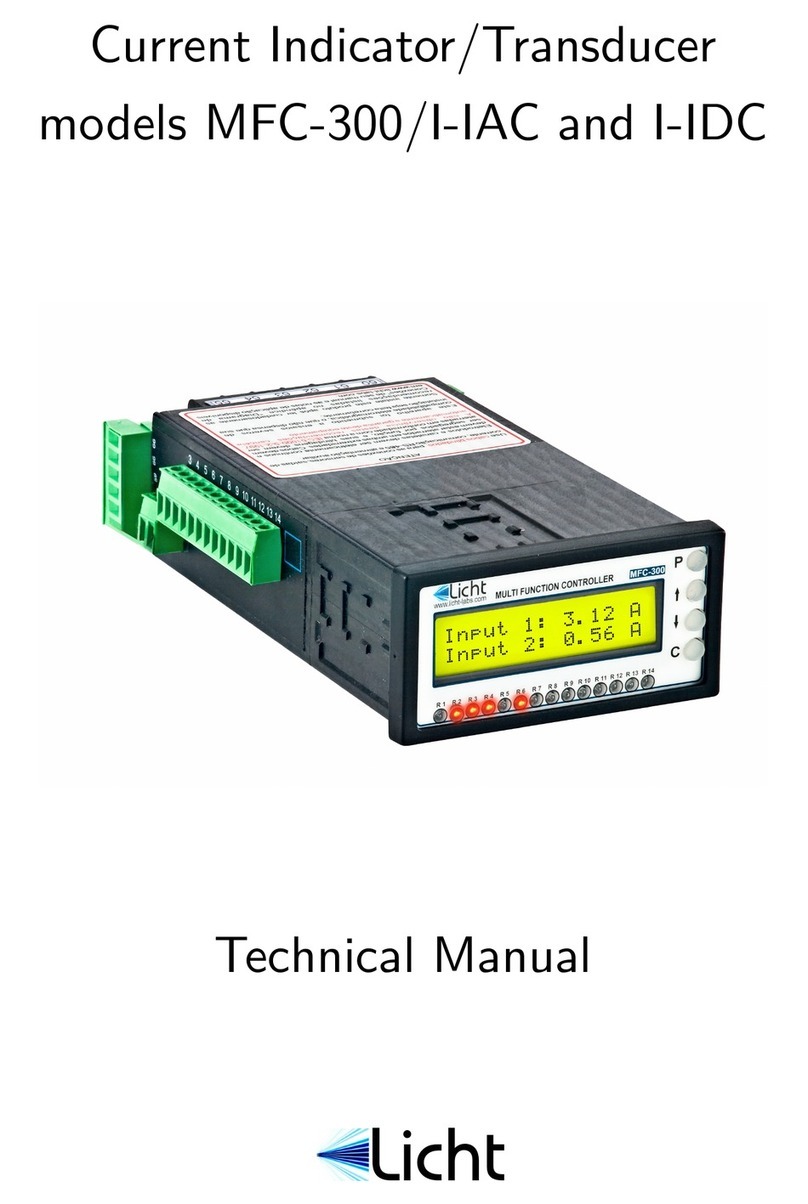
Licht MFC-300/IT User manual

Temperature Indicator/Transducer
model MFC-300/IT
Technical Manual
Licht

Rev. A1 (18–01–12) MFC-300/I-T Technical Manual 1
Contents
1 Introduction 2
2 Front panel indication 3
3 Configuration 4
3.1 Parameter reset 4
4 Programmable parameters 5
4.1 General parameters 5
4.2 Current outputs (option) 5
4.3 MODBUS protocol 5
4.4 DNP3 protocol (option) 6
4.5 Language 7
5 Additional versions 8
A Specifications 9
B Housing diagrams 10
C Weatherproof enclosure layout 13
D Connection diagrams 14
E MODBUS registers 17

Licht http://www.licht-labs.com
Rev. A1 (18–01–12) MFC-300/I-T Technical Manual 2
1 Introduction
The MFC-300/I-T is a precise, highly reliable and versatile microcontrolled device de-
signed to read, display and retransmit temperature values. Each MFC-300/I-T features
one isolated RS-485 port, which can be used for communication using the MODBUS or
DNP3 protocols.
All signals that enter and exit the indicator are galvanically isolated, preventing po-
tentially damaging noise and transients from being transferred between subcircuits or
retransmitted to other devices.
Figure 1.1 MFC-300/I-T Indicator

Licht http://www.licht-labs.com
Rev. A1 (18–01–12) MFC-300/I-T Technical Manual 3
2 Front panel indication
During operation, the MFC-300 displays its temperature measurement.
Licht
www.licht-labs.com
MULTI FUNCTION CONTROLLER
MFC-300/I-T
R 1 R 2 R 3 R 4 R 5 R 6 R 7 R 8 R 9 R 10 R 11 R 12 R 13 R 14
C
P
RTD 1: 63.0 C
RTD 2: 86.4 C
RTD 1: 124.4 Ohm
RTD 2: 133.3 Ohm
Indication mode:
Resistance
Indication mode:
Temperature
Figure 2.1 Front Panel

Licht http://www.licht-labs.com
Rev. A1 (18–01–12) MFC-300/I-T Technical Manual 4
3 Configuration
Parameterization
The MFC-300 features 4 keys to access its functions. The procedure to configure any
parameter is as follows:
1. Press the Pkey to enter the parameters menu.
2. Enter the currently configured 4 letter password one letter at a time, using the ↑
and ↓keys to select each letter and Pto advance between letters. The default
password is AAAA.
3. Using the ↑and ↓keys, choose the desired parameter.
4. Press Pto confirm the parameter’s selection.
5. Choose the desired value with the ↑and ↓keys.
6. Confirm pressing P.
By holding down the ↑or ↓keys it is possible to advance through the options faster.
The configuration sequence can be cancelled at any time by pressing C.
3.1 Parameter reset
The MFC-300 can be reset to factory settings. This procedure also resets its password to
AAAA. To do so, power up the device while pressing C.

Licht http://www.licht-labs.com
Rev. A1 (18–01–12) MFC-300/I-T Technical Manual 5
4 Programmable parameters
The MFC-300/I-T were developed to provide the user with the greatest possible flexiblity,
such that all supervision and configuration can be executed on-site or remotely through
the existing communication channels.
We define all user-configurable parameters below.
4.1 General parameters
Parameter:Indication Type
Options: Temperature, Resistance.
Description: data type indicated on the display.
4.2 Current outputs (option)
Parameter:Output Scale
Options: 0-1, 0-5, 0-10, 0-20, 4-20 mA
Description: refers to the various configurable current loop scales.
Parameter:Full Scale Temperature
Options: 0 to 255 ◦C, in increments of 1 ◦C.
Description: Current loop full scale temperature. For example, if Full Scale Tempera-
ture = 150 ◦Cand Output Scale = 4-20 mA, the displayed temperature will be 0 ◦Cfor
4.0 mA and 150 ◦Cfor 20.0 mA.
4.3 MODBUS protocol
Parameter:Baud Rate
Options: 9600, 19200, 38400, 57600, 115200 bps.
Description: baud rate for the RS-485 link.
Parameter:Format
Options: 8N1, 8E1, 8O1, 8N2.
Description: symbol transmission format, where:
◦8N1: 8 data bits, no parity, 1 stop bit.
◦8E1: 8 data bits, even parity, 1 stop bit.

Licht http://www.licht-labs.com
Rev. A1 (18–01–12) MFC-300/I-T Technical Manual 6
◦8O1: 8 data bits, odd parity, 1 stop bit.
◦8N2: 8 data bits, no parity, 2 stop bits.
Parameter:Address
Options: 1 to 247.
Description: MODBUS address for the MFC-300.
4.4 DNP3 protocol (option)
Parameter:Baud Rate
Options: 9600, 19200, 38400, 57600, 115200 bps.
Description: baud rate for the RS-485 link.
Parameter:Format
Options: 8N1, 8E1, 8O1, 8N2.
Description: symbol transmission format, where:
◦8N1: 8 data bits, no parity, 1 stop bit.
◦8E1: 8 data bits, even parity, 1 stop bit.
◦8O1: 8 data bits, odd parity, 1 stop bit.
◦8N2: 8 data bits, no parity, 2 stop bits.
Parameter:Address
Options: 0x0000 to 0xFFEF.
Description: DNP3 outstation address in hexadecimal notation.
Parameter:Application Layer Confirmation
Options: Only when transmitting events or multi-fragment responses, Always.
Description: Selects when the MFC-300 outstation should request application layer
confirmations.
Parameter:Maximum Inter-Octet Gap
Options: 2 to 100 ms.
Description: The DNP3 specification states that frames should not have inter-octet
gaps. In accordance, the MFC-300 never inserts inter-octet gaps when transmitting data.
However, we allow the option to tolerate gaps in incoming transmissions. Frames featuring
inter-octet gaps larger than the Maximum Inter-Octet Gap will be quietly dropped.

Licht http://www.licht-labs.com
Rev. A1 (18–01–12) MFC-300/I-T Technical Manual 7
Parameter:Backoff Delay (Fixed)
Options: 1 to 100 ms.
Description: See description for Backoff Delay (Random).
Parameter:Backoff Delay (Random)
Options: 1 to 100 ms.
Description: The MFC-300 is designed for multi-drop scenarios where more than one
outstation may transmit over the same line. To handle collision avoidance, a backoff
scheme is implemented. Before transmitting, the MFC-300 always waits for the line to
become idle. Once that happens, it waits for Tdelay =Tf ixed +Trandom ms, where Tfixed
is the fixed backoff delay and Trandom is a random value, uniformly distributed between 0
and the random backoff delay parameter. If after Tdelay ms the line is still idle, then the
MFC-300 begins transmission.
Parameter:Insert Inter-frame Gap
Options: Never, Always.
Description: The DNP3 specification states that no inter-frame gaps are required. How-
ever, some masters have been observed to drop frames when no inter-frame gaps are pro-
vided. This option allows communicating with such non-compliant devices. We discourage
its use, given that the forced inter-frame gap implies a forced backoff-delay.
4.5 Language
Parameter:Language
Options: Portuguese (PT_BR), English (EN_US).
Description: Language of the messages and menus displayed on the MFC-300’s front
panel.

Licht http://www.licht-labs.com
Rev. A1 (18–01–12) MFC-300/I-T Technical Manual 8
5 Additional versions
Figure 5.1 MFC-300/I-T Indicator (96x96 version)
Figure 5.2 MFC-300/I-T Indicator (with weatherproof enclosure)

Licht http://www.licht-labs.com
Rev. A1 (18–01–12) MFC-300/I-T Technical Manual 9
A Specifications
Power Supply Isolated, 80-260 Vac/Vdc.
Power Consumption 8W
Operating Temperature -10 to 70 ◦C(LCD display)
-40 to 70 ◦C(VFD display)
Enclosure Rating IP20 (96x48 and 96x96 formats)
IP65 (with weatherproof enclosure)
Mounting Options Panel-mounted
Dimensions 96 x 96 x 190 mm or
96 x 48 x 190 mm
Weight 550 g
DC Input Scale: specifiable
Error/Non-linearity: 0.2% + 0.1% /10 ◦C
AC Input Scale: specifiable
Error/Non-linearity: 0.5% + 0.1% /10 ◦C
Current Outputs Scales: 0-1, 0-5, 0-10, 0-20, 4-20 mA
Error/Non-linearity: 0.2% + 0.1% /10 ◦C
Galvanic Isolation
(60 Hz, 1 min.)
DC Input 1.5 kV
AC Input 1.5 kV
Outputs 1.5 kV
Communication 1.5 kV
Communication RS-485 - MODBUS RTU or DNP3
9600, 19200, 38400, 57600, 115200 bps
8N1, 8E1, 8O1, 8N2
Displays 2 lines with 16 characters each (5 mm).
LCD with backlight or VFD.

Licht http://www.licht-labs.com
Rev. A1 (18–01–12) MFC-300/I-T Technical Manual 10
B Housing diagrams

Licht http://www.licht-labs.com
Rev. A1 (18–01–12) MFC-300/I-T Technical Manual 13
C Weatherproof enclosure layout

Licht http://www.licht-labs.com
Rev. A1 (18–01–12) MFC-300/I-T Technical Manual 14
D Connection diagrams
MFC-300 / I - T TEMPERATURE INDICATOR / TRANSDUCER
CURRENT
OUTPUT

Licht http://www.licht-labs.com
Rev. A1 (18–01–12) MFC-300/I-T Technical Manual 15
Important considerations
The installation of electronic devices in substations should conform with the recommen-
dations given by recent international standards. The most recent and detailed guide for
installations is IEC 61000-5-2:1997, which was based on decades of laboratory and field
research. We summarize below some of the guidelines contained in IEC 61000-5-2:1997.
For further reading, we recommend the articles and application notes available on our
web site.
a. Shielded cables must be used for connecting potentiometric sensors, current loop
outputs, RS-485 links and the auxiliary supply.
b. Cables must be segregated in trays, ducts or conduits according to their functions.
In particular, power cables must never be routed in the proximity of signal cables,
even if these are shielded. The minimum distances which must be observed are
described in IEC 61000-5-2:1997 and in articles available on-line at this product’s
web page.
c. The electrical continuity of cables, ducts, trays and conduits must be preserved up
to frequencies in the order of MHz, over all their extension, including curves and
junctions. In order to guarantee this continuity, joints and bonds should present
electrical contact along each cable, duct or tray’s transversal section. In particular,
trays should be bonded with seam-welded joints (best), U-brackets with multiple
fixings (ok) and never with wires.
d. Shielded cables should present no gaps in their screens along their lengths. 360◦bond-
ing should be performed instead.
e. Should there be unshielded sections (for example, near terminal block connections),
these should be short as possible.
f. Trays, ducts and conduits must be electrically continuous, and must be grounded
at both ends. In this configuration, trays, ducts and conduits provide shielding
and also perform as parallel earth conductors.
g. Shielded cables should also have their screens bonded at both ends. It is extremely
important that the tray, duct or conduit which contains each cable is also grounded
at both ends, allowing it to perform as a parallel earth conductor. In the absence
of a parallel earth condutor, the cable screens will be exposed to extremely high
currents which will severely compromise their operation.
h. RS-485 pairs must be terminated at both ends by 120 Ωresistors.

Licht http://www.licht-labs.com
Rev. A1 (18–01–12) MFC-300/I-T Technical Manual 16
i. RS-485 devices must be connected in a bus topology. No other network topology
(tree, star, ring, etc.) is acceptable.
j. Dry contact inputs (if applicable) must free of potentials.

Licht http://www.licht-labs.com
Rev. A1 (18–01–12) MFC-300/I-T Technical Manual 17
E MODBUS registers
The MFC-300 implements the Read Holding Register (0x03), Write Single Register (0x06)
and Write Multiple Register (0x10) MODBUS RTU functions. A frame referring to any
other function will be answered with an "unsupported function code" exception.
We present below a table of remotely accessible registers.
Holding
Register Description Values Multiplier
201 Indication Type 0: temperature
1: resistance 1
301 Current Loop - Output Scale
0: 0-1 mA
1: 0-5 mA
2: 0-10 mA
3: 0-20 mA
4: 4-20 mA
1
302 Full Scale Temperature 0 to 255 ◦C1
401 Local Hour 0 to 23 1
402 Local Minute 0 to 59 1
403 Local Second 0 to 59 1
404 Local Day 1 to 31 1
405 Local Month 1 to 12 1
406 Local Year (2000-2099) 0 to 99 1
510 RTD Temperature 0.0 to 255.0 ◦C10
511 RTD Resistance 0.0 to 255.0 Ω10
Table of contents
Other Licht Transducer manuals
Popular Transducer manuals by other brands

epro
epro PR 9268/60 Series Directions for use

SSET
SSET CE-VJ31A -MSK- 0.5 Series quick start guide

Humminbird
Humminbird 530511-3_A Installation

Krell Industries
Krell Industries LAT series owner's manual

Setra Systems
Setra Systems Multi-Sense 231RS manual

Airmar
Airmar Tilted Element B60 Owner's guide and installation instructions

DAIICHI
DAIICHI QT2-500 instruction manual

TorqSense
TorqSense ORT230-C user manual

Lumel
Lumel P41 User Manual & Quick Start

S+S Regeltechnik
S+S Regeltechnik THERMASGARD ALTM Operating Instructions, Mounting & Installation

RAUMEDIC
RAUMEDIC DATALOGGER Instructions for use

Balluff
Balluff BTL7-A501 Series Condensed guide