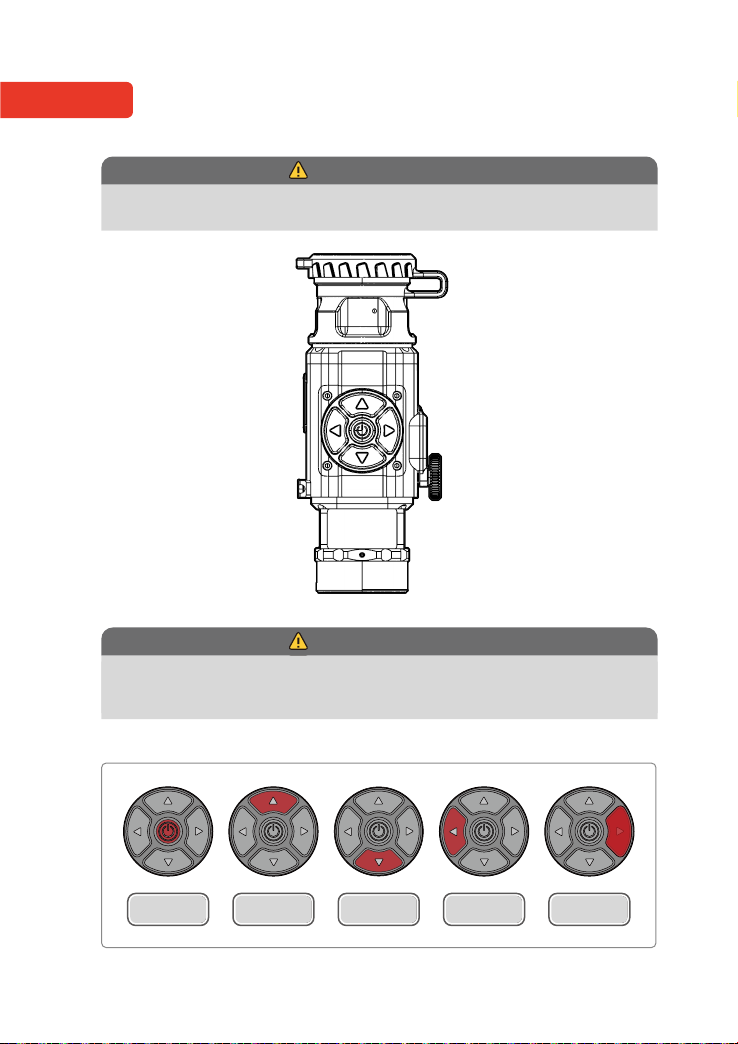
QUICK MENU
The Quick menu allows change of basic settings.Enter the Quick menu with a short press of any
button in Up/Down/Left/Right.
Power On / Off
Long Press Power button to power on /off the device.
Stand By
Short Press Power button to make device StandBy, short press Power button
again to be back to normal display.
NUC Short press down button to do Non-Uniformity Calibration.
8
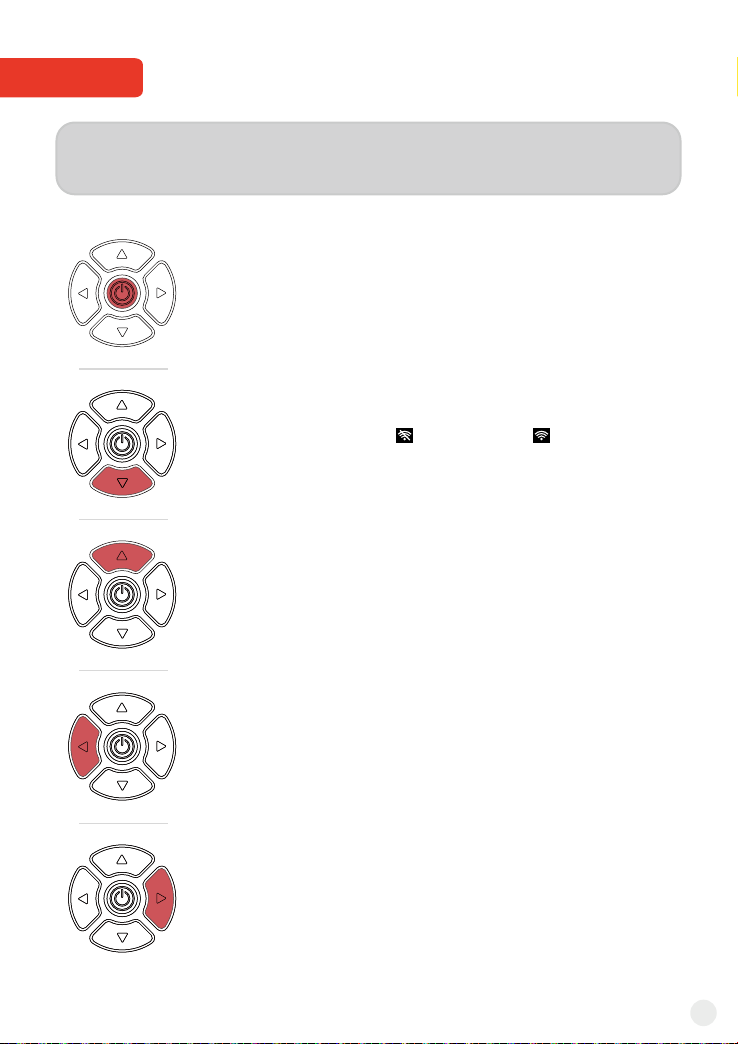
WIFI
Wireless connection option(Wi-Fi) is linked with external appliance (PC,laptop,smartphone).
Wi-Fi function is originally set to be Off. Long press Down buttons to turn on/off Wi-Fi . Wi-Fi
operation is shown in the status bar, means Wi-Fi is Off, means Wi-Fi is On.
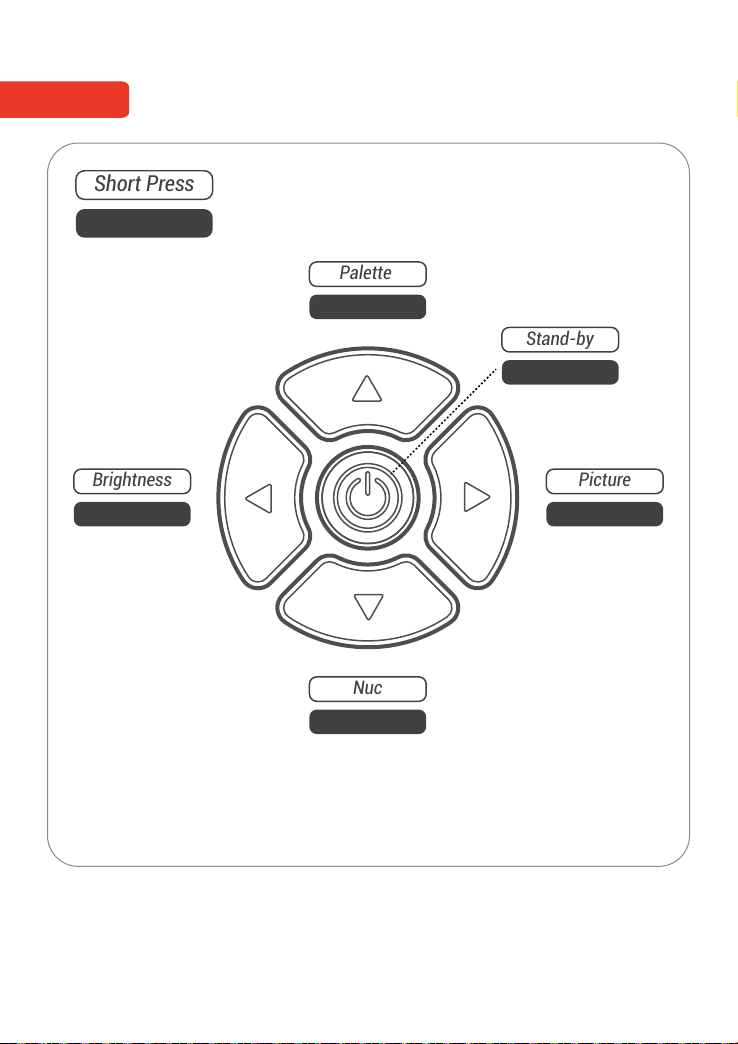
Main Menu
Long Press Up Button to enter main menu.
Basic image mode is “ White Hot ”. Short press Up botton to select palette from C1~C6.
Palete
Rangefinder
Long Press Left Button to enter Rangefinder.
Short Press Left button to change image Brightness from 0~9.
Brightness
Video
Long Press Right button to Start / Stop Video Recording.
Short Press Right button to Take a Picture.
Picture
When Wi-Fi is On, you can connect your external appliances to Merlin35, and to view videos and photos
that been taken through APP.Contact your local distributor for APP download instruction.