Dual-Lens Handheld Thermal Binoculars |User Manual
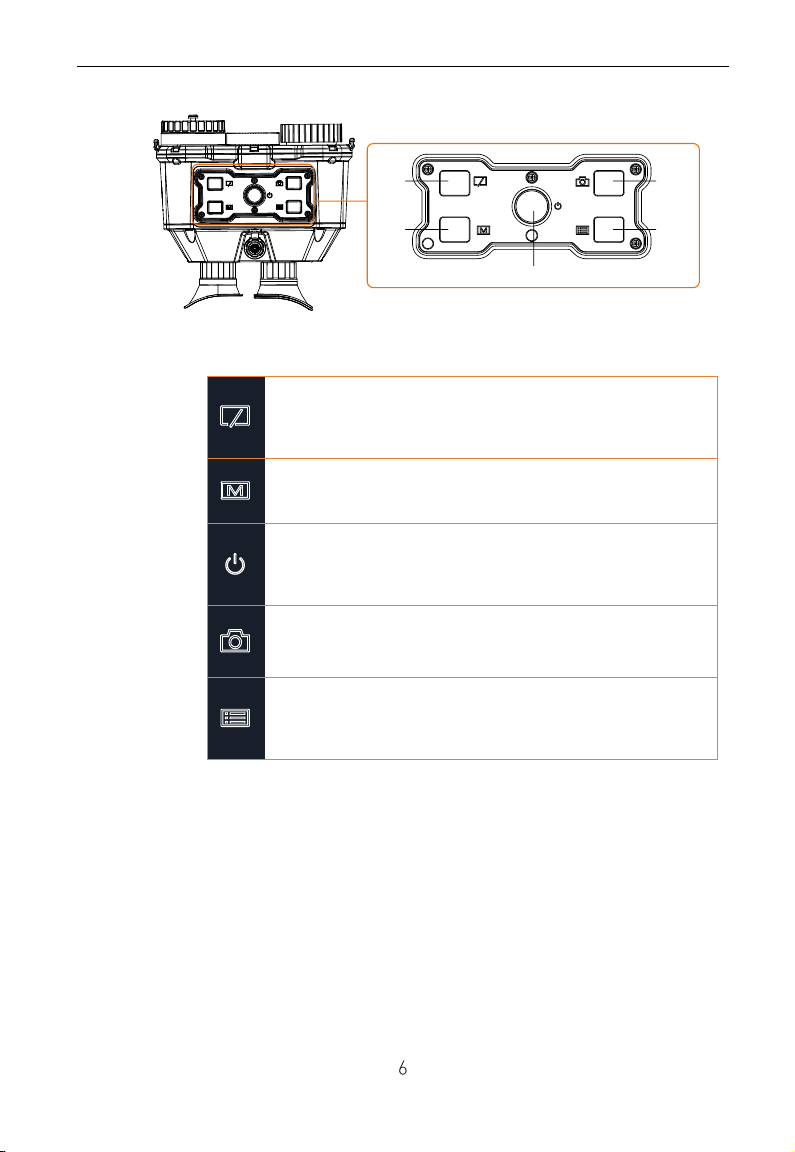
2.3 Power On/Off
2.3.1 Power On
Step:
When the binocular is sufficiently charged, press the key to
power on the binocular.
Notes:
See the battery icon for the electricity quantity. means battery
is fully charged, and means that the battery runs low.
When the Low power note shows, charge the battery.
2.3.2 Power Off
Step:
When the binocular is running, hold the key for four seconds
to power off the binocular.
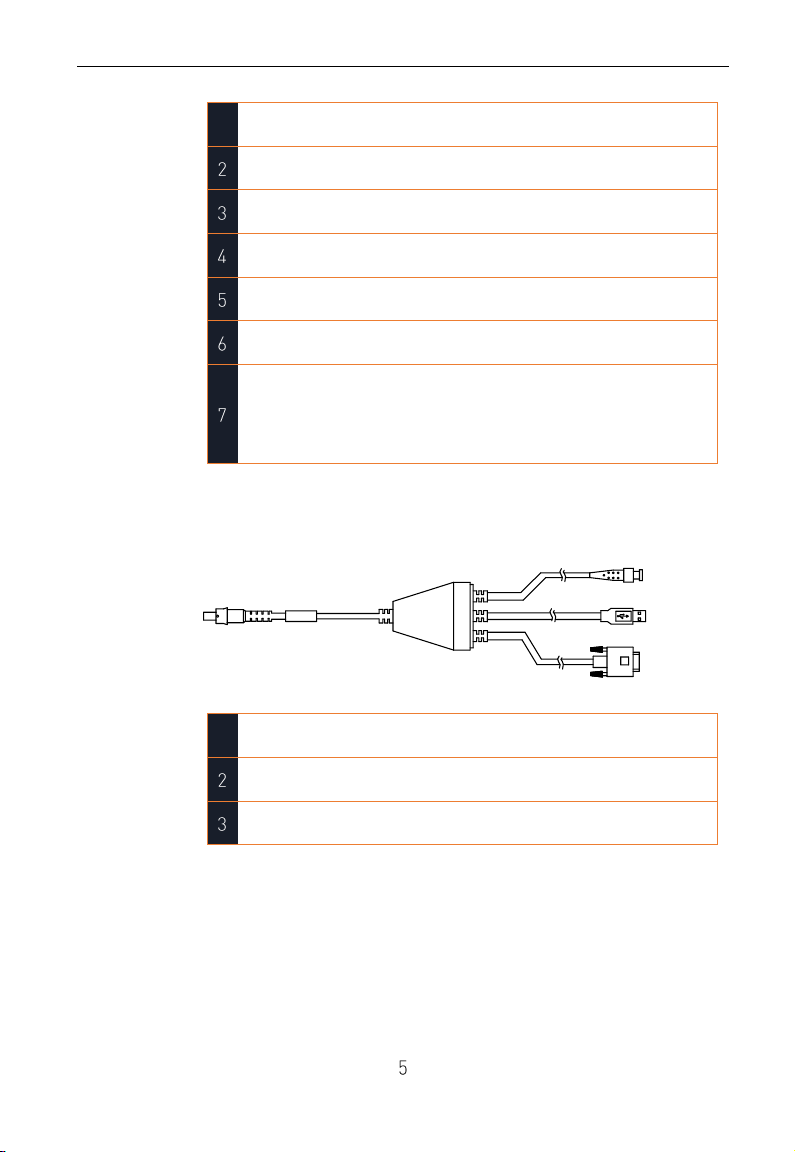
2.4 Cable Connection
Attentions:
Do NOT drag the cables when you do the connecting, or when it is
connected to the binoculars.
To plug in/out the cable, hold the cable end and then plug in/out it.
Do NOT twist the cables, or the pins inside may be damaged.
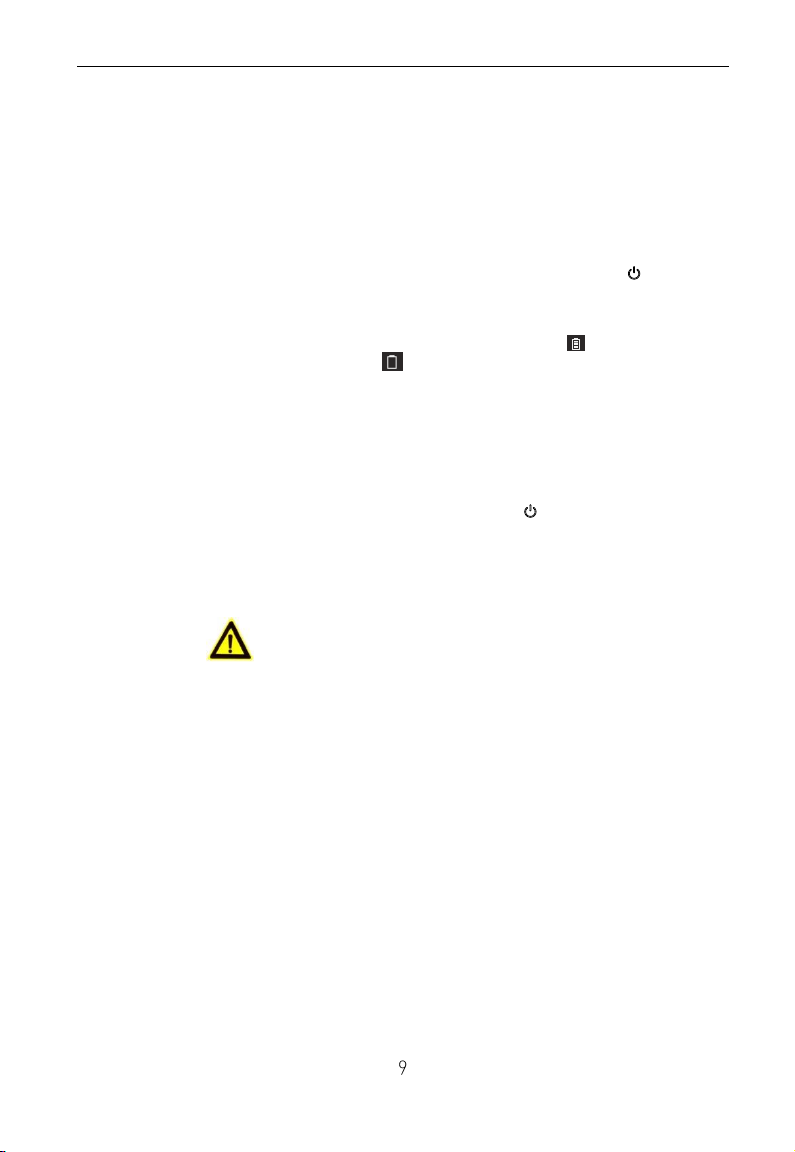
Purpose:
Connect the binocular with the aviation cable, and you can
connect the device to your PC via USB interface or the display
via the BNC interface.
Step:
Connect the aviation cable with the aviation Interface. Make
sure the anchor points match with each other and insert the
cable.