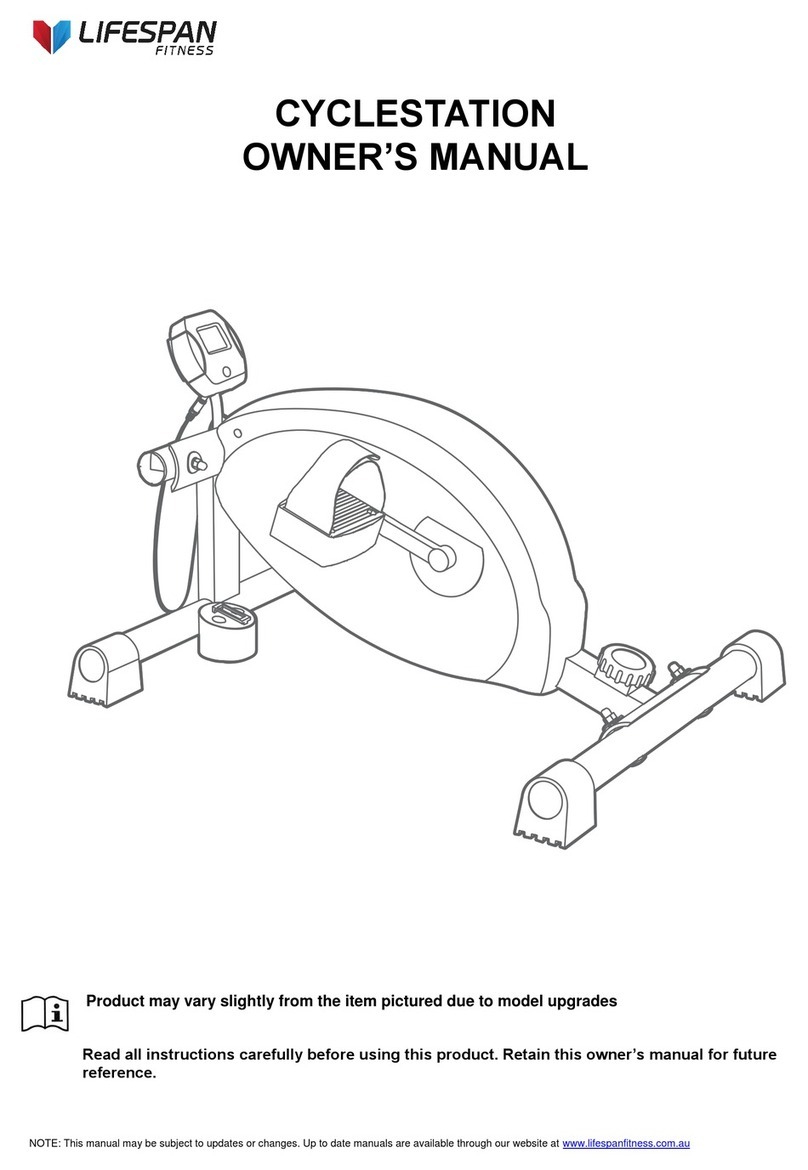
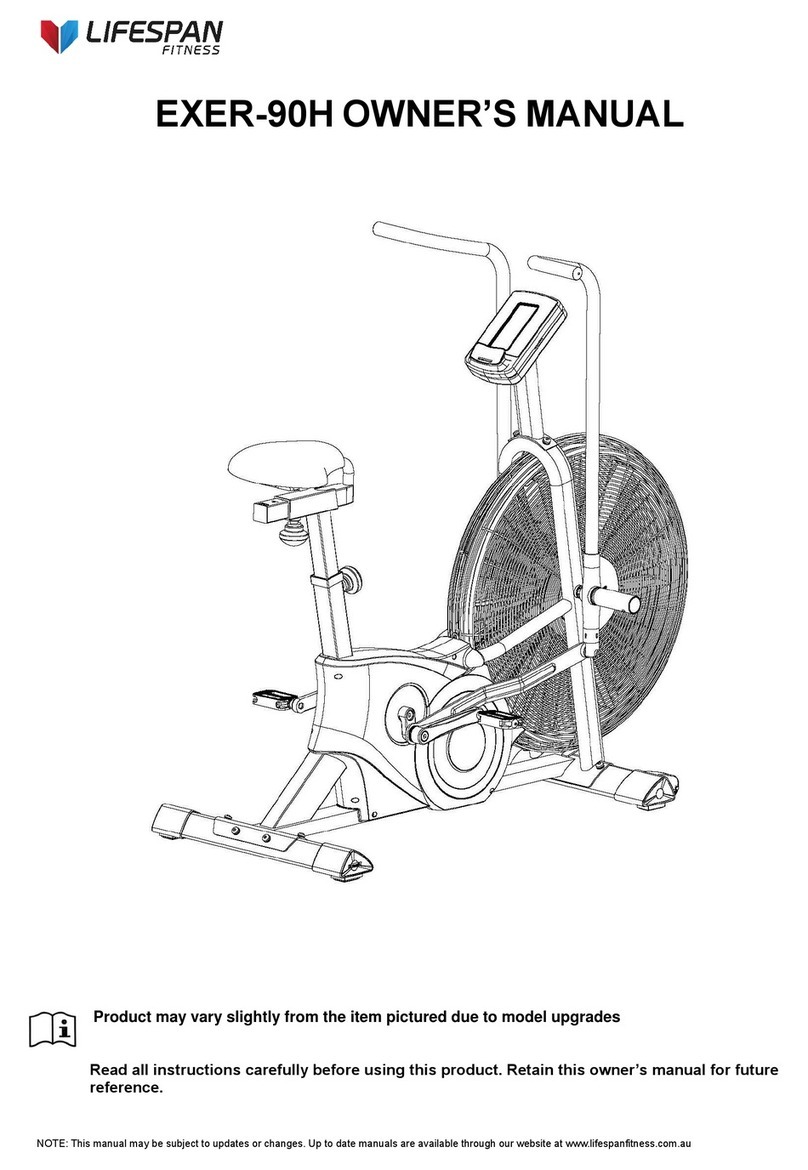
Lifespan Fitnes RC-300 User manual

RC-300 OWNER’S MANUAL
Product may vary slightly from the item pictured due to model upgrades
Read all instructions carefully before using this product. Retain this owner’s manual for
future reference.
NOTE: This manual may be subject to updates or changes. Up to date manuals are available through our website at www.lifespanfitness.com.au

2
RC-300
TABLE OF CONTENTS
1. IMPORTANT SAFETY INSTRUCTIONS 3
2. COMPUTER OPERATION 5
3. EXERCISE GUIDE 14

3
RC-300
1. IMPORTANT SAFETY INSTRUCTIONS
Please keep this manual with you at all times
a. It is important to read this entire manual before assembling and using the equipment. Safe andeffective
use can only be achieved if the equipment is assembled, maintained and usedproperly.
Please note: It is your responsibility to ensure that all users of the equipment are informed of all
warnings and precautions.
b. Before starting any exercise program you should consult your doctor to determine if you have any
medical or physical conditions that could put your health and safety at risk, or prevent you from using
the equipment properly. Your doctor’s advice is essential if you are taking medication that affects your
heart rate, blood pressure or cholesterol level.
c. Be aware of your body’s signals. Incorrect or excessive exercise can damage your health. Stop
exercising if you experience any of the following symptoms: pain, tightness in your chest, irregular
heartbeat, and extreme shortness of breath, lightheadedness, dizziness or feelings of nausea. If you do
experience any of these symptoms, you should consult your doctor before continuing with your exercise
program.
d. Keep children and pets away from the equipment. This equipment is designed for adult useonly.
e. Use the equipment on a solid, flat level surface with a protective cover for your floor or carpet. To
ensure safety, the equipment should have at least 0.5 meters of free space all around it.
f. Before using the equipment, check that the nuts and bolts are securely tightened. If you hear any
unusual noises coming from the equipment during use and assemble, stop immediately. Do not use the
equipment until the problem has been rectified.
WARNING - Read all instructions before using this machine.
It is important your machine receives regular maintenance to prolong its useful life. Failing to
regularly maintain your machine may void your warranty.

4
RC-300
STEP 7:
g. Wear suitable clothing while using the equipment.Avoid wearing loose clothing that may get caught in
the equipment or that may restrict or preventmovement.
h. This equipment is designed for indoor and family use only.
i. Care must be taken when lifting or moving the equipment so as not to injure yourback.
j. Always keep this instruction manual and assembly tools at hand for quickreference.
k. The equipment is not suitable for therapeutic use.

5
RC-300
2. COMPUTER OPERATION
【BUTTON FUNCTIONS】
UP
To make upward adjustment or increase training resistance.
DOWN
To make downward adjustment or decrease training resistance.
MODE
To confirm all settings.
START/ STOP
To start or stop workout.
RESET
To reset current settings or press to have monitor switching to initial training
mode for renew selection.
RECOVERY
To test heart rate recovery status.
BODY FAT
To test body fat%.
Press “BODY FAT” and hold for 2 seconds to modify user data (SEX/ AGE/
HEIGHT & WEIGHT) in standby mode.

6
RC-300
【OPERATING PROCEDURE】
(1) POWER ON
a. Plug in adaptor to power on console, system will have a buzzer beeping as acue.
b. LCD will have all segments displaying for two seconds along with “78.0” (wheel diameter), “E”
for EU regulation (or “A” for Asian regulation), and “K” (KM) (or “M” (ML)) for one second.
c. Press “RESET” key for 2 seconds as a TOTAL REST key.
(2) USER PROFILE SET UP
a. Use UP (▲) and DOWN (▼) keys to select a user profile from U1~U4. Press “MODE” to
confirm a desirable user profile.
b. Press “MODE” each time when values are determined for SEX, AGE, HEIGHT, and WEIGHT
settings. All entered data will be saved in user profile U1~U4.

7
RC-300
(3) PROGRAM SELECTION
a. 3-1 Programs display on the LCD as MANUAL→12 PROGRAMS→H.R.C.→WATT→USER
PROGRAM→MANUAL in sequence.
b. 3-2 Use UP (▲) and DOWN (▼) keys to select a program and press “MODE”to confirm
when a selection is determined.

8
RC-300
(4) MANUAL MODE
a. Select “M” and use UP (▲) and DOWN (▼) keys to adjust the resistance level; press “MODE”
when the value is determined.
b. The resistance level can be readjusted during workout.
c. The LEVEL column will switch and display WATT value after three seconds of no resistance
adjustment.
d. Use UP (▲) and DOWN (▼) keys for TIME, DISTANCE, CALORIES, and PULSE settings.
Press “MODE” each time when values are determined.
e. Press “START” and start pedaling. RPM & PULSE bars will display valuesaccordingly.
f. Press “STOP” to pause exercise and all exercise values will be saved.
g. Press “RESET” and return to program selection.

9
RC-300
(5) 12 PROGRAMS
a. Use UP (▲) and DOWN (▼) keys to select a program from P1 to P12 and press “ENTER” to
confirm after determining selection.
b. LCD will display corresponding flashing graphic to the selected program.
c. Use UP (▲) and DOWN (▼) keys to adjust resistance level and TIME; press “ENTER” each
time when value’s determined and press “START” to start workout.
d. The resistance level can be readjusted during workout.
e. LEVEL column will switch and display WATT value after three seconds of no resistance
adjustment.

10
RC-300
(6) H.R.C
a. Use UP (▲) and DOWN (▼) keys to select 55%, 75%, 90%, or TARGET.
b. The heart rate value will be calculated automatically according to the AGE value user inputs and
will be shown in the alphanumeric column in flashingtext.
c. If you select “TARGET”, use UP (▲) and DOWN (▼) keys to set a value between 30~230bpm
and press “ENTER” to confirm when value’s determined.
d. Use UP (▲) and DOWN (▼) keys to set TIME and press “ENTER” to start workout.
(7) USER PROGRAM
a. Use UP (▲) and DOWN (▼) keys to create user’s desired program, press “ENTER”when
each chart value is determined.
b. Press “ENTER” and hold for 2 seconds to skip to TIME setting.
c. Press “START” to begin workout.

11
RC-300
(8) WATT
a. WATT default value 120 will be displayed in the alphanumeric column in flashing text waiting for
an adjustment.
b. Use UP (▲) and DOWN (▼) keys to adjust WATT and TIME values.
c. Press “START” to start exercise.
d. WATT LEVEL will be adjusted automatically according to user’s actual RPM input value.
e. WATT LEVEL can be readjusted manually duringworkout.

12
RC-300
(9) BODY FAT
a. This function is valid after user stops pedalling (or press“STOP”).
b. A continuous RPM signal input is required during BODY FATtest.
c. Press “BODY FAT”. The console system will display “UX” for two seconds and start the body fat
measurement process. It will show results of FAT% and BMI on screen 8 secondslater.
d. Press “BODY FAT” and hold for two seconds to enter user profile to reset SEX, AGE, HEIGHT
and WEIGHT. Press “ENTER” to start body fat measurement process.
e. If LCD displays following messages:
I. “E-1”- no heart rate signal inputdetected;
II. “E-4” – When FAT% result exceeds 5~50 and BMI result exceeds 5~50.
(10) RECOVERY
a. RECOVERY function is valid when there’s a heart rate value input detected (during exercise or
after user presses “STOP”).
b. Press “RECOVERY” and LCD will display TIME “0:60” counting down with user’s actual heart
rate value showing in the PULSE column.
c. When TIME reaches to “0:00”, LCD will have result “FX” (X=1~6) displaying in the alphanumeric
section.
d. Press “RECOVERY” again and return to previous mode during or after RECOVERY test has
occurred; LCD will continue displaying user’s actual heart rate value onscreen.

13
RC-300
(11) BMI CHART
≤19
Underweight
=(20---25)
Normal weight
=(25---29)
Overweight
≥30
Obese
【SPECIAL FEATURES】
1. Built-in Speakers
2. USB Port for BatteryCharger
3. MP3 Compatible
4. Book Support

14
RC-300
3 EXERCISE GUIDE
PLEASE NOTE: Before beginning any exercise program, consult your physician. This is important
especially if you are over the age of 45 or individuals with pre-existing health problems.
The pulse sensors are not medical devices. Various factors, including the user’s movement, may
affect the accuracy of heart rate readings. The pulse sensors are intended only as an exercise aid in
determining heart rate trends in general.
Exercising is great way to control your weight, improving your fitness and reduce the effect of aging and
stress. The key to success is to make exercise a regular and enjoyable part of your everyday life.
The condition of your heart and lungs and how efficient they are in delivering oxygen via your blood to your
muscles is an important factor to your fitness. Your muscles use this oxygen to provide enough energy for
daily activity. This is called aerobic activity. When you are fit, your heart will not have to work so hard. It will
pump a lot fewer times per minute, reducing the wear and tear of your heart.
So as you can see, the fitter you are, the healthier and greater you will feel.
Warm-up
Start each workout with 5 to 10 minutes of stretching and some light exercises. A proper warm-up increases
your body temperature, heart rate and circulation in preparation for exercise. Ease into your exercise.

15
RC-300
Training Zone Exercise
After warming up, increase the intensity to your desired exercise program. Be sure to maintain your intensity
for maximum performance. Breathe regularly and deeply as you exercise-never hold your breath.
Cool Down
Finish each workout with a light jog or walk for at least 1 minute. Then complete 5 to 10 minutes of
stretching to cool down. This will increase the flexibility of your muscles and will help prevent post-exercise
problems.
Workout Guidelines
TARGET ZONE
THIS IS HOW YOUR PULSE SHOULD BEHAVE DURING GENERAL FITNESS EXERCISE.
REMEMBER TO WARM UP AND COOL DOWN FOR A FEW MINUTES.
The most important factor here is the amount of effort you put in. The harder and longer you work, the more
calories you will burn. Effectively this is the same as if you were training to improve your fitness, the difference
is the goal.

16
RC-300
Hand Pulse Technology
This product comes equipped with hand pulse sensors which are used to pick up tiny EKG/ECG signals that run
through the body when your heart beats. These electrical EKG/ECG signals are very small and that they must be
amplified 1000 times to make the signal useful for the computer to display your pulse.
To ensure proper operation:
-The user must maintain good, consistent contact on all four sensors
-The users skin cannot be too dry or too wet
Other factors that could affect the reading:
-Change of grip on the sensors (during slow pace walking and up to running)
-Tightening of hand muscles will produce small electricalsignals
-Static electricity charges from the air or from walking on the treadmill
EKG/ECG Sensors may filter through actual EKG/ECG signals and “Noise” factors that may affect the reading.
This will cause the pulse reading to be delayed and will take longer to update the display as the heart rate
changes. Too much noise will create an incorrect reading. Medical conditions or having no electrical signal in the
hands are other factors that may affect pulse readings as well.
These are limitations of hand pulse technology and even the most expensive systems (which can cost upwards
of $3,000) used in hospitals have the same problems. The difference is that a patient in a hospital is not running
on a treadmill. Hand pulse technology works well on stationary exercise machines like bikes and even elliptical
cross trainers but are not perfect on a treadmill. We offer treadmills with a wireless heart rate receiver which
may be a more accurate option.
To test if your hand pulse sensors are working up to specification, hold them while standing on the side step
rails, not walking, and see if the reading is more in line with what you would expect. This will eliminate the
movement and static electricity factors. If your hands are dry, then wet them slightly (saliva works as a great
conductor if this doesn’t bother you).
For more information, please contact our Lifespan Technical Support Department
www.lifespanfitness.com.au
support@lifespanfitness.com.au

VIPER OWNER’S MANUAL
Product may vary slightly from the item pictured due to model upgrades
Read all instructions carefully before using this product. Retain this owner’s manual
for future reference.
NOTE: This manual may be subject to updates or changes. Up to date manuals are available through our website at www.lifespanfitness.com.au

2
VIPER
TABLE OF CONTENTS
1. IMPORTANT SAFETY INSTRUCTIONS........................................................................................................3
2. IMPORTANT ELECTRICAL INFORMATION..................................................................................................5
3. IMPORTANT OPERATING INSTRUCTIONS.................................................................................................6
4. OPERATION GUIDE.......................................................................................................................................7
OVERVIEW...................................................................................................................................................7
LCD WINDOW DISPLAY ..............................................................................................................................7
BUTTON FUNCTIONS..................................................................................................................................8
MAIN FUNCTIONS .......................................................................................................................................9
HEART RATE:.............................................................................................................................................10
BODY FATTESTER....................................................................................................................................13
VALUE PARAMETERS:..............................................................................................................................14
POWER SAVING MODE:............................................................................................................................14
SAFETY KEY FUNCTION:..........................................................................................................................14
STOP KEY:.................................................................................................................................................14
CALORIE CALCULATION FORMULA:........................................................................................................15
5TROUBLE SHOOTING GUIDE.....................................................................................................................16
6HAND PULSE TECHNOLOGY.....................................................................................................................17

3
VIPER
1. IMPORTANT SAFETY INSTRUCTIONS
Danger –To reduce the risk of electric shock disconnect your treadmill from the electrical outlet prior to
cleaning and/or service work.
DO NOT USE AN EXTENSION CORD: DO NOT ATTEMPT TO DISABLE THE GROUNDED PLUG BY
USING IMPROPER ADAPTERS OR IN ANY WAY MODIFY THE CORD SET.
Install the treadmill on a flat level surface with access to a 220-240 volt (50/60Hz), groundedoutlet.
Do not operate treadmill on deeply padded, plush or shag carpet. Damage to both carpet and
treadmill may result.
Do not block the rear of the treadmill. Provide a minimum of 1 metre clearance between the rear of
the treadmill and any fixed object.
Place your unit on a solid, level surface when in use
When running, make sure the plastic clip is fastened on your clothing. It is for your safety, should
you fall or move too far back on thetreadmill.
Keep hands away from all moving parts.
Never operate the treadmill if it has a damaged power cord or plug. When damaged, these must be
replaced by the manufacturer, its service agent or similarly qualified persons in order to avoid a
hazard.
Keep the cord away from heated surfaces.
Do not operate where aerosol spray products are being used or where oxygen is being
administered. Sparks from the motor may ignite a highly gaseousenvironment.
Never drop or insert any object into any openings.
WARNING - Read all instructions before using this treadmill.
It is important your treadmill receives regular maintenance to prolong its useful life. Failing to
regularly maintain your treadmill may void your warranty.

4
VIPER
The treadmill is intended for in-home use only and not suitable for long termrunning.
To disconnect, turn all controls to the off position, remove the safety key, and then remove the plug
from the outlet.
The pulse sensors are not medical devices. Various factors, including the user’s movement, may
affect the accuracy of heart rate readings. The pulse sensors are intended only as exercise aids in
determining heart rate trends in general.
Use the handrails provided; they are for yoursafety.
Wear proper shoes. High heels, dress shoes, sandals or bare feet are not suitable for use on your
treadmill. Quality athletic shoes are recommended to avoid legfatigue.
Before undertaking any type of exercise program, it is recommended that you consult adoctor.
Injuries to health may result from incorrect or excessive training.
This appliance is not intended for use by persons (including children) with reduced physical, sensory
or mental capabilities, or lack of experience and knowledge, unless they have been given
supervision or instruction concerning use of the appliance by a person responsible for theirsafety.
WARNING heat rate monitoring systems may be inaccurate. If you feel faint stop exercising
immediately.
Children should not be allowed on or around the equipment, even when not inuse.
Children should be supervised to ensure that they do not play with thismachine
Loose-fitting clothing or jewellery that could become an entanglement hazard should not beworn.
Training shoes should be worn when using theequipment.
Equipment must be used on a level and stable surface.
All fixings should be checked before the equipment isused.
All literature relating to the use of the equipment should be retained for futurereference.
Allowed operating temperature: 5-40°C
Remove the safety key after use to prevent unauthorized treadmilloperation.
Table of contents
Other Lifespan Fitnes Exercise Bike manuals
Popular Exercise Bike manuals by other brands

Life Fitness
Life Fitness Arctic Silver 95CWEZ parts manual

Life Gear
Life Gear XINGGUI 20040 owner's manual

Skandika
Skandika WIRY Series Assembly instructions and user guide

Diamondback
Diamondback 910IC owner's manual

Sunny Health & Fitness
Sunny Health & Fitness SF-B1913 user manual

FIT BIKE
FIT BIKE Race Magnetic Basic manual