Lightnovo miniRaman User manual
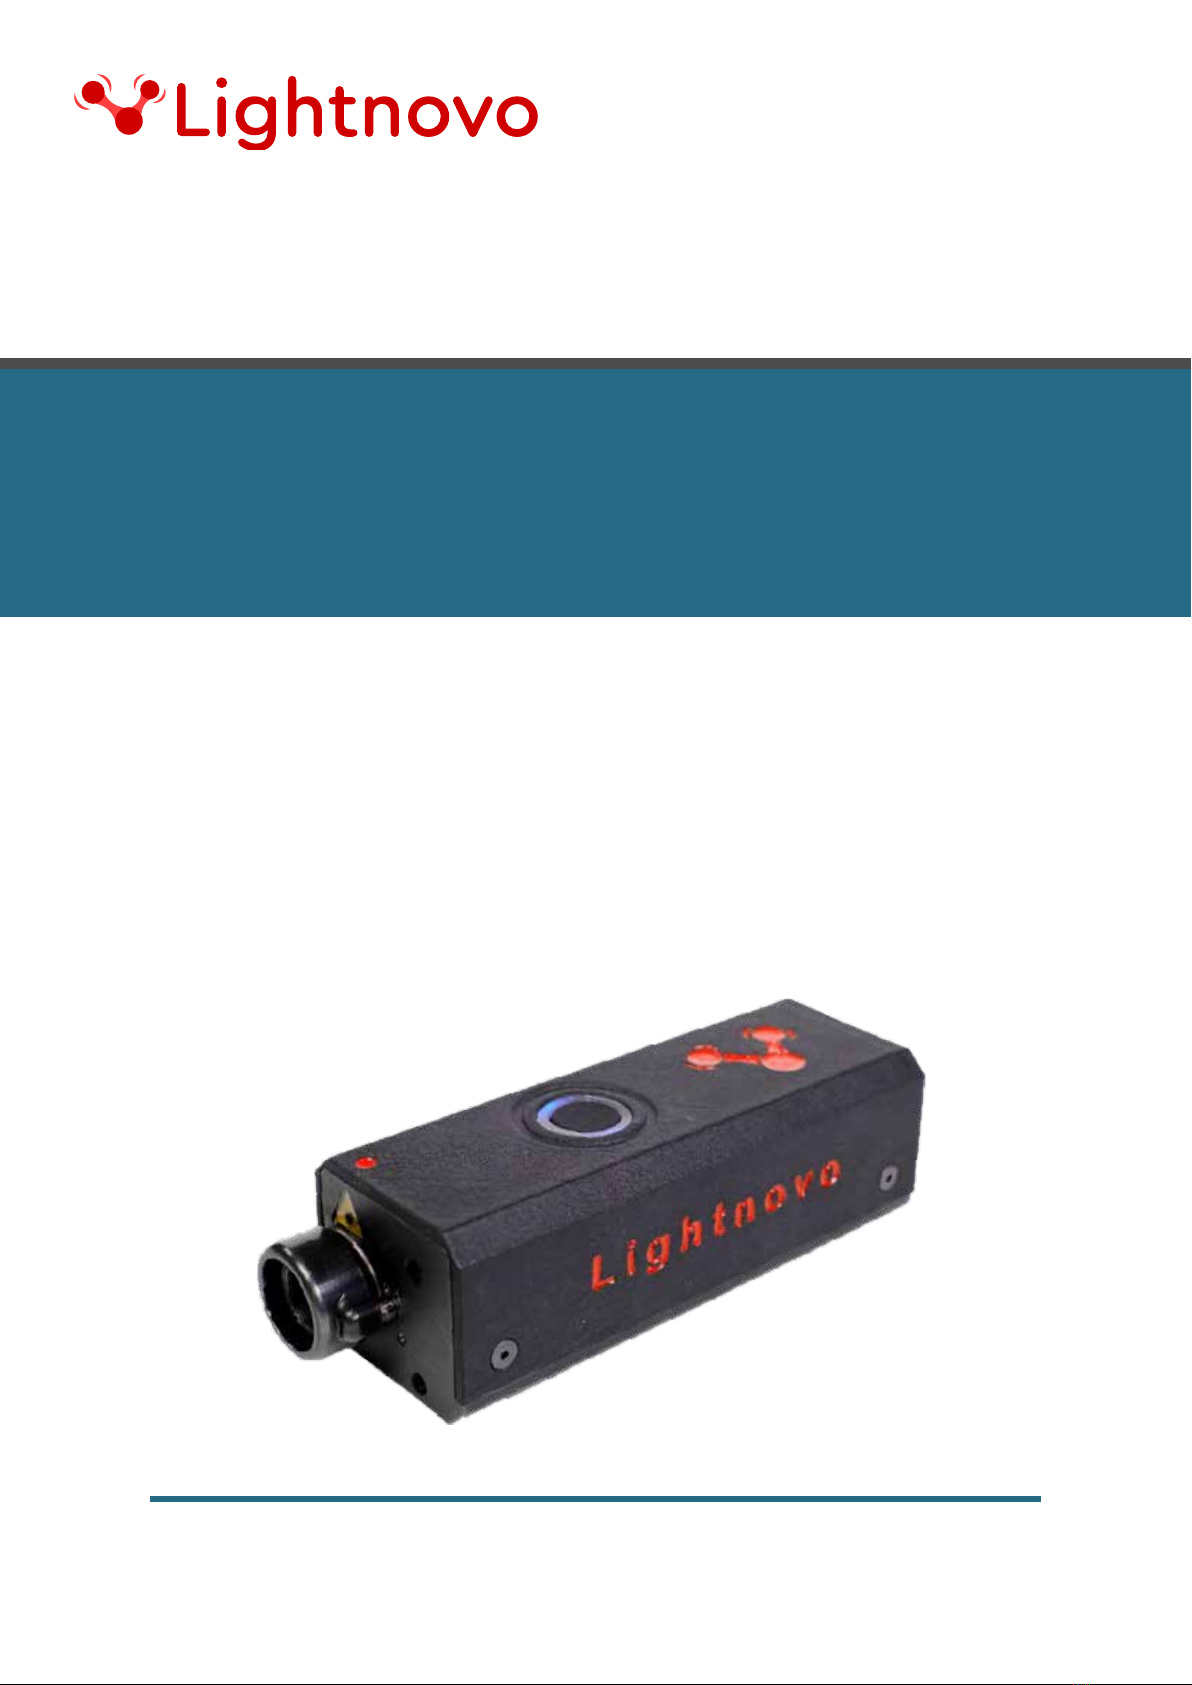
miniRaman spectrometer
version 202202
English
lightnovo.com
User Manual

2
Table of Contents
Safety . . . . . . . . . . . . . . . . . . . . . . . . . . . 4
General Information . . . . . . . . . . . . . . . . . . . . . 4
Warning labels . . . . . . . . . . . . . . . . . . . . . . . . 5
Safety instructions . . . . . . . . . . . . . . . . . . . . . . 5
Laser Safety . . . . . . . . . . . . . . . . . . . . . . . . . 6
Installation . . . . . . . . . . . . . . . . . . . . . . . . 7
Overview . . . . . . . . . . . . . . . . . . . . . . . . . 10
General information. . . . . . . . . . . . . . . . . . . . . . 10
Instrument design . . . . . . . . . . . . . . . . . . . . . . 12
Operation . . . . . . . . . . . . . . . . . . . . . . . . . 14
Hardware connection . . . . . . . . . . . . . . . . . . . . . 14
Operation procedure . . . . . . . . . . . . . . . . . . . . . 14
Technical drawings. . . . . . . . . . . . . . . . . . . . 21
Service addresses . . . . . . . . . . . . . . . . . . . . 22

4
Safety
1General Information
Read the following safety instructions carefully before operating miniRaman spectrom-
eter and keep this manual for future reference available at any time. Always observe
the instructions described in this manual to ensure user safety and to avoid property
damage. Improper use or failure to follow these safety instructions can result in serious
injuries and/or property damage. Any non-observance of the precautions will infringe
the intended use (i.e. performing measurements by Raman spectroscopy) of miniRa-
man spectrometer. In this case Lightnovo ApS will not assume any liability. It is the
operator’s duty to plan and implement all necessary safety measures and to supervise
their observance. Moreover, the operator must ensure that miniRaman spectrometer is
in proper functioning condition. A safe and faultless operation can only be guaranteed
if miniRaman spectrometer is transported, stored, installed, operated and maintained
properly according to the procedures described in this manual. Never remove or de-
activate any supporting safety systems during miniRaman spectrometer operation.
Ensure that objects and/or material not required for the measurement is out of the
instrument operating area.
Qualied Personnel
Primary installation and all maintenance and repair works not described in this manual
should only be performed by Lightnovo service personnel. Only authorized operat-
ing personnel that have been briefed about the instrument operation and all relevant
safety aspects should operate and maintain (i.e. only maintenance works that are
described in this manual) the instrument. All repairs, adjustments and alignments on
any miniRaman spectrometer component must be performed in accordance with the
safety regulations and standards applied in the country in which the instrument is
installed.
Correct Usage
miniRaman spectrometer and its components should only be used according to the
instructions described in the manual or advised by a Lightnovo engineer. In case of
accessories or components made by other manufacturers and used in connection with
the microscope, Lightnovo does not assume any liability for safe operation and proper
functioning.

5
Safety
2
3
Warning labels
Safety instructions
This warning symbol indicates the existence of laser radia-
tion. A Class 3R laser is considered safe if handled carefully,
with restricted beam viewing. With a class 3R laser, the maxi-
mum permissible exposure (MPE) can be exceeded, but with
a low risk of injury. Visible continuous lasers in Class 3R are limited to 5 milliwatts.
This warning symbol indicates the existence of laser radia-
tion. Class 3B lasers are hazardous for eye exposure. They
can heat skin and materials but are not considered a burn
hazard. For visible-light lasers, Class 3B lasers’ output power
is between 5 and 499 milliwatts. Class 3B lasers are normally
hazardous under direct beam viewing conditions, but are normally safe when viewing
diuse reections.
The following chapters describe all relevant safety aspects of the instrument operation.
Depending on the degree of hazard the safety instructions are classied as follows:
Danger
indicates that death, severe personal injury or substantial property damage WILL result
if proper precautions are not taken.
Warning
indicates that death, severe personal injury or substantial property damage CAN result
if proper precautions are not taken.
Caution
indicates that minor personal injury or property damage CAN result if proper precau-
tions are not taken. Important draws your attention to a particularly important infor-
mation.
Note
draws your attention to an useful information on the product, e.g. product operation
or to a special part of the manual.
The safety instructions Danger, Warning and Caution are marked by the corresponding
warning labels.

6
4Laser Safety
General Information
The analysis system miniRaman microscope uses the light of a lasers (660 and 785nm)
that are installed in miniRaman spectrometer. The used laser diodes emit visible and
partially visible laser radiation in the near infrared region.
According to the standard EN 60825-1/10.2003, model MiniRaman microscope SERS
is laser class 3R product and it is considered safe if handled carefully, with restricted
beam viewing.
According to the standard EN 60825-1/10.2003, miniRaman microscope models:
MiniRaman microscope Standard, MiniRaman microscope Standard Dual, MiniRaman
microscope Power Dual, MiniRaman microscope Power are Class 3B lasers products.
Therefore, they are normally hazardous under direct beam viewing conditions, but are
normally safe when viewing diuse reections.
Safety
Safety Instructions
In additions to the safety instructions given below, also comply with all local regulations
concerning laser safety.
The analysis system is specied as a laser class 3R/3B product (depending on the
model, see overview section), i.e. it considered safe if handled carefully, with restricted
beam viewing. Nonetheless, observe the following safety instructions:
Warning:
Avoid eye and skin exposure to direct or scattered laser radiation under
all circumstances! Failure to do so can cause permanent and irreversible
eye damage and/or serious skin injuries!
Do NOT remove the laser protective enclosure!

7
Installation
1
2
Unpacking and initial installation including hardware setup and cable connection is
done by qualied Lightnovo service personnel. The operating company has to provide
the required utilities and an installation site that meets the site requirements described
in this chapter.
Standard Components
miniRaman spectrometer (including user manual and quality test report)
USB-С cable (See section Cable Connections below in this chapter.)
Accessories (includes spares, adaptors, objective lenses, sample preparation tools etc.)
Inspecting the Packaging
After having received miniRaman spectrometer, inspect the packaging for damages. If
there are any signs of damage, contact your local shipping representative before open-
ing the shipping box.
Warning:
Do not put miniRaman spectrometer into operation if there are signs of damage. Fail-
ure to do so may result in severe personal injuries and/or property damage.
Transportation
When transporting
the spectrometer, use
the original case to
avoid damages.
Figure 1. Transportation
case for miniRaman spec-
trometer

8
Installation
3
Space Requirements
miniRaman spectrometer requires a space of 12cm in diameter and 4cm in height. (For
the exact instrument dimensions refer to Specication.) At the rear instrument side,
take a clearance of at least 3cm into account.
Environmental Requirements
To ensure optimum instrument performance and long-term reliability the following
environmental conditions are essential:
• Ambient temperature range:18 - 35°C (64 - 95°F)
• Humidity (non-condensing): ≤ 70% (relative humidity)
Please unpack miniRamaman spectrometer and remove it from the transportation
case (see Figure 2).
Note:
MiniRaman spectrometer is an instrument of protection class I (electric safety).
4
Figure 2. miniRaman spectrometer
with transportation case.

9
Installation
Figure 3. Rear side – overview of the USB connector socket
5
1. Download miniRaman microscope software package from Lightnovo website:
https://lightnovo.com/lightnovo-software/
Please select version 32 or 64 bit depending on your operation system.
2. Install all drivers from the corresponding software folder.
3. Run Miraspec.exe le to start the data acquisition software.
4. Software is ready for operation.

10
Overview
1General information
MiniRaman spectrometer has no moving parts (see section Instrument Design below in
this chapter.)
This instrumental setup allows for acquiring Raman spectra from 785 and 660nm
lasers. Raman spectra reveal information about the molecular structure and chemical
composition of a sample.
This instrumental setup is designed for industry and demanding R&D application in
materials science, pharmacy, life science or forensics, for example. Possible elds of
application are analyses of SERS signals on plasmonic substrates, identication of pow-
ders and liquids.
MiniRaman spectrometer is also suitable for samples that tend to uoresce when ex-
posed to laser radiation. Due to the usage of a 785nm laser, the excitation energy is low
enough for these samples not to uoresces or only to a minor degree.
Note:
In Raman spectroscopy, sample uorescence can yield a much more intense signal than the
Raman scatter of the sample, masking any Raman bands in the spectrum. Therefore, Raman
spectroscopy is normally not a suitable analysis technique for uorescent samples.
Other manuals for miniRaman
1
Table of contents
Popular Measuring Instrument manuals by other brands

Powerfix Profi
Powerfix Profi 278296 Operation and safety notes

Test Equipment Depot
Test Equipment Depot GVT-427B user manual

Fieldpiece
Fieldpiece ACH Operator's manual

FLYSURFER
FLYSURFER VIRON3 user manual

GMW
GMW TG uni 1 operating manual

Downeaster
Downeaster Wind & Weather Medallion Series instruction manual

Hanna Instruments
Hanna Instruments HI96725C instruction manual

Nokeval
Nokeval KMR260 quick guide

HOKUYO AUTOMATIC
HOKUYO AUTOMATIC UBG-05LN instruction manual

Fluke
Fluke 96000 Series Operator's manual

Test Products International
Test Products International SP565 user manual

General Sleep
General Sleep Zmachine Insight+ DT-200 Service manual


