Juno 2 / Juno 4
Benutzeranleitung
Vielen Dank, dass Sie sich für die Lightpro Juno ent-
schieden haben.
Dieses Dokument enthält die notwendigen Informa-
tionen für den korrekten, efzienten und sicheren
Gebrauch des Produkts. Weitere Informationen zur In-
stallation und zum Anschluss Ihres Beleuchtungsplans
nden Sie im allgemeinen Handbuch zum Lightpro
12-Volt-System und in Ihrer Transformator-Benutzeran-
leitung.
Bitte lesen Sie die Informationen in diesem Handbuch
sorgfältig durch, bevor Sie das Produkt in Betrieb neh-
men. Bitte bewahren Sie dieses Handbuch zusammen
mit dem Produkt auf, um zukünftig nachschlagen zu
können.
PRODUKTBESCHREIBUNG
Lightpro Juno ist ein LED-Strahler für den Außen-
einsatz. Die Leuchte kann mit den mitgelieferten
Schrauben an einer festen Fläche montiert oder mit
dem mitgelieferten Spieß in den Boden gesteckt
werden. Dieses Produkt kann nur in Kombination
mit dem 12-Volt-System von Lightpro als Außen-
beleuchtung verwendet werden. Jede Veränderung
am Produkt kann die Sicherheit, die Gewährleistung
und den ordnungsgemäßen Betrieb des Produkts und/
oder anderer Teile des Systems beeinträchtigen.
Spezikationen
Produkt Lightpro Juno 2 / 4
Artikelnummer 193S / 194S
Leistung 2 / 4 W
Lichtstrom 192 / 372 lm
Abmessungen (H x Ø) 85 x 55 x 68 mm
Schutzart IP44
Umgebungstemperatur -20°C bis 50°C
Kabellänge 2m
Dimmbar Nein
MONTAGE
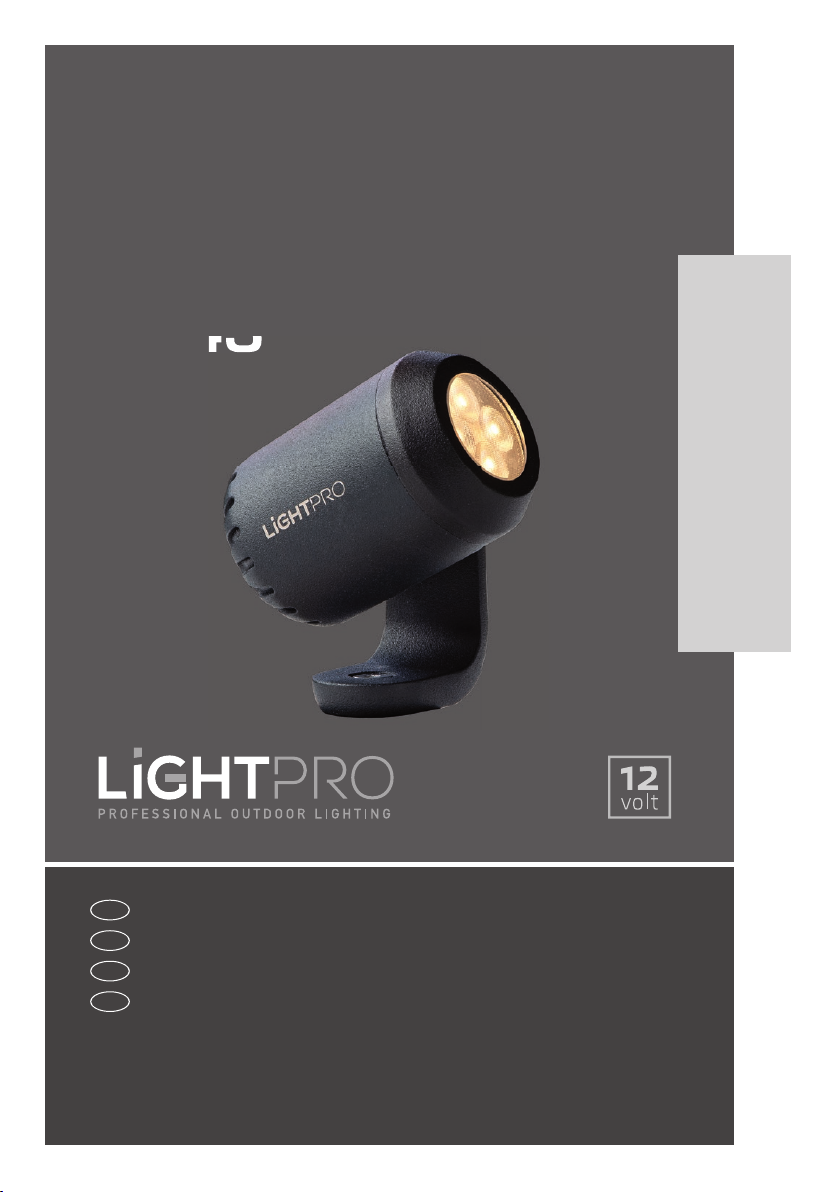
Verpackungsinhalt
[Bild A]
1. Leuchte Juno
2. Sockel
3. Schrauben
4. Schrauben
5. Stecker
6. Schrauben
7. Stopfen
8. Lightpro Konnektor
9. Inbusschlüssel
Überprüfen Sie, ob alle Teile in der Verpackung
vorhanden sind. Bei Fragen zu Einzelteilen, Service,
Reklamationen oder anderen Angelegenheiten
können Sie uns jederzeit kontaktieren. E-Mail: info@
lightpro.nl
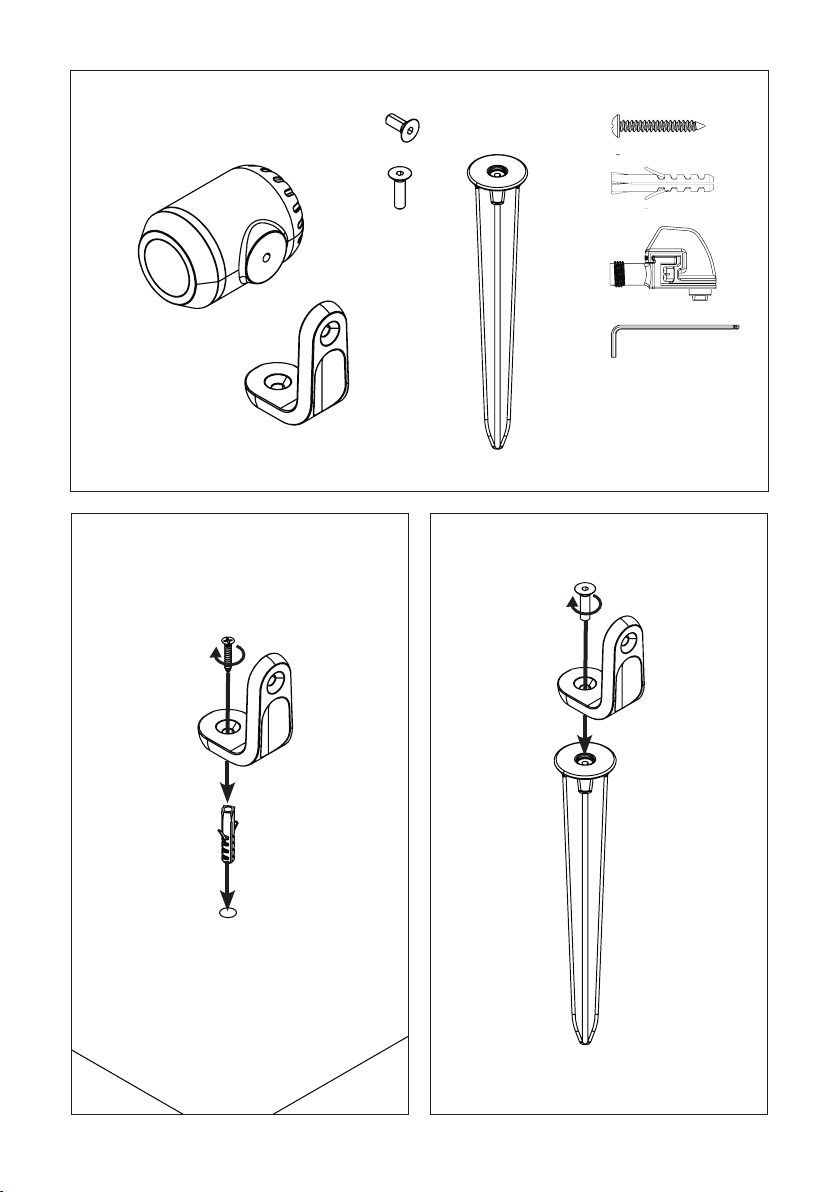
Optie 1: Aufstellung auf festem Untergrund
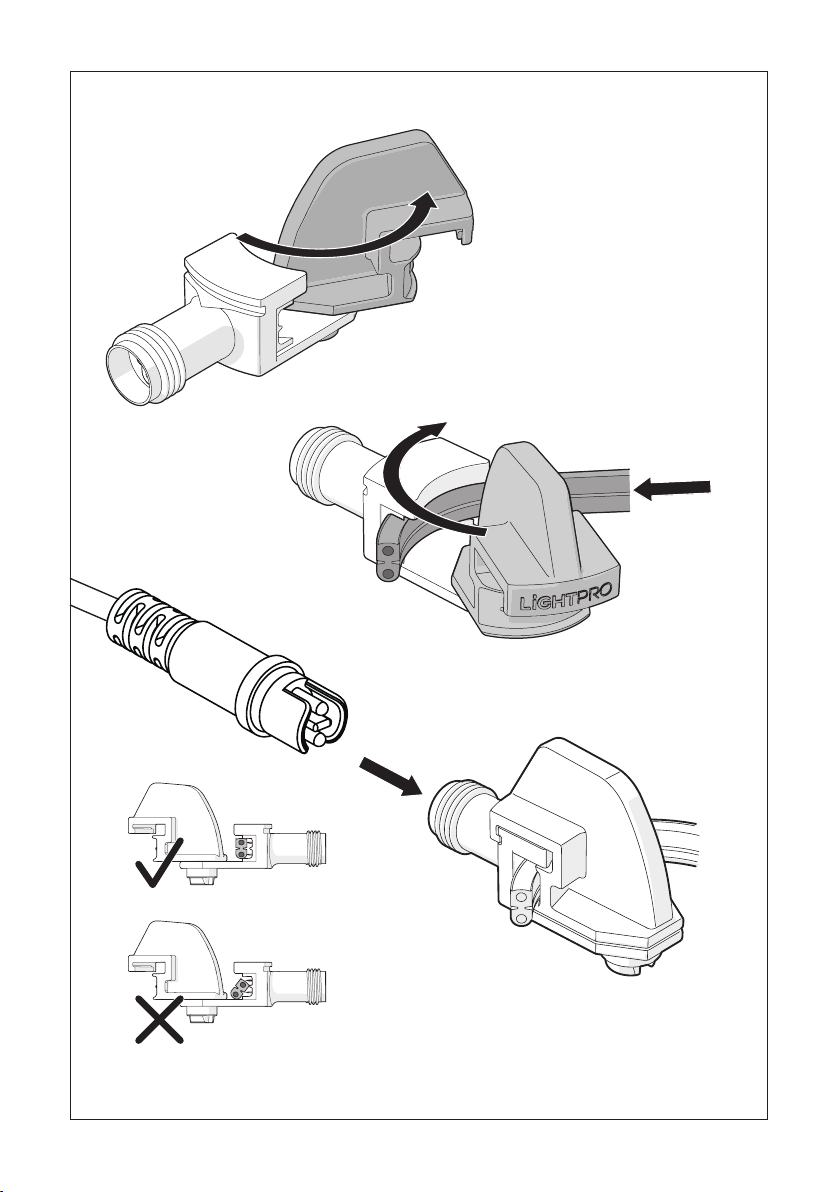
[Bild B]
Montieren Sie den Sockel [2] mit der mitgelieferten
Schraube [6] auf dem Untergrund
Falls erforderlich, bohren Sie ein Loch in den Boden
und nutzen Sie den mitgelieferten Stopfen [7]
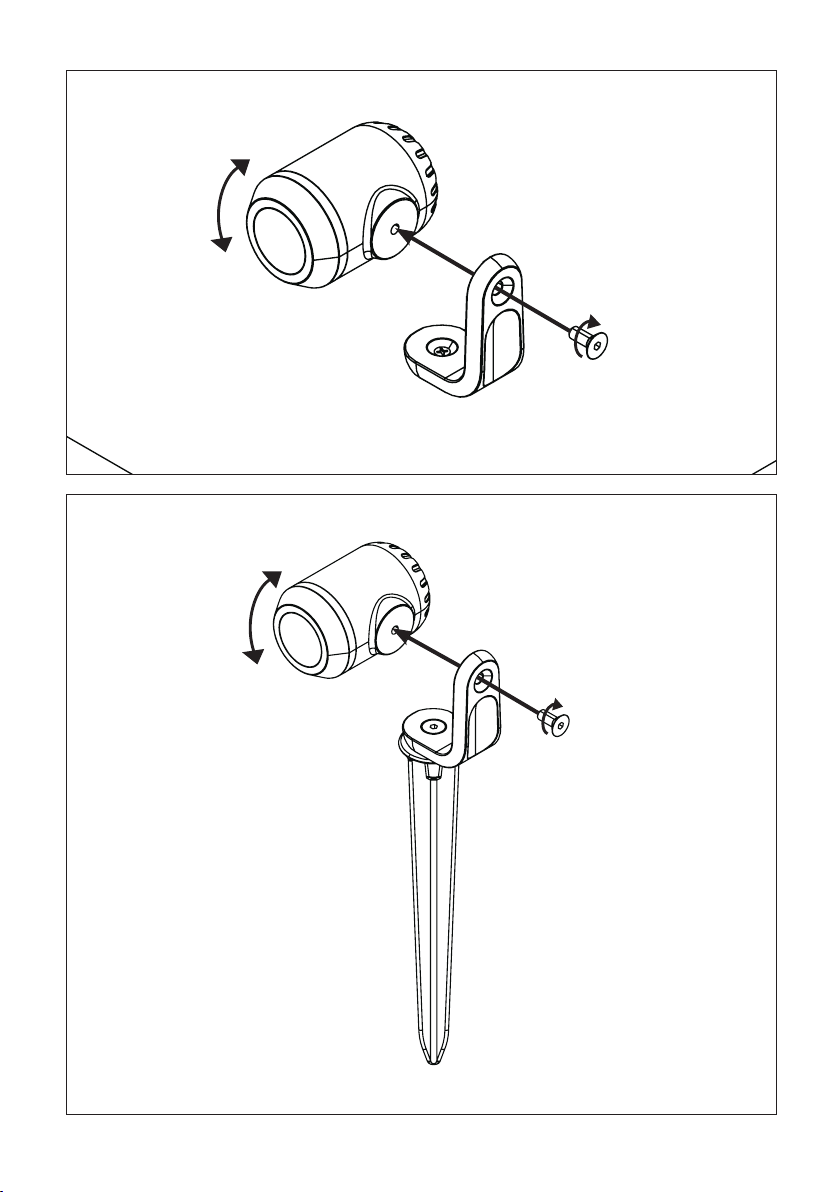
[Bild D]
1. Befestigen Sie die Leuchte [1] mit der Schraube [3]
am Sockel [2]
2. Richten Sie die Leuchte auf die gewünschte Stellung
aus
2. Ziehen Sie die Schraube [3] mit dem mitgelieferten
Schlüssel [9] fest
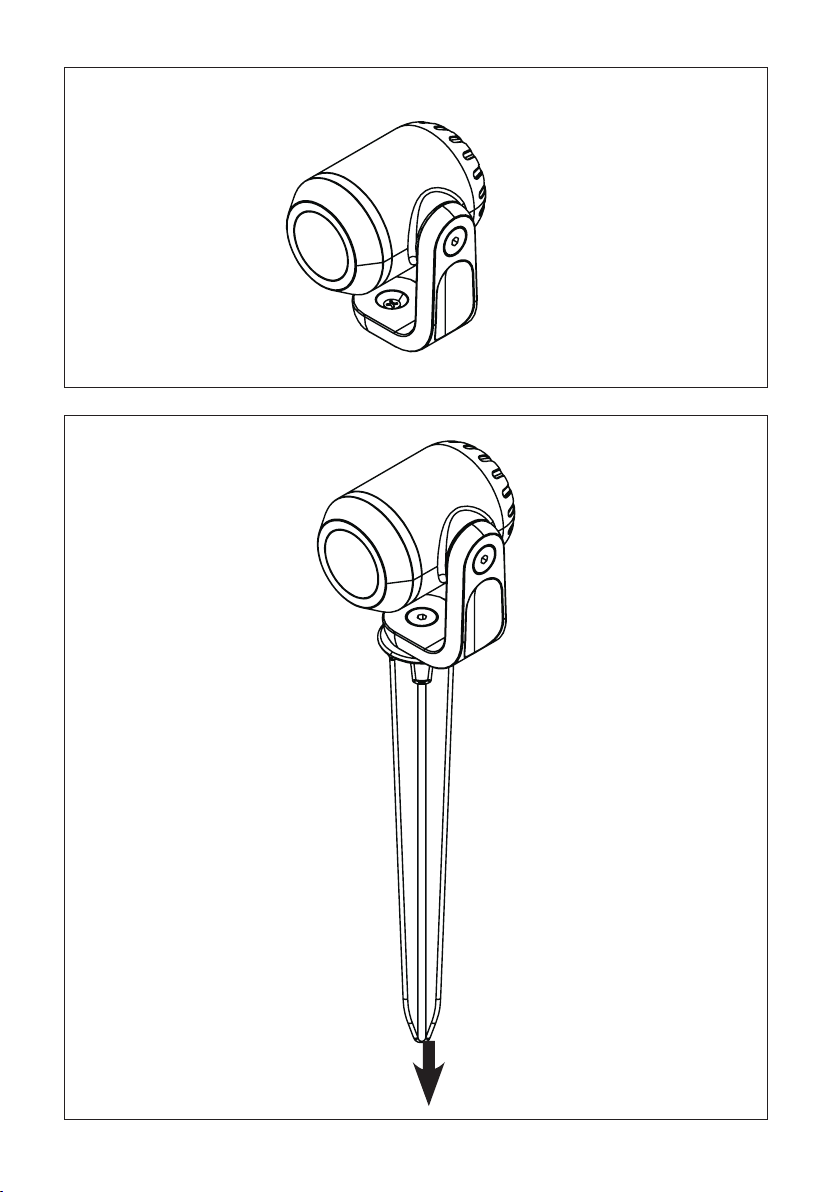
[Bild F]
Fertig
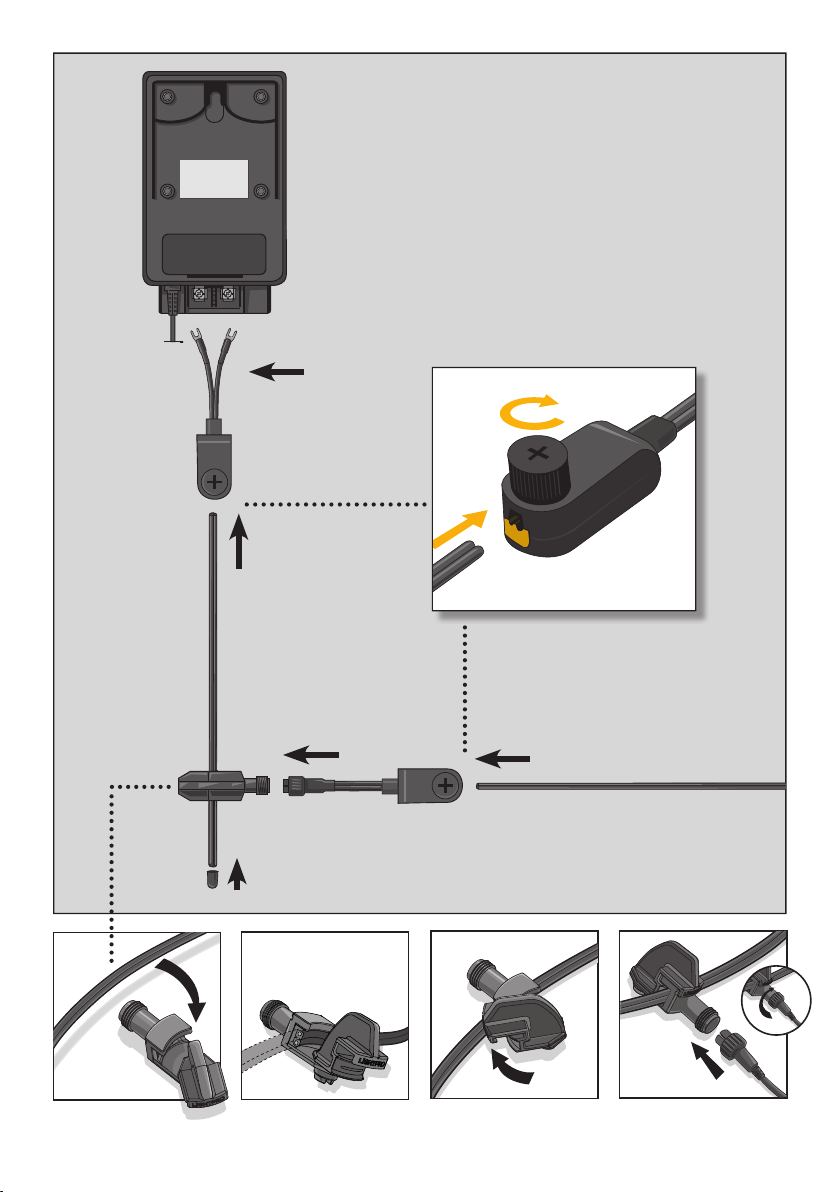
Optie 2: Installation im Boden
[Bild C]
Montieren Sie den Sockel [2] mit der mitgelieferten
Schraube [4] auf dem Stecker [5]
[Bild E]
1. Befestigen Sie die Leuchte [1] mit der Schraube [3]
am Sockel [2]
2. Richten Sie die Leuchte auf die gewünschte Stellung
aus
3. Ziehen Sie die Schraube [3] mit dem mitgelieferten
Schlüssel [9] fest
[Bild G]
Platzieren Sie die Leuchte in den Boden
D