02
Safety Instructions
To reduce the risk of injury or damage, you should keep the safety instructions in mind when using
the robot.
Basic Safety Instructions
After reading, please keep the manual carefully.
This is security warning symbol. It alerts there exists potential danger,which may
cause property damage and / or severe personal injury or even death.
WARNING It indicates a dangerous situation, which if not avoided, may cause
severe personal injury or even death.
CAUTION It indicates a dangerous situation, which if not avoided, can cause slight
or moderate injury.
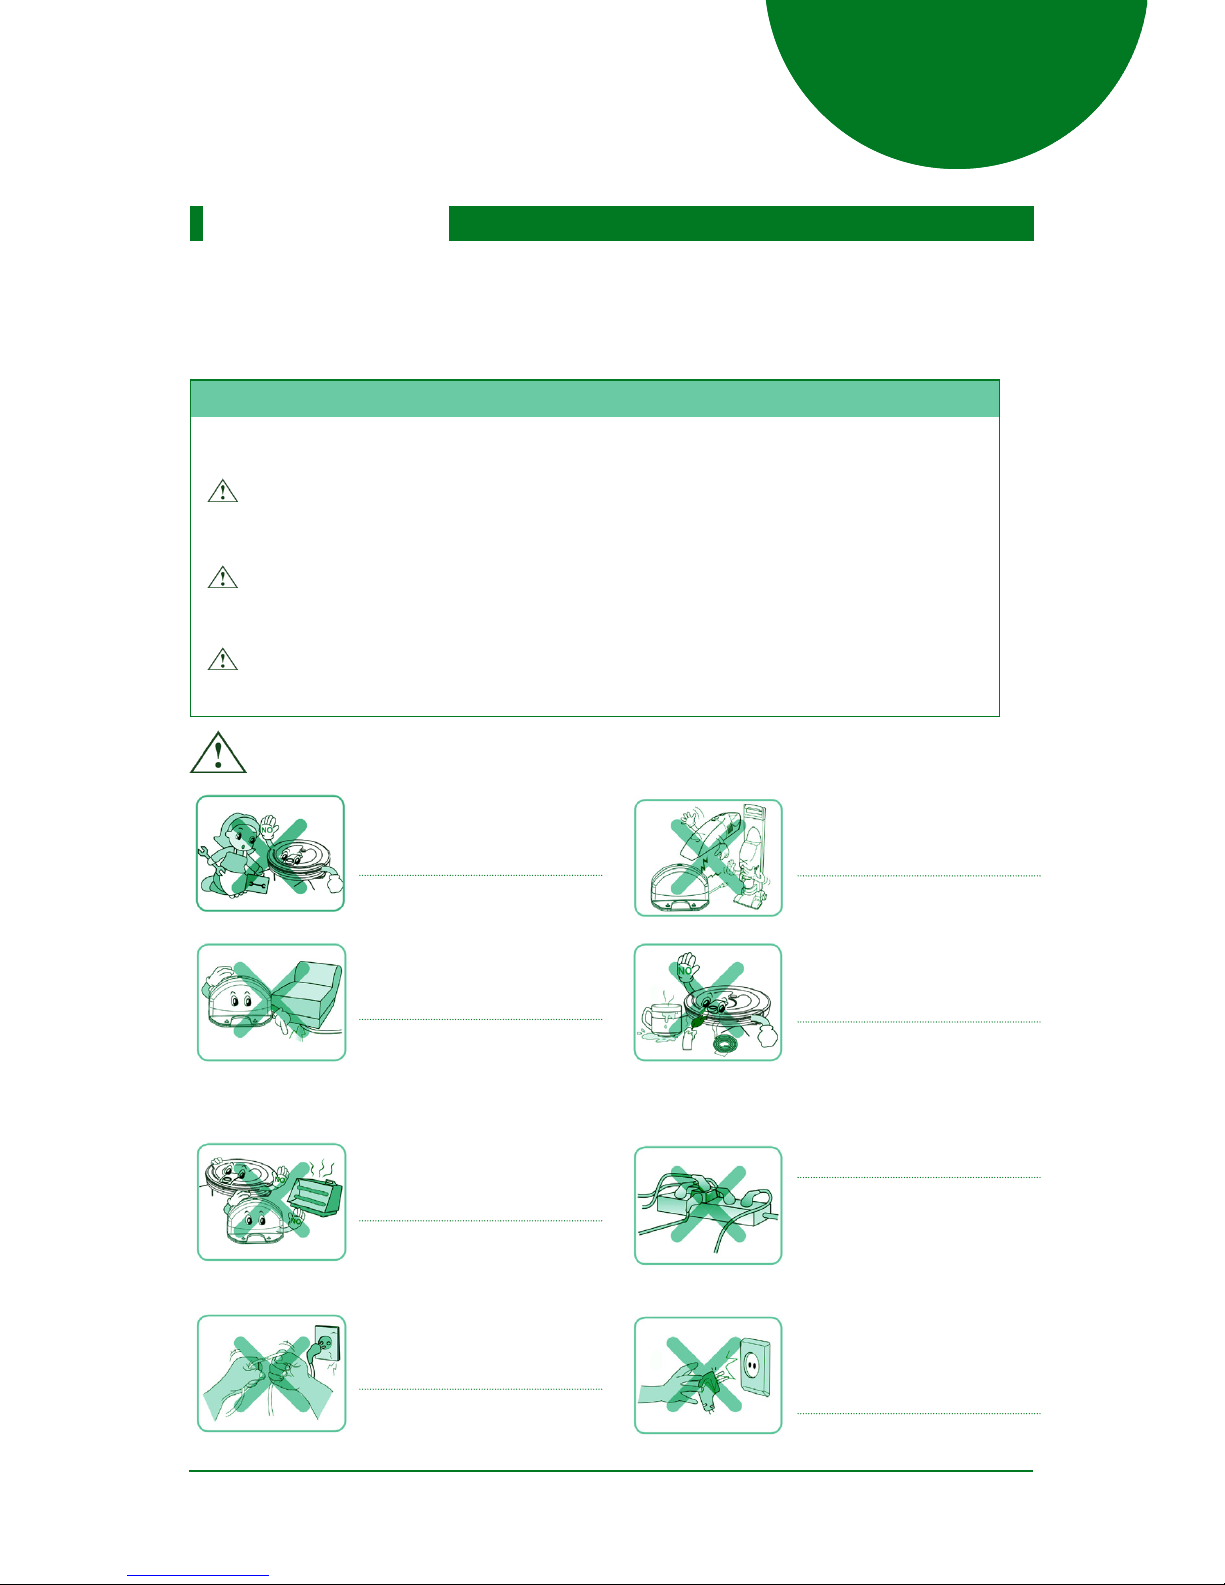
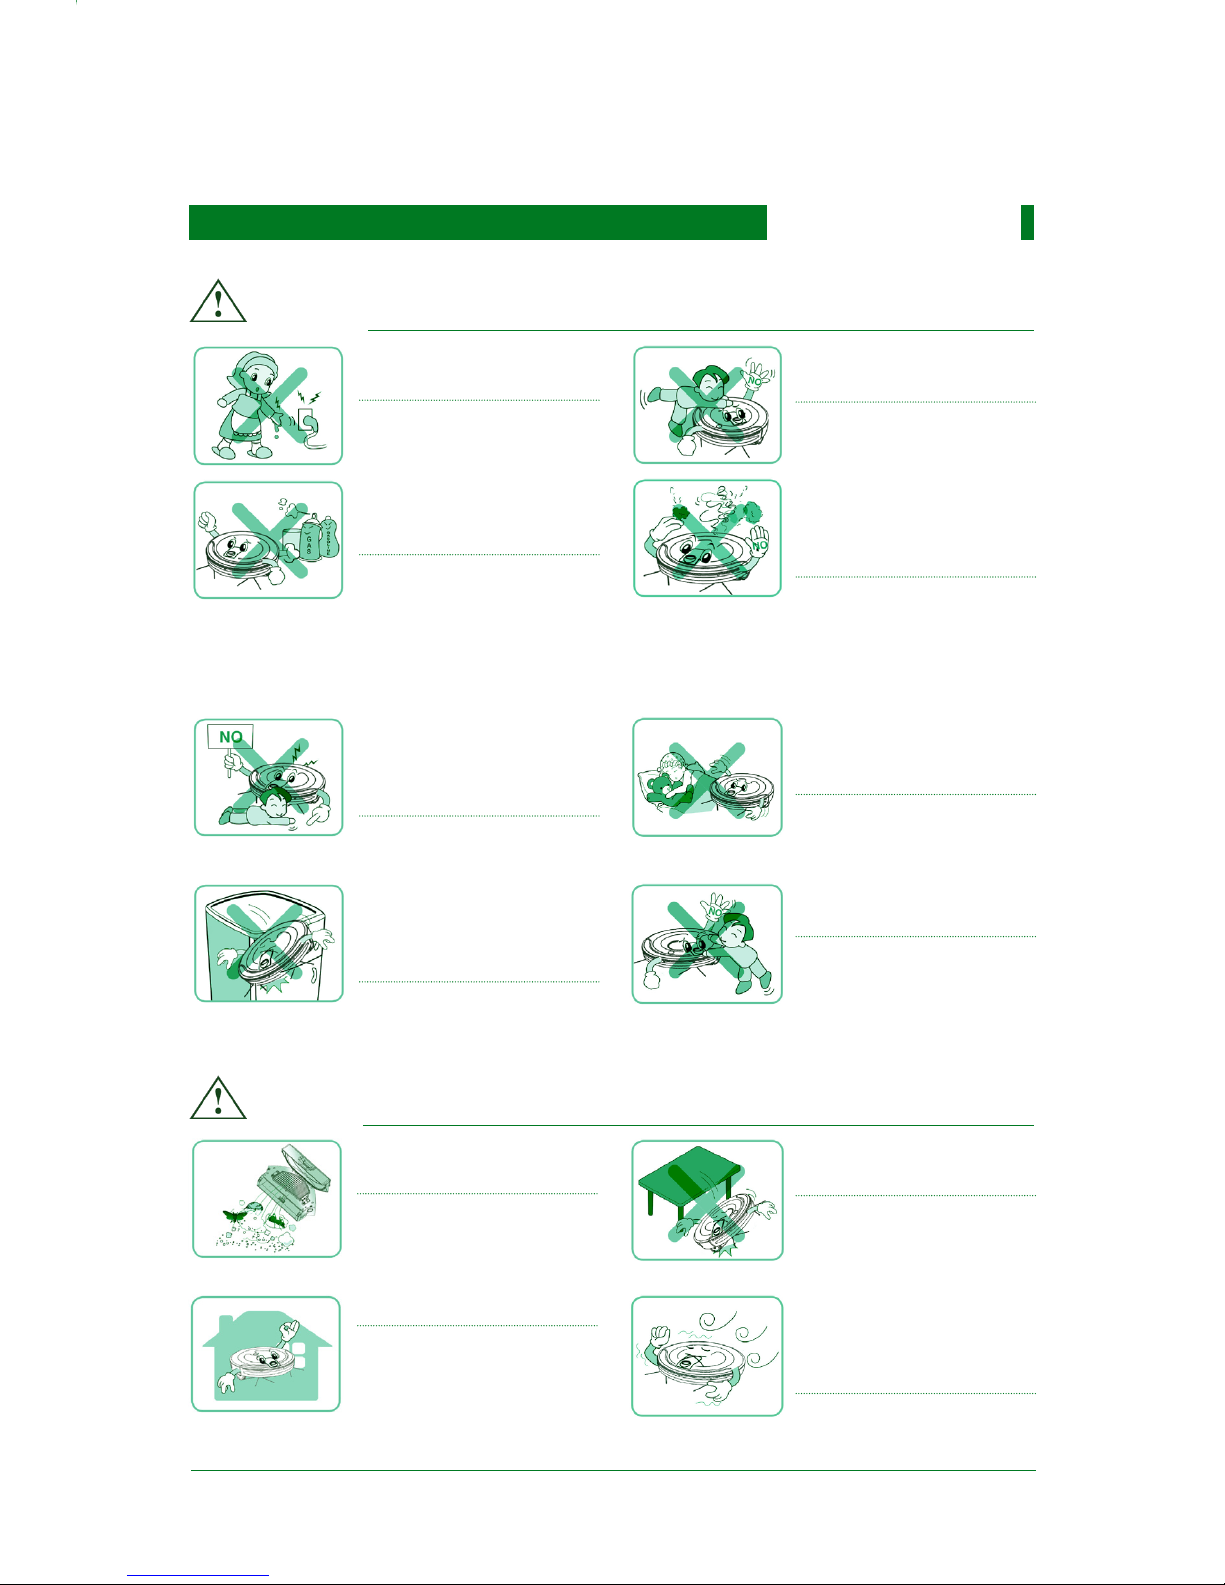
WARNING
For safety concerns, do not let
children disassemble the robot
without supervision.
Or may cause product failure.
Ensure that the power cord of
adapter will not be crushed or
punctured .
Or may cause a electric shock
re or product failure.
If the power cord is broken, do
not plug it into the outlet.
Do not place the robot or
charging base near the heating
devices .
Or may cause product
deformation fire or product
failure.
Do not bend the power plug .
Do not use the power plug when
it is damaged or loosened.
Or may cause fire or product
failure.
Do not use the robot with
batteries and / or charging base
of other products.
Or may cause fire or product
failure.
Do not use the robot when
candles or fragile objects are on
the oor.
Or may cause fire or product
failure.
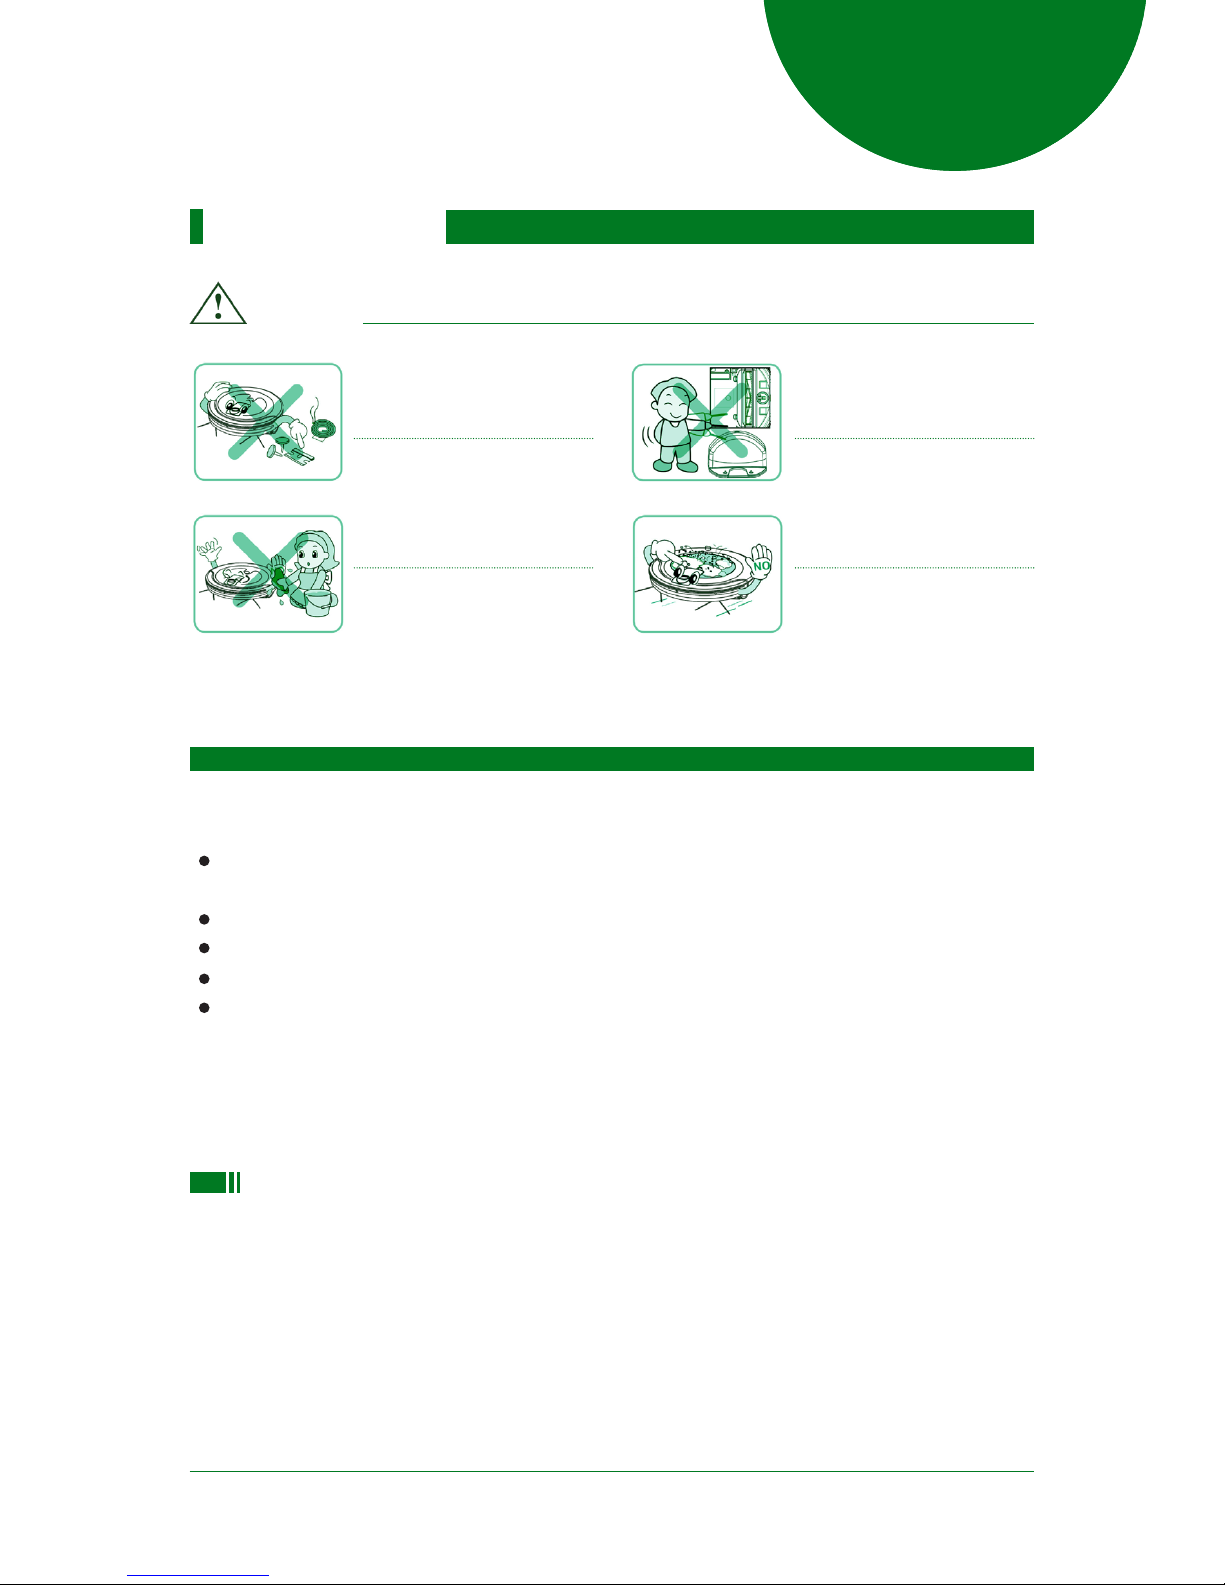
Must use the dedicated outlet.
If multiple appliances are
connected to one outlet
simultaneously, will generate
too much heat and may cause
When pulling out the power
adapter, please grab the plug,
not the cord. And do not touch
the plug with your fingers.
Or may cause a electric shock.