LINKD Alarms LINKD201 Manual

Information Sheet
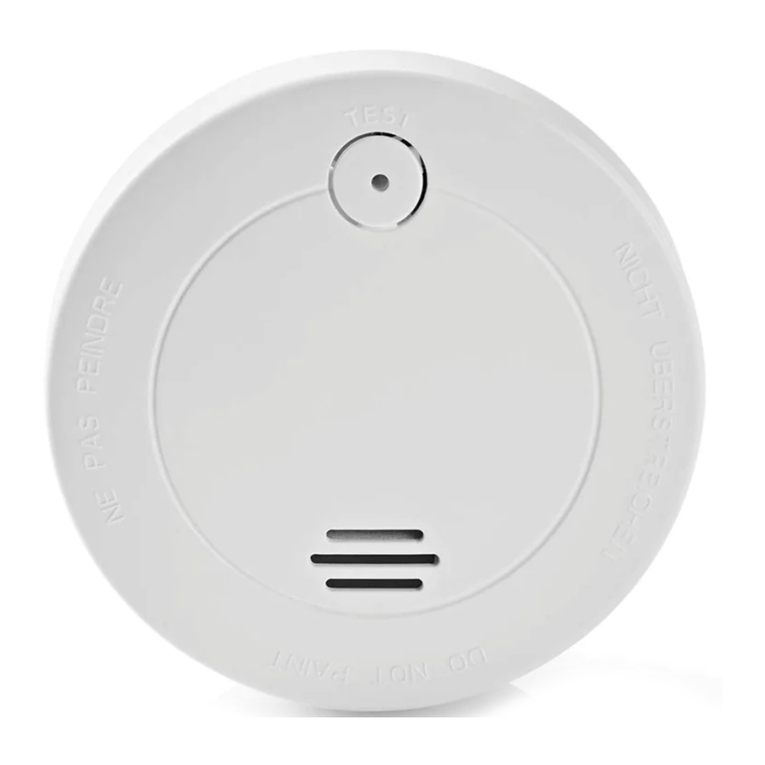
LINKD201 - Smoke Alarm
Contents:-
•• 1 x LINKD201 Smoke Alarm1 x LINKD201 Smoke Alarm
•• 1 x Battery (sealed & tamper proof)1 x Battery (sealed & tamper proof)
•• 1 x Mounting Bracket1 x Mounting Bracket
•• 2 x Wall Plugs, 2 x Screws2 x Wall Plugs, 2 x Screws
•• 1 x Adhesive Pad1 x Adhesive Pad
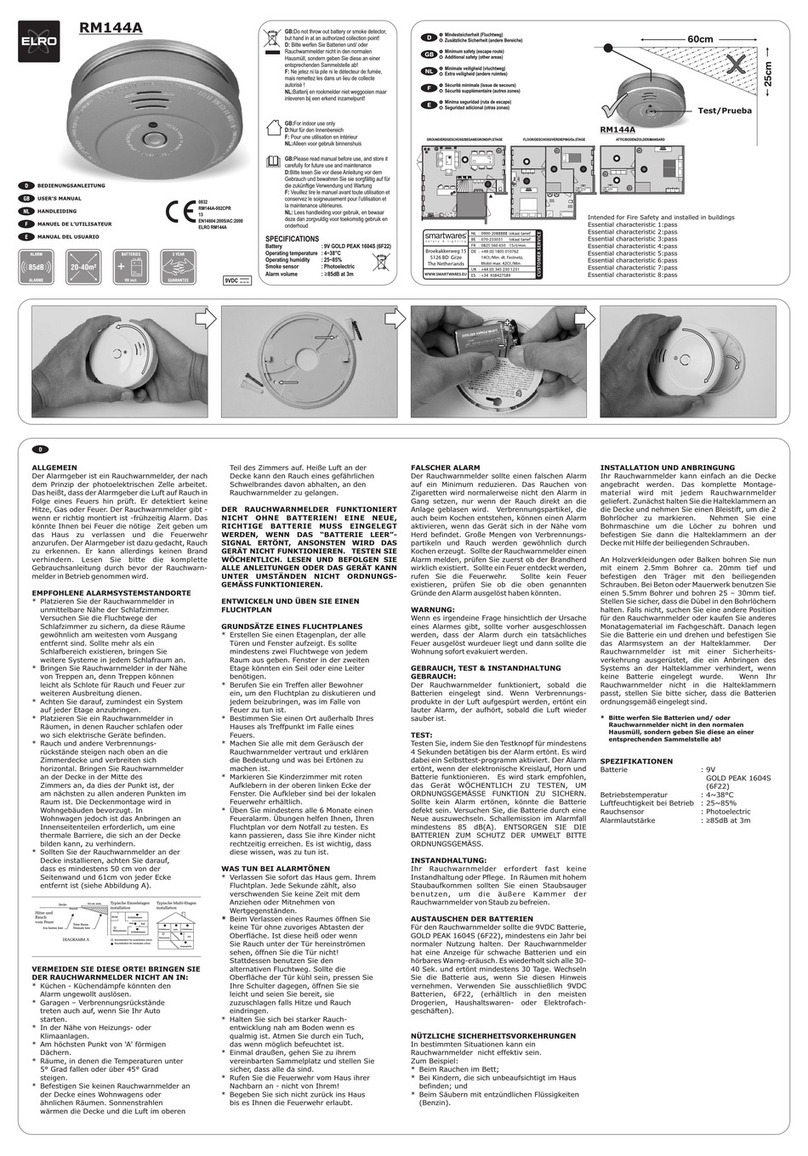
Where to install your smoke alarm:-
Scottish law states the following:-
“One interlinked smoke alarm in your living
room or the room you use the most. One
interlinked smoke alarm in each hall or landing
on each level”
Additional smoke alarms can be added to your
system and installed in additional locations at
your discretion.
Please note - We recommend that each alarm
is placed no more than 20m from the next
closest alarm to ensure there is no signal loss.
Locations to avoid:-
• In turbulent wind-streams of air such as
close to fans
• In high humidity areas such as bathrooms
and shower rooms
• At the apex of an “A” frame celling.
“Dead air” at the top may prevent smoke
from reaching the alarm in time to
provide an early warning
• Less than 12 inches or 300mm from the
wall when mounted on the celling
• In insect infested areas as, tiny insects
may affect performance
• In kitchens, boiler rooms, laundry rooms,
garages. Combustion particles from
cooking or car exhausts and dust and
moisture could trigger the alarm
• In very dirty or dusty areas. Dirt and dust
can build up and effect performance
• Within 12 inches or 300mm of light fittings
or room corners
• In locations which could make testing
hazardous (such as over a stairwell)
• Near objects such as celling decorations
which might impede the path of smoke to
the alarm
• Less than 12 inches or 300mm from the
wall when mounted on the celling
• Within 5 feet or 1500mm of fluorescent
lighting
Determine the location where you wish to
install your alarm. It is advisable to install the
alarm in a central location and to avoid areas
where there is low air circulation (i.e. corners
of room, next to large items that may block air
flow)
• Choose between the Adhesive Pad or
Screws
• If using the pad - wipe both the wall and
alarm to ensure they are free from dust
• Remove the backing from one side
and stick it to the bracket. Remove the
backing from the other side and stick it to
the wall
• If using screws - check which screws
and wall plugs are most suitable for your
chosen location
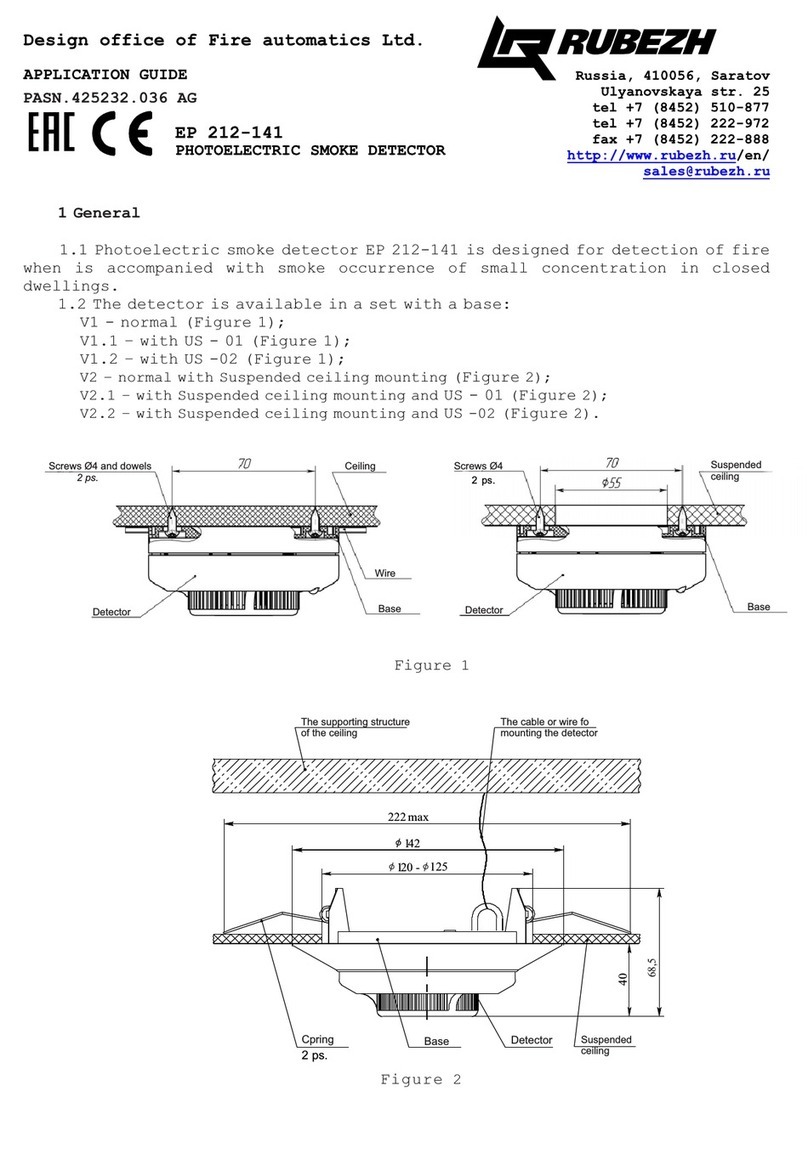
• Fix the bracket into the wall using the wall
plugs and screws
• Click the alarm into the bracket
Limitations of smoke alarms:-
Smoke alarms play a vital role in reducing
deaths caused by fires worldwide. However,
like any warning device, smoke alarms can
only work if they are properly located, installed
and maintained.
Smoke alarms may not wake all individuals.
Smoke alarms cannot detect fires if the smoke
doesn’t reach the alarm.
Smoke alarms may not have time to sound
before the fire itself causes damage, injury or

death, since smoke from some fires may not
reach the unit in time. Examples of this could
be from persons smoking in bed, children
playing with matches or fires caused by violent
explosions caused by a gas leak.
Smoke alarms are not fool proof. Like any
electronic devices smoke alarms are made of
components that can wear out or fail at any
time. You must test the unit weekly to ensure
maximum protection. Smoke alarms cannot
prevent or stop fires
Smoke alarms have a limited life. The unit
should be replaced immediately if its not
operating properly. You should always replace
a smoke alarm within 10 years of purchase.
Write the purchase date on the space
provided at the back of the unit
Testing, maintenance & cleaning:-
This unit has been designed to be as
maintenance free as possible, but there are a
few things you can do to keep it functioning
properly.
• Test the alarm once per week
• Clean the alarm once per month, gently
vacuum the outside of the smoke alarm.
Test the smoke alarm after cleaning.
Never use water, cleaners or solvents as
they may damage the unit
Technical Specification:-
• Working voltage: DC 3V Battery – Non
replaceable
• Standby current: <10uA
• Alarm current: <60mA
• Low voltage threshold: 2.6V
• Frequency range: 433.92 MHz
• Alarms Sound Level: 85dB/3m
• Product Life: 10 years
• Battery Life: 10 years
• Internal Connection Range: 20M
Limited warranty:-
We guarantee to the original consumer
that there will be no defects in material or
workmanship for a period of time from the
date of purchase with respect to the use and
service of each new alarm. The warranty does
not cover damage caused by accident or
misuse of the product. This warranty covers
the alarm for
malfunction for 5 years from the day of
purchase.
LINKD Alarms can never be made liable for
loss and / or damage of any nature, including
incidental and / or consequential loss, arising
from the fact that the signal from the smoke
alarm did not sound during a fire
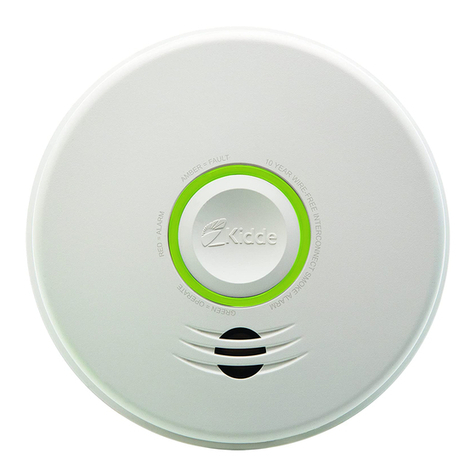
LED Indicator Glossary:-
• Green LED flashes once every 60 seconds
= Normal
• Red LED flashing rapidly with siren =
Detection
• Red LED flashes for 10 seconds with no
siren = Detection Muted
• Red LED flashes once every 10 seconds
with one beep = Fault. Replace Alarm
• Red LED flashes once every 60 seconds
with one beep = Low Battery. Replace
Alarm
Contact Us:-
If you have any issues with the setup or use of
your alarm system please do not hesitate to
contact us for fast and friendly support:-
