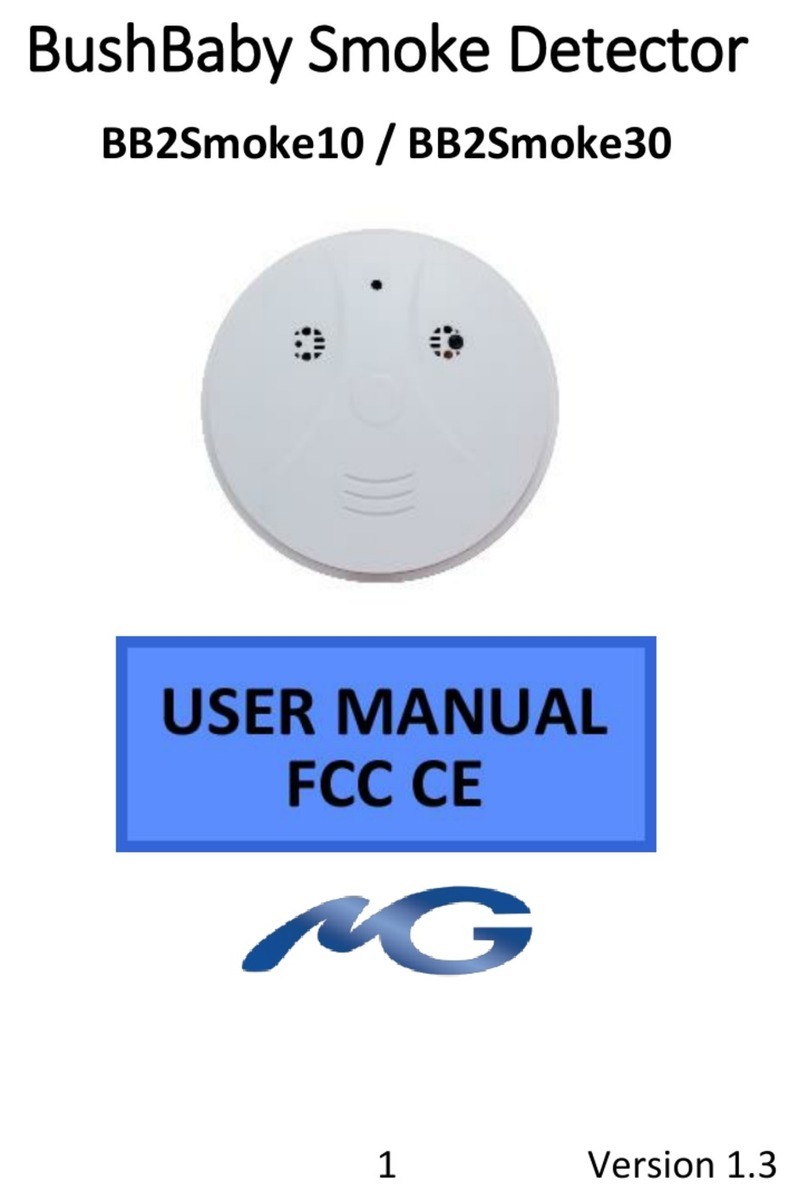
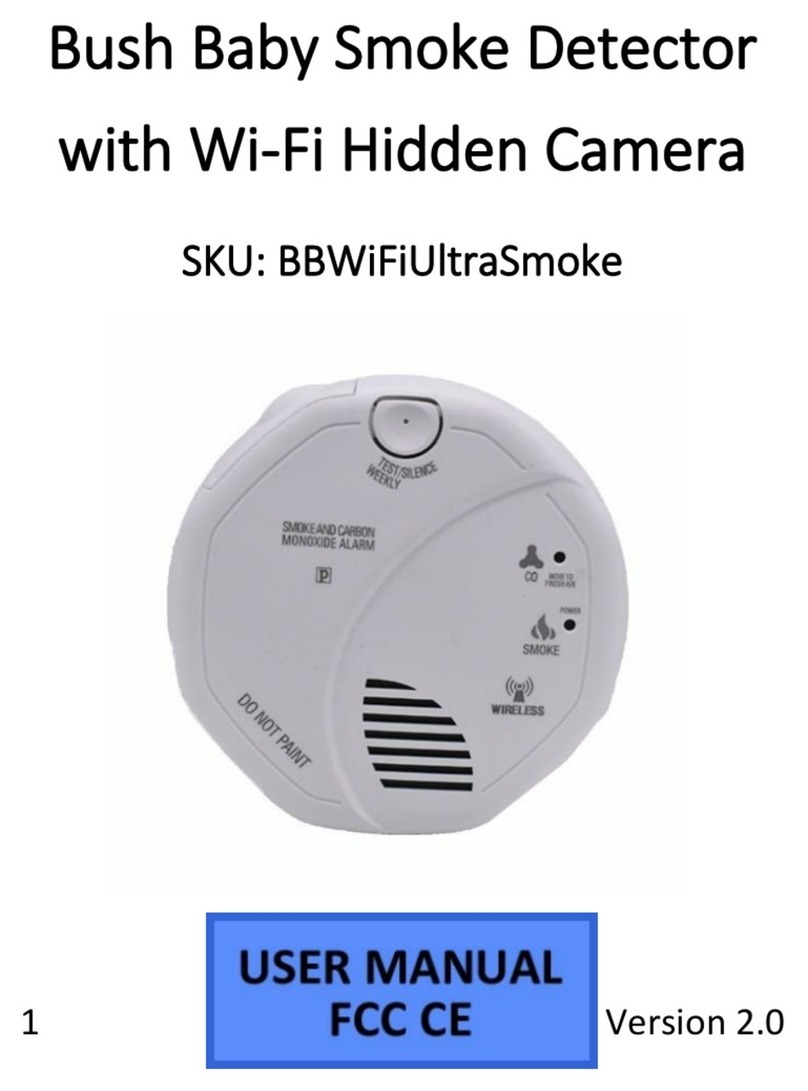
Mini Gadgets BB4KWiFiOperativeSmoke User manual

1Version 2.0
Bush Baby Functional
Smoke Detector with 4K
Wi-Fi Hidden Camera
SKU: BB4KWiFiOperativeSmoke

2Version 2.0
THANK YOU FOR PURCHASING THE
BB4KWIFIOPERATIVESMOKE
Please read this manual before operating the
BB4KWiFiOperativeSmoke and keep it handy.
Your purchase should include:
1 x BB4KWiFiOperativeSmoke
1 x Manual
1 x 128GB MicroSD Card
1 x MicroSD Card Reader

3Version 2.0
GET FAMILIAR WITH YOUR
BB4KWIFIOPERATIVESMOKE

5Version 2.0
2. This device can only make one Wi-Fi
pairing attempt and then the TUT signal
will disappear. If the pairing process is
unsuccessful the device will be required
to be sent in for a factory reset. Please
verify the name of your router’s Wi-Fi
signal and password, and follow the
steps on the next page to ensure your
device has the best chance possible of
pairing with your router.
●This device will only connect to routers
that produce a 2.4 GHz signal. Please
contact your internet service provider to
determine if your router is 2.4 or 5.8
GHz.

6Version 2.0
●If your wireless network has a password
using any special characters, please
change it so it is using only
numbers/letters.
●Turn off your phone’s mobile data prior
to connecting to the device’s wi-fi
signal. Some phones will ignore wi-fi
connections that do not have internet
access if mobile data is enabled.
●Make sure you are within 10 feet of
your router when pairing the device
with wi-fi. If the device gets hardwired
for power, pair the unit by powering it
with the test plug prior to hardwiring it
in.
Note: If you are using this anywhere other than
the US, you will need to purchase a converter in
order to use the device and avoid damaging the

7Version 2.0
product. Because different countries use
different voltages in their electrical wiring, you
will need a converter that adapts to the current
in your particular country.
IMPORTANT: You will need to contact a
professional electrician to install this device
correctly. We are not responsible for any
damages or incorrect installation. Minigadgets
cannot provide any instructions related to
hardwiring this device into an electrical
system.
IMPORTANT WARRANY INFORMATION:
If the warranty sticker on your device has been
removed or tampered with, your lifetime
warranty will be voided. You may be charged
fees or denied a return should this happen.
STEP ONE –ADDING THE DEVICE TO THE APP
& PAIRING WITH WI-FI FOR REMOTE VIEWING

8Version 2.0
Note: If you do not want to use your device for
remotely live streaming/video playback, you
can still use it as a DVR unit. You will be
required to connect your phone to the device’s
wi-fi signal in order to view the live stream, play
videos back via the app, or modify camera
settings. If you wish to use it as a DVR unit,
when you get to #5 and see ‘AP added device,
whether the network?’ choose ‘No’ and proceed
to Step Two.
CONNECTING TO YOUR DEVICE’S WI-FI SIGNAL
In order to first use your device and set it up,
you must first connect to its wi-fi signal.
1. Power the device on.
●If your unit is capable of being
hardwired, either insert the test

9Version 2.0
plug that came attached with it
into an outlet, or have it
professionally hardwired into
the existing electrical system
2. Turn on your phone’s Wi-Fi and wait up
to 5 minutes for the device to generate
a Wi-Fi signal (this will match the UID
on the sticker, ex: TUTxxxxxxx)
3. Once the device generates its Wi-Fi
signal, connect to it via the Wi-Fi
settings on your phone. It should display
as ‘Connected’ or ‘Current Network’.
Note: Some devices may produce a warning
that the network has no internet access and will
ask if you want to use mobile/cellular data

10Version 2.0
instead. Choose to stay connected to the wi-fi
connection.
Note: For iOS devices, you must wait until the
Wi-Fi signal appears next to your Phone Carrier
Name at the top of your phone screen.
4. After connecting, open the LookCamPro
App.
5. The app will automatically detect the
camera, and display an “AP added
device, whether the network?”
message. Select “Sure”.
6. The app will take you to a new screen to
select the network you wish to pair the
device with.
7. Put in the password for the desired
network and press ‘Sure’. The camera

11Version 2.0
will reboot and should come online
within 5 minutes.
●Note: Please follow the tips on
page 5 to ensure a proper
connection is formed between
your device and the router.
Note: You will be prompted to change the
device password the first time you view the
camera video feed. We suggest that you do
change this to prevent any unauthorized
viewing of your camera. The default password
is 6666.
IMPORTANT: You must keep this password in a
safe place. If you ever need to access the
camera from a different phone or reinstall the

12Version 2.0
camera app, this password will be required to
re-add the camera. If you forget the password,
a factory reset will be required. In order to
factory reset the device, it will most likely need
to be sent to us via an RMA (return
merchandise authorization). If you have any
questions regarding this, please call us at 770-
694-6921.
STEP TWO –SETTING YOUR DEVICE UP TO
RECORD TO THE MICROSD CARD
Note: All steps from here onwards require you
to have completed step one and have already
added the device to the LookCamPro app. Do
not continue without completing step one.
Note: Your device will come with a 128GB
MicroSD card already installed in it. To get

13Version 2.0
started with capturing video, follow the steps
below.
1. Open the LookCamPro application on
your smartphone or tablet.
2. Press the settings wheel on the far right
●This is the ⚙icon
3. You will be taken to a screen with
multiple options. Select the ‘Record’
option. Options will be explained below.
●Note: On iOS devices, this will be
the ‘SD Card Setting’ option.
●Record Length –This controls the length of
your video recordings and can be set
between 5 and 30 minutes. (Note: This only
controls the video length for the
‘Throughout the Video’ and ‘Timing Video’
video modes. For controlling video length on
the ‘Alarm Video’ video mode, please refer
to Step 3)

14Version 2.0
●Video Stream –This controls what
resolution your unit records videos at.
(Note: These devices can currently only
record in 720P)
●Video Mode –This controls how the device
captures videos.
●Stop Video –The unit will not record
any videos to the microSD card.
●Throughout the Video –The unit
will record continuously 24/7 to the
microSD card
●Alarm Video –The unit will record
to the microSD card only when there
is motion (Note: Make sure to follow
Step Three for enabling motion
detection)
●Timing Video –The unit will record
continuously 24/7 to the microSD
card only between the specified
start and end times (time is in
military format)

15Version 2.0
●Record Audio –Enable/disable this for
audio along with video recording.
●Video Coverage –Enable/disable this for
loop recording (when the microSD card fills
up, the oldest video will be deleted to make
room for a new one)
STEP THREE –SETTING YOUR DEVICE UP TO
DETECT MOTION
Note: If you do not want to record to the
microSD card based off motion, or do not want
to receive motion detection alerts on your
phone, you can skip this entire section.
SETTING UP MOTION DETECTION

16Version 2.0
1. Open the LookCamPro application on
your smartphone or tablet.
2. Press the settings wheel on the far right
●This is the ⚙icon
3. You will be taken to a screen with
multiple options. Select the ‘Alarm’
option. Options will be explained below.
●Note: On iOS devices, this will be
the ‘Alarm Setting’ option.
●Motion Detection Switch –Enable this if
you have your device’s Video Mode set to
‘Alarm Video’.
●Note: This is required to be enabled
if you want to receive motion
notifications, or to record when
there is motion.

17Version 2.0
●Alarm Push –Enable this if you want to
receive alerts on your phone when the
device detects motion.
●Mobile Detection Video –This feature will
not apply to your device and can be on or
off.
●Alarm Recording Time(s) –This is how long
of a video clip will be taken when motion is
detected. This can be set between 10 and
60 seconds.
●Note: If motion is detected after the
first recording begins, another one
will begin, and so on.
●Alarm Delay –This is how long the app will
wait in between sending alarm notifications
to your phone.

18Version 2.0
●Note: If it is set to 30 and there is
motion, you will only receive alerts
every 30 seconds
●Detection Sensitivity –This controls how
sensitive the unit is to detecting motion.
You will want to test the device to see
which option is best suited for the
environment your device is in.
STEP FOUR –CHANGING THE DEFAULT DEVICE
PASSWORD
Note: For security purposes, we strongly
recommend that you change your device’s
default password from 6666. If you change your
device’s password, make sure to store the
password securely. If you ever need to re-install
the application or add the device to another
phone, you will need the new password.

19Version 2.0
CHANGING YOUR DEVICE’S PASSWORD
1. Open the LookCamPro App.
2. Press the settings wheel on the far right
●This is the ⚙icon
3. You will be taken to a screen with
multiple options. Select the ‘User’
option.
●Note: On iOS devices, this will be
the ‘User Setting’ option.
4. On the next screen, put in 6666 for the
‘Old pwd’ field
5. Put in your desired password in both
the ‘New pwd’ and ‘New pwd again’
fields, and then select ‘Done’.
●Note: Your password must be
between 4 and 31 digits.

20Version 2.0
●Note: It is highly recommended
you enable the ‘show password’
option to reveal your text as it is
typed. This will help avoid any
potential typos in the password.
LIVESTREAMING YOUR DEVICE
Note: If your device has not been paired with a
router, you will need to connect your
smartphone or tablet to the device’s wi-fi
signal.
Note: If this is the first time opening the live
stream, you will be prompted to change the
device password. We suggest that you do
Table of contents
Other Mini Gadgets Smoke Alarm manuals
Mini Gadgets
Mini Gadgets BB4KWiFiUltraSmoke User manual

Mini Gadgets
Mini Gadgets BBSSmoke User manual

Mini Gadgets
Mini Gadgets BB2Smoke10 User manual

Mini Gadgets
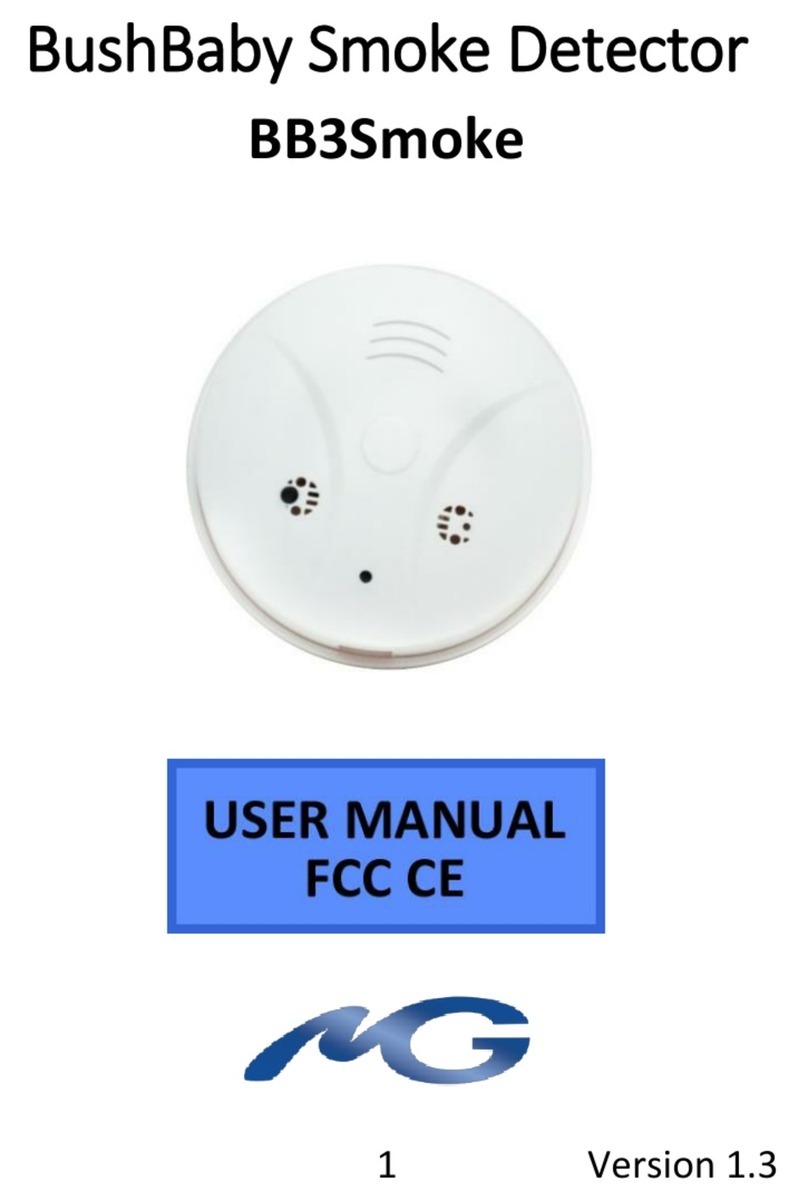
Mini Gadgets BB3Smoke User manual

Mini Gadgets
Mini Gadgets Bush Baby BB4KWiFiSmoke User manual
Mini Gadgets
Mini Gadgets BBWiFiUltraSmoke User manual
Popular Smoke Alarm manuals by other brands

Tanda
Tanda TXC3150 Installation and operation manual

Abus
Abus RM 03 VdS Operating and installation instructions

DM TECH
DM TECH D9000A SR instruction manual

Innohome
Innohome SSA15 Installation & operating instructions

PSA
PSA LIFESAVER LIFHA240 Installation and user manual

WindowMaster
WindowMaster WSC 308 01 Operation manual / technical information