English - 3 -
• Do not place objects lled with liquids, such as
ower vases, on top of the TV. Avoid from dripping
or splashing.
• If any solid object or liquid falls into the cabinet,
unplug the TV and have it checked by qualied
personnel before operating it any further.
Ventilation
• The slots and openings on the TV set are intended
for ventilation and to ensure reliable operation.
• To prevent overheating, these openings must not be
blocked or covered in anyway.
Heat sources and Flames
• Do not expose the TV to direct sunlight or other
heat sources.
• The TV should not be placed near to open ames or
sources of intense heat such as an electric heater.
• Ensure that no open ame sources, such as lit
candles, are placed on top of the TV.
Headphone Volume
• Excessive sound pressure from earphones and
headphones can cause hearing loss, please take
care.
Wall Mounting (optional)
• To prevent injury, this TV must be securely attached
to the wall in accordance with the installation
instructions (if the option is available).
Screen
• Occasionally, a few non-active pixels may appear
on the screen as a xed blue, green or red point.
Please note that this does not affect the performance
of your product.
• Take care not to scratch the screen with ngernails
or other hard objects.
Cleaning
• Before cleaning, unplug the TV from the wall
socket.
• Do not use liquid or aerosol cleaners. Only use a
soft, dry cloth.
Servicing
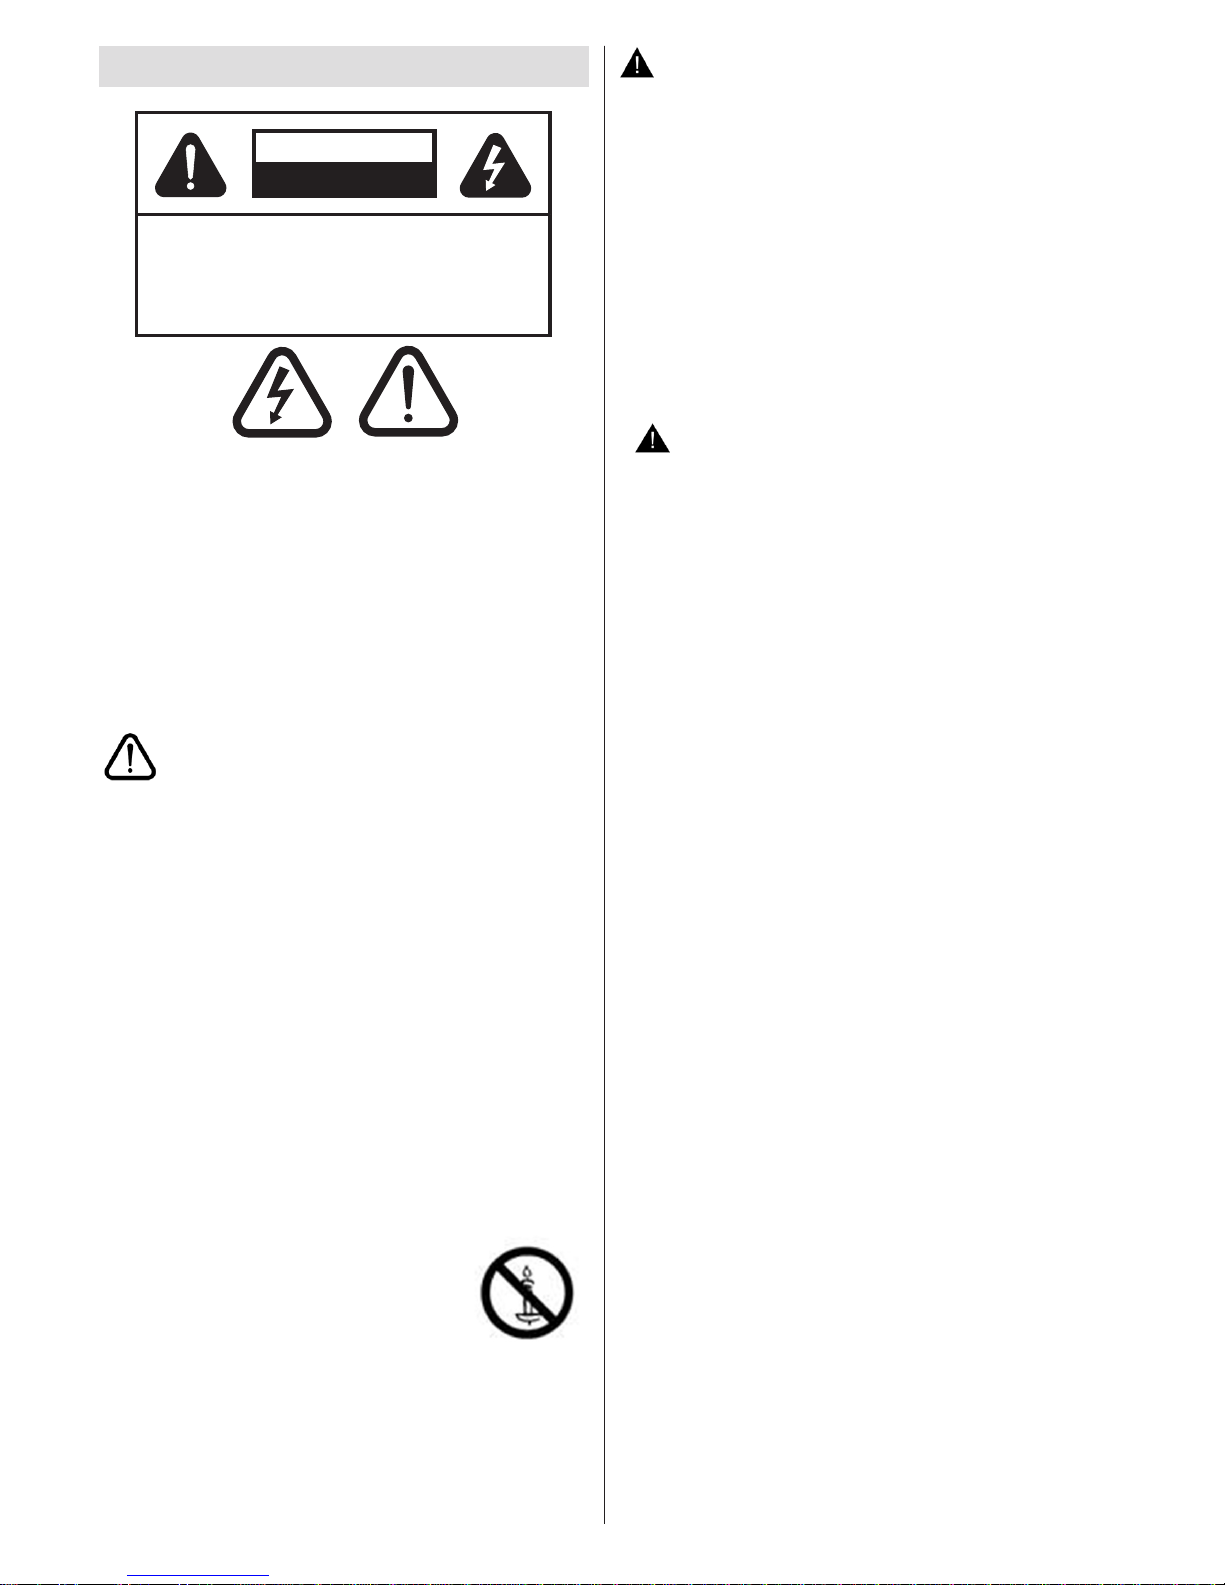
• Warning: Risk of exposure to radiation from class
1/class 3b visible and invisible laser beams. Do not
open the TV and stare directly into beam.
• Warning: Risk of electric shock, do not attempt
to repair, service or modify this TV yourself. Contact
the manufacturer, their approved service agent
Environmental Information
This television is designed to consume less energy
to help save environment. You can not only help to
save the environment but you can also save money
by reducing your electricity bills thanks to the energy
efficiency feauture of this TV. To reduce energy
consumption, you should take the following steps:
You can use the Power Save Mode setting, located
in the Picture Settings menu. If you set the Power
Save Mode as Eco, the TV will switch to energy-
saving mode and the luminance level of TV set will
be decreased to the optimum level. Note that some
picture settings will be unavailable to be changed
when the TV is in Power Save Mode.
If Picture Off is selected, “Screen will be off in 15
seconds.” message will be displayed on the screen.
Select PROCEED and press OK to continue. The
screen will be off in 15 seconds. If you disable Power
Save Mode, Picture mode will be automatically set
to Dynamic.
When the TV is not in use, please switch off or
disconnect the TV from the mains socket. This will
also reduce energy consumption.
Disconnect power when going away for longer time.
It is highly recommended that you activate the
Power Save Mode setting to reduce your annual
power consumption. And also it is recommended
to disconnect the TV from the mains socket to save
energy more when you do not use.
Please helps us to save environment by following
these steps.
Repair Information
Please refer all servicing to qualied personnel. Only
qualied personnel must repair the TV. Please contact
your local dealer, where you have purchased this TV
for further information.
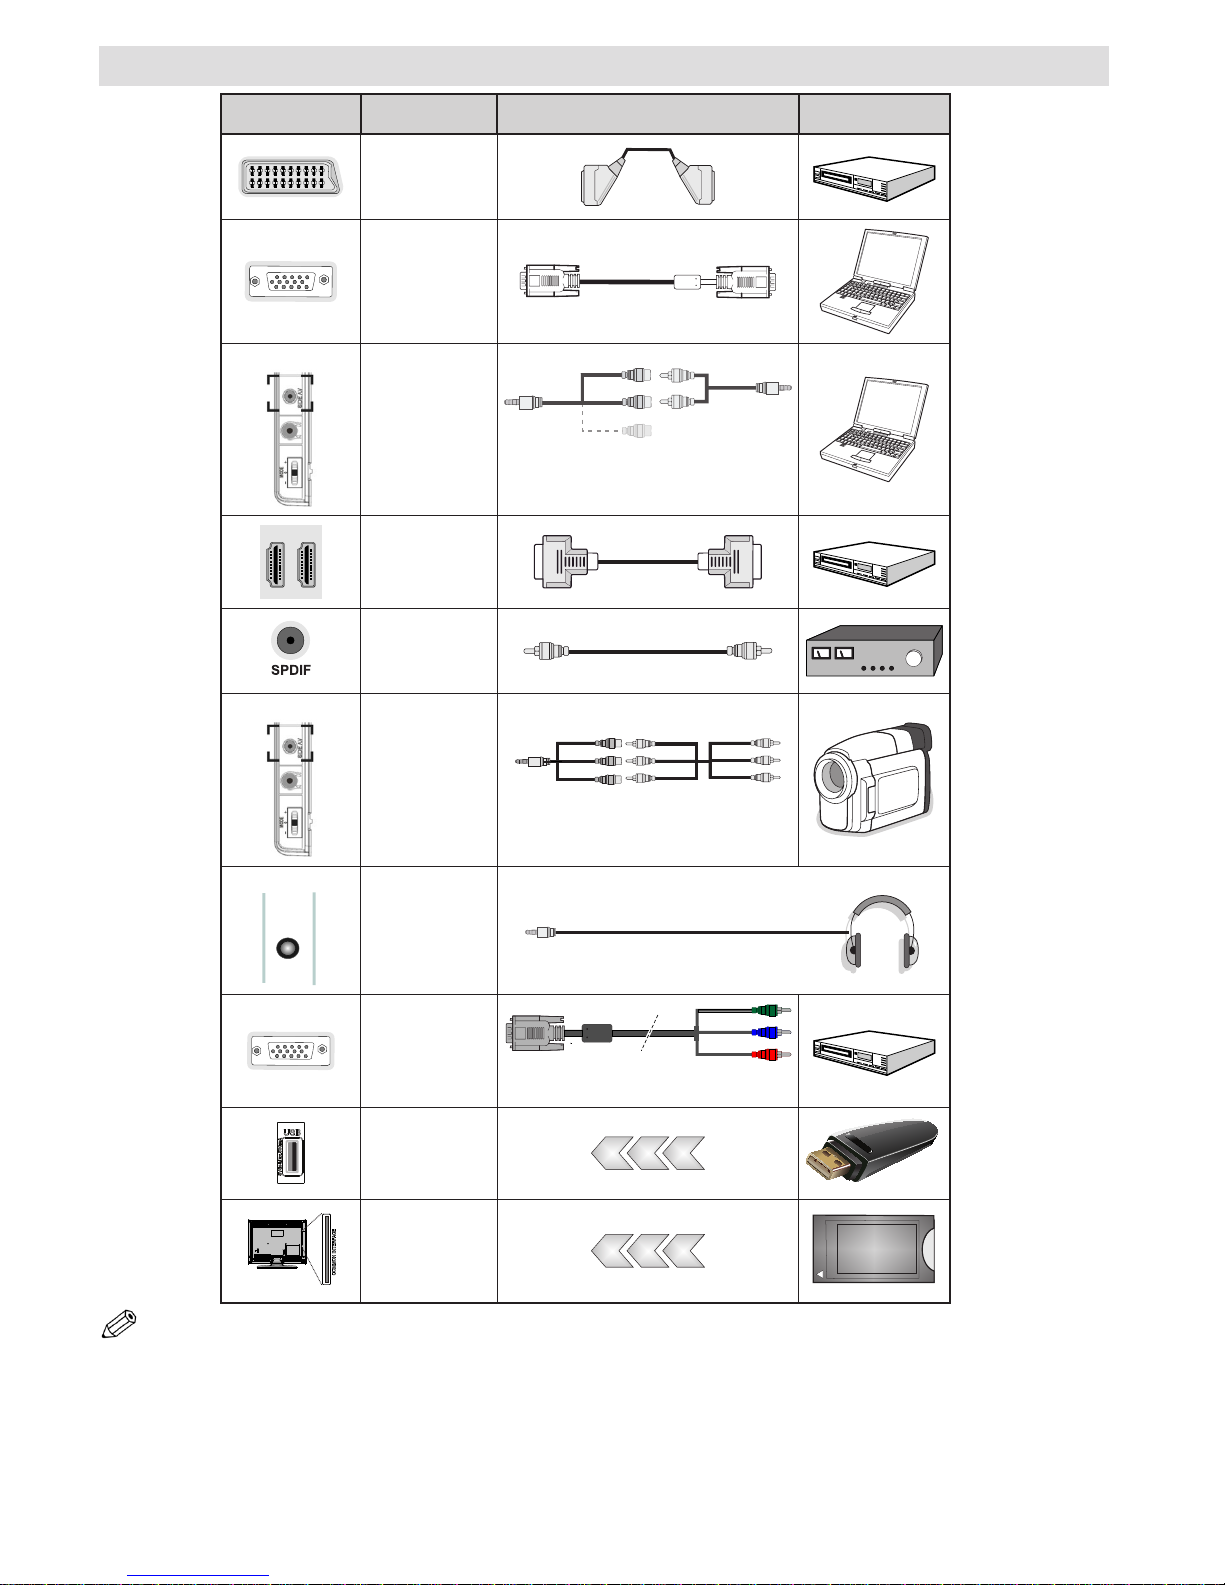
Accessories included
Remote Control
Batteries: 2 x AAA
Instruction Book
Side AV Connection Cable
Wi- USB dongle
USB Cable