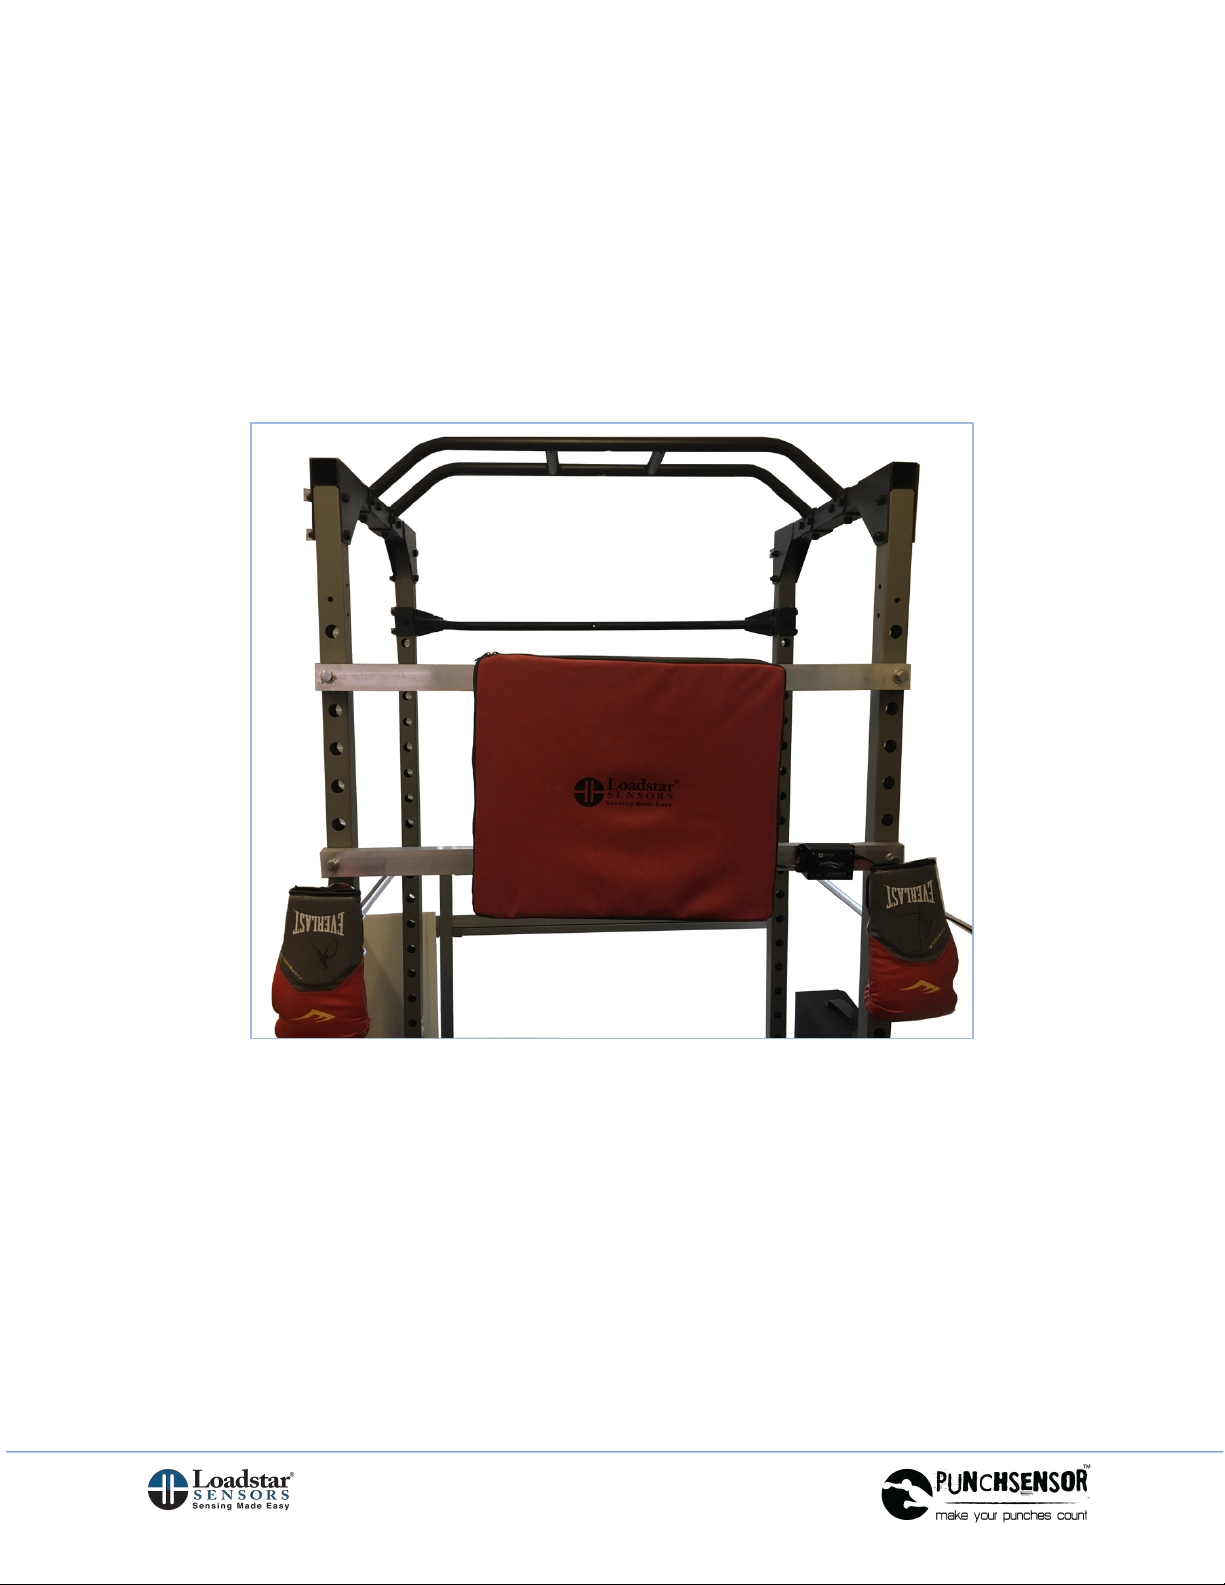
Software Installation and Operations
Installing the Software
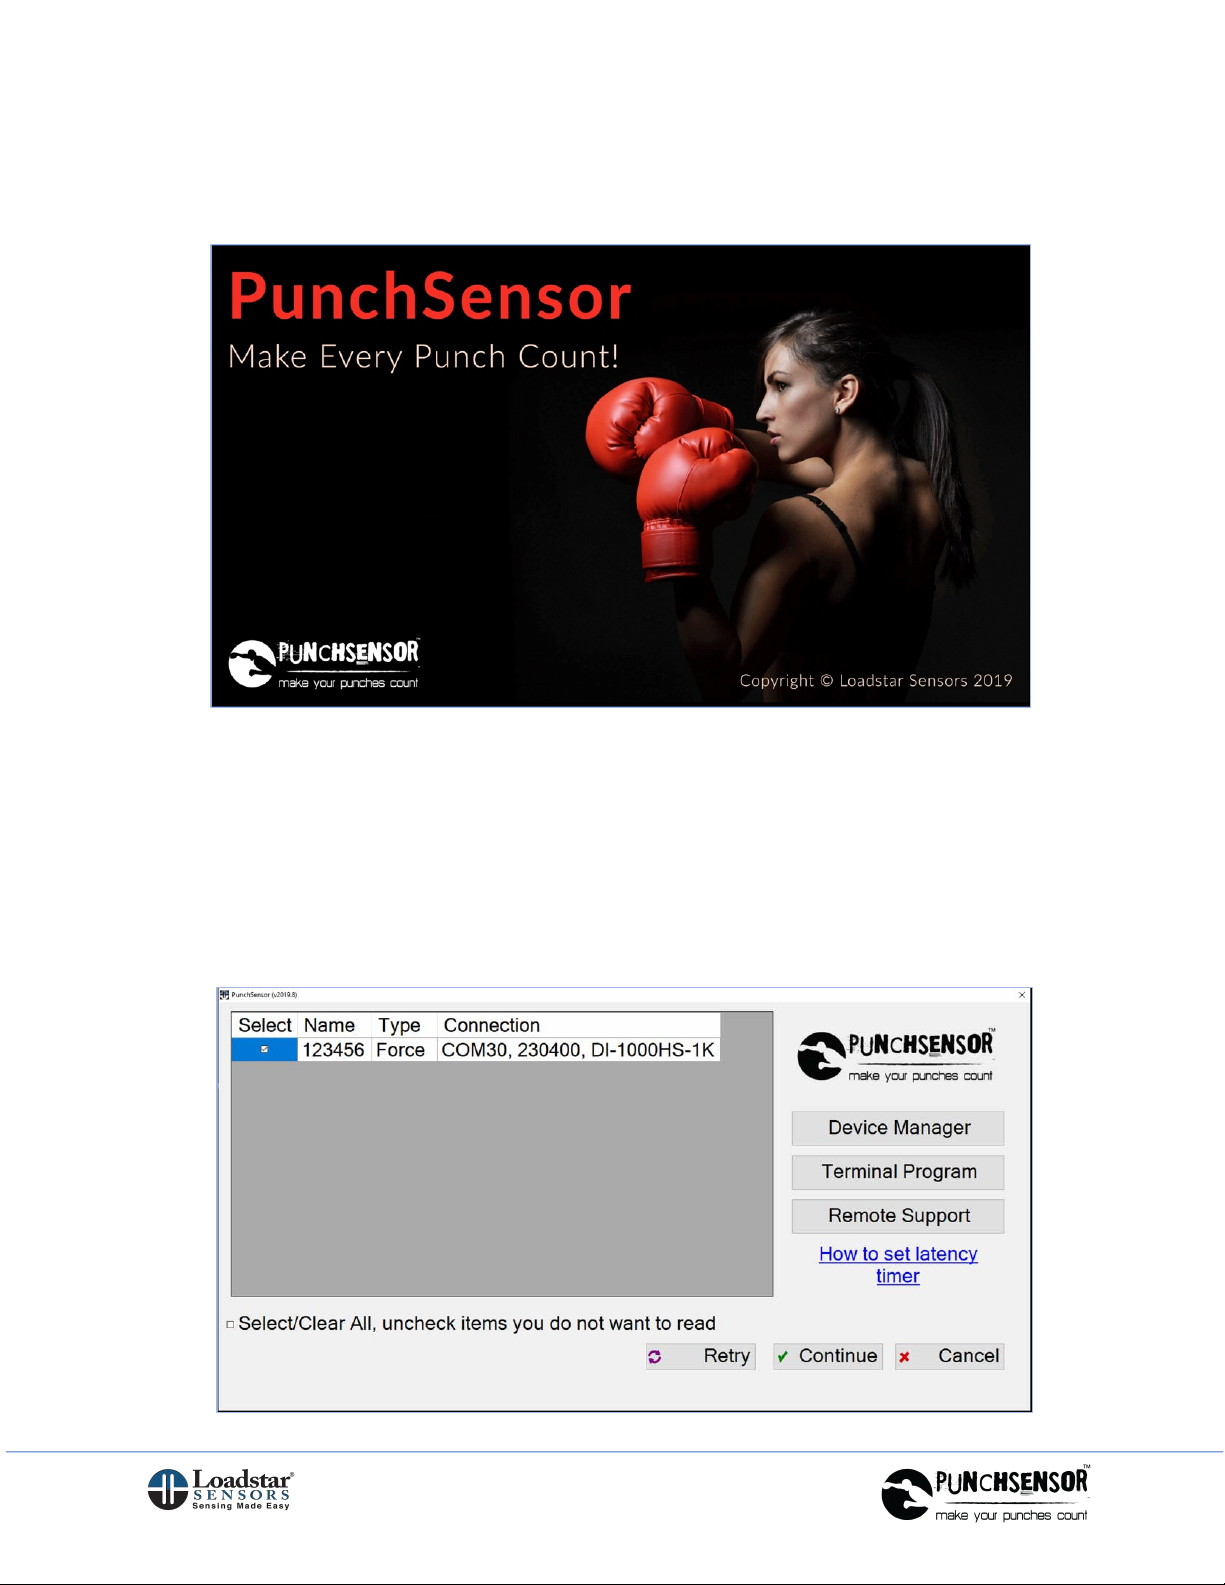
1. Open the Installation CD or USB storage device Or Download Link.
2. Click on Setup.exe to run the Installation file.
For many users with virus and other protection or security installed, it is best to
Right-Click on the Setup file and Run As Admin, even if you are already an
Admin (or seek help from your IT professionals).
3. Once the setup is complete, the process will try to install the drivers to handle
the USB functionality of the sensor. If this step is not properly completed, you
may have trouble finding the sensor when you go to the next step and run the
program. In case of difficulty, please reinstall the drivers by visiting
loadstarsensors.com/support/downloads page.
4. If you run the setup file as Admin, then it will try to change the latency timer for
the sensor COM Port to 1 ms. If it doesn’t, you can do it manually the first time
you use the sensor.
a. Launch the Device Manager and find the port which serves as the COM
port for our sensors.
b. This shows up when you plug in the USB connector into the PC that you
are going to use. Please follow the instructions provided on this link to
make sure the Latency Timer setting is set to 1 ms.
https://www.loadstarsensors.com/assets/manuals/html/how-to-set-latency-
timer/latency-timer.html
5. In case of difficulty, visit loadstarsensors.com and under the Support menu
option, select the Remote Support option. Download and Install the support app
and contact us with the ID and password. We can then see your screen with
your permission and assist you.