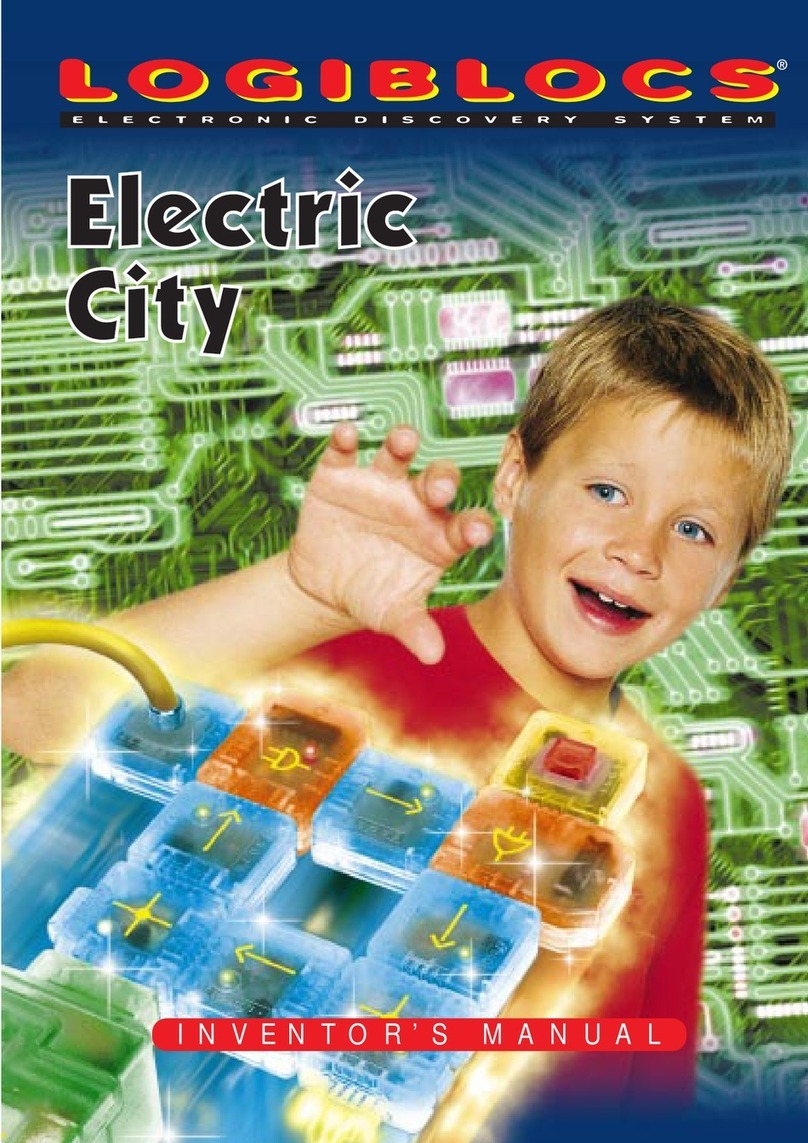
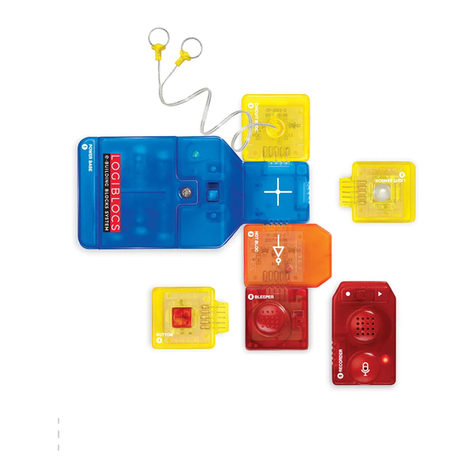
Logiblocs Super Inventor's User manual

INVENTOR’S MANUAL


INDEX
Contents 4-5
Introduction 6
Understanding Logiblocs 7
Let's Get Started 8-13
Lights & Shadows! 14-17
1. Light Detector 14
2. The Electronic Eye 15
3. Shadow Surprises 15
4. Light Breaker Alarm 16
5. Protect Your Treasure 17
Let's Get Connected! 18-22
1. Door Alarm 19
2. Drawer Guard 20
3. Metal Detector 20
4. Water Detector 20
5. Security Mat 21
6. Lie Detector 22
Deep Space! 23-27
1. Logifighter 23
2. Wing Ship 23
3. Mother Ship 24-25
4. Landing Craft 26
5. Land Speeder 26
6. Control Ship 27
Sounds & Silence! 28-29
1. Voice Detector 29
2. Sound Guard 29
Feedback & Automation 30-36
1. Flashing Circuit 31
2. Logibuzzer 32
3. Light Feedback 32
4. Sound Feedback 33
5. The Memory Circuit 34
6. Two System Feedback 35
Combining Systems 37-39
1. Light and Sound Together 37
2. The Randomizer 38
3. Card Reader 39
What the Logiblocs Do 40-44
Battery Installation 45
Safety Advice and Useful Tips 46
3

CONTENTS
BUTTON (x 2)
LIGHT SWITCH
SOUND BLOC
PULSE
IN
STRAIGHT (x 4)
CROSS (x 4)
CORNER (x 2)
Y-BLOC
FLYER
SEQUENCER
BATTERY BOX
4

BLEEP (x 2)
RED LIGHT
YELLOW LIGHT
GREEN LIGHT
OUT
NOT
AND
OR
FLIP/FLOP
DELAY (Long)
DELAY (2-way)
BATTERY CONNECTOR
(9V DC 6F22 or 6LR61)
Pressure Mat Cards (x 2), Wires (Red, Yellow and Blue),
Jack Plug, Light Bulb (1.5V) and Holder, Pouch,
Filter Paper and Stickers. 5
Maximum current rating 1A

SUPERINVENTOR’S KIT
INTRODUCTION
Welcome to the hi-tech world of Logiblocs!
These instructions will tell you all you need to know in order to make all the
projects listed in the index on page 3. Near the back of this booklet you will
find information about how Logiblocs work and what they do.
You may have other Logibloc kits and, if so, you will be able to combine the
Logiblocs in this kit with your other kits to increase their power and flexibility.
If you join the Logiclub you will be able to get loads more ideas of things to
make and do with your Logiblocs. You may try to win a prize by entering
your own ideas in the regular competitions.
SAFETY
Logiblocs are absolutely safe if used correctly. Please read the section
on safety at the end of this booklet. Do not use the Logiblocs until you
understand the safety advice. Please keep these instructions for
future reference.
Never ever touch or try to push any wires into a mains electrical socket or
plug. This would be very dangerous. Do not let the Logiblocs get wet
and never put any parts or wires into your mouth.
LOOKING AFTER YOUR LOGIBLOCS
It’s a good idea to keep your Logiblocs in the box. There is plenty of
space in the box to store your models and any Logibloc Extrablocs
you may have.
Remember that Logiblocs are very special and need to be looked
after well. Keep them clean and try not to step on them!
THE LOGIBLOC GUARANTEE
If by any chance anything is missing or not working properly, please write to us
at the address on the back of this booklet and we will sort things out as soon as
possible. This does not affect your right to return this product to where you bought
it from under the retailer’s usual terms and conditions.
6

UNDERSTANDING LOGIBLOCS
Logiblocs make computer technology simple!
Logiblocs is the electronic discovery system that helps you understand about
the world of technology around you as you create your own inventions.
From traffic lights to super computers, everything in today's high-tech world
runs by the same principles that Logiblocs demonstrate. Inside each
Logibloc is a printed circuit board and every block is color-coded for the
function it performs. By plugging together Logiblocs in different
combinations you can create circuits and virtually write your own simple
program to build each new invention.
Each block has its own job to do, described by its color:
Logi Yellow
Input: These blocks trigger the system at the press of a button and in all
sorts of other ways.
Logi Blue
Throughput: These blocks take messages from place to place.
Logi Orange
Logic: These brain blocks do the thinking and make sure that everything
happens in the right place and at the right time.
Logi Red
Output: These chatterboxes turn things on and off and communicate with
the outside world through light and sound.
Logi Green
Power: These energy suppliers give life to Logibloc inventions.
All Logiblocs work with each other so with a few Extrablocs you can build on to
your inventions to make them even more powerful using your Logimagination.
7

LET’S GET STARTED
The first thing to do is to get to know the Logiblocs and make sure
that they are working OK.
You will need four 1.5V AA size batteries.
Step 1
Open the BATTERY BOX and put the
batteries in. See the section on battery
installation near the end of this booklet.
Step 2
Plug in the BATTERY BOX
to the CROSS
Step 3
Plug in a BUTTON and
a BLEEP block.
When you press it the light on
the CROSS should come on.
If this doesn’t happen,
check that the batteries
are put in correctly.
If you still have trouble,
maybe your batteries are flat!
We will use this Logitest unit to test
if all the other blocks are working OK.
BATTERY
BOX
BUTTON
CROSS
BLEEP
THE
LOGITESTER
8

Step 4
Now place the Logitester on a flat
surface and add on the rest of the
STRAIGHT and CROSS blocks as
well as the Y-BLOC as shown.
Press the BUTTON and check that all the
green lights come on. These blue blocs take
messages from place to place.
Step 5
Now take off the blue pieces and replace the BUTTON
on your Logitester with the LIGHT SWITCH.
Cover over the lens of the LIGHT SWITCH and see how
the BLEEP goes on and off. This bloc switches other
blocs on when it sees light. 9
STRAIGHT
Y-BLOCK
LIGHT
SWITCH

Step 6
Still working with the Logitester, replace the LIGHT
SWITCH with the IN and plug in the Jack Plug
leaving the wires loose.
Hold the wires, one
in each hand and touch
the metal ends of the
wires together.
Again, the BLEEP
will start bleeping. The IN block is
another way to trigger the blocks and is
useful for linking your Logibloc systems
to Door Alarms, Pressure Mats and even
making Lie Detectors, Metal Detectors
and Water Sensors.
Step 7
Now replace the IN with the PULSE bloc. This
creates its own messages or pulses
automatically.
Experiment with altering the speed of the pulses by
twisting the knob. This block is useful for making
automatic systems that run on their own!
10
JACK-PLUG
IN
,,yy
,,yy
PULSE

Step 8
This time, replace the BLEEP with the OUT block and
hear it click. You could use this as a metronome to keep
your music in time!
We can use the OUT block to switch other
things, such as light bulbs and motors,
on and off. Note that this external circuit
needs its own seperate power supply.
11
,,yy,,yy
Step 9
Add on the SEQUENCER block as shown.
Notice how the SEQUENCER lights come on and
off one after another. Put the PULSE on full speed
by twisting the knob fully clockwise.
SEQUENCER
OUT
,,yy,,yy
&
eqe

Step 10
Now add on the rest of the red
blocks as shown. You can stand
this up on its side. See how far
away you can see the lights.
12
Step 11
Now let’s check out the SOUND BLOC and
the FLIP/FLOP. Put the blocks together as
shown and see how the signal swaps from
side to side of the FLIP/FLOP.
Sing to the blocks and see the traffic lights
change – they like Mozart best!
,,yy
,,yy
RED LIGHT
YELLOW LIGHT
GREEN LIGHT
FLIP/FLOP
SOUND BLOC

13
Step 12
Fix the Logitester up to the blocks
shown. Press the BUTTON for different
lengths of time and see the effects.
Notice how the NOT always does the
opposite of what you expect.
How long do you have to press the
BUTTON for, to make the YELLOW
LIGHT go off?
Step 13
Finally, let’s check the AND
and the OR blocks. Experiment
with pressing the BUTTONS and
covering the LIGHT SWITCH.
Can you see the difference
between the way the AND
and the OR blocks work?
You have successfully completed the test procedure. Well done!
Now it is time to get the Logiblocs to work and have some fun!
NOT
AND
DELAY (2-Way)
DELAY (Long)
OR

14
LIGHTS & SOUND
Many systems in real life are operated by light. Sometimes this is visible light like
the light from a flashlight or the sun. Sometimes it is invisible light like infrared.
Automatic doors are a good example of a system that
may be triggered by light. When you get near, either
a light beam is broken since you are in the way, or
the light pattern is changed enough to tell the
system to switch on the motor and open the
doors.
Another good example is an intruder
alarm that senses movement or, maybe,
picks up body heat - hot things radiate
infrared rays which can be found just
beyond the red end of the rainbow!
❶LIGHT DETECTOR
Now let's see how easy the LIGHT SWITCH is
to use. Fix the Logiblocs together as shown.
Walk around in the evening and see when the
green light is on and when the red light is on. If you
need to be quiet just take off the BLEEP and
put it in your pocket.
Try shining a flashlight at the Logiblocs
from a distance. Test your target
practice by aiming the flashlight
before you turn it on. If the
BLEEP bleeps you're on
target!

LIGHTS ANDSHADOWS
❷THE ELECTRONIC EYE
We can trigger the Logiblocs by shining light
into the LIGHT SWITCH.
Many systems use light to switch machines
on or off. A light sensor is often used to
open doors.
Some systems are controlled by invisible
light like the remote control on your TV.
Pass your hand over the lens of the
LIGHT SWITCH and see the lights
change. You need to stop all the light
getting to the lens to make this
work properly.
We will now make some other
systems controlled by light.
❸SHADOW SURPRISES
Place the same blocks upright so
that as people pass by, their shadow
makes the BLEEP come on.
How about setting up the blocks to
wake you up when the sun rises,
or when your bedroom light is
turned on.
15

❹LIGHT BREAKER ALARM
You will need a flashlight to make
the light breaker alarm. Find a
dark spot or wait until the light
is fading.
Step 1
Plug the Logiblocs together as
shown and stand them up on
the BATTERY BOX.
Step 2
Place your flashlight so that it shines
across the doorway straight at the lens
of the LIGHT SWITCH.
You have now made a Light Breaker
Alarm. When the light beam is broken
by walking through the beam, the
BLEEP will sound for about
10 seconds.
Don’t forget to disconnect the BATTERY BOX when you are not using
the Logiblocs to make the batteries last as long as possible!
16
Direction of Light

Step 3
Try using mirrors to bend the light beam around
corners. Make sure that the beam still reaches
the LIGHT SWITCH.
Why not invent some games to play with your
friends? For example, see who can limbo under
the lowest light beam without setting off the
BLEEP. It is best to remove the LONG DELAY
from the circuit so the BLEEP does not stay on
for too long.
➎PROTECT YOUR TREASURE
First make the circuit shown
and lay it down on a flat
surface.
Make sure there is enough
light shining down onto the
LIGHT SWITCH to make the
light on the Logiblocs come on.
Now cover over the LIGHT
SWITCH with a loose block
or your treasure. The two
BLEEPS will stop
sounding. If anyone tries to take your
treasure the BLEEPS will
sound the alarm.
17

18
LET'S GET CONNECTED
It is often very important that machines know where they are and what is going
on around them. They are continually checking to make sure that all is well.
For instance, a photocopier needs to know if there is any paper in the tray
before it tries to make a copy. An electric window in a car needs to know
when the window is fully open in order to stop the motor and avoid
damaging the mechanism that powers the window.
These machines often use microswitches which tell the machine when it has
reached a certain point. So when the switch is pushed the circuit is completed
which sends a signal to the controller to start or stop the next function.
This is exactly what the Logiblocs IN block can do. We don't bother with
switches but do the same thing by simply touching the two Jack Plug wires
together to complete the circuit. The IN block then tells the other Logiblocs
to get to work just as though a BUTTON had been pressed.
There are loads of ways that these two wires can be fixed up to act as
sensors. We have shown you some ideas in the following pages, but this is a
good time to experiment with designing your own sensors to make your own
gadgets using your own imagination!

LET’S GET CONNECTED
As you have seen we can use light and sound to trigger the Logiblocs.
This section shows you how to make systems which are triggered
by the Jack Plug and IN block.
❶DOOR ALARM
You will need a strip of aluminium foil and some sticky tape.
Step 1
Take the Jack Plug wires and place
them near the bottom of your door
surround with their ends sticking out
so that the door will brush past
them when it is opened. Stick the
wires on with sticky tape.
19
Step 2
Shape a strip of aluminium foil around
the edge of the door itself, at the
height of the two wires. When the
door opens, the aluminium foil will
touch both wires which can be used
to trigger the Logiblocs into action.
This is called completing the circuit.
Step 3
Fix the Logiblocs together as shown and
plug in the Jack Plug to complete the
system. Hide the Logibloc system
you have made. Now, if anyone
opens the door, the alarm will
go off!

❷DRAWER GUARD
You can fix up your special
drawer using some aluminium
foil as shown. If the drawer is
opened the aluminium foil will
brush past the two metal ends
of the Jack Plug wires so
completing the circuit and
setting the alarm off.
Hide the Logiblocs at the back
or beside the drawer where
there is usually a bit of space.
❸ METAL DETECTOR
Using the same Logibloc arrangement but without the
LONG DELAY, we can use the two metal ends of the
Jack Plug Wires to test for metal. Touch the ends of
the wires in two places on the item to be tested. If
the BLEEP sounds, then you have found metal
because metal conducts electricity
Remember not to put these wires anywhere near any
mains electrical outlets because that could be very
dangerous.
❹WATER DETECTOR
Water also conducts electricity. You can test
for water by putting the two ends of the
Jack Plug wires into water. You may need
to add small plates of aluminium foil to the
ends to make the effect
greater.
Add the NOT between the IN and the
CROSS block and you could also tell when a
flow of water has stopped in a garden hose
20
Table of contents
Other Logiblocs Toy manuals
Popular Toy manuals by other brands

M.T.H.
M.T.H. New York MTA R-21 operating instructions

PASCO
PASCO ME-6843 instruction manual

Mega Bloks
Mega Bloks ILLUMINATION ENTERTAINMENT minions Castle... manual

B.toys
B.toys Woofer's Musical Driving Wheel quick start guide

XciteRC
XciteRC RC Mini-Racebike RTR 2,4 GHz red manual

Glow Bricks
Glow Bricks Harry Potter Lego 76408 installation guide

Hacker
Hacker Calidus 50E user manual

Phoenix Model
Phoenix Model GRIPEN instruction manual

Sportsman Aviation
Sportsman Aviation Paramount 61 3D Assembly instructions/use and care manual

POLA G
POLA G 331736 manual

Jamara
Jamara Barbados Motoryacht Instruction

Fisher-Price
Fisher-Price Creative Genius owner's manual