Lojer Pulley 14 Operating instructions

MEDICAL FITNESS
Lojer Pulleys
Operating and
maintenance
manual
Käyttö-jahuolto-
ohje
Bruks-och
underhållsanvisning
Bedienungs-und
wartungsanleitung

Laitteenmalli/Model of the device ___________________________________________
Sarjanumero(Serialnumber of the device ______________________________________
Ostopäivä/Dateof purchace _________________________________________________
Yourlocal dealer__________________________________________________________

Lojer Pulley ja Vertical pull
Operating and maintenance manual

Copyright © Lojer Oy, 2012
09/2012 Rev. 3.0
Contents
1Lojer Pulleys...................................................................................................................................................... 1
1.1 Description of parts...........................................................................................................................................1
1.2 Accessories........................................................................................................................................................2
1.3 Symbols used on the device..............................................................................................................................2
2Introduction ...................................................................................................................................................... 3
2.1 Inspection upon delivery...................................................................................................................................3
2.2 Before use .........................................................................................................................................................3
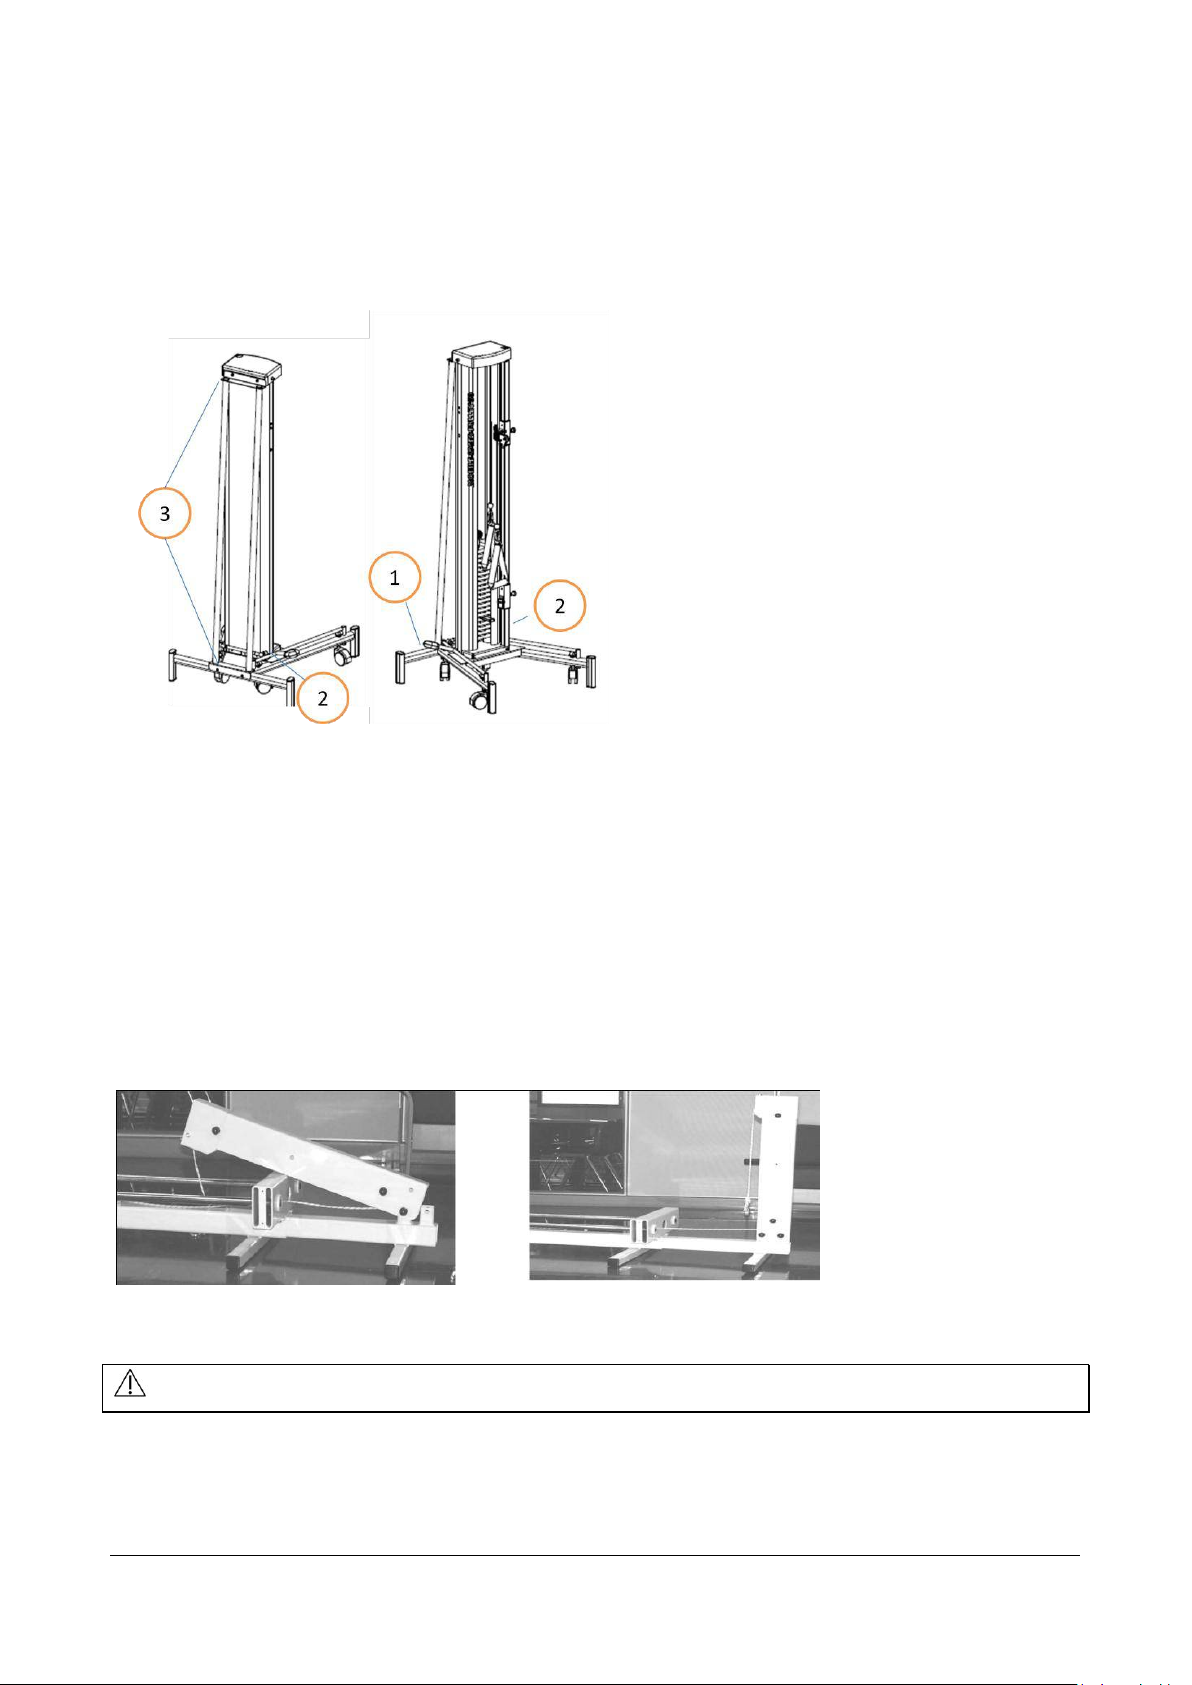
2.3 Installing the Mobile Pulley...............................................................................................................................4
2.4 Installing the Vertical Pull..................................................................................................................................4
3Using the Pulley................................................................................................................................................. 5
3.1 Using the mobile stand (Mobile Pulley only) ....................................................................................................5
3.2 Adjusting the weights........................................................................................................................................5
3.3 Adjusting the draw height.................................................................................................................................6
3.4 Length adjustment of the rope .........................................................................................................................6
3.5 Changing of the drawing handle of Pulleys.......................................................................................................6
4Cleaning and disinfection .................................................................................................................................. 7
4.1 Metal and plastic surfaces.................................................................................................................................7
5Maintenance..................................................................................................................................................... 8
5.1 Daily measures..................................................................................................................................................8
5.2 Biannual and annual measures.........................................................................................................................8
5.3 Changing the Pulley rope ..................................................................................................................................9
5.4 Splicing the rope of the Vertical Pull...............................................................................................................10
5.5 Spare parts ......................................................................................................................................................10
6Technical information.......................................................................................................................................11
6.1 Standards ........................................................................................................................................................11
7Recycling ..........................................................................................................................................................11
Read the instructions fully before using the device.

Copyright © Lojer Oy, 2012 1
09/2012 Rev. 3.0
Figure 1: Lojer Pulleys
1Lojer Pulleys
The Lojer Pulleys are to be used in medical fitness and rehabilitation under physiotherapist’s supervision, together
with a training plan made by the therapy professional. Training plan should include the method, accessories, weight
and number of repeats.
This user manual is made for following products: Lojer Pulleys, Lojer Speed Pulleys and vertical pulls.
This document gives instructions for operating and maintaining Lojer Pulleys. Please familiarise yourself with these
instructions before using the device. Use the device only as described and for the specified applications. Store these
instructions in an appropriate way, making sure that the instructions are available to all possible users throughout the
life of the device.
To avoid injury, follow the instructions given in this document.
1.1 Description of parts
The sections of Lojer Pulleys are shown below (Figure 1 and Figure 2).
1
Pulley wheel(s)
2
Drawing handle
3
Adjustment fork
4
Height adjustment knobs
5
Weight stack
6
Total kilograms of weight stack
7
Central locking pedal
8
Transportation wheels

Copyright © Lojer Oy, 2012 2
09/2012 Rev. 3.0
Figure 2: Lojer Vertical Pull
1
Crossbar (gantry)
2
Lower adjusting wheel
3
Handle
4
Adjusting fork
5
Height adjustment knob
1.2 Accessories
Lojer Pulleys are designed to be used with number of accessories (Figure 3), that enable different type of exercises.
Use only accessories that are defined by the manufacturer. See more at www.lojer.com or ask from your Lojer dealer.
1.3 Symbols used on the device
Symbol
Description
CE
This product meet the requirements of Medical Device Directive 93/42/EEC
Warning label (squeezing hazard)
This symbol points out important safety instructions, which must be very carefully followed.
By following the instructions of this manual you ensure the personal safety and property of
yourself, your patients and others.
Figure 3: Accessories

Copyright © Lojer Oy, 2012 3
09/2012 Rev. 3.0
2Introduction
2.1 Inspection upon delivery
Before the device is taken into use, check that the packaging is intact and that it has not been damaged during
transportation. Please notify the transport company and the supplier of any transit damage within two (2) days of
receiving the delivery.
Ensure that the delivery contains all the parts detailed in the delivery note. If there is anything missing from the
delivery consignment, please contact the supplier immediately.
The device can be stored at a temperature of -10...+60 °C. The permitted humidity is 30...75 %.
2.2 Before use
Remove all the bands and the blocks around the weight stack before using the product.
The device is intended to be used in normal, dry indoor conditions. Ensure that the temperature of the room is
between +10…40 °C and the humidity is within the range of 30…75 %. If there is chance that device has been exposed
to temperatures below 0°C, allow it to adjust to the indoor temperature for at least 5 hours before using any of its
features.
Familiarise yourself with the instructions and carry out the following before using the device:
Make sure that all packing materials have been removed.
Make sure that the device can freely move up and down.
Do not place anything under the device (e.g. chair, because the device has to be able move freely).
Make sure that the patient’s limbs do not get caught in the frame of the device.
Do not place the device under any wall structures or too close to the wall.
Do not modify the structure of the device or install parts other than those mentioned in this
document.
Do not use the device or the accessory if it doesn’t work properly. Contact the service
Do not push the device on to a door sill.
The physiotherapist should always supervise the training.
Inspect the Pulley before use. Do not use if the Pulley appears damaged or inoperable.
Inspect all ropes, straps and their connections. Do not use if the component is found worn or
damaged.
Keep body and clothing free and clear of all moving parts. Failure to do so could result in personal
injury.
Do not use dumbbells or other means to incrementally increase the weight resistance, other than
those provided by the manufacturer.
Do not modify the structure of the Pulley or install parts other than those mentioned in this document
on the device.
WARNING! Children or people with no experience of the device or those with restricted
understanding must not use the device. Children must be supervised to ensure that they do not play
with the device!

Copyright © Lojer Oy, 2012 4
09/2012 Rev. 3.0
Figure 4: Installing the mobile pulley
2.3 Installing the Mobile Pulley
Assemble the mobile section to the Speed Pulley (Figure 4) with supports and screws exactly to vertically position in
case the delivery occurs separately.
Lift the pulley to the mobile stand
Screw M8X20 (4) both sides
Screw the back bracket on M6X20 with washers (4). Make sure the pulley is in straight line.
2.4 Installing the Vertical Pull
Fix the Vertical Pull against a solid wall that can stand the utilization of the device. The Vertical Pull must be installed
exactly vertically (when looked at both from the side and from the front).
Install the Vertical Pull as follows:
First compile the top part of the Vertical Pull by turning the bearer into its place and clamping the bolts. Then push the
top part into its place inside the frame (Figure 5).
Attach the Vertical Pull firmly against the wall. Fix the top part (the bearer) to the wall as high as possible, the
maximum height being however 70 cm from its lowest position.
Pull the rope/wire tight and make sure it functions properly.
Make sure the wall is solid enough before installing the device.
Figure 5: Installing the vertical pull

Copyright © Lojer Oy, 2012 5
09/2012 Rev. 3.0
Figure 6: Locking pedal
Figure 7: Extra weights
3Using the Pulley
3.1 Using the mobile stand (Mobile Pulley only)
When you are using the device be sure that the device is standing on the legs and the wheels are lifted up. If you want
to move the device, press the pedal (Figure 6) downwards, and the wheels are on.
SQUEEZING HAZARD! Make sure that nothing is or gets under the device or between the structure of
the device during lifting/lowering.
3.2 Adjusting the weights
Pulley:
In the pulleys you can adjust the weights at 0,5 –1,0 kg intervals by placing the adjusting fork in a slot under the
desired weight amount. There is also available a set of extra weights (Figure 7)(3 x 0,250 kg, see: Accessories) that you
can add above the weight stack when needed. Make sure that extra weights are properly attached and they cannot
drop between the weight stack and casing.
Speed Pulley:
you can adjust the weights by the following: The ratio of the resistance is 1:5, the resistance coming out is 0,5 kg’s per
rope per plate. For instance 4 weight stack plates means 2 kg resistance per rope. By combining the ropes so that you
have only one handle to pull, the resistance is double, for instance 4 weight plates –resistance 4 kg. Weights can be
adjusted by placing the adjusting fork in a slot under the desired weight amount.
Vertical Pull:
You can adjust the weights at 5 kg tolerance by placing the adjusting fork in a slot under the desired weight amount.
Before using the devices, make sure that the fork is correctly positioned at the end of the slot of
weight stack, and the rope and its hook are not damaged.
Make sure that mobile pulley is not on the wheels when using the device.

Copyright © Lojer Oy, 2012 6
09/2012 Rev. 3.0
Figure 8: Adjusting bar
3.3 Adjusting the draw height
You can adjust the draw height from the adjusting bar (Figure 8) in front of the device (the clear tube with holes). You
can adjust the draw height or the length of the rope by pulling the adjusting knob and at the same time moving the
adjusting parts up- or downwards.
When using a Vertical Pull device with the lower adjusting wheel, do not pull the rope to the side.
3.4 Length adjustment of the rope
The rope length can be adjusted from the lower adjustment piece at the chromium plated bar (Figure 8).
3.5 Changing of the drawing handle of Pulleys
The handle is changed by opening the hook at the end of the rope, removing the old handle and replacing it with a
new one. You may use various kinds of drawing handles in Pulleys. You get the standard triangle handles along with
the Pulley (see Accessories catalog or ask your local dealer).

Copyright © Lojer Oy, 2012 7
09/2012 Rev. 3.0
4Cleaning and disinfection
Before cleaning remove all accessories.
Clean stains as soon as possible.
In order to keep the surfaces in good condition do the cleaning regularly. Do cleaning/disinfectant always between
patients. Do more thorough cleaning once a month. Follow the cleaning/disinfecting instructions given by the
respective facility.
4.1 Metal and plastic surfaces
Clean the metal and plastic surfaces and with a damp cloth and weak alkaline cleaning fluid. Use small brush for
corners and other difficult spots. Rinse with clean water and dry carefully after cleaning. Do not use excessive fluids.
Use disinfectant (alcohol or chlorine) and follow the disinfectant manufacturer’s instructions for use. Let dry by
evaporation in room temperature.
Plastic surfaces (ABS, HDPE, PP) are highly resistant to chemicals. Plastic is resistant to bleaching agents (alkaline
compounds), dilute organic or inorganic acids. Also solvents and cleaning agents may be used.
Plastic surfaces may get damaged if aromatic hydrocarbons (benzene and its derivates), ketones, ethers, esters and
chlorinated hydrocarbons are used. Plastic might also deteriorate if it is exposed to various chemicals at the same
time.
Stainless steel surfaces are highly resistant to chemicals. Use for mild detergent solution for cleaning. Ammonia and
most of the solvents can be used to remove difficult stains. Avoid chlorine based solutions.
Painted or chromed metal surfaces can be cleaned with mild detergent. They are also highly resistant to chemicals. Do
not use harsh abrasive powders on these surfaces.
All surfaces must be dry before using the device.
Do not use water spray (shower, high-pressure water guns) for cleaning.
Do not clean in high temperature and air humidity.
Do not expose the device to excessive moisture which can result in liquid pooling.
Do not use solvents or petrol for cleaning. Do not use acids for cleaning.
Dry all surfaces thoroughly after cleaning or disinfection.
Disinfecting wears out the surfaces. After disinfecting clean the surfaces with clean, damp cloth. Dilute
the disinfectant according to the manufacturer’s instructions.
Recommendable cleaning agent: Lojer Desiplint (1:10), which is effective against bacteria without drying the
upholstery material.
Repeat the cleaning procedure if necessary. (Composition of Lojer Desiplint: Chlorhexidine-digluconate 0,1 –0,2 %,
water 99,8 %.)
After disinfecting, wipe the surface with a clean, damp cloth after disinfecting.
Dried substances or substances that have penetrated for an extended period may not be able to be removed
completely

Copyright © Lojer Oy, 2012 8
09/2012 Rev. 3.0
5Maintenance
Only trained person may carry out service and repair. Maintenance carried out by an authorized
person may cause injury or damage to the device which the manufacturer is not responsible for.
All service and repair operations must be documented.
5.1 Daily measures
Inspect all ropes, straps and their connections.
Do not use if the component is found worn or damaged.
5.2 Biannual and annual measures
Lubricate the slide bars (25 mm barrels, in encased models inside the case) of the weight stack approximately every six
months. For example, use WD-40 spray lubricant.
Check also the condition of the rope and its hook regularly and change them into new ones, when necessary.
Change the rope after 12 months of utilization. Use always original LOJER rope.
If the Pulley makes abnormal noises or does not function correctly, perform the maintenance
measures without delay and/or contact the distributor's maintenance service.

Copyright © Lojer Oy, 2012 9
09/2012 Rev. 3.0
5.3 Changing the Pulley rope
Splicing of the rope is shown below (Figure 9).
Slide the rope through the right height adjustment wheel.
Slip it then downwards and round the lower adjustment wheel so that the rope comes
out from behind of the wheel.
Pull the rope then all the way up and slide it through the little hole and over the wheel
so that the rope comes out from behind of the wheel.
Draw the rope behind the first upper wheel, and then sequentially round every wheel
(down –up –down …) according to the pictures.
Change the last circle so that the rope goes behind the last upper wheel and comes out
from the front of the wheel.
Slip the rope then through the left adjustment wheel.
Figure 9: Splicing of the rope (Speed Pulley on the left)

Copyright © Lojer Oy, 2012 10
09/2012 Rev. 3.0
5.4 Splicing the rope of the Vertical Pull
Splicing the rope to lower adjusting wheel:
Attach the rope to the weight stack.
Splice the rope.
Turn the adjustment roll down so, that the yellow triangle sticker is on the bottom of the roll (Figure 10a).
When changing the rope, make sure that the rope attached correctly (picture). The rope must be spliced crosswise
(Figure 10b).
5.5 Spare parts
To order spare parts contact the Lojer service. Before contacting the service, find out the following information from
the type plate of the device.
Name, model and the serial number of the device
Date of purchase
Description of the problem
Most common spare parts are shown below.
Pulley
Speed
Pulley
Vertical
Pull
LM104Ä
Rope Lojer Vertical Pulley
LM105Ä
Rope Lojer Speed Pulley
LM106Ä
Rope Lojer Pulley
R14544
Pulley wheel, plastic
SE9275Ä
Weight stack fork Pulley, small
LL15500
Weight stack fork LMF, big
R2826171K
Adjusting knob GN 817, yellow
R282617K
Adjusting knob GN 817, yellow, self-locking
Figure 10: a) Triangle sticker downwards b) Locking the rope

Copyright © Lojer Oy, 2012 11
09/2012 Rev. 3.0
Figure 11: Type plate
6Technical information
Check the information also from the type plate (Figure 11).
50kg
speed pulley
14-20kg
pulley
Speed pulley
80-100kg
Vertical pull
50-80-100kg
Total weight
68kg
30-36kg
154-174kg
142-172-192kg
Lenght
18 cm
18cm
46cm
82cm
Width
26cm
26cm
51cm
51cm
Height
230cm
230cm
216cm
228-298cm
Weight stack
50kg
14-20kg
80-100kg
50-80-100kg
6.1 Standards
The device is in conformity with essential requirements of the Directive 93/42/EEC (Medical devices) and the
corresponding Finnish National Law no. 629 (2010). The device is marked with CE marking. The device is classified as
Class I medical device according to the directive.
7Recycling
Most of the materials used in the device are recyclable. When the device is removed from usage, it should be
dissembled and recycled appropriately. Recycling should be done by specialized company. Do not dispose the device
in the household waste.
Remove the battery from the device. The oil from the hydraulic system should be removed and disposed
appropriately. Gas springs should be unpressurised and oilfree before recycling.
Following materials should be separated before recycling:
METALS: frame, screws, nails, springs etc.
ENERGY WASTE (combustible waste): wood and wood-based materials.
ELECTRIC WASTE: wires, power cords, actuators etc.
HOUSE HOLD WASTE: plastic, upholsteries and other materials which cannot be
separated further.
Contact your local disposal authority for more details of how to recycle. Follow the instructions given in local
collection points.

Lojer Pulley ja Vertical pull
Käyttö- ja huolto-ohje

Copyright © Lojer Oy, 2012
09/2012 Rev. 3.0
Sisältö
1Lojer Pulleyt ...................................................................................................................................................... 1
1.1 Laitteen osat......................................................................................................................................................1
1.2 Lisävarusteet.....................................................................................................................................................2
1.3 Laitteessa olevat merkinnät..............................................................................................................................2
2Käyttöönotto..................................................................................................................................................... 3
2.1 Vastaanottotarkistus.........................................................................................................................................3
2.2 Ennen käyttöä...................................................................................................................................................3
2.3 Mobile Pulleyn asentaminen.............................................................................................................................4
2.4 Vertical Pullin asentaminen...............................................................................................................................4
3Laitteen käyttö.................................................................................................................................................. 5
3.1 Mobile alustan käyttö (vain Mobile Pulley ).....................................................................................................5
3.2 Painojen säätö...................................................................................................................................................5
3.3 Vetokorkeuden säätäminen..............................................................................................................................6
3.4 Narun pituuden säätö .......................................................................................................................................6
3.5 Vetokahvan vaihto ............................................................................................................................................6
4Puhdistus ja desinfiointi .................................................................................................................................... 7
4.1 Metalli- ja muovipinnat.....................................................................................................................................7
5Huolto ............................................................................................................................................................... 8
5.1 Päivittäiset toimenpiteet...................................................................................................................................8
5.2 Puolivuosittaiset ja vuosittaiset toimenpiteet ..................................................................................................8
5.3 Narun vaihtaminen............................................................................................................................................9
5.4 Narun vaihto (Vertical Pull).............................................................................................................................10
5.5 Varaosat..........................................................................................................................................................10
6Tekniset tiedot .................................................................................................................................................11
6.1 Standardit........................................................................................................................................................11
7Kierrätys...........................................................................................................................................................11
Lue aina käyttöohjeet huolellisesti ennen käyttöä.

Copyright © Lojer Oy, 2012 1
09/2012 Rev. 3.0
Kuva 1: Lojer vetolaitteet
1Lojer Pulleyt
Lojer Pulley vetolaitteet on tarkoitettu lääkinnälliseen harjoitusterapiaan ja kuntoutukseen. Laitteet on tarkoitettu
käytettäväksi fysioterapeutin valvonnassa ammattilaisen tekemän harjoitusohjelman mukaisesti. Harjoitusohjelman
tulisi sisältää liikkeet, mahdolliset lisälaitteet, käytettävä paino sekä toistojen lukumäärä..
Tämä käyttöohje koskee seuraavia laitteita: Lojer Pulleyt, Lojer Speed Pulleyt ja Lojer Vertical Pulleyt.
Tässä dokumentissa ohjeistetaan laitteen käyttöön ja huoltoon. Tutustu huolellisesti tähän ohjeeseen ennen laitteen
pakkauksen purkamista ja käyttöä. Huolehdi käyttöohjeen asianmukaisesta säilytyksestä. Näin varmistat, että ohje on
kaikkien laitetta käyttävien saatavilla koko tuotteen elinkaaren ajan.
Noudata annettuja ohjeita vahinkojen välttämiseksi.
1.1 Laitteen osat
Lojer vetolaitteiden osat on esitetty alla olevissa kuvissa (Kuva 1,Kuva 2).
1
Pulley wheel(s)
2
Vetokahva
3
Säätöhaarukka
4
Korkeuden säätönupit
5
Painopakka
6
Painopakan kokonaispaino
7
Lukituspoljin
8
Siirtopyörät

Copyright © Lojer Oy, 2012 2
09/2012 Rev. 3.0
Kuva 2: Lojer Vertical Pull
1
Ylätalja
2
Alatalja
3
Vetokahva
4
Säätöhaarukka
5
Korkeuden säätönuppi
1.2 Lisävarusteet
Vetolaitteisiin on saatavilla useita lisävarusteita (Kuva 3). Käytä ainoastaan valmistajan hyväksymiä lisävarusteita.
Lisätietoja www.lojer.com). Varmista lisävarusteiden oikea käyttötapa.
1.3 Laitteessa olevat merkinnät
Symboli
Kuvaus
CE
Tämä tuote täyttää lääkinnällisten laitteiden EU -direktiivin 93/42/EEC vaatimukset
Varoitustarra (puristumisvaara)
Tällä symbolilla merkitään tärkeää turvallisuuteen liittyvä informaatio, jota tulee noudattaa.
Noudattamalla turvallisuusohjeita varmistetaan laitteen turvallinen käyttö potilaalle,
terapeutille sekä muille.
Kuva 3: Lisävarusteet

Copyright © Lojer Oy, 2012 3
09/2012 Rev. 3.0
2Käyttöönotto
2.1 Vastaanottotarkistus
Ennen laitteen käyttöönottoa tarkista, että kuljetuspakkaus on ehjä eikä kuljetusvaurioita ole syntynyt. Ilmoita
mahdollisista kuljetusvaurioista kuljetusliikkeelle ja toimittajalle kahden (2) päivän kuluessa tavaran vastaanotosta.
Tarkista, että toimituksessa on mukana lähetysluettelossa mainitut osat. Mikäli toimituksessa on puutteita, ota
välittömästi yhteys toimittajaan.
Laitteen sallittu varastointilämpötila on -5...+60°C. Varastointitilan suositeltava kosteus on 30…75 %.
2.2 Ennen käyttöä
Varmista, että tuet ja hihnat yms. pakkausmateriaali on poistettu painopakan ympäriltä.
Laite on tarkoitettu käytettäväksi normaaleissa, kuivissa sisätiloissa. Käyttöympäristön lämpötilan tulee olla 10…40° C
ja suhteellisen kosteuden 30…75%. Jos on mahdollista, että laite on kuljetuksen aikana altistunut pakkaselle, pidä
laitetta huoneenlämmössä väh. 5 tuntia ennen käytön aloittamista.
Tutustu huolella käyttöohjeeseen ja tee seuraavat toimenpiteet ennen käyttöä:
Varmista, että kaikki pakkausmateriaali on poistettu
Varmista, että laite pääsee liikkumaan vapaasti ylös- ja alaspäin
Älä sijoita mitään esim. tuolia laitteen alle. Varmista, ettei potilaan raajat jää laitteen rakenteiden
väliin.
Varmista laitteen oikea sijoitus ja seinäkiinnityksen kestävyys.
Älä muuta laitteen rakennetta tai asenna siihen muita kuin tässä dokumentissa mainittuja tuotteeseen
kuuluvia, valmistajan hyväksymiä osia.
Mikäli laitteessa tai lisävarusteessa ilmenee toimintahäiriö, tulee laite välittömästi poistaa käytöstä ja
ottaa yhteys huoltoon.
Laitetta ei saa työntää päin kynnystä
Fysioterapeutin tulee aina valvoa harjoitusta.
Tarkista laite ennen käyttöä. Älä käytä laitetta, jos se vaikuttaa vialliselta..
Tarkasta kaikki köydet ja hihnat. Älä käytä laitetta, jos ne vaikuttavat vaurioituneilta.
Ruumiinosien tai vaatetuksen joutuminen laitteen liikkuvien osien väliin saattaa aiheuttaa vammoja.
Noudata huolellisuutta käytettäessä laitetta
Älä käytä käsipainoja tai muita vastaavia keinoja asteittaiseen vastuksen nostamiseen. Lisävarusteena
saatavana valmistajan hyväksymä lisäpainosarja.
Älä muuta laitteen rakennetta tai asenna siihen muita kuin tässä dokumentissa mainittuja tuotteeseen
kuuluvia, valmistajan hyväksymiä osia.
VAROITUS! Lapset tai henkilöt, joilla ei ole kokemusta tai tietoa laitteen käytöstä tai joiden ymmärrys
on rajoittunut, eivät saa käyttää laitetta. Lapsia on valvottava, jotta laitteella ei pääse leikkimään.
This manual suits for next models
3
Table of contents
Languages:
Other Lojer Fitness Equipment manuals
Popular Fitness Equipment manuals by other brands

Adidas Performance
Adidas Performance ADBE-10500 manual

Tumbl Trak
Tumbl Trak Fitness Wheel instructions

Weider
Weider Pro 550 Bench Manual Del Usuario

SPIETH
SPIETH Barcelona Assembly and user's manual

BH
BH Tecnovita ACTIVEPOWER YV16 Instructions for assembly and use

Apex Digital
Apex Digital DIGI-STIM instruction manual