LONGONI VITRA User manual

1
T A B L E O F C O N T E N T S
1. GENERAL INFORMATION page 3
1.1 MANUFACTURER
1.2 SERVICE CENTERS
1.3 CERTIFICATIONS
1.4 WARRANTY
1.5 PREARRANGEMENTS BORNE BY THE CLIENT
1.6 STRUCTURE OF THE MANUAL
1.6.1 SCOPE AND CONTENT
1.6.2 INTENDED READERS
1.6.3 CONSERVATION OF THIS MANUAL
1.6.4 SYMBOLS USED
2. DESCRIPTION AND FUNCTIONING page 5
2.1 DESCRIPTION
2.2 FUNCTIONING
3. PREARRANGEMENTS page 5
3.1 LIGHTING
3.2 VIBRATIONS
3.3 NOISE EMISSIONS
3.3. SUPPLIES UPON REQUEST
3.4 ELECTROMAGNETIC ENVIRONMENT
4. SAFETY page 6
4.1 GENERAL WARNINGS
4.2 RECOMMENDED USE
4.3 CONTRAINDICATIONS AND PRECAUTIONS FOR USE
4.4 HAZARDOUS AREAS
4.5 SHUT-DOWN PROCEDURE
4.6 LABEL PLATES
5. SHIPPING AND HANDLING page 8
5.1 SHIPPING AND HANDLING
5.2 STORAGE
5.3 CHECKS AND INSPECTIONS
6. INSTALLATION page 9
6.1 COMMISSIONING
6.2 PREARRANGEMENTS
6.3 CONNECTIONS
6.3.1 WIRING

2
7. FUNCTIONING: page 11
7.1 OPERATORS
7.2 PUTTING INTO OPERATION
7.3 START - UP AND CONTROL PANEL
7.3.1 CONTROL PANEL FUNCTIONS
7.4 TEMPERATURE ADJUSTMENT
7.4.1 DISPLAY SYMBOLS
7.4.2 DEFROSTING
7.4.3 TEMPERATURE DISPLAYED
7.5 ALLARM
4.5.1 ALLARM LIST
7.6 STORAGE OF FOOD ITEMS
7.7 PRESERVATION OF FOOD ITEMS
8. ORDINARY AND SCHEDULED MAINTENANCE page 20
8.1 SAFETY STANDARD REGULATIONS
8.1.1 PROHIBITION AGAINST REMOVAL OF SAFETY DEVICES
8.1.2 GUIDELINES FOR FIRE-FIGHTING EMERGENCY RESPONSE
8.1.3 CLEANING OF INTERNAL PARTS
8.1.4 CLEANING OF THE CONDENSER
8.1.5 PERIODICAL CHECKS AND INSPECTIONS
9. SPECIAL MAINTENANCE AND REPAIR page 21
10. TROUBLESHOOTING page 21
1.1 QR CODE page 22
11. SPARE PARTS page 23
11.1 SUPPLY OF ORIGINAL SPARE PARTS
12. DISMANTLING page 23
13. ATTACHMENTS page 24
13.1 CERTIFICATES

3
1. G E N E R A L I N F O R M A T I O N
1.1 THE MANUFACTURER
Longoni Div. Freddo was founded in 1983 and quickly established itself as a leader in the sector of refrigerated display cases. It
is thanks to the company’s dynamic commitment to research, innovation and ongoing development of new products that
Longoni has become one of the world's most prestigious brands in the refrigerator industry. All our products are tried, tested
and proven one by one, as certified by the WARRANTY CARD and TEST CERTIFICATE that you will find attached to this manual.
We recommend that you follow the instructions contained herein to increase the durability of your new refrigerator.
1.2 SERVICE CENTER
(Sales, Assistance, Spare parts and Sales Rep)
RETAILER STAMP
For further assistance regarding use and maintenance of the refrigerator or request for spare parts, please
contact your dealer, indicating the identification data stated on the label plates (model, serial number, etc.)
See Label A at paragraph 4.6
1.3 CERTIFICATIONS
Our refrigerated display cases and air-condensed refrigerator units are manufactured in conformity with the relevant UE
Directives applicable at the moment these products are released into the market. Since the refrigerator under
consideration is not covered by ATTACHMENT IV of Directive 98/37/EEC, it is up to the manufacturer to provide the CE
marking self-certification.
1.4 WARRANTY
The new apparatus is covered by WARRANTY
.
The Warranty Card is packed with each product and comes with this manual. In case the warranty card is missing, please
request it from your supplier, indicating the following data:
Model and Serial Number
Purchase date
1.5 PREARRANGEMENTS BORNE BY THE CLIENT
The Client is in charge of carrying out the installation work described in this manual.
Unless different contractual agreements have been specifically made, the Client is usually in charge of:
Prearranging the premises where the apparatus is to be installed, as well as
any building work and or /ducts (if required);
Installing a power supply system in conformity with the regulations in force in
the Country where the apparatus is being used
Detergents for cleaning the refrigerator

4
1.6 S T R U C T U R E OF THE MANUAL
The Client must carefully read the information contained in this Manual, in that proper prearrangements and
correct installation and use of the refrigerator are the basis of a profitable Client - Manufacturer relationship.
1.6.1 SCOPE AND CONTENT
The purpose of this Manual is to provide all the necessary information to enable the client to use and
manage the apparatus in the most safe and autonomous manner possible. This manual contains
exhaustive information related to technical aspects, such as functioning, shut–down and maintenance,
as well as spare parts and safety issues.
Before performing any operation on the apparatus, the operators and qualified technicians must carefully
read the instructions contained in this user and maintenance manual.
Please refer to your dealer to clarify any doubts you may have with regards to the proper interpretation
of the instructions.
1.6.2 INTENDED READERS
This manual is intended for use by dealers, users and authorized maintenance staff.
End users are strictly forbidden from performing any operations that are exclusively assigned to
maintenance staff or qualified technicians. The manufacturer shall not be held liable for any damage due
to non-compliance with the foregoing restriction.
1.6.3 CONSERVATION OF THE MANUAL
1.6.4 SYMBOLS USED
SYMBOL
MEANING
NOTE:
A…
WARNING
Indicates a warning or a note regarding
key functions or useful information.
Pay special attention to blocks of text
markedwiththis symbol.
C…
CONSULTATION
Consult the instruction manual
before performing a specific
operation.

5
2. D E S C R I P T I O N A N D F U N C T I O N I N G
2.1 DESCRIPTION
The display cases are fitted with air - condensed refrigerator units composed of the following parts (as regards the
electrical system):
Condenser unit (outside of the cell)
Evaporator unit (inside of the cell)
Control and command panel located at the top part of the door (see attachment 13.2.3).
Automatic defrost
Condensation achieved by air-flow
2.2 FUNCTIONING
The refrigerated display case is fitted with an airtight refrigerator compressor, fed by a single-phase power line.
The refrigerant liquid used is type R404A.
Refrigeration cycle working principle
A sequence of thermodynamic processes causing a change in the status of a given substance (for example, liquid
refrigerant) is known as the refrigeration cycle. When the refrigerant enters the evaporator, it is transformed into
a gas (evaporation) by means of an endothermic process where heat is required and absorbed –when needed -
from the air with which the evaporator is in contact. As a result, when the refrigerant exits the evaporator, the
vapours are absorbed by a compressor and sent to the condenser. If the latter, along with the heat that the
gaseous refrigerant accumulates during the evaporation process (evaporation enthalpy) also absorbs the calorific
equivalent released during the compression process, the refrigerant returns to a liquid state. Given that
liquefaction is an endothermic process, heat is produced and then dissipated by air–flow. After exiting the
condenser, the liquid refrigerant flows through an expansion element and then returns to the evaporator, thus
completing the refrigeration cycle.
3. P R E A R R A N G E M E N T S
3.1 LIGHTING
The refrigerator must be located in a well-lit area, according to the regulations currently in force in the country
where it is being installed. The lighting system must guarantee optimal visibility from all directions, with no
hazardous reflections, and also enable clear visibility and readability of the control panel icons.
3.2 VIBRATIONS
If the apparatus is operated in accordance with the instructions, vibrations are unlikely to cause the rising of
hazardous situations.
3.3 NOISE EMISSIONS
The refrigeration unit is designed and manufactured in such a way as to reduce noise at source (see attachment
13.2.2).

6
3.3.1 SUPPLIES UPON REQUEST
It is understood that modifications and/or addition of components are subject to manufacturer's approval and must be
made by the manufacturer himself.
3.4 ELECTROMAGNETIC ENVIRONMENT
The refrigerator is designed to operate correctly within an electromagnetic environment of industrial type,
as it falls within the Electromagnetic Emissions & Immunity limits provided for by the Harmonised standards
given below:
EN 50081-2 Electromagnetic compatibility - Generic emission standard - Part 2 -Industrial environment (1993).
EN 50082-2 Electromagnetic compatibility - Generic immunity standard -Part 2 - Industrial environment (1995).
4. S A F E T Y
4.1 GENERAL WARNINGS
The operator must carefully read the information contained in this manual, giving special attention to the
safety precautions listed in this chapter.
The User must also follow the safety guidelines listed hereunder:
Always keep the display case clean and tidy;
Do not remove or modify the label plates affixed by the manufacturer;
Do not remove or ignore safety devices;
Do not touch the apparatus when hands or feet are wet or damp;
Do not touch the apparatus when barefoot;
Do not introduce screw drivers or any other object in between guards or parts in motion;
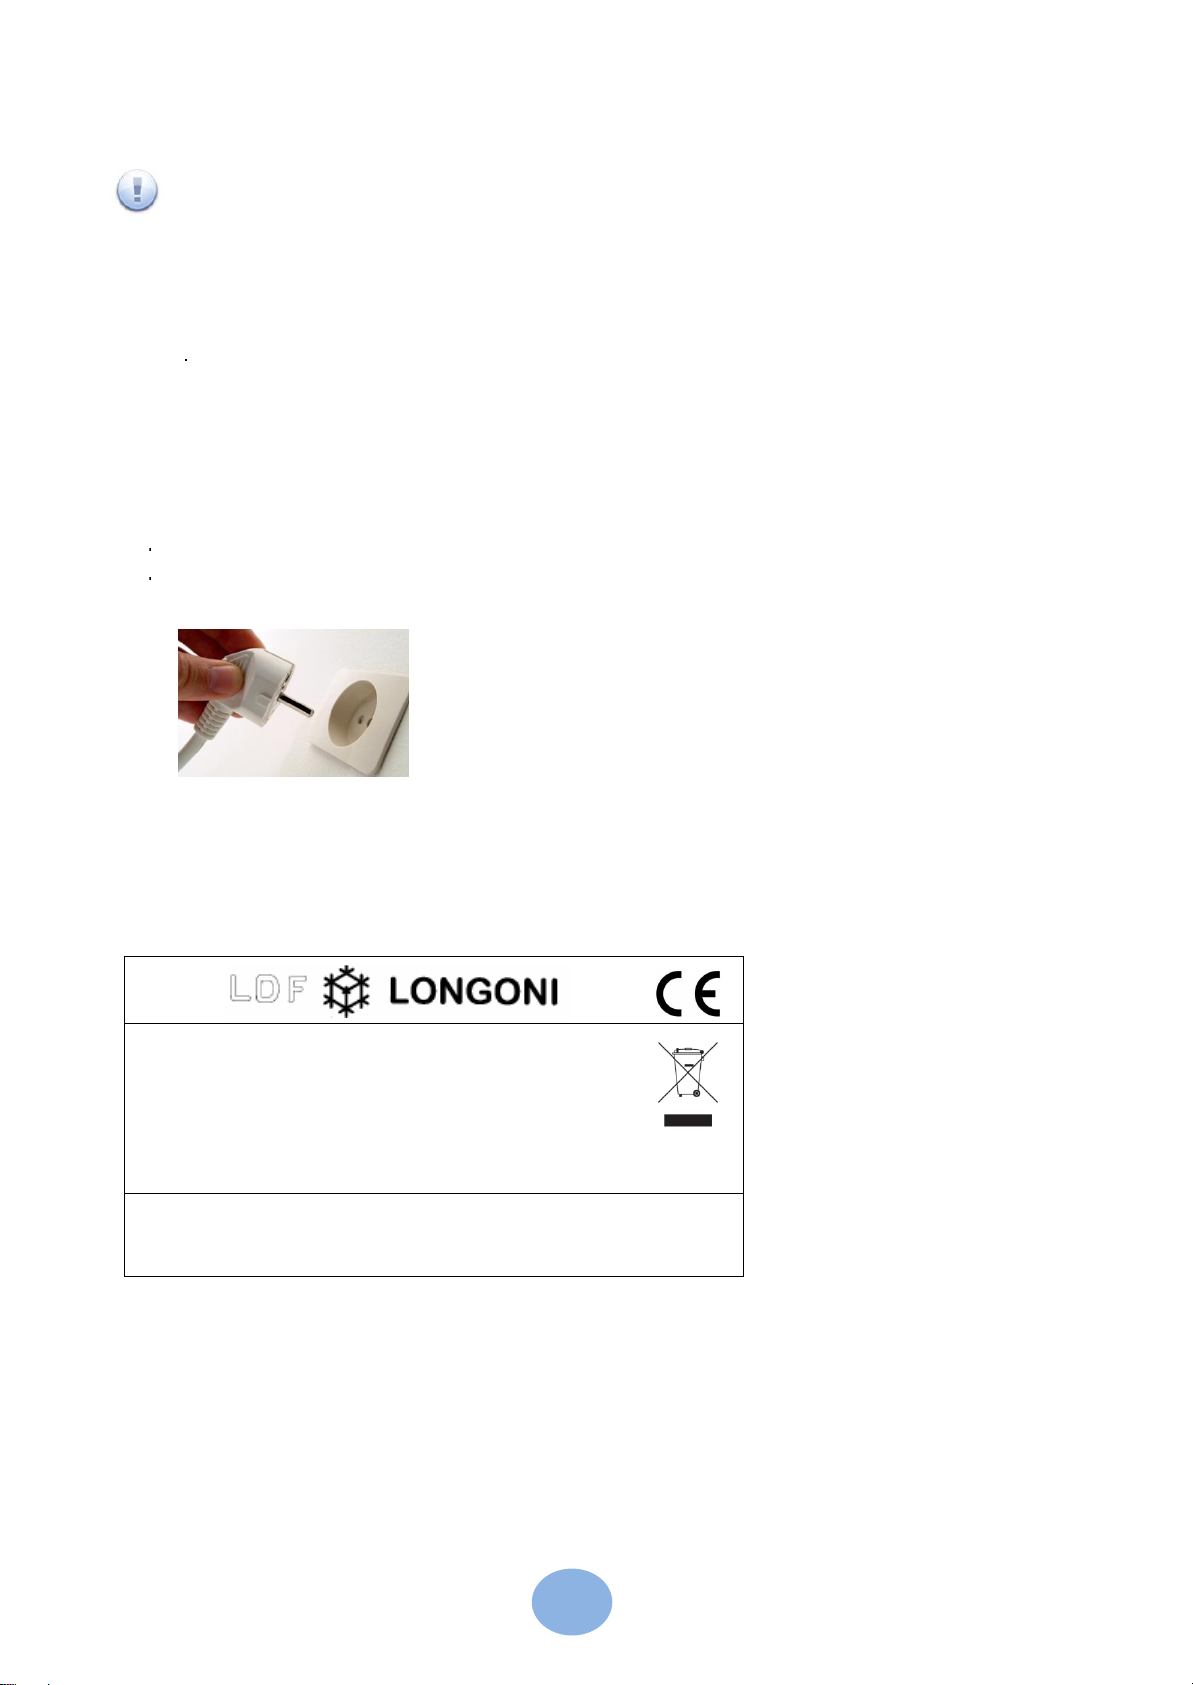
Do not disconnect the apparatus by pulling the supply cable out from the outlet;
Before performing any cleaning and /or maintenance work, disconnect the apparatus from the power line.
To do this, turn off the master switch and disconnect the plug.
4.2 RECOMMENDED USE
The refrigerated display case is designed and intended for use by Communities, Restaurants, Hotels, etc.
4.3 CONTRAINDICATIONS AND PRECAUTIONS FOR USE
The refrigerated display case must not be used:
for any purpose other than for the purposes specifically indicated under paragraph 4.2.
in explosive or harsh environments or in the presence of high concentration of dust particles or
oily substances suspended in the air;
in potentially fire-hazardous environments;
if exposed to weather elements;
with adaptors, multiple - outlet sockets and/or electric extension cables;
A…
WARNING
Operators/and or maintenance staff are expressly
forbidden from making any odification or alteration to
the refrigerator due to the safety risks involved. The
manufacturer shall not be held responsible for any
unauthorized modification and consequences arising
therefrom.

7
4.4 HAZARDOUS AREAS
The refrigerated display case is fitted with all the necessary safety devices and can be used in
potentially hazardous atmospheres. Before carrying out any maintenance and /or repair work,
remove the guards after disconnecting all power sources.
To this end :
Deactivate the electrical system by turning off the master switch and disconnecting the power supply
cable from the power line.
It is absolutely mandatory to put the guards back into place upon completion of the maintenance
and/or repair work.
4.5 SHUT - DOWN PROCEDURE
To shut down the refrigerator, proceed as follows:
Turn off the master switch.
Unplug the power supply cable.
4.6 LABEL PLATES
Modello/Model
:
Matricola/Series N.
:
Gas :R452/A - gr…-
Cap. :
Volt :
-Hz :
-Watt:
-Classe: N
LONGONI DIVISIONE FREDDO S.r.l.
V.Bongiasca, 762/1-COMABBIO(VA)ITALY-tel.0331/968741-fax 0331/968721
www.longoni.it longoni@longoni.it

8
5. S H I P P I N G A N D H A N D L I N G
PLEASE READ THE INFORMATION CONTAINED IN THIS MANUAL VERY CAREFULLY AS IT PROVIDES
IMPORTANT GUIDELINES FOR SAFE INSTALLATION, USE AND MAINTENANCE OF THE APPARATUS
BE SURE TO STORE THIS MANUAL IN A SAFE PLACE FOR ANY FUTURE REFERENCE.
5.1 SHIPPING AND HANDLING
The refrigerated display case must be kept in an upright position during shipping and handling operations, in
accordance with the instructions (if present) printed on the package.
Shipping must be carried out by professional and qualified staff only.
The display case must be handled in such a way as to avoid unnecessary damage to any of its parts.
Depending on the transport method, the display case must be protected from accidental bumping and
stress.
Before shipping, the refrigerator may either be packaged or not, according to the means of transportation
used.
The refrigerator is packaged in cardboard boxes.
The refrigerator must be handled with forklift truck or a trans-pallet fitted with adequate forks (length
should be equal to at least 2/3 of that of the refrigerator).
Any damage occurring to the display case during shipping or handling is not
covered by
WARRANTY
.
Repairs or replacement of damaged parts are borne by
the Client.

9
5.2 STORAGE
If a long period of inactivity is foreseen, the refrigerator must be stored with the precautions related to the
storage site and storage period.
In this respect:
Store the display case in a secluded place;
Make sure it is protected against accidental bumping and stress;
Keep it protected from moisture and extreme thermal excursions;
Make sure it does not come into contact with toxic substances.
5.3 CHECKS AND INSPECTIONS
Before putting the refrigerator into service, a series of checks and inspections must be carried out to
prevent errors or accidents occurring during start-up.
Make sure no damage has occurred to the refrigerator during installation.
Carefully check the integrity of electric cables and tubing.
Check accuracy of all connections to external power sources.
Make sure all movable parts are able to rotate and move freely.
6. I N S T A L L A T I O N
To achieve optimal functionality of your refrigerated display case, it should be placed in a well-
ventilated spot, as far as possible from heat sources and direct sunlight.
6.1 COMMISSIONING
Carefully remove the refrigerator from the cardboard packaging (Fig. 1);
Remove the transparent protections and cardboard angles (provided by the manufacturer
to reduce shipping damage to a minimum) (Fig.2);
Remove the glass shelves placed on top of the refrigerator (Fig. 3);
Use a forklift to remove the wooden base (Fig. 4);
Place the refrigerator on a flat surface.
Fig.1 Fig.2

10
Fig.3 Fig.4
Before putting the refrigerator into operation, wipe down all its parts with a clean, soft cloth, or spray it
with an all-purpose cleaner. Use very little water as it contains suspended mineral matter, that needs to be
wiped off almost immediately as it may leave traces that are difficult to remove.
Wash the reservoir and all interior parts with an anti-bacterial detergent (easy to find at any store);
Wash away the detergent with a soft sponge soaked with water and dry with a soft, clean cloth.
Do not use abrasive cleaners and/or powders that may dull the surface finishes.
When carrying out the operations above, be careful not to use too much water as it may damage electric
parts; a sponge soaked in water will be enough.
installing the glass shelve supports (Fig.4) on the lateral brackets.
Position the glass shelve on the side brackets (Fig.6).
Fig.4
Fig.6

11
6.2 PREARRANGEMENTS
Make sure the cable sections and the plug are suitable for the power absorbed by the apparatus.
IT IS FORBIDDEN TO USE CABLE EXTENSIONS, ADAPTORS AND MULTIPLE - OUTLET SOCKETS
Be careful not to install the refrigerator near to heat sources, such as ovens, radiators, direct sunlight, etc.
Leave at least a 75 mm space (3 inches) between back of cabinet and wall (if this is the case), to
prevent formation of condensation.
Keep the engine compartment clear of any obstacle that may impede or limit air-flow through the
condensing unit located in the refrigerator front lower part.
Make sure the area where the refrigerator is installed is adequately ventilated to guarantee proper
cooling of the condenser and compressor unit.
To ensure effective performance and operation of the refrigerator, make sure the temperature of the
area where it is installed will not exceed 30° C (86 F).
Failure to comply with the foregoing conditions may be detrimental to the refrigerator’s overall
performance, and cause premature wear and tear and abnormally high power usage.
Also see the information under paragraph 1.5
6.3 CONNECTIONS
To avoid any kind of problem during start up, follow the procedures described below.
6.3.1 ELECTRICAL CONNECTIONS
The Client is in charge of making the necessary electrical connections. Connections to the power line
must be made in compliance with the regulations in force in the country where the refrigerator is being
installed.
Make sure the power supply voltage corresponds exactly to the indications stated on the label plate
affixed to the refrigerator (see Label Plate A).
Make sure the socket is in conformity with the relevant regulations in force.
Carefully check for any bare wires.
GROUNDING OF THE REFRIGERATOR IS A MANDATORY SAFETY REQUIRMENT
(see Label Plate C).
In case multiple devices need to be aligned, each one must be powered separately.
In order to protect the refrigerator’s electrical system from power overload or short-circuit, an overload switch
with adequate breaking power must be installed upstream of the refrigerator socket (see Label Plate D).
7. F U N C T I O N I N G
7.1 OPERATORS
Staff in charge of operating and installing the refrigerator must have (or have acquired through appropriate
schooling and training course) the qualifications listed below and must also be acquainted with this manual
and all safety related information contained therein:
General and technical culture at sufficient level to understand the contents of this manual.
Knowledge of the most important standards related to hygiene in the workplace, accident -
prevention and technology.

12
7.2 PUTTING INTO OPERATION
In case the refrigerator was shipped in a horizontal position, leave it upright for 2 hours or so before putting it into
operation.
7.3 START UP AND CONTROL PANEL
Tools needed:
Screwdriver (Philips Head)
Use the screwdriver to remove the 4 screws located on the rear panel (Fig
.
7).
Run the power supply cable underneath the refrigerator and close the rear panel again
(
8).
Connect the plug to the relevant socket.
Fig.7 Fig.8

13
7.3.1 CONTROL PANEL FUNCTIONS
A self-test on the touch instrumentation integrated in the refrigerator door will automatically run as
soon as the plug is inserted. Once the test is completed, the central red button shall remain lit, and
from this point on, the refrigerated display case can be switched on. ( Fig. 9).
Fig.9
To turn on the display refrigerated cabinet hold the center red for a few seconds.
If the internal battery it will be discharge, clock icon appears, to adjust the date and time follow
these instructions:
1. Press the central button. Upper button
Central button
Right button
Left button
Down button
2. Press the upper button to increase the value , and down button to decrease, press the right
Button to move to the month.

14
3. Press the upper button to increase the value , the down button to decrease, press the right
Button to move to the day.
4. Press the upper button to increase the value , the down button to decrease, press the right
Button to move to the hour.
5. Press the upper button to increase the value , the down button to decrease, press the right
Button to move to the minutes.
6. Press for four second the central button until confirm the values.
KEYBOARD
---DATE/HOUR
-ROOM TEMPERATURE
LIGHT EVAP.TEMP. SET POINT COND. TEMP.
Press the button Left to switch on the led light .

15
7.4 TEMPERATURE ADJUSTAMENT
To set the temperature, proceed as follows :
Press the central button until appeared the Home Page..
Home page
Press two times the button right until appeared the temperature icon.
Press the central button, the set point temperature appeared, adjust the temperature with
the
Button UPPER AND DOWN , press the central button until confirm the value.
7.4.2 DEFROSTING
The refrigerated display case defrost is automatically. In case if necessity manual
defrosts follow these instructions:
Press the central button the home page appeared.
Press five time the button right until the defrost icon, press the central button until the
defrost start.
The defrost water is conveyed to the condenser drip pan located inside the engine
compartment and evaporates automatically.

16
TEMPERATURE DISPLAYED
Is possible control the temperature in the refrigerated cabinet in two ways: EASY and SCIETIFIC. To
Select the easy or scientific press two times the central button.
SWITCH OFF REFRIGERATED CABINET
Press the central button the home page appeared, press one time the right button the OFF icon
Appeared , press the central button until the refrigerated cabinet switch off.

17
7.4.3 ALLARM
When there is temperature alarm, the alarm icon appeared and the central button flashing
.
Press the central button and the alarm list appeared.
If there are a failure the failure icon appeared and the central button flashing. Press the
Central button the failure list appeared.
When alarm ends ,red envelope appeared, pressing the central button to check the alarm
Type and cancel the red envelope.
Open door :

18
7.5.1 ALLARM LIST

19
7.6 STORAGE OF FOOD ITEMS
To achieve the best performance from your refrigerator, please follow the advice below;
Do not introduce hot foods or uncovered liquids into the refrigerator;
Provide additional protection/packaging to foods, in particular those that contain strong
aromas or cream;
Do not pack the overpack the refrigerator as this can stop cool air from circulating freely
Open the refrigerator door as little as possible and do not leave open for too long. After
closing the door, wait a few seconds before reopening it.
7.6 PRESERVATION OF FOOD ITEMS
One of the major causes of degradation of food and organic substances in general is caused by the multiplication
of bacteria that are found inside the cells of food items. Such bacterial proliferation may be delayed considerably
by lowering the temperature of the food. As a matter of fact, food items - according to their organoleptic
properties - require specific temperatures and environmental conditions for optimal preservation.
To achieve the best performance and efficiency from your newly-purchased refrigerator, we recommend that you pay
special attention to:
The freezing point
Characteristics and data related to the preservation of certain types of frozen products.
8. O R D I N A R Y A N D S C H E D U L E D M A I N T E N A N C E
The information contained in this chapter is destined for both the End Users (non-specialised staff) and staff
in charge of Ordinary Maintenance.
Table of contents
Popular Display Case manuals by other brands

Structural Concepts
Structural Concepts GP641RRLB Installation and operating manual

Gastro
Gastro saro GTK1530 operating instructions

Hoshizaki
Hoshizaki KN-120D-L Service manual

Casselin
Casselin CVR120L user guide

True Manufacturing Company
True Manufacturing Company TCGDZ-50 installation manual

True
True TCGD installation manual

Bartscher
Bartscher Panorama 550L Translation of the original instruction manual

Elby Designs
Elby Designs Studio 700 Assembly

Smarti
Smarti Pi Touch Pro Assembly instructions

Goldmedal
Goldmedal 5582 instruction manual

Turboair
Turboair TCGB-36-DR Installation and operation manual

Tecnodom
Tecnodom VULCANO User and maintenance manual