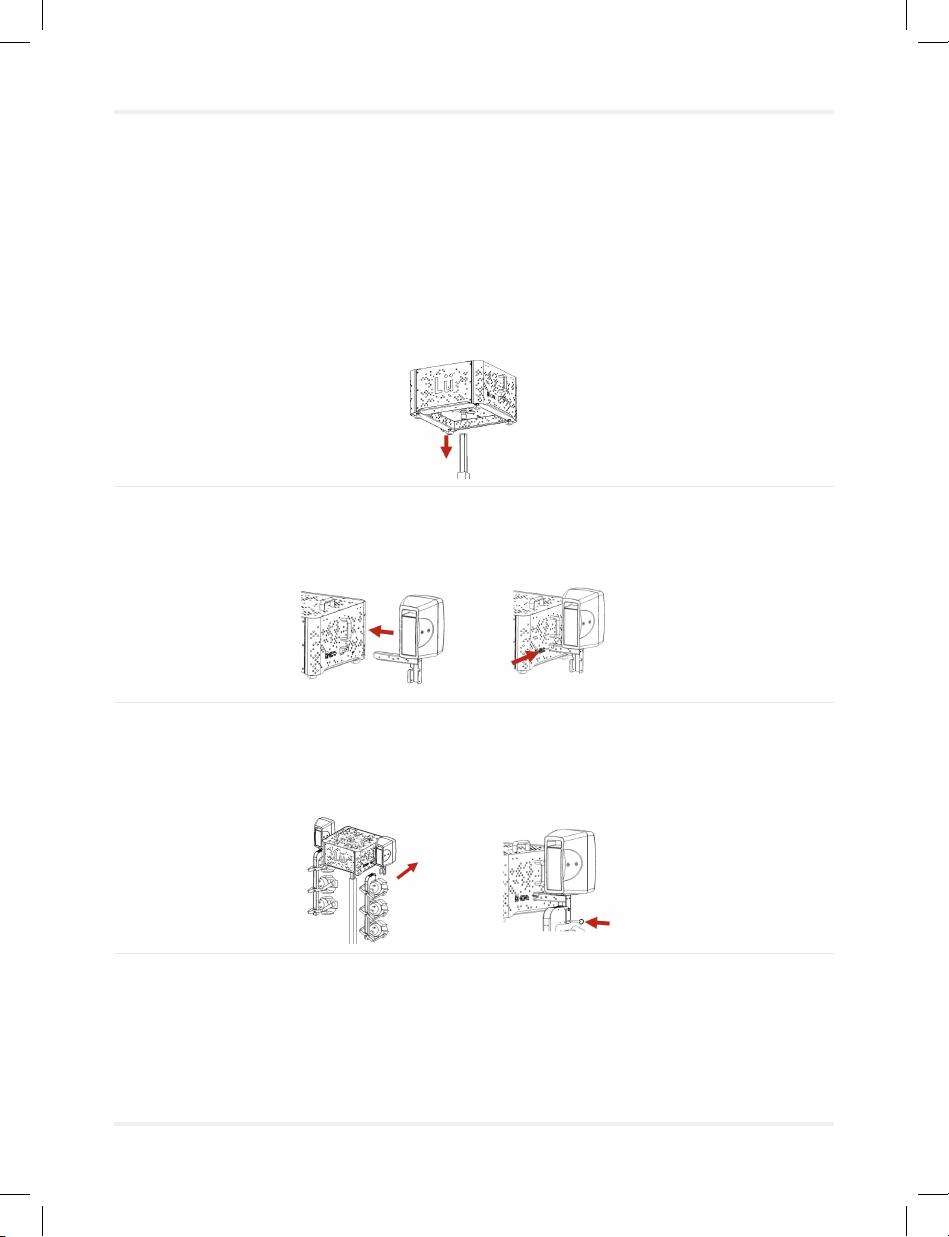
Lu MOBIL User manual

USER MANUAL
MÖBIL
User manual
Revision
English
April 2021
1st Generation

Playground
Assembling the unit
Keyboard remote
Calibration
Homepage
Lights control
Troubleshooting
Disassembly
Technical Specications
Recommended Servicing
About this manual
Limited Warranty
Complete documentation
Preparation of the site and the home screen
Installation of protective cushions
Projector remote controller
Screen preparation
How to turn ON your Lü
Free play
Settings
Page 4
Page 6
Page 11
Page 10
Page 14
Page 17
Page 16
Page 20
Page 22
Page 26
Page 28
Page 31
Page 32
Page 34
Page 35
Page 5
Page 8
Page 12
Page 19
Page 21
Page 23
Page 25
What is included Page 3
Table des matières
Lü Community
How to turn OFF your Lü

Congratulations for purchasing a Lü!
This system was designed by the Lü team in Canada, which is on a mission to
improve the world of education. We hope you will enjoy using it.
What is included
This system include one main module and ve components:
Page 3
Main module
Projector (WXGA 6500 lumens) and a 3D camera
protected by a custom case
Two light brackets
Three LED projectors (RGBW 108w)
Two speaker brackets
300w speakers
One portable lifting tower
One set of cushions, fourteen components
Two remote controllers:
one remote controller for the projector
one keyboard remote for the Lü system

Page 4
Technical specications
Playground dimensions and specications
Interactive screen
Maximum size: 19 ft (5.8 m) large x 10.1 ft (3.1 m) high
Must be installed on a at, solid and as pale as possible
Playground
Centered in front of the interactive screen
Recommended size: 30 ft (9 m) large x 20 ft (6 m) long
Minimum ceiling height: 10 ft (3 m)
Maximum ceiling height: 28 ft (8.5 m)
To optimize the immersive experience, ambient lighting must be controllable.
When the system is in operation, general lights should be turned off and no
window should allow direct sunlight into the room.

Assembly
Preparing the site and home screen
01 Find the wall that will be used for the projection.
The wall must be at, solid and as pale as possible.
Note : In doubt, you can send us a picture of the place you have in mind
02 Position the lifting tower.
Place the lifting tower at maximum 19 ft (5.8 m) from the wall and centered
with the screen.The crank should point the opposite side from the screen for
easier handling.
03 Secure the lifting tower in place.
Use the pivots on each of the four legs of the tower to stabilize it. Make sure
the tower is perfectly vertical using the bubble level.
Page 5

Assembly
Assembling the unit
01 Install the main module on the stand
The pin underneath the main module has to be inserted inside the pole
of the lifting tower. Important : Make sure you screw the lock bolt in place
before you continue.
02 Install speaker brackets on main module
Lock brackets in place using locking pins.
03 Install light brackets on the main module
Lock brackets in place using the locking pin. Position light xtures to light the
oor between the screen and the lifting tower.
04 Connect all cables from speaker and light brackets to the main module
Follow the ID codes and colors to connect cables to the right socket.
Page 6
A.
A.
B.
B.

Assembly
Assembling the unit
05 Focus light xture positions
Focus the xtures so the light is directed evenly on the oor and not on the
projection screen.
06 Fix the power cable to the main unit
Tie the cable to the top of the lifting tower main shaft using the Velcro strap.
When you lift the tower, the cable will stay close to it.
07 Turn the system on and make sure all components are working
Plug the power cable, turn on projector using the projector controller and
wait for the system to boot. Make sure the volume, the lights, the computer
and the projector are working properly. Set the volume at 50% behind
the speakers.
Note: The computer will turn on as soon as you connect the power cable.
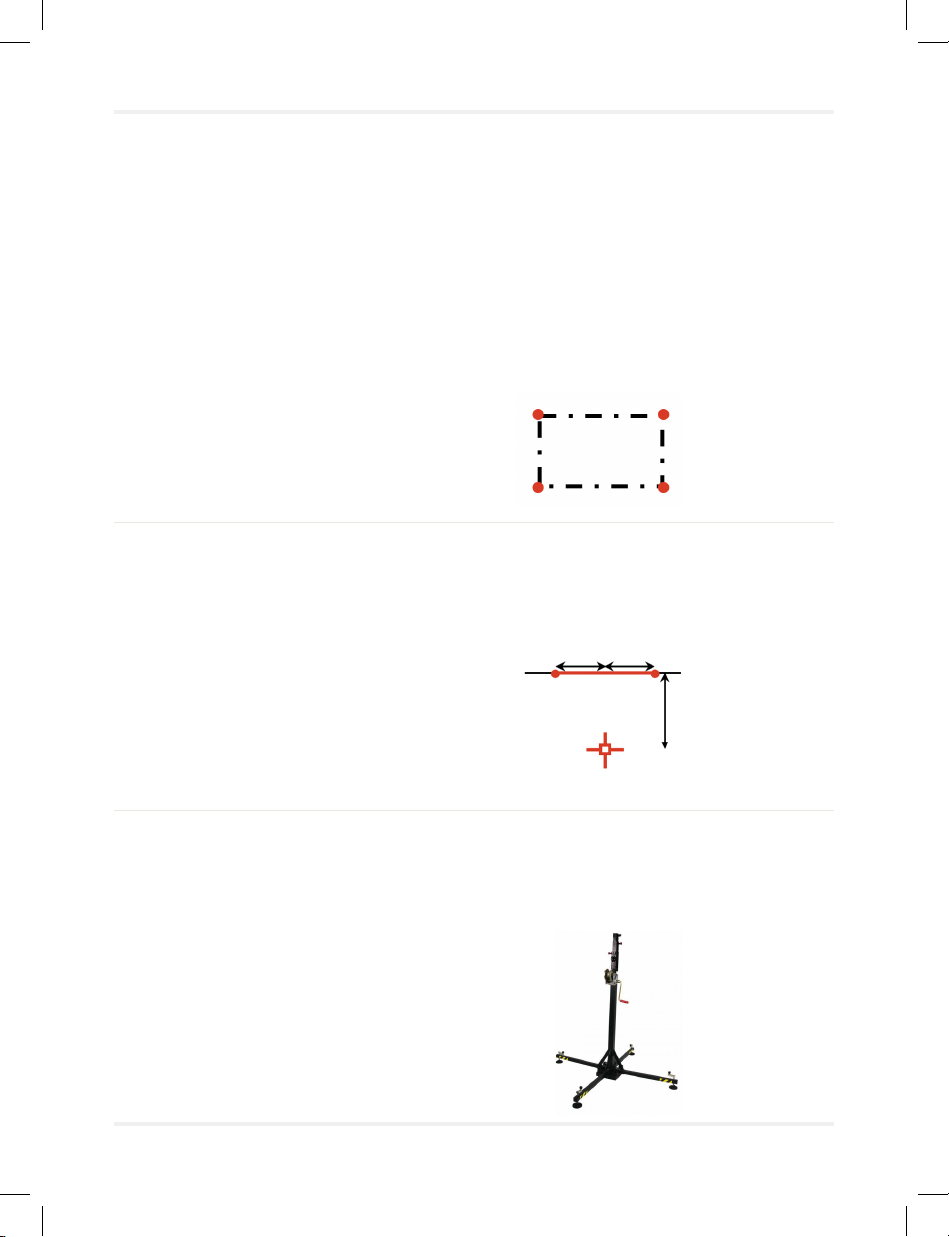
08 Lift the tower to its nal position
Use the crank to raise the tower to the nal position, which should be 6 feet
(1.8 m) from the ground to below the lowest light.
Page 7
6ft (1.8m)

Assembly
Installation of protective cushions
01 First, place the two thin, triangle-shaped cushions under the legs of
the lifting tower, velcro-side on top.
02 Place the rectangular shaped cushions on each of the legs of the lifting
tower, making sure that the velcro is securely attached to that of the
cushion below.
03 Place the foldable rectangular cushions around the lifting tower. The rst
cushion to be placed has small slots to t well at the bottom of the
lifting tower.
04 Place the corner cushions between each rectangular cushion.
Page 8

Assembly
Installation of protective cushions
05 Then place the second foldable rectangular cushions on top of the rst
one and make sure that it is secured with velcro.
06 Complete the cushions installation by placing the square shaped
cushion around the lifting tower and on top of the last cushion installed
in step 5.
07 Installation is completed
Page 9

How it works
How to turn the projector ON
To turn the projector ON, press the “ON” button using the projector remote
controller and wait for the image to be displayed.
Remote control for the light projector
Page 10

How it works
Keyboard remote
Advanced shortcuts with the keyboard
01 Press «Win + D» to access the Windows desktop.
02 Press «Alt+F4 » to close the Lü application.
03 Press « Alt + Tab » to switch between open applications.
04 Press « Win » to open Windows taskbar.
05
Press the spacebar to turn ON the computer (not available on every computer).
Page 11
1
1
2
2
3
3
4
4
5
5
Left click
Volume
Turn lights ON/OFF
Quit game
Move selection
Select
button
Conrm
the selection
and start the
game
Open Windows
taskbar
On/Off
Switch
USB charging port
Pause/Start
Right click
Mute
Web browser
Open “Documents”

How it works
Preparing the screen
01 Mark the 4 corners of your projection location on the wall
The ideal position is to set the bottom of the screen
at 6 in (15 cm) from the oor.The maximum width should
be 19 ft (5.8 m). The height should be 10.68 feet (3.25 m).
Important : Always respect a ratio of 16:9 for your screen.
02 Adjust the image shape
Make sure the projector is turned on with the right input (HDMI1).
You should be able to see the system’s interface on the screen.
A. Press Aspect button on the remote controller and set
the projector to FULL.
B. Adjust the zoom and focus to get optimal size using
the projector remote controller. (ZOOM/FOCUS)
Page 12

How it works
Preparing the screen
C. Press the LENS SHIFT button on the projector remote controller to move
the projection.
D. Map the projected image on your 4 markers using
the GEOMETRY BUTTON/QUICK CORNER
Page 13

How it works
Calibration
The calibration calibrates the camera which is used to detect the balls thrown on
the wall. Once the system is calibrated, it is not necessary to repeat the operation
for each use if you don’t move the mobile unit. At the slightest movement of the
camera, a calibration will be necessary for a good detection.
Calibration can also be performed when balls detection on the wall is not accurate
or when there are false detections. To calibrate the system, follow the steps below:
01 Select the gear icon from the home page.
02 Click on the button.
03 Press the “I” button on the Lü keyboard remote to display the camera’s
stream. Move the position of the stand to adjust the camera feed with the
projection surface. Make sure the red area is outside the green rectangle.
Note : The red area represents the undetected area of camera detection.
04 Choose the calibration method that suits you best: Automatic or Manual.
05 If the calibration fails, try the other method.
06 After the calibration is complete, select Test mode. Throw a few balls
at different places in the projection to test the detection accuracy.
Page 14

How it works
Calibration
07 Press «Esc», then «OK» to return to the home page.
08 In case of technical diculties, contact Lü support (see page 19 for more
details).
Note : For more details on calibration, check out the “Learn to calibrate the
camera” tutorial in the Help Center.
Page 15

How it works
Page 16
How to turn ON your Lü
01 Turn on the projector
02 Turn on the kewboard
03 Wake the application
01
03
02

How it works
Home page
Recommended
number of players
Name of the
application
Recomended
number of teams
Name of
the category
Selected
application
Recommended
number of balls
Play in Düo
Animated
pictures of the
application
Page 17

How it works
Home page
Page 18
3
3
2
2
1
1
Applications
Find all of our activities here.
Home
Home of the Lü-Community.
Account
Account setting.
Free play
Free Play mode allows you to choose an application by throwing a ball.
My content
Sign into your account to view the content you created.
My likes
Sign into your account to view your favorite content.
Light control
Turn the system’s lights on and off.
Help Center
Tutorial and technical support.
Settings
Access general settings of the application. Choose the games you want to play
and access the system’s status.
4
4
5
5
6
6
7
7
8
8
9
9

How it works
Home page
Page 19
Free Play mode
Free Play mode allows the player to select an application without using the key-
board remote. Throw a ball on the desired app and choose the game options to
start the game.
You can activate this mode by selecting the basketball icon located in the left-hand
side panel of the home page.

How it works
Light control
Page 20
Turn ON and OFF the lights
You can turn ON and OFF the lights of the light module by selecting the bulb icon.
You can also press the F1 key when your selection is on the home page.
Table of contents
Popular Lighting Equipment manuals by other brands

ETC
ETC ColorSource Spot jr v2.0 installation guide

Performance In Lighting
Performance In Lighting PLATO SQUARE 600 MICROPRISMATIC manual

Lightolier
Lightolier 9033 specification

TOOLCRAFT
TOOLCRAFT 2476622 operating instructions

Costway
Costway EP71058 user manual

LUMENWERX
LUMENWERX QUAD N-W FLUORESCENT installation instructions