midway (0) position; Amplifier
MASTER
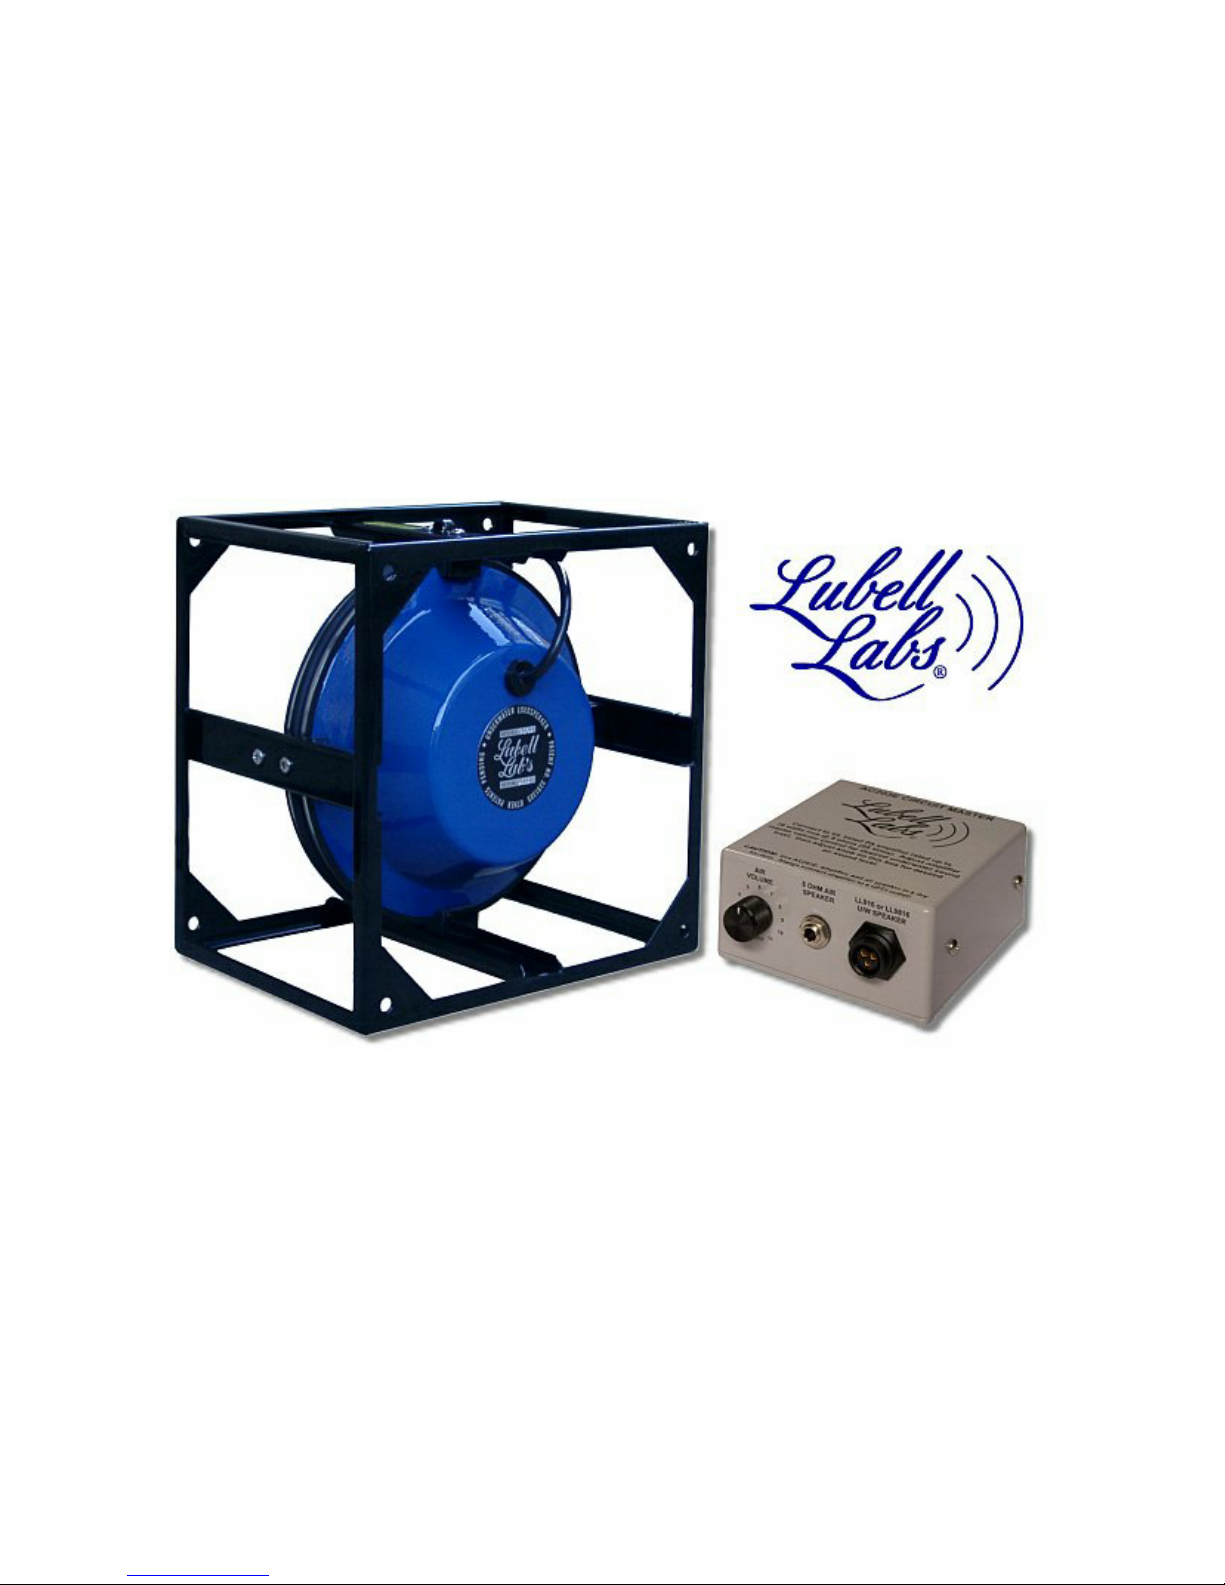
volume control to 0; AC203E Circuit Master
AIR
LEVEL
control to 5.
7. To set sound levels in this step, you will need three lap or synchronized swimmers in the
following locations: under the water, head above water, and in the bleachers. First turn the
amplifier
MASTER
volume to 0 so no one gets blasted! Connect the Inter-M A120 amplifier’s
power cord and the TEAC AD500 CD/cassette deck’s power cord into a tested GFCI protected
wall socket. Turn on the CD/cassette deck power switch then the amplifier power switch. Insert
a tape or CD into the TEAC CD/cassette and advance the music to a known section of music that
is very loud. Slowly turn up the Inter-M A120 amplifier’s
MASTER
volume control until the
submerged swimmer indicates (with pre-arranged thumb up or down signal) that the UW sound
level is correct and undistorted OR the power meter on the amplifier indicates all green with
only an occasional flash of the red. Now turn the AC203E
AIR LEVEL
control up or down until
the above-water swimmer and the person in the bleacher agree on an optimum sound level. The
AIR LEVEL
control on the AC203E Circuit Master is now optimized, and must not be touched
again during the practice or competition. During the competition, you will need to keep your
fingers on the Inter-M amplifier’s
MASTER
volume control only to maintain sufficient sound
level (using power meter on amplifier for a reference) as different CD’s or tapes are played.
When switching sources of music from CD, cassette, or MP3, the recording levels and quality
will vary all over the place. Using the air speaker as a monitor and your finely tuned ears (and
amplifier power meter) to guide you, use the amplifier's
MASTER
volume control to maintain a
consistent sound level. You may also use the amplifier's
BASS
and
TREBLE
controls sparingly
(maybe +/- 2 increments from center position) to compensate for poor recordings). Always return
BASS
and
TREBLE
control to neutral center position when inserting the next team’s tape or CD.
DO NOT allow the amplifier's red clip light (on the watt meter bar) to light up solid -- if this
happens, back down the amplifier
MASTER
volume control until the light is out or just flashing
during loud peaks. TIP: If you hear distortion in the air speaker, then the swimmers will also
hear this distortion in the underwater speaker -- turn down the amplifier’s
AUX1
volume control
(and the
MASTER
volume control if required) until the distortion is no longer audible.
8. Always use the microphone behind the air speaker to minimize feedback squeal. First switch
ON
the microphone using the switch on the microphone. Hold microphone against lips, speak in
a normal voice, and turn the amplifier
MIC1
volume control up until the desired voice sound
level is reached. Do not allow microphone squeal -- this is harmful to the swimmers, audience,
and the loudspeakers. TIP: If you want the music to decrease while you talk into the
microphone (connected to MIC1 input), then use
MIC1 MUTE
control on the back of the
amplifier to accomplish this. The amount of music muting can range from very little to
complete muting.
9. After using equipment, tear down in reverse order. Inspect all cables for damage. Towel dry the
UW speaker, and carefully coil the speaker cable inside the cage recess or around the speaker
cage. Do not allow the cable to kink. Store all equipment in a dry, air conditioned equipment
room only or else the corrosive pool atmosphere will damage the equipment and the connectors.
TIP: To prevent loose "static" connections, periodically apply a light film of WD40 oil (using a
Q-tip) to all cable end pins (mic, CD, speaker), then plug and unplug the connectors several
times to distribute the oil evenly over the connectors.