9
- Installation in Windows 98 and ME systems
In order to install drivers for Windows 98 and ME systems, one must carry out
following operations: connect the programmer to the USB port, the system
asks for drivers for the device, then one must insert the CD disk and indicate
the catalogue with drivers for the system.
When installing drivers, information may occur, that the Software did not
pass tests of goodness of fit with the Windows system. One must ignore this
information, and continue the installation. After the successful installation,
the system will inform about the installation of new equipment.
- Installation in Windows 2000, Windows XP, Windows Vista
and Windows Server 2003 systems.
In order to install drivers for these systems, one must start the program carried
out from the catalogue with the appropriate driver for the given system:
- WIN_XP\CDM_Setup.exe (for Windows 2000, Windows XP, Windows Vista
and Windows Server 2003),
- WIN_XP_64\ CDM_x64_Setup.exe (for Windows XP x64, Windows Vista
x64 and Windows Server 2003 x64).
This software will install drivers in the system for new devices and ports.
Next, one must connect the transducer, which will be found and identified
by the system as USB serial transducer, and the Port(Com) - USB Serial
Port will be assigned to it.
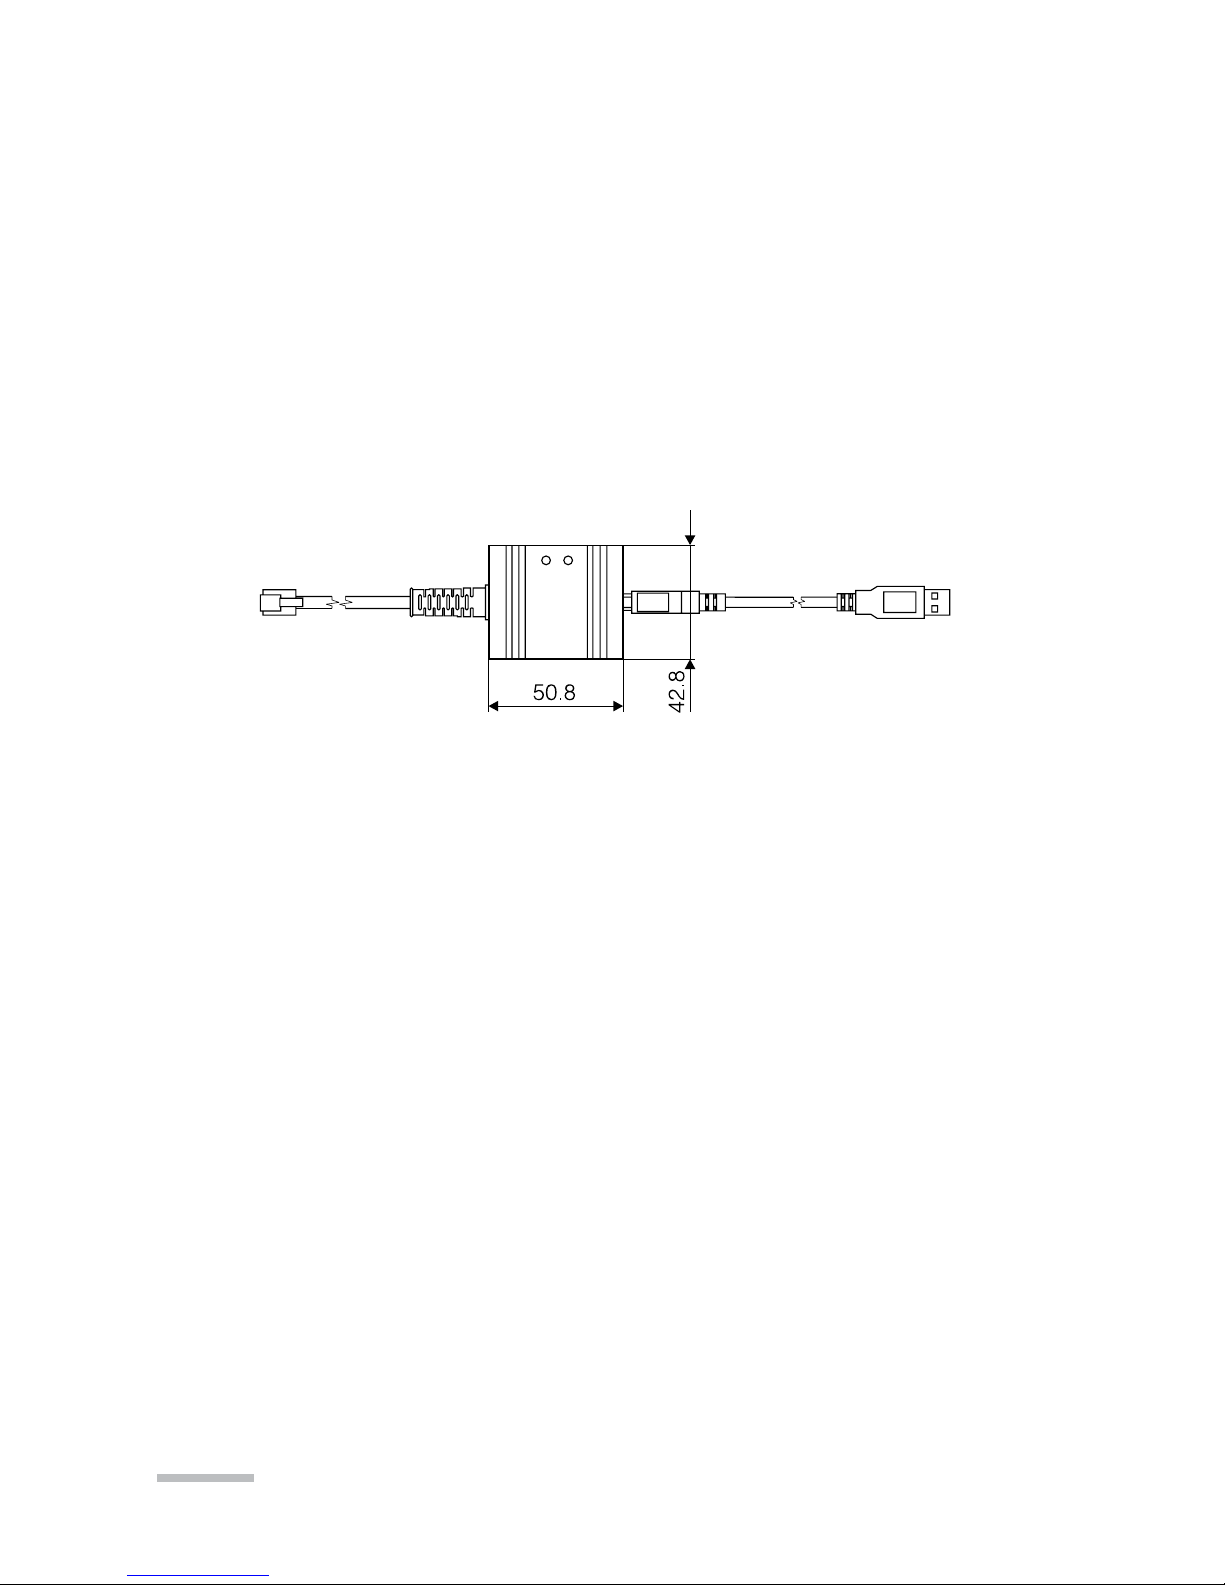
4.4. Installing the software of the PD14 programmer
The PD14 programmer co-operates with the software of the PD14
programmer. In order to install the programmer software under Windows,
one must:
1. Insert the installation diskette in the CDROM drive
2. Click the Start key on the Windows task bar and choose Start...
3. Write the access path, e.g. e:\setup.exe
4. after starting the installation program, define the in-coming path.
5. DESCRIPTION OF THE PD11 PROGRAM
The PD11 program realizes two work functions:
- Edition mode, in which, one can edit parameters of the selected
transducer, write and read them out from the file.
- Programming mode, realizes the same as the edition mode with the
possibility to the direct write of changed parameters to the transducer.
The program start follows after clicking the icon of the “PD11” program.
After starting, the program works in the edition mode.