Step 1
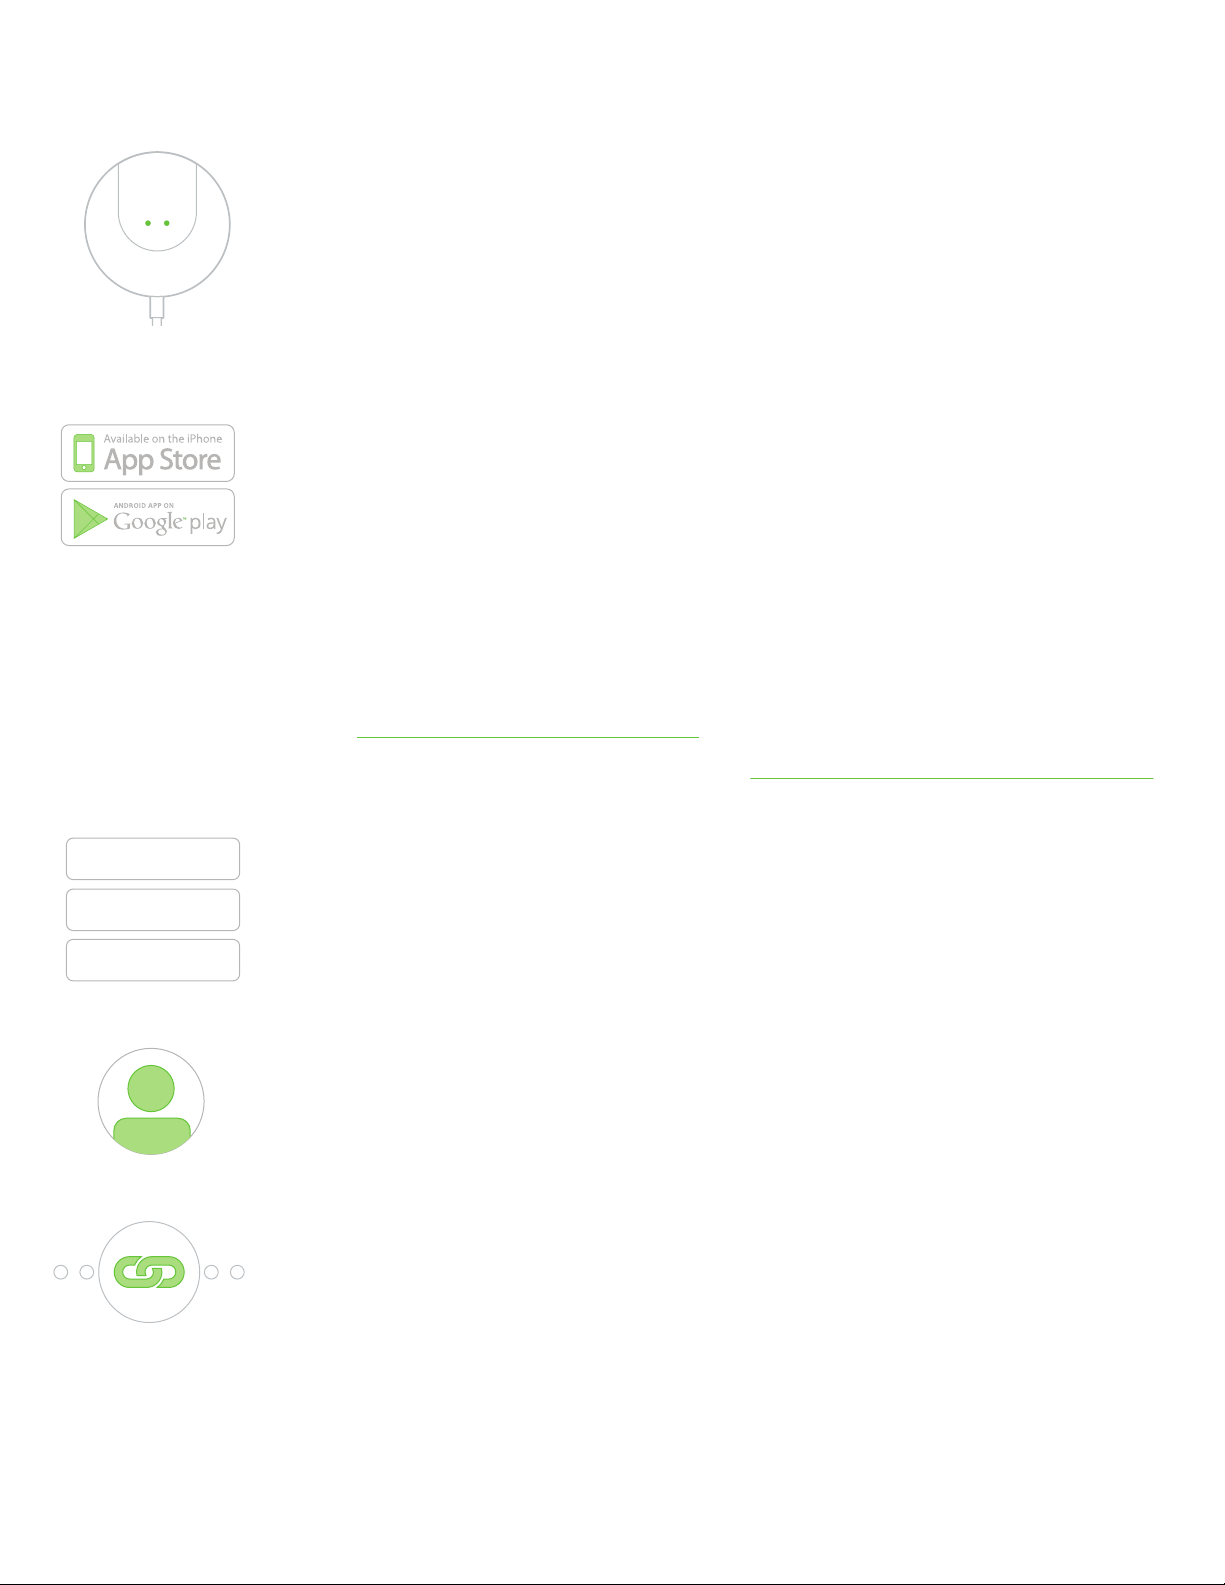
Charge your Lift
Plug the charger into your computer or a wall adapter. Ensure the gold
dots on the back of the sensor line up with the gold prongs on the charger.
The sensor will light up with an orange dot while charging and will turn
green once the charge is complete. A full charge takes about 3 hours.
Step 2
Download the app
iOS Device: Find and open the App Store on your phone. Click “Search”
and search for "Lumo Lift" in the search bar. Press “Get” to download.
Android Device: Find and open the Google Play Store on your phone.
Search for "Lumo Lift" in the search bar. Press on the Lift icon and select
the green “Install” button.
Windows 7+ PC’s: Requires purchase of our proprietary Bluetooth dongle.
Visit: lumobodytech.com/desktop to download Windows App.
Don’t have a compatible device? Visit: lumobodytech.com/compatibility
Step 3
Open the app and create an account
Select “Create New Account”.
Enter your email address and create a password.
Step 4
Personalize
Enter your name, age, height, weight, and gender. Press “Next”.
Step 5
Link your Lift
Take your Lift o of the charger. Wake up the Lift by pressing down on
the top of the sensor for 5 seconds or until a green light appears. Once
the green light flashes, press “OK” to move forward.
Next, press down on the sensor to begin the link process. The sensor will
flash a purple light and vibrate after the link process is complete. Once
the screen says “Link Success!”, press the “OK” button.
Step 6
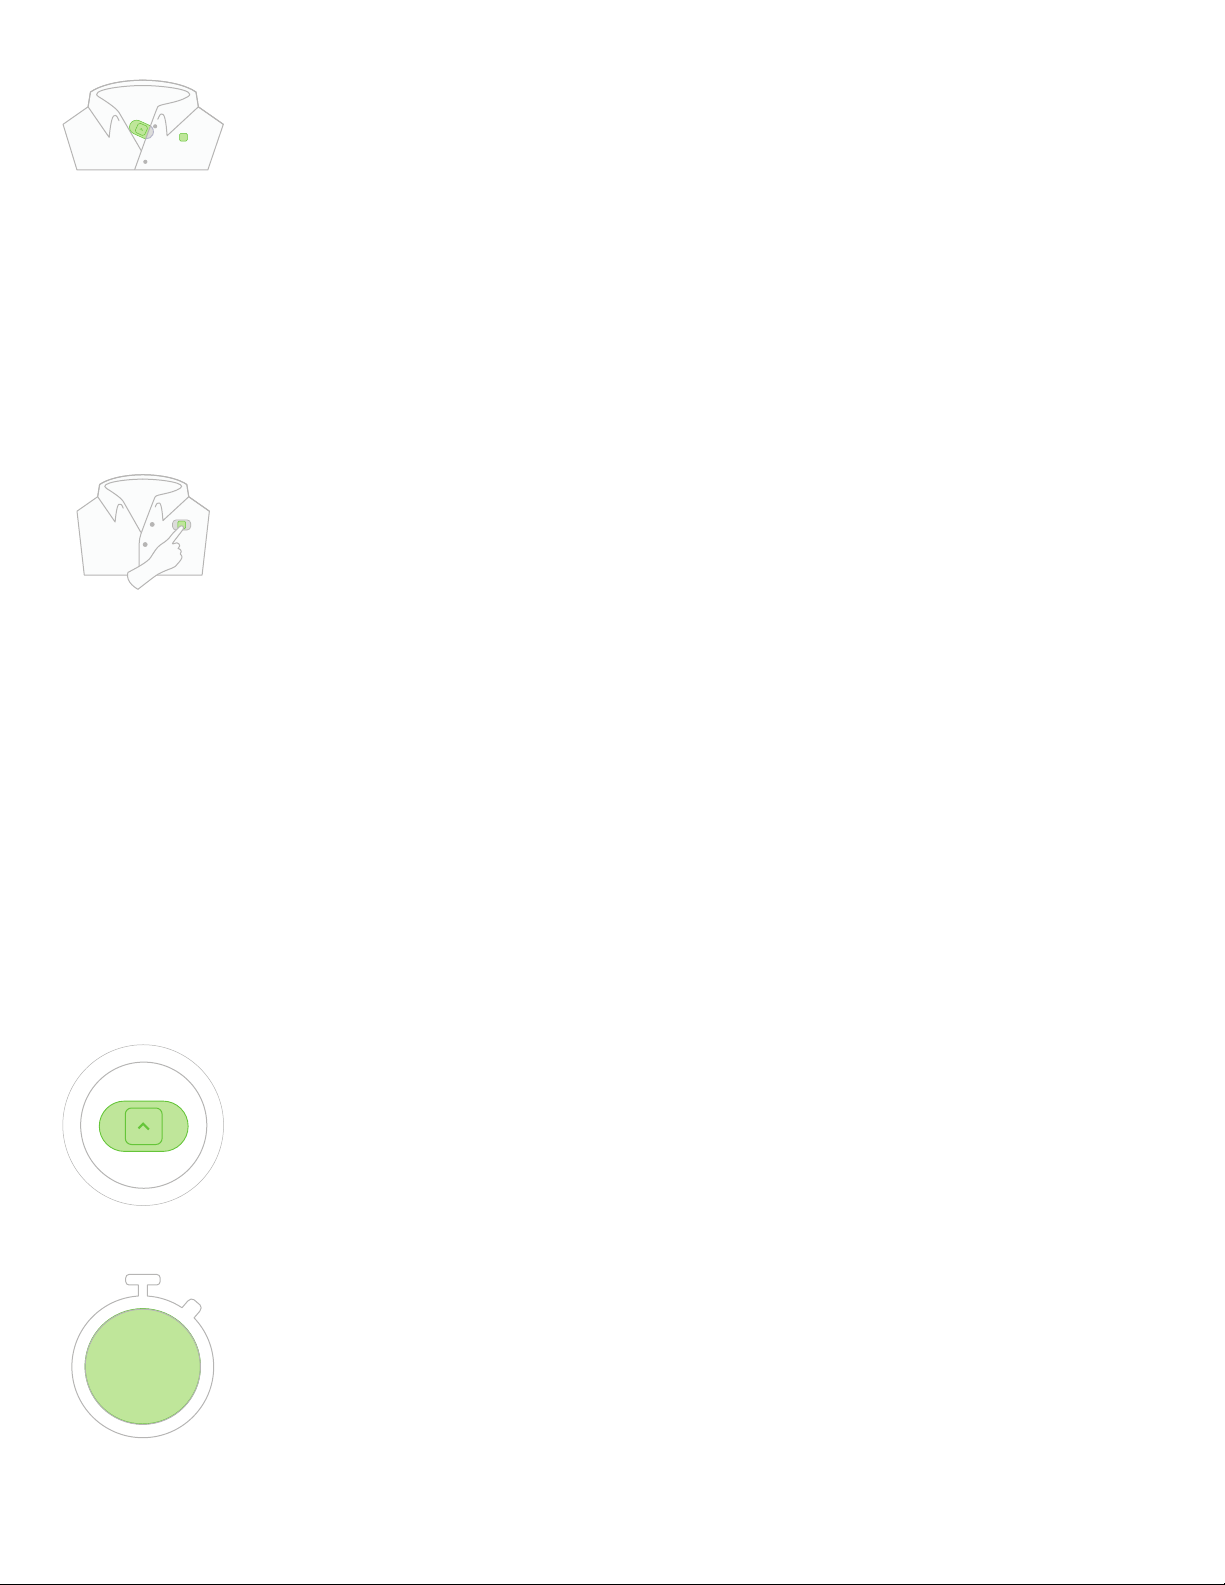
Wear your Lift
Wear the sensor under your garment with the matte, rounded part of the
sensor touching your body or an undershirt. The magnetic clasp will
attach to the outside of your clothing.
Ideal placement for the sensor is right underneath the collarbone, halfway
between the tip of the shoulder and neck. We recommend experimenting
with placement.
Over time, you will learn what placement works best for you and your activities.
Once you have the sensor attached, press “Next”.
Step 7
Align your Lift
Get into good posture (head high and shoulders pulled back) and click the
sensor twice, firmly and rapidly. After pressing on the sensor twice, you will
receive three vibrations in response. These vibrations are a confirmation that
you have aligned your Lift successfully.
Once you have aligned your Lift, the app will automatically advance to the
next screen.
Note on alignment: Frequent and7h proper alignment is essential to
receiving accurate feedback. We recommend aligning your Lift multiple
times a day, especially when you change positions. Sitting at your desk for
the first time in the morning? Align.
Got up to get coee and sat down for a meeting? Align.
Sitting down to eat after making dinner? Align.
Infrequent alignment is one of the top reasons users receive inaccurate
vibrational feedback.
Step 8
Coach Vibrations
Coach Vibrations are the main feedback feature of the Lumo Lift. You will
receive these vibrations when you slouch. Once your Lift vibrates, press
“Next” on the screen.
Step 9
Customize Vibrations
Select your coach delay, which is how long you will need to slouch before
receiving a vibration. For example, if you select 15 seconds, you will need
to slouch for 15 seconds to receive a coach vibration.
Once you have selected your coaching delay, please press “Test the Delay”.
Step 10
Test the Delay
Begin slouching. Continue to slouch until the stopwatch counts
down to zero and you receive a vibration.
If the stopwatch does not begin to countdown when you slouch,
try adjusting the placement of the sensor and aligning it while in
good posture. Press “Save and Continue”.
Step 11
Update the Software
The app will spend a few minutes updating the Lift app and sensor.
Step 12
Turn Vibrations On/O
Coach Vibrations can be turned on and o by pressing and
holding the sensor for 3-5 seconds. You will receive 1 buzz if Coach
Vibrations are enabled or 2 buzzes if Coach Vibrations are disabled.
Press “Got it” if you’re ready to move on.
Step 13
Realign one more time!
Align your Lift once more for good measure! The app will progress
once it senses your Lift has been aligned. You have the option to
skip this step.
- 12 -
Step 14
You’re Done!
Press “Get Started”. You will now be taken on a quick tour of the app.