4
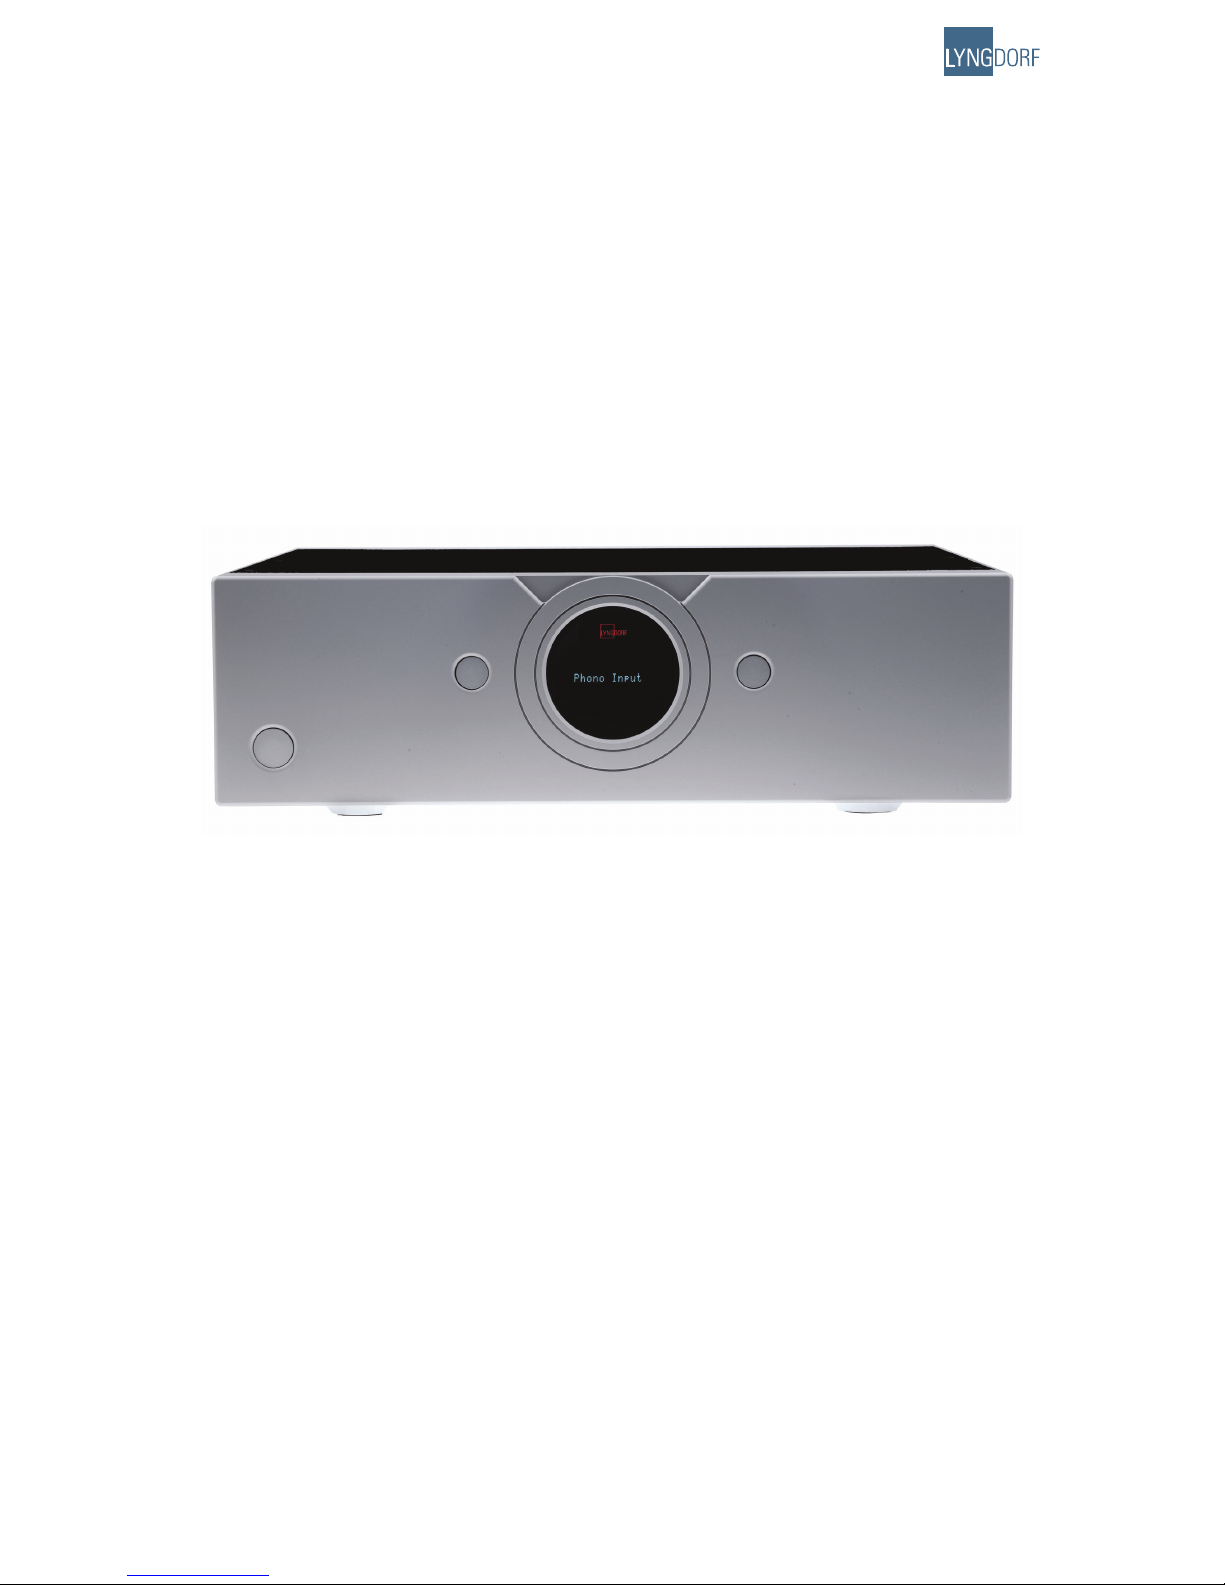
Unpacking the Millennium ADC
Carefully remove the unit and accessory kit from the carton, visually check for shipping damage. Contact
both the shipper and your Lyngdorf Audio dealer immediately if the unit bears any sign of damage from
mishandling. All Lyngdorf Audio equipment is carefully inspected before leaving our factory.
Keep shipping carton and packing material for future use or in the unlikely event that
the unit needs servicing. If this unit is shipped without the original packing, damage
could occur and void the warranty.
Operating Voltage
The Millennium ADC is selectable to one of the following power ratings:
110V-120V~ at 50-60Hz with a power rating of 50W
220V-240V~ at 50-60Hz with a power rating of 50W
Connect the power input only to the AC source matching the setting shown on the
voltage selector switch. The warranty will not cover any damage caused by connect-
ing to inappropriate AC mains.
The Millennium ADC has three power modes:
OFF
After Power off or Standby, the settings of Millennium ADC are retained. Please note that some parts
of the mains entry section still carry live mains.
STANDBY
In standby mode the Lyngdorf logo will be dimly lit.
ON
In on mode the Lyngdorf logo will be fully lit.
Serial Number Registration
Please record the serial number of your product here for future reference. The serial number is en-
graved in the plaque on the Millennium ADC rear panel. You will need this serial number, should you
ever require service on your Millennium ADC.
Millennium ADC serial number: _____________________
1.
2.
3.