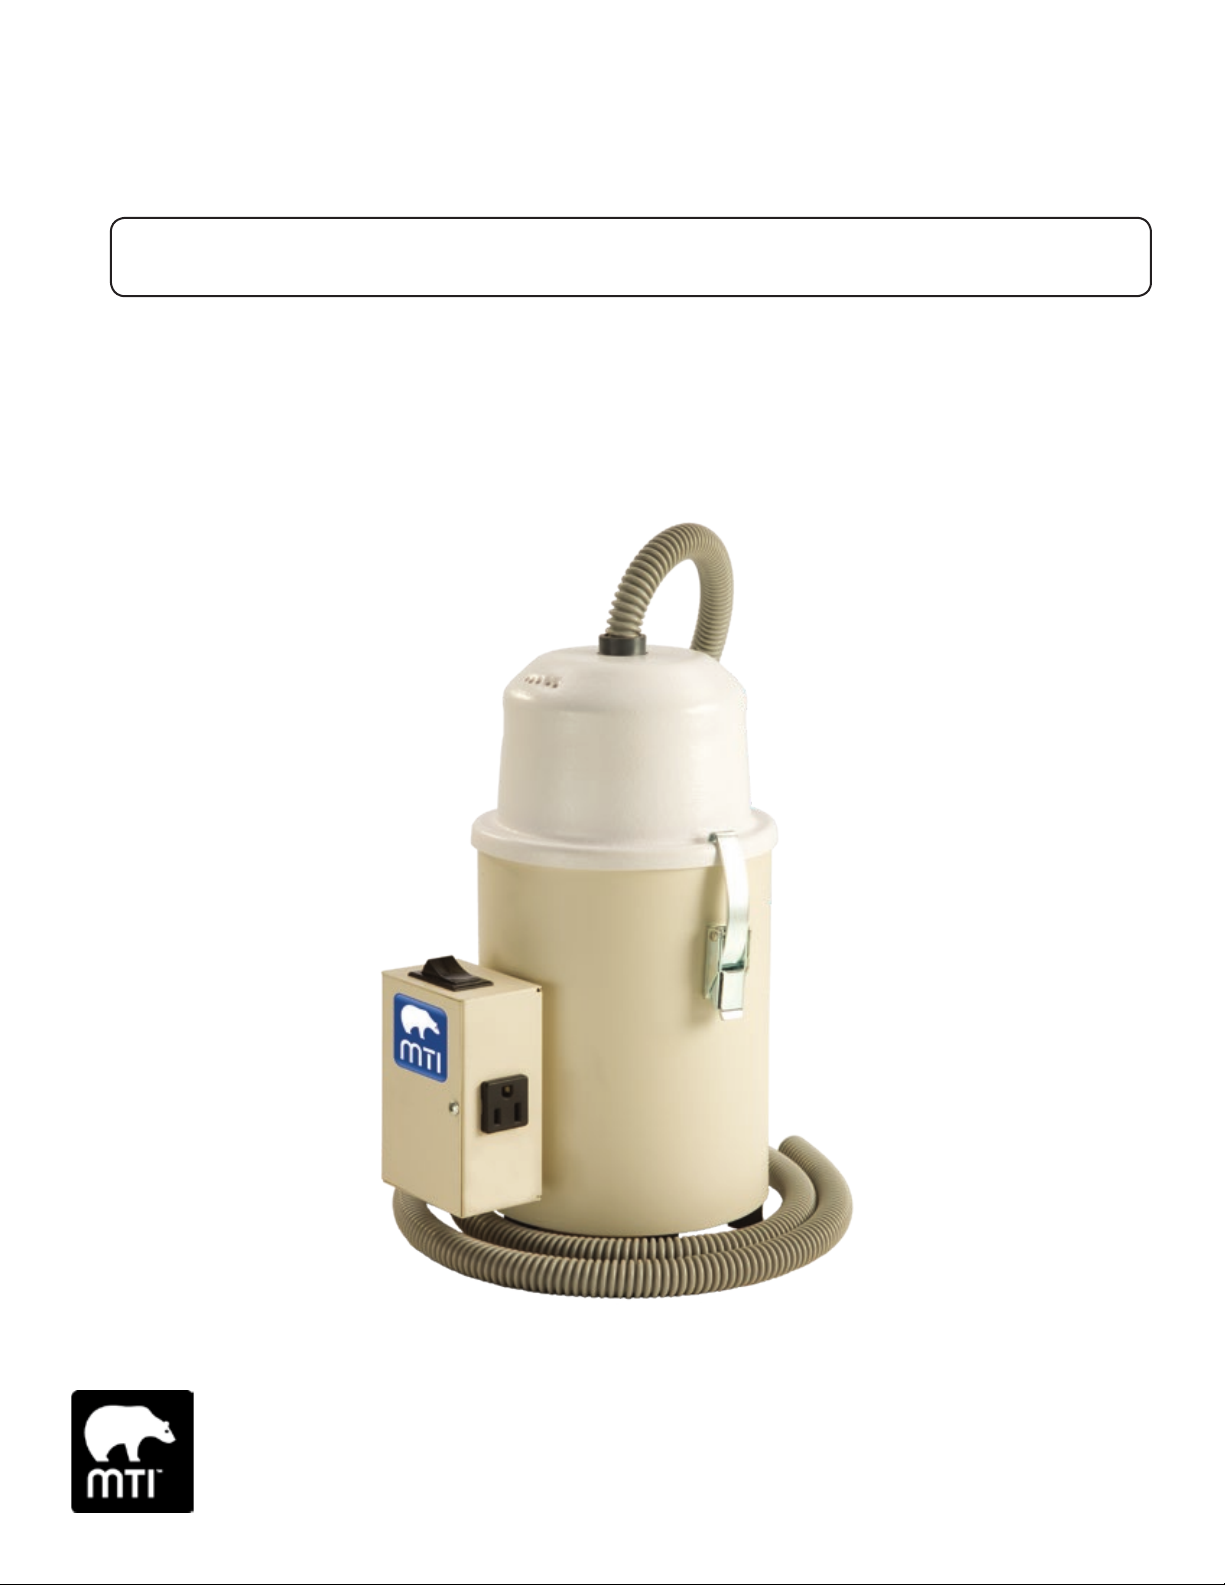
User Manual | DV-1 & DV-3 Dust Vac™ 3
WARNING/AVERTISSEMENT
This product can expose you to chemicals including
titanium dioxide, which is known to the State of
California to cause cancer. For more information go to
www.P65Warnings.ca.gov and see www.mti.net/faqs for
details on California Proposition 65.
Ce produit peut vous exposer à des agents chimiques,
y compris le dioxyde de titane, identifiés par l’État
de Californie comme pouvant causer le cancer.
Pour de plus d’informations, prière de consulter
www.P65Warnings.ca.gov et voir www.mti.net/faqs pour
les détails sur le Proposition de Californie 65.
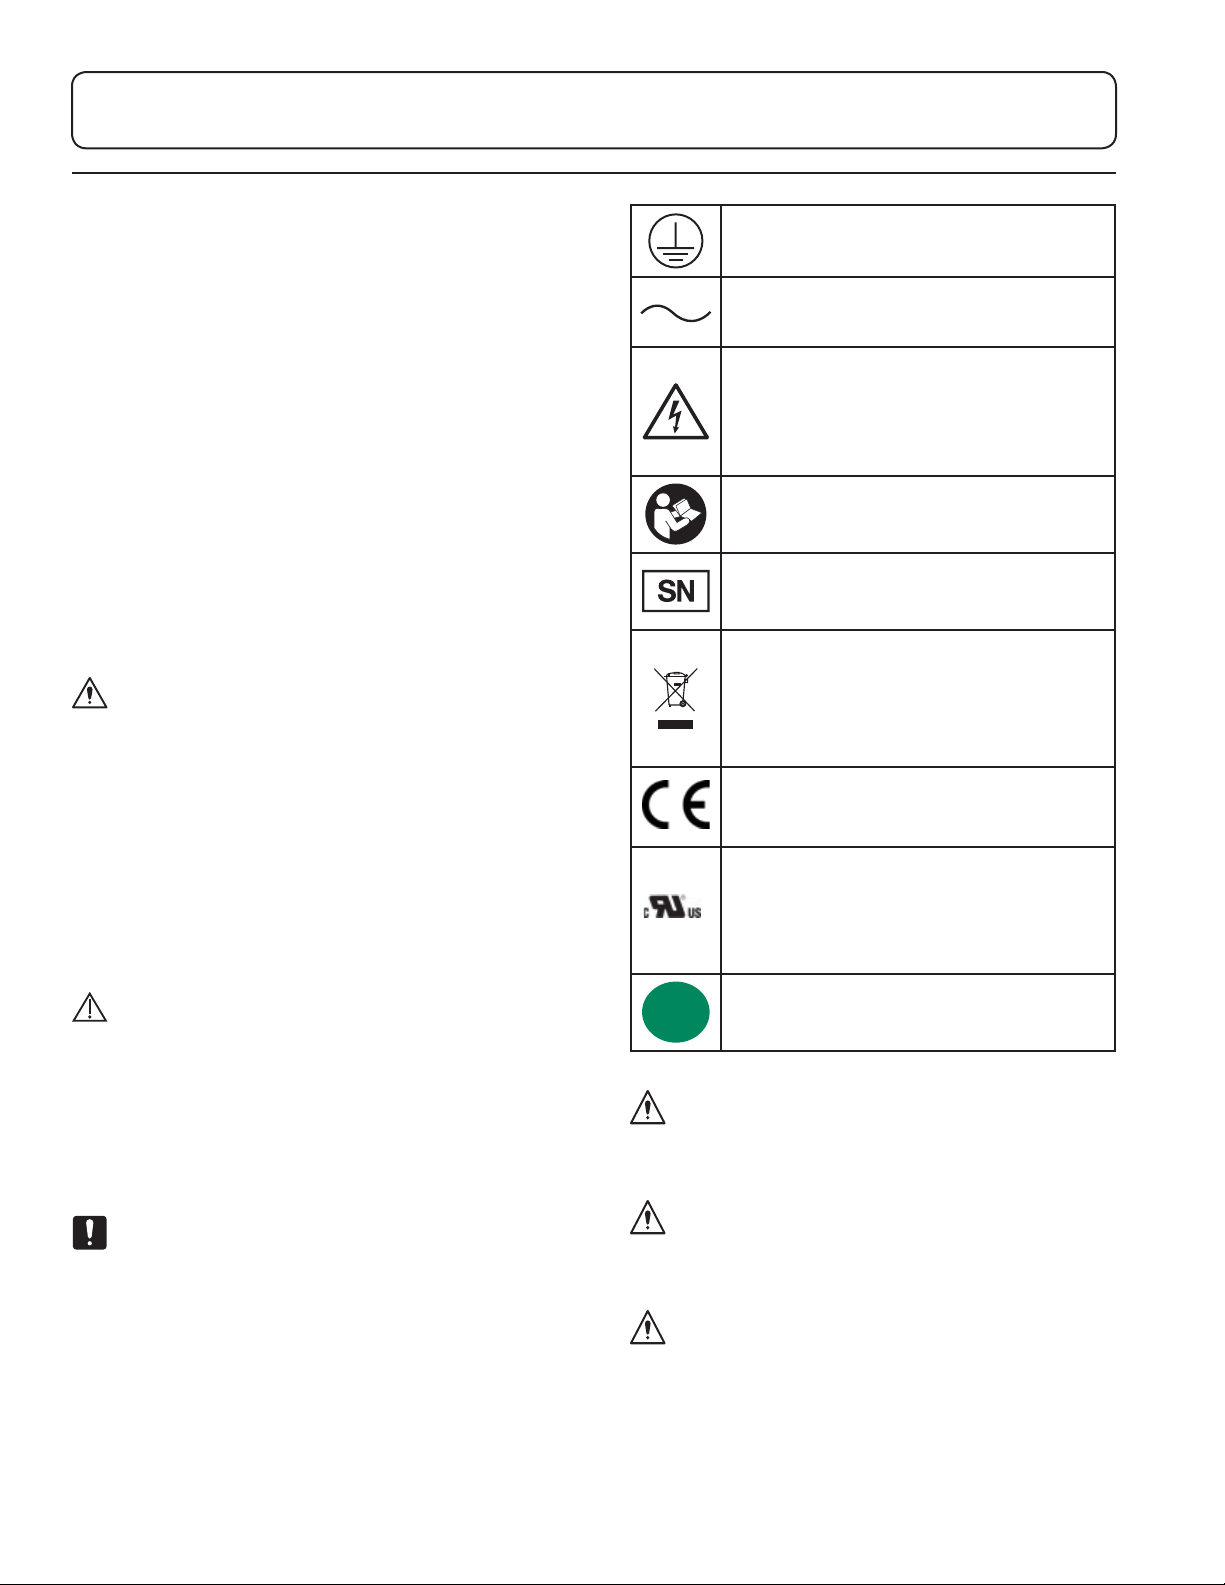
Electrical Requirements
WARNING/AVERTISSEMENT
To avoid risk of electrical shock, this equipment must be
connected to a supply mains with protective earth.
Pour éviter tout risque de choc électrique, cet
équipement doit être branché sur une prise électrique
avec la terre électrique de protection.
WARNING/AVERTISSEMENT
Grounding reliability can only be achieved when the
equipment is connected to an equivalent receptacle
marked “Hospital Only” or “Hospital Grade”.
Mise à la terre fiabilité ne peut être atteint lorsque
l’équipement est connecté à un réceptacle équivalent
marqué “Hôpital Uniquement”ou “de Qualité Hôpital”.
WARNING/AVERTISSEMENT
Connecting electrical equipment to a multiple socket-
outlet eectively leads to creating a medical electronic
system and can result in a reduced level of safety.
Connexion d’un équipement électrique à une prise de
courant multiple crée un système électronique médicale,
et peut entraîner une baisse du niveau de sécurité.
WARNING/AVERTISSEMENT
Equipment must be positioned in normal use such that
the power cords can be easily accessed to unplug.
L’équipement doit être positionné en utilisation normale
telle que les cordons d’alimentation peuvent être
facilement accessibles à débrancher.
WARNING/AVERTISSEMENT
Equipment must be connected to an appropriate power
source when loss of power source would result in an
unacceptable risk.
L’équipement doit être relié à une source d’alimentation
appropriée en cas de perte de la source d’alimentation
entraînerait un risque inacceptable.
WARNING/AVERTISSEMENT
Do not use a two-three plug adapter to plug the
equipment into a two conductor outlet, as grounding
reliability is not maintained.
Ne pas utiliser un adaptateur non de prise de terre pour
brancher l’équipement sur une prise à deux conducteurs,
la fiabilité de la terre n’est pas maintenue.
NOTICE/AVIS
Removing the power supply cord at the wall receptacle
will simultaneously isolate both poles of the power supply.
Retrait du cordon à la prise murale se isoler
simultanément les deux pôles de l’alimentation.
Contraindications
None.
Transportation and Storage Conditions
Ambient
Temperature
+10°C to +40°C
(+50°F to +104°F)
Relative
Humidity
30% to 75%
(non-condensing)
Atmospheric
Pressure
700hPa to 1060hPa
(0.69atm to 1.05atm)
Disposal of Equipment
At the end of product life, the equipment, accessories,
and other consumable goods may have become
contaminated due to normal medical use. Consult
local codes and ordinances for proper disposal of
equipment, accessories and other consumable goods.