6 7
GB
IE
GB
IE
MSRP1800 MacAllisterMSRP1800 MacAllister
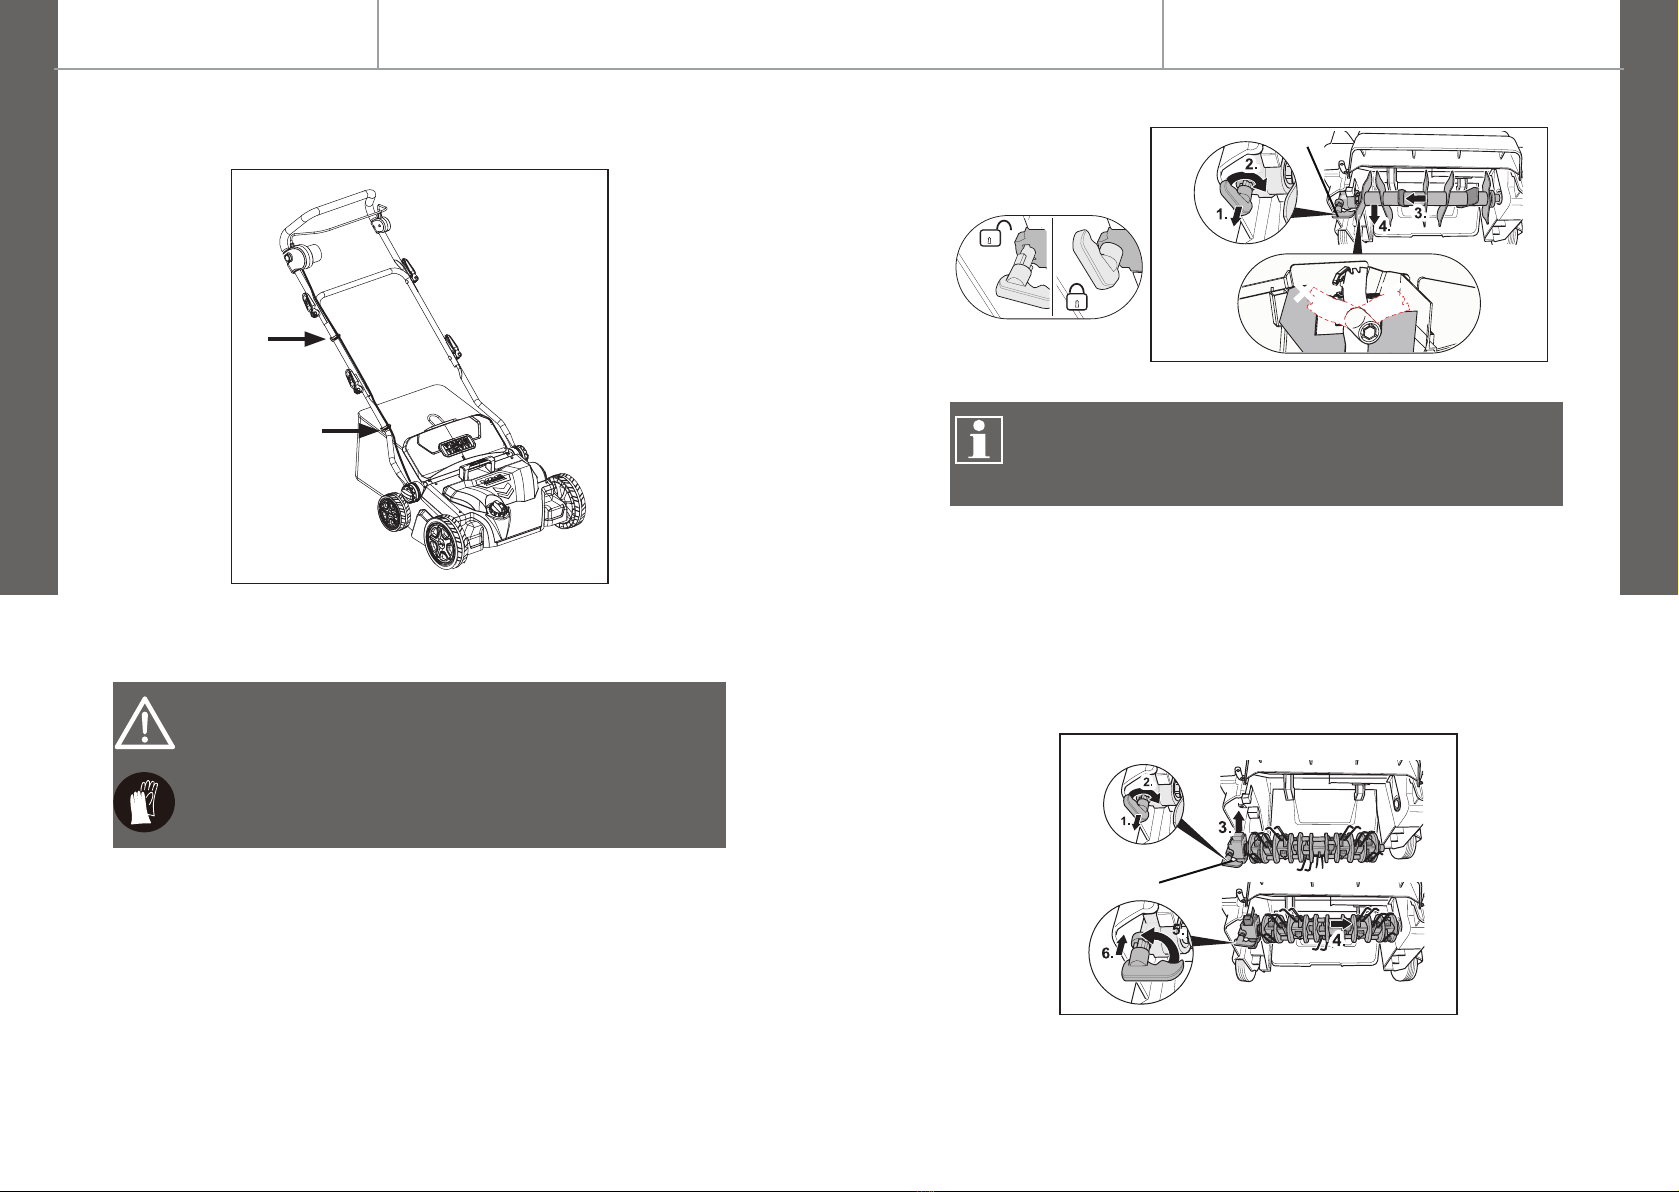
Gettingstarted ...
Gettingstarted ...
take care as rotating one tine assembly can cause
another tine assembly to rotate.
e) Be careful during adjustment of the machine to
prevent entrapment of the ngers between moving
tine assemblies and xed parts of the machine.
f) Always allow the machine to cool down before
storing.
g) When servicing the tine assembly be aware that,
even though the power source is switched off, the
tine assembly can still be moved.
h) Replace worn or damaged parts for safety. Use
only genuine replacement parts and accessories.
i) When the machine is stopped for servicing,
inspection, or storage, or to change an accessory,
shut off the power source, disconnect the machine
from the supply and make sure that all moving parts
are come to a complete stop. Allow the machine to
cool before making any inspections, adjustments,
etc. Maintain the machine with care and keep it
clean.
j) Store the machine out of the reach of children.
Recommendation
The machine should be supplied via a residual
current device (RCD) with a tripping current of not
more than 30 mA.
Additional safety warnings for scarier/raker
1. Warning! Beware of sharp tines/blades. Tines/
blades continue to rotate after the motor is switched
off.
2. Before use check the supply and extension cord
for signs of damage or ageing. If the cord becomes
damaged during use, disconnect the cord from the
supply immediately. DO NOT TOUCH THE CORD
Safety information
BEFORE DISCONNECTING THE SUPPLY. Do not
use the product, if the cord is damaged or worn.
3. Keep extension cords away from the tines/blades.
The tines/blades can cause damage to the cords and
lead to contact with live parts.
4. If the power cord is damaged, it must be replaced
by the manufacturer, its service agent or similarly
qualied persons in order to avoid a safety hazard.
Vibration and noise reduction
To reduce the impact of noise and vibration
emission, limit the time of operation, use low-
vibration and low-noise operating modes as well
as wear personal protective equipment.
Take the following points into account to minimise the
vibration and noise exposure risks:
1. Only use the product as intended by its design and
these instructions.
2. Ensure that the product is in good condition and
well maintained.
3. Use correct attachments for the product and
ensure they are in good condition.
4. Keep tight grip on the handles/grip surface.
5. Maintain this product in accordance with these
instructions and keep it well lubricated (where
appropriate).
6. Plan your work schedule to spread any high
vibration tool use across a number of days.
Emergency
Familiarise yourself with the use of this product
by means of this instruction manual. Memorise
the safety directions and follow them to the letter.
This will help to prevent risks and hazards.
Safety information