500 D 01/2012
8a
User guidance
The NANOCOLOR®500 D now governs the further course of the measurement by
optical display instructions:
measuring range and dimension, reaction time, zero adjustment, sample num-
ber, sampling location, dilution and readiness to measure any number of samples
If the measuring range is exceeded, or if any other errors arise, these will be
indicated on the display immediately.
Measuring ranges
For each test, the measuring ranges specied in the manual are stored in the
NANOCOLOR®500 D. When the measuring result exceeds or falls short of the
measuring range, the respective limit is displayed and stored with either the symbol
>or<.Dilutionistakenintoaccountautomatically.
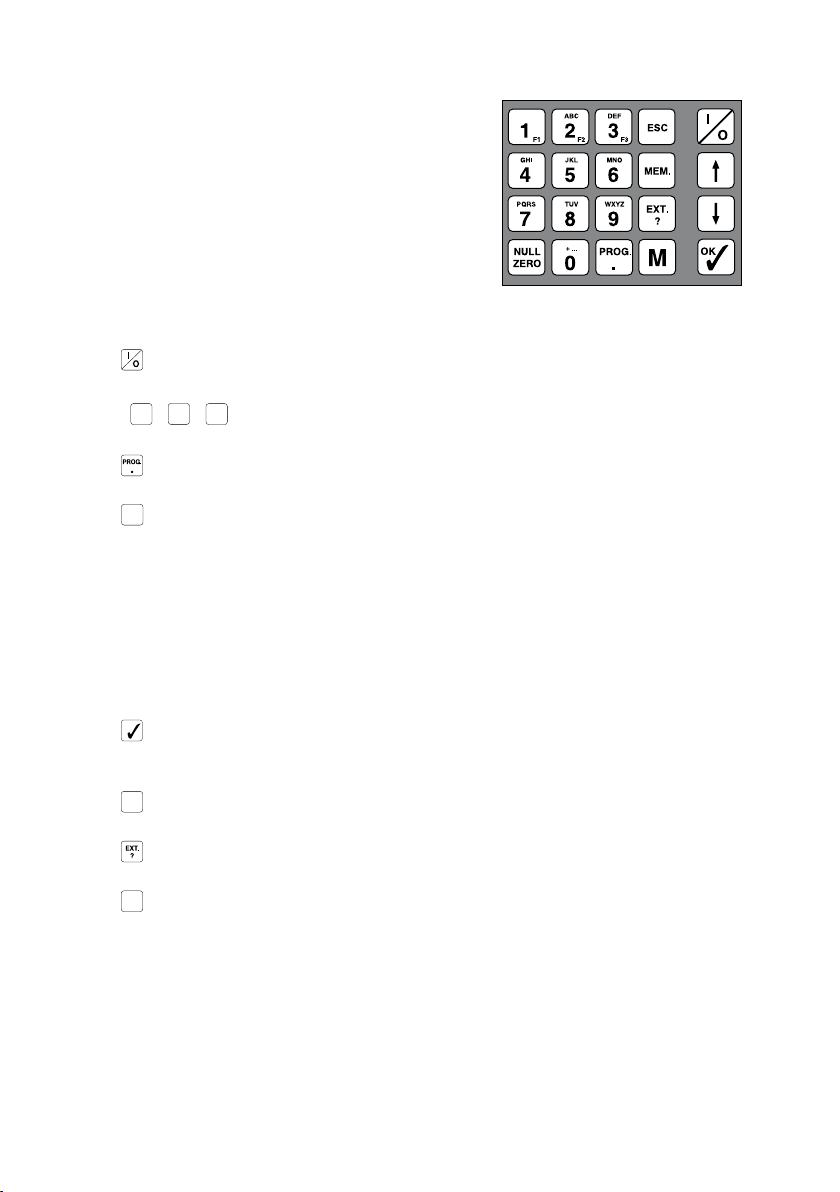
Sample number
When pressing key
after a measurement, as long as the cuvette is still in the
cuvette slot, you can assign a 4-digit sample number to the respective measuring
value. After the input this number is displayed in the lower status line. When you
remove the cuvette, the sample number is stored together with all other measure-
ment data.
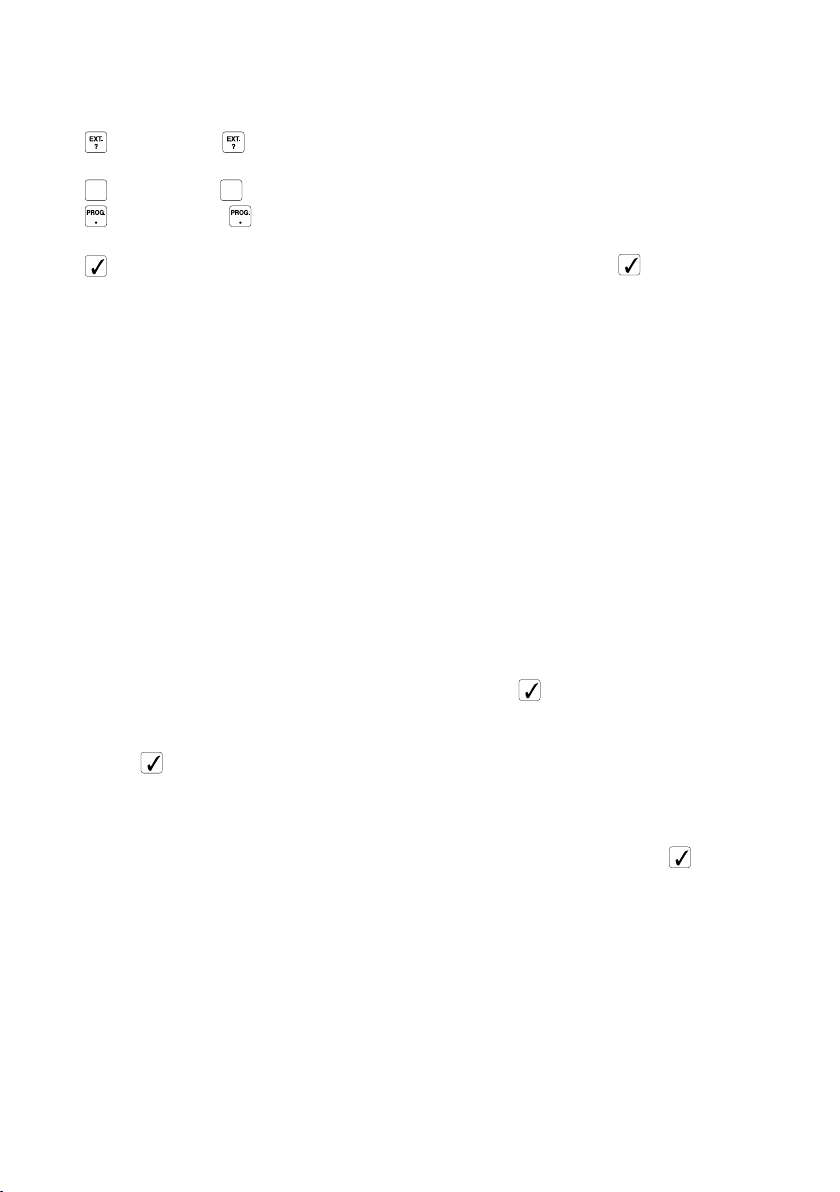
Sampling location
When pressing key
after a measurement, as long as the cuvette is still in the
cuvette slot, you can assign a 12-character alphanumeric name for the sampling
place. After input this name is displayed in the lower status line (please note that,
although12charactersarestored,max.10characterscanbeshowninthedisplay).
Ifyouhavepreviouslydenedanysamplinglocations,youcanusekeys
U
/
U
to
select from a list of the last 20 names. When you remove the cuvette, the name of
the sampling place is stored together with all other measurement data.
Dilution
When pressing key
after a measurement, as long as the cuvette is still in the
cuvette slot, you can assign a dilution factor to the measuring value, which is directly
after input used to calculate the correct result. When you remove the cuvette, the
dilution factor is stored together with all other measurement data.
Change of dimension
The dimension cannot be changed during the measurement sequence. In this case
you have to start a new method selection.
Cuvette change
When a different measuring range requires a change of the cuvette size, a one-time
zero adjustment for the respective cuvette is necessary. As long as you do not leave
the method, you may then change between cuvette sizes without any further zero
adjustment.