MAC0
FLATSIDER
6
ASSEMBLY INSTRUCTIONS
FIGURE 1 GENERAL INSTRUCTIONS
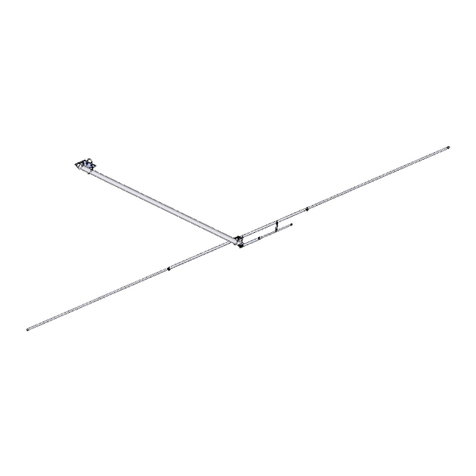
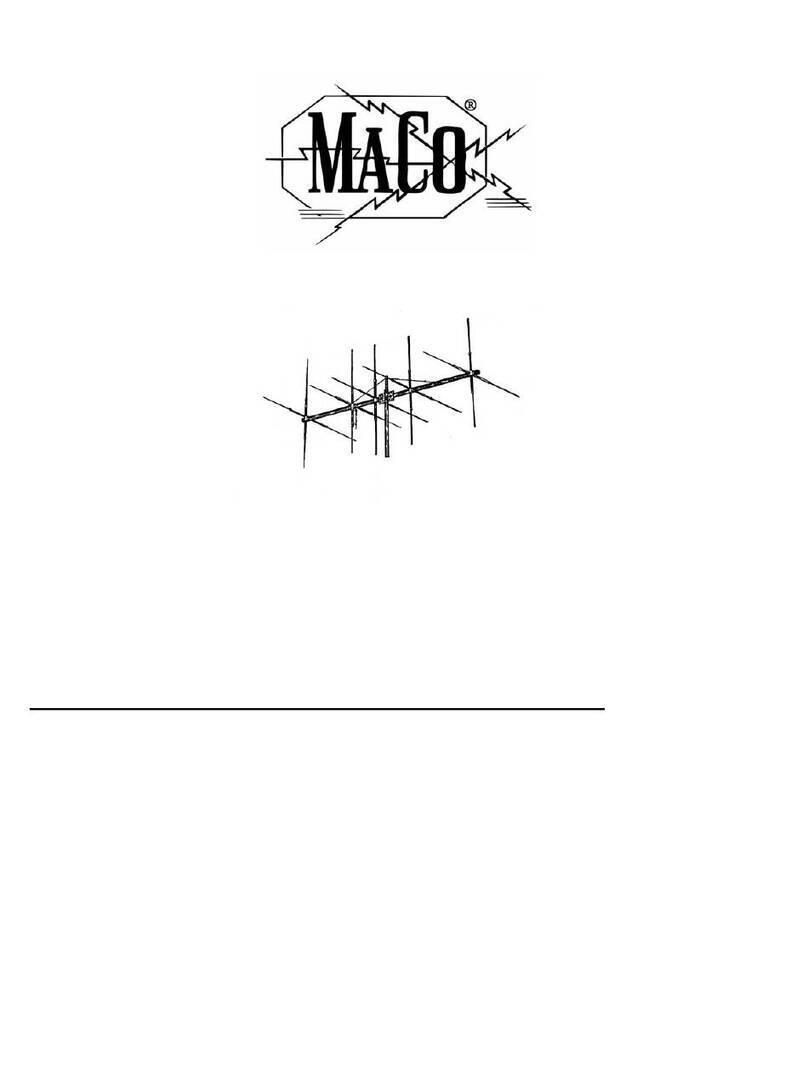
This drawing depicts an overall view of what the antenna should look like upon completion of
assembly. Refer to Figures 2 thru4 for specific assembly details. All hardware should be coated with a silicon
rubber sealant or similar compound to insure that wind vibration does not cause it to work loose.
Upon completion of assembly, install the red plastic cap
(PLSR)
on the director end of the antenna,
and the black cap (PL5) on the reflector end. This will allow you to determine at a glance the direction of
transmit and receive.
FIGURE 2 BOOM
&
GUY ASSEMBLY
To assemble the boom, first mark the center of the boom coupler (T53) and slide the unslotted ends
of the center boom sections (T52P) over the each end of the coupler so that they butt in the center. Next attach
the boom-to-mast plate (POlP) and the vertical guy support
(VO3P)
at the boom center using 2” U-bolts,
saddles and hardware as shown. (Refer to Detail 2A.)
Now, slide the swaged ends of the intermediate boom sections (T3
1P)
into the slotted ends of the
center boom sections. Secure with 2” U-bolts, saddle and hardware as shown. (Refer to Detail 2B.) Next,
slide the swaged ends of the boom sections and secure in the same manner. (Refer to Detail 2B.)
The first step in assembling the guy cable is to cut four lengths of 2 feet each off the roll of cable.
Take two 2 foot lengths and attach one end of each to an egg insulator
(EGl)
and the other end to an eyebolt
(N18) so that the distance between the eyebolt and the insulator is 1 foot. Attach both eyebolts to the vertical
guy support with
5/l
6”
hexnuts
as shown in detail 2C. Run the outside hex nuts only a couple of turns onto
the ends of the eyebolts and leave the inside nuts loose so that you can take the slack out of the cable later.
Now take two 2 foot lengths and attach an egg insulator to one end of each in the same manner. (At this point,
it is necessary to go on to element assembly and mounting, before completing the guy cable assembly.
Take both 2 foot cable lengths with the egg insulators attached and fasten one to the boom and the
driven element and the other at the 3rd director. Wrap as shown in Detail 2D so that the distance between
the boom and insulator is 1 ft.
Now take the remaining cable and allowing approximately 9” at each end for wrapping, stretch it
between the insulators one end of the boom and cut it off. Leaving as little slack as possible, wrap each end
of the cable around the insulators as shown in details 2C and 2D.
Do the same thing for the cable on the other end of the boom. Take the rest of the slack out of the
cables by tightening the outside hex nuts on the eyebolts. Lock them in place by tightening the inside hex
nuts. This antenna is designed for mounting on a 2” O.D. heavy duty mast. Mount using 2” U-bolts, saddles
and hardware as shown in Detail 2E.
FIGURE 3 ELEMENT ASSEMBLY
Prior to assembling elements slide a boom-to-element mount (BE2P) onto each
ofthe
(6) element center sections
(TllP). Assemble each element as shown using the clamps and hardware specified. Refer to the element table to
determine dimensions for each element. Install a black plastic cap (PL2) onto both ends of each element.
Assemble the
reflector elements in the same manner, sliding the fiberglass arms approximately 6 inches into the ends of the center
sections (TllP).
Snug the clamps but don’t tighten at this time because the arms will have to be adjusted after installing
the reflector wire.
3
FLATSIDER 6
