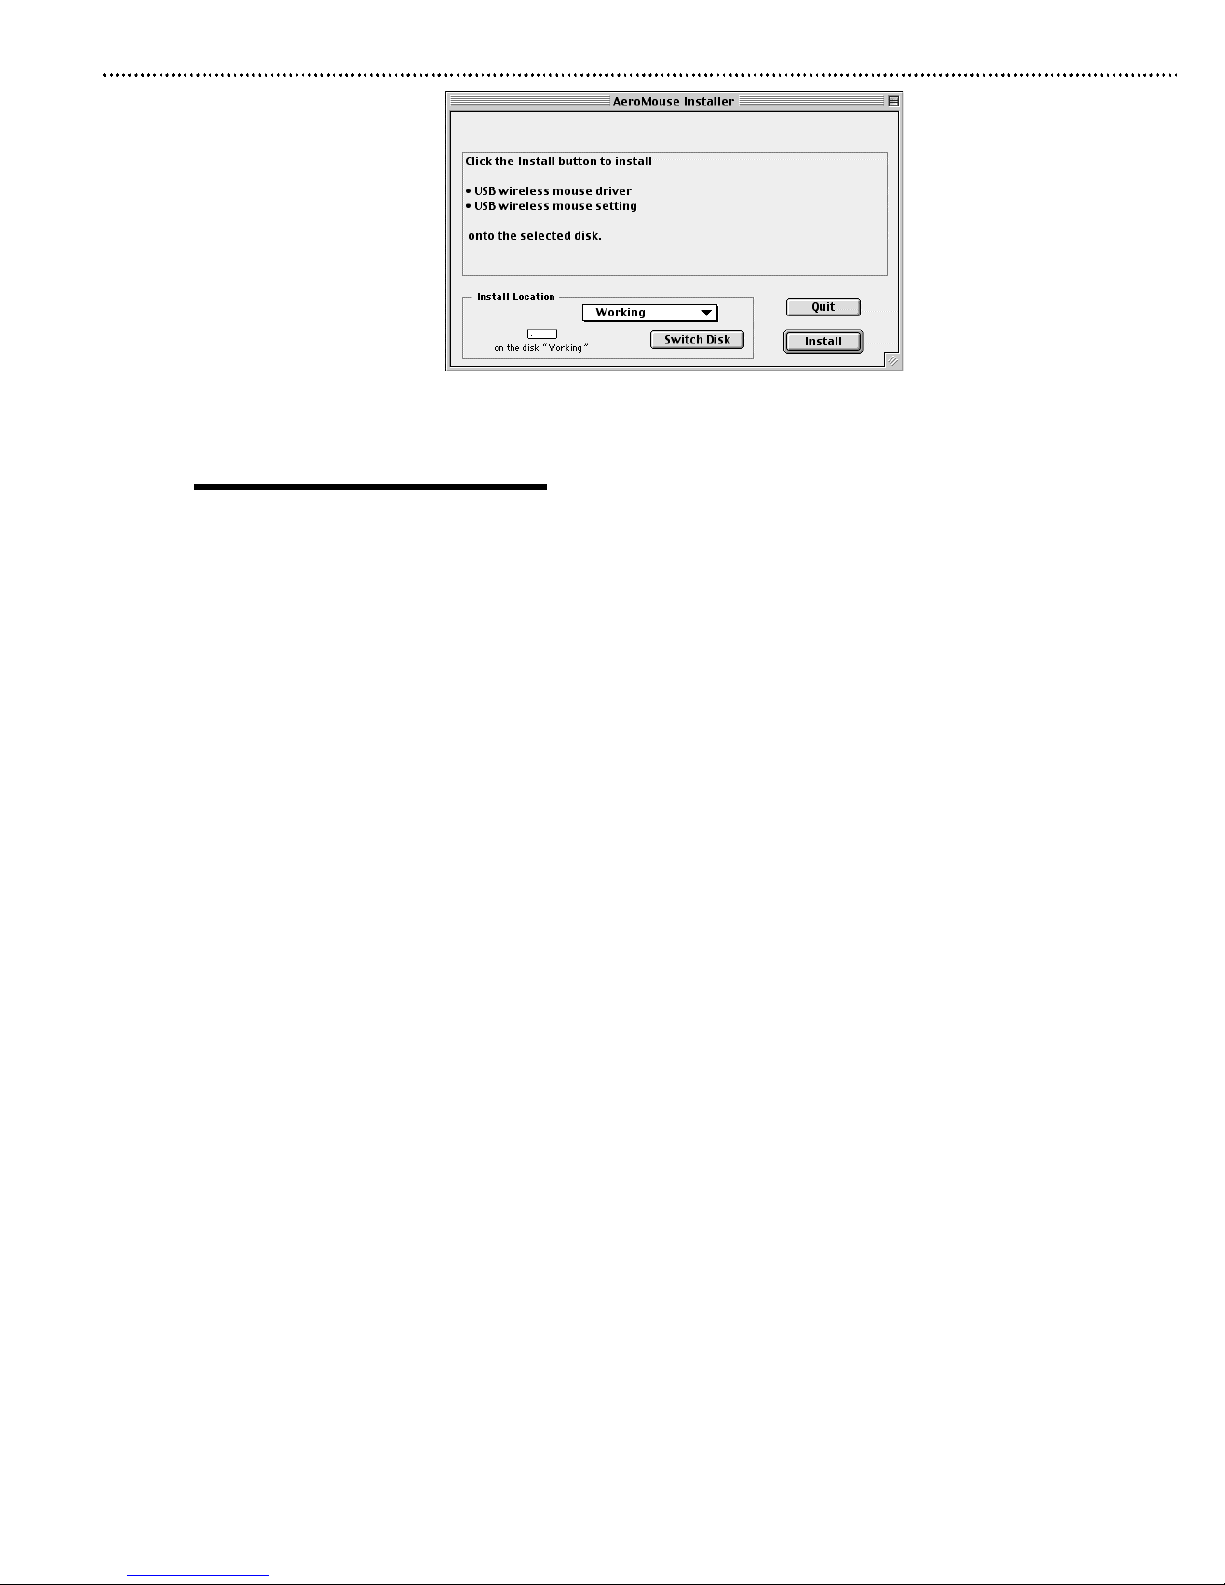
Macsense AeroMouse UM-160 User manual

UM-160
AeroMouse
User’sManual
Making the Future a Reality

Copyright
Copyright © 2000 by the manufacturer of this product. All right
reserved. No part of this documentation may be reproduced in any form
or by any means or used to make any directive work (such as translation
or transformation) without permission from manufacturer of this product.
The manufacturer of this product reserves the right to revise this docu-
mentation and to make changes in content sometimes without obligation
among the manufacturer of this product to provide notification of such
revision or change.
FCC Compliance Statement
This equipment has been tested and found to comply with the limits
for class B device, pursuant to Part 15 of FCC rules. These limits are
designed to provide reasonable protection. This equipment generates,
uses and can radiate radio frequency energy and, if not installed and
used in accordance with the instruction, may cause harmful interference
to radio communication. Operation of this equipment in a residential area
is likely to cause harmful interference, in which case, the user will be
required to correct the interference at the user's own expenses.
Trademarks
All products and Brand names are trademarks and/ or registered
trademarks of their respective companies.
I

Table of Contents
Chapter 1 - Introduction . . . . . . . . . . . . . . . . . . . . . . .1
Introduction . . . . . . . . . . . . . . . . . . . . . . . . . . . . . . . . . . .1
Features . . . . . . . . . . . . . . . . . . . . . . . . . . . . . . . . . . . . . .1
System Requirement . . . . . . . . . . . . . . . . . . . . . . . . . . . .1
Chapter 2 - Installation . . . . . . . . . . . . . . . . . . . . . . .2
Hardware Installation . . . . . . . . . . . . . . . . . . . . . . . . . . . .2
Multi-user Channel Setting . . . . . . . . . . . . . . . . . . . . . . . .2
Software Installation . . . . . . . . . . . . . . . . . . . . . . . . . . . . .3
Control Panels Setting . . . . . . . . . . . . . . . . . . . . . . . . . . .4
Scrolling Wheel Functions Tips . . . . . . . . . . . . . . . . . . . . .6
Other Tips . . . . . . . . . . . . . . . . . . . . . . . . . . . . . . . . . . . .6
Entering and Saving Settings in the Control Panel . . . . . .6
Troubleshooting . . . . . . . . . . . . . . . . . . . . . . . . . . . . .7
Specifications . . . . . . . . . . . . . . . . . . . . . . . . . . . . . .8
II

Introduction
Thank you for your purchase on Macsense's AeroMouse. Macsense’s
AeroMouse can be used with every direction and angle , or with objects
that are between the mouse and receiver.
The AeroMouse comes with a multi-function "Wheel" feature that
allows fast and easy scrolling. A Mouse Control Panel adds flexibility by
providing a series of easy-to-use functions.
Through the use of radio multi-channel technology, the AeroMouse
broadcasts at 900MHz and allows up to eight AeroMouse mice operate
simultaneously within the same location. It also turns off automatically
when idled for five minutes to save energy.
Features
• Scrolling 3 button eight channel mouse.
• No cord to pull or tangle.
• Plug & play or use the software enclosed.
System Requirements:
• Hardware: Mac or PC with USB interface.
• Operating System: Mac OS 8.5.1 or later.
Windows 98SE or Windows 2000.
• Batteries: (2) AAA
Chapter 1 - Introduction
1

Installation
Hardware Installation
Installing batteries in the mouse(transmitter unit):
1 .Remove the battery cover on the bottom of the AeroMouse.
2 .Insert two AAA batteries into the battery compartment.
3 .Carefully replace the cover.
Connecting the receiver unit to a USB port.
1. Locate the USB port on your Macintosh or PC. It is a flat
rectangular shape port. On the Macintosh, it can be found on
either side (iMac and iBook) or back panel (Power Mac G3/G4).
2. Plug the AeroMouse into the empty USB port firmly.
Note: Do not force the connector if it doesn't fit. In this case, pull
the connector out, confirm its direction, and then try again. When the
AeroMouse is connected properly, the cursor on the screen should
start to respond to mouse movements.
Multi-user Channel Setting
Up to 8 AeroMouse units can be used in the same area. By pressing
the Channel Button on the receiver and transmitter (AeroMouse) the
radio channels can be changed. Typically, the default settings out of the
box will work just fine and changes do not need to be made at all.
Both the receiver and transmitter must be on the same channel to
operate. To change the channel settings, press the Channel Button on
the receiver and transmitter for the desire settings. Each time the
Channel Button is pressed on the receiver and transmitter, the LED on it
will flash accordingly. For example, the first time you press the Channel
Button on the receiver, you should see two flashes indicating that you are
on Channel 2. Pressing the Channel Button again, will make the LED
flash three times indicating you are on Channel 3.(See Figure 2.1)
Note:Pressing the button for more than one second to reset the unit to
channel 1.
Chapter 2 - Installation
2

Note: The receiver and mouse should always be set to the same
channel.
(Figure 2.1)
• Channel 1: one flash
• Channel 2: two flashes
• Channel 3: three flashes
• Channel 4: four flashes
• Channel 5: five flashes
• Channel 6: six flashes
• Channel 7: seven flashes
• Channel 8: eight flashes
Software Installation
In order to use all the buttons on your Macintosh, you will need to
install the software supplied in the CD ROM. However, you will not need
to install any software for the PC. For PCs, simply plug the AeroMouse
in and let Win98 or Win2K install the appropriate software. For the Mac:
1. Insert the CD-ROM included with the AeroMouse. The CD-ROM
icon should appear on the screen.
2. Double-click the icon to open the CD-ROM and installer window.
3. Double-click to run the "Macsense AeroMouse Installer".
Adialog box (see figure 2.2) will appear.
4. Click “Install” to install the require software.
5. Click the “Restart” button after installation is completed.
Chapter 2 - Installation
3

(Figure 2.2)
Control Panels settings
The Control Panel for the Macsense’s AeroMouse allows you modify
the settings for the buttons and scrolling wheel of your AeroMouse.
Below is a brief description of the possible settings that can be applied in
the AeroMouse Control Panel.
For the Pop Up Menus
• None: No function assigned
• Single Click: Assign the traditional single click function.
• Double Click: Assign the traditional double click function to a
single click.
• Click-Lock: For pulling/dragging open windows.
• Control-Click: Hot key for “Control+single mouse click” function.
• Pop-Up Main Menu: Assign any button to open Main menu pop
up window.
•Auto-Scroll: Click on the web site background and scroll by
moving the mouse.
• Auto-Scroll(Reverse): Auto-Scroll by reverse mode.
•Application Switch: Place running application pop up menu on
desktop.
Chapter 2 - Installation
4

(Figure 2.3)
For the Check Box (See Figure 2.4)
• Left-handed: Can be converted for left-handed with one click.
For the “Scrolling Increment” Radio buttons
• Scrolling Increment: Changes Scrolling speed.
For the “Default Setting” Push Button
• Default Setting: Returns function to original settings.
(Figure 2.4)
Chapter 2 - Installation
5

Scrolling Wheel Functions Tips:
• Scroll window up/down
• Use control panel to set its increment
• Page scrolling speed will accelerate if the wheel is scrolled
continuously. Click any mouse button or scroll the wheel in the
opposite direction and the page scrolling to stop.
Other Tips:
• All buttons are definable.
• Right and left hand programmable.
Entering and Saving Settings in the Control Panel
1. Select Control Panels from the Apple Menu.
2. Select AeroMouse Setting from the Control Panels.
(See Figure 2.5)
3. Select the setting for mouse button and mouse wheel that you
desire.
4. Close the AeroMouse Setting.
5. Setup is complete.
(Figure 2.5)
Chapter 2 - Installation
6

TroubleShooting
This chapter provides solutions to problems that may occur during
installation and operation of the AeroMouse.
1. The AeroMouse is not recognized by the computer.
• Check all connectors that are firmly plugged-in for the receiver.
• Replace the batteries for the AeroMouse.
• Verify that the batteries are inserted correctly.
• Verify that the AeroMouse is in communication with the receiver.
This can seen by viewing the LED on the receiver. If operate
properly, the LED will be green.
2. The operation of the AeroMouse is not smooth.
• Replace the batteries for the AeroMouse.
• Try moving the AeroMouse closer to the receiver.
• Try moving the receiver further from your computer.
• Change the channel on the receiver and AeroMouse (transmitter)
TroubleShooting
7

Specifications
• Button Switch 2 programmable buttons, 1 programmable
wheel
• USB Connectors: 1 Male Type A USB Connector
• Cable Length 2.0 m
• Transmitter Dimensions: L 118mm x W 63mm x H 40.5mm
• Receiver Dimensions: L 100mm x W 56mm x H 48mm
• Transmitter Weight 105 grams (N.W.)
• Receiver Weight 145 grams (N.W.)
• Encoder: Optic-Mechanical
• Resolution 400DPI
• Certifications: FCC Class B
• Temperature: Operating (32˚F~104˚F)
Storage (-14˚F~140˚F)
• Humidity: Operating 10% to 85%
Storage 10% to 85%
• Channel Number: 8
• Operation Range: 5 meters
• Radio Data Rate: 9600bps
• Radio Frequency: 900MHz
• Power Consumption: Max 60mA (Receiver)
• Battery Life: 6 Months
• Battery Spec: Two UM-4 (Size AAA)
Specifications
8

PN-180-00322-000
Table of contents