Page 3 of 19405-0680 Rev B 2/6/2020
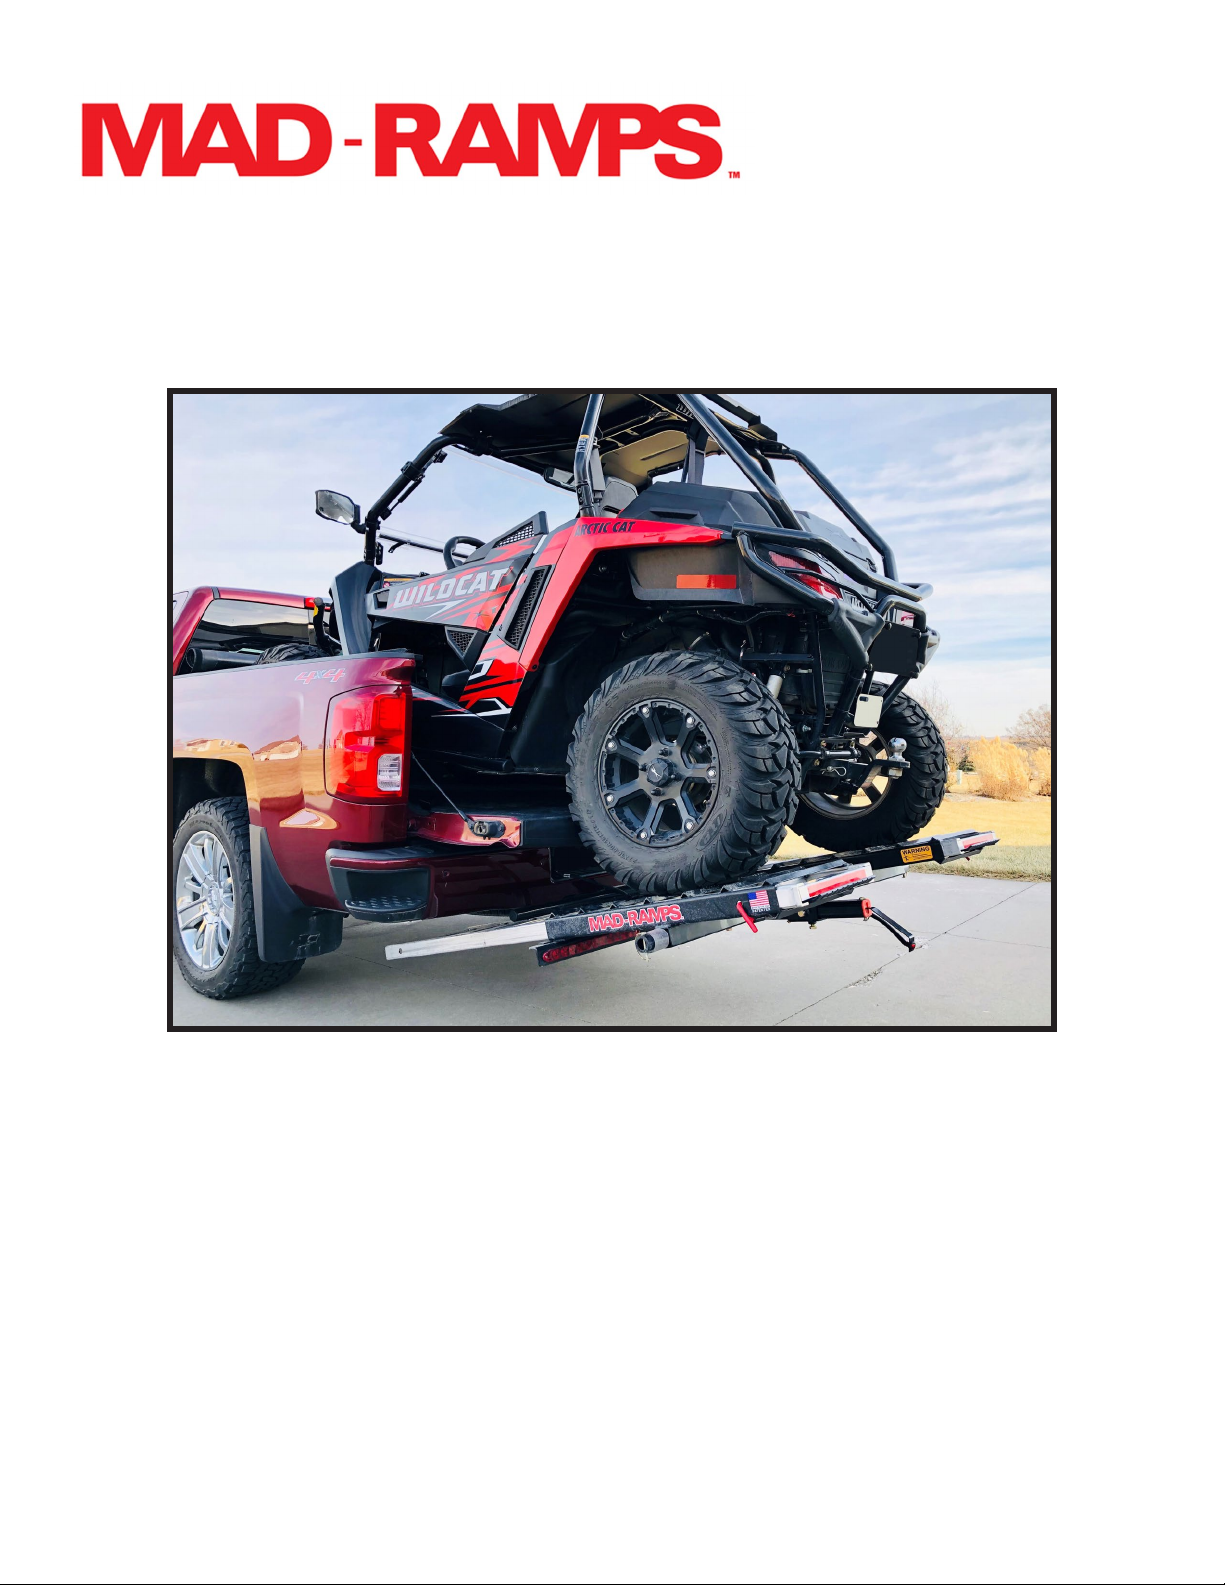
MR1400 MAD-RAMPS Pivoting Ramp System
Installation Instructions
INTENDED USE
The MAD-RAMPS Pivoting Ramp System is intended to load, unload, and transport ATVs, UTVs, Golf Carts,
and Snowmobiles only. Depending on ATV/UTV/Golf Cart/Snowmobile weight, a minimum of a Class III or a
Class IV receiver hitch is required for the MAD-RAMPS Pivoting Ramp System. It is imperative that you check
your owner’s manual to determine the tongue-weight rating for your truck’s specic receiver hitch. Once you
know your truck’s specic tongue-weight rating, you will need to perform one quick calculation: Add together
the total weight of the MAD-RAMPS Pivoting Ramp System (151 pounds) and two-thirds of the weight of your
ATV, UTV, Golf Cart, or Snowmobile (2/3 = machine weight x 0.67). After you have completed this calculation,
you must make sure that the combined weight of the MAD-RAMPS Pivoting Ramp System and two-thirds of
the weight of your ATV/UTV/Golf Cart/Snowmobile is less than the maximum tongue-weight rating for your
truck’s receiver hitch. If this combined weight is more than the maximum tongue-weight rating for your truck’s
receiver hitch, the MAD-RAMPS Pivoting Ramp System should NOT be used on your truck.
NOTE: When using the MAD-RAMPS Pivoting Ramp System with a Golf Cart, ensure there is enough ground
clearance to safety drive the Golf Cart onto the ramps.
Furthermore, it is imperative that you closely inspect your truck’s receiver hitch to determine whether it is in
good working condition. You need to ensure that the structural integrity of your truck’s receiver hitch has not
been degraded from years of use or misuse, or from the use of highway salts and other degrading compounds
that your truck may have encountered.
MAD-RAMPS are DOT compliant for highway travel in the United States. In order to maintain compliance,
three straps must be used to secure your machine prior to transport. For maximum safety, it is recommended
that ratchet straps be used to secure your machine for transport-two at the front of your ATV/UTV/Golf Cart/
Snowmobile and one in the rear, as a minimum.
NOTE: When UTV/Side by Side exceeds 1,000 lbs dry weight, we recommend backing the machine on the
MAD-RAMP. Due to the higher weight and continuous stress load on the MAD-RAMP we make this
recommendation so that more weight is carried by the pickup and less transferred to the MAD-RAMP, which
decreases the continuous load and helps maintain the strength and integrity of the unit.
MAINTENANCE
The MAD-RAMPS Pivoting Ramp System is free from any regular or scheduled maintenance. There
are no bearings, grease ttings, lubrication points, etc. However, several sound practices will ensure
the safety, longevity, and durability of your MAD-RAMPS for years to come.
• Keep all components clean and free from any mud or debris that can accumulate with regular use.
• Use a torque wrench to ensure all of the jam bolts are tightened to 70 ft/lbs each prior to each
use.
• Periodically check to ensure proper function of brake lights, tail lights, and turn signals.
• When not in use for extended periods of time, store MAD-RAMPS indoors.