manuals.online logo
Brands
  1. Home
  2. •
  3. Brands
  4. •
  5. Magellan Outdoors
  6. •
  7. Tent
  8. •
  9. Magellan Outdoors FSMGCT4003 User manual

Magellan Outdoors FSMGCT4003 User manual

Other Magellan Outdoors Tent manuals

Magellan Outdoors Pro SwiftRise Hub 3P Tent User manual

Magellan Outdoors

Magellan Outdoors Pro SwiftRise Hub 3P Tent User manual

Magellan Outdoors MG LAKEWOOD LODGE User manual

Magellan Outdoors

Magellan Outdoors MG LAKEWOOD LODGE User manual

Magellan Outdoors FSMGCT2009 User manual

Magellan Outdoors

Magellan Outdoors FSMGCT2009 User manual

Magellan Outdoors SwiftRise 6P User manual

Magellan Outdoors

Magellan Outdoors SwiftRise 6P User manual

Magellan Outdoors Mag Mission 8P User manual

Magellan Outdoors

Magellan Outdoors Mag Mission 8P User manual

Magellan Outdoors FSMGCT2009 Setup guide

Magellan Outdoors

Magellan Outdoors FSMGCT2009 Setup guide

Magellan Outdoors SwiftRise Hub 4P User manual

Magellan Outdoors

Magellan Outdoors SwiftRise Hub 4P User manual

Magellan Outdoors FSMGCT2000 User manual

Magellan Outdoors

Magellan Outdoors FSMGCT2000 User manual

Popular Tent manuals by other brands

Nordcap Easy Up 400 Build-up instructions

Nordcap

Nordcap Easy Up 400 Build-up instructions

Zempire Neo Series instructions

Zempire

Zempire Neo Series instructions

CampTrails Grand Manan Assembly instructions

CampTrails

CampTrails Grand Manan Assembly instructions

Maanta ULISSE 90 Instructions and warnings

Maanta

Maanta ULISSE 90 Instructions and warnings

OZTENT JV SIGNATURE EDITION owner's manual

OZTENT

OZTENT JV SIGNATURE EDITION owner's manual

GigaTent Summer Chalet Mini Tent owner's manual

GigaTent

GigaTent Summer Chalet Mini Tent owner's manual

Outsunny 84C-230 manual

Outsunny

Outsunny 84C-230 manual

Crivit Outdoor 96716 instruction manual

Crivit Outdoor

Crivit Outdoor 96716 instruction manual

Reimo Marina instructions

Reimo

Reimo Marina instructions

Outsunny 84C-063 Assembly instruction

Outsunny

Outsunny 84C-063 Assembly instruction

EuroTrail ATLANTIS PRO manual

EuroTrail

EuroTrail ATLANTIS PRO manual

TiiTENT TB300 manual

TiiTENT

TiiTENT TB300 manual

Coleman 2000033134 Assembly & instruction manual

Coleman

Coleman 2000033134 Assembly & instruction manual

Ozark Trail W784.1 Assembly instructions and owner's manual

Ozark Trail

Ozark Trail W784.1 Assembly instructions and owner's manual

SlingFin CrossBow 2 instructions

SlingFin

SlingFin CrossBow 2 instructions

Coleman 9600-141 instructions

Coleman

Coleman 9600-141 instructions

Palram Arizona 5000 Wave - WINGS manual

Palram

Palram Arizona 5000 Wave - WINGS manual

COVERPRO 56184 Owner's manual & safety instructions

COVERPRO

COVERPRO 56184 Owner's manual & safety instructions

manuals.online logo
manuals.online logoBrands
  • About & Mission
  • Contact us
  • Privacy Policy
  • Terms and Conditions

Copyright 2025 Manuals.Online. All Rights Reserved.

Care and Maintenance
For your tent, screen house or canopy DO NOT...
- Pitch near an open fire.
- Use candles or open flames of any kind in or near.
- Leave children unattended inside.
- Use fuel-burning, oxygen-consuming devices (heaters, lanterns, cooking stoves or other
flame sources) inside.
- Refuel lamps, heaters or stoves inside.
- Smoke inside.
- Store flammable liquids inside.
- Use water repellent compounds other than those recommended for use on outdoor
equipment.
- Spray with insecticide.
- Store on concrete floor.
For your tent, screen house or canopy DO...
- Always extinguish campfire before sleeping or leaving the area.
- Exercise care when using electricity and lighting.
- Make certain it is properly ventilated in all weather conditions. In extreme weather
conditions, snow could obstruct airflow and cause asphyxiation. Clear frequently.
- Anchor securely to provide additional security in changing climatic conditions. Snow pegs,
skis and/or heavy rocks may be necessary to supplement stakes and guy lines.
- Take down and store properly after camping.
Although our products are manufactured according to rigorous specifications, periods of
wind or rain may loosen the stakes and cause the frame to sink into the ground. This will
weaken the structure’s overall rigidity. Puddles may also form on the roof if the unit has not
been assembled tightly. If pooling should occur it is advisable to drain the fly to avoid
possible damage to frames and fabric. Adjustment of guy lines may be necessary. In case
of inclement weather remove valuables and seek appropriate shelter. Intended for
recreational use only.
CLEANING:
Allow dirt to dry on the tent fabric after a rainfall before lightly sweeping it off with a brush.
For tougher stains, spray the area with water and lightly wipe it off with a few strokes.
Do not use washer or dryer.
DO NOT SCRUB THE FABRIC. ALWAYS MAKE
SURE YOUR TENT IS COMPLETELY DRY BEFORE REPACKING.
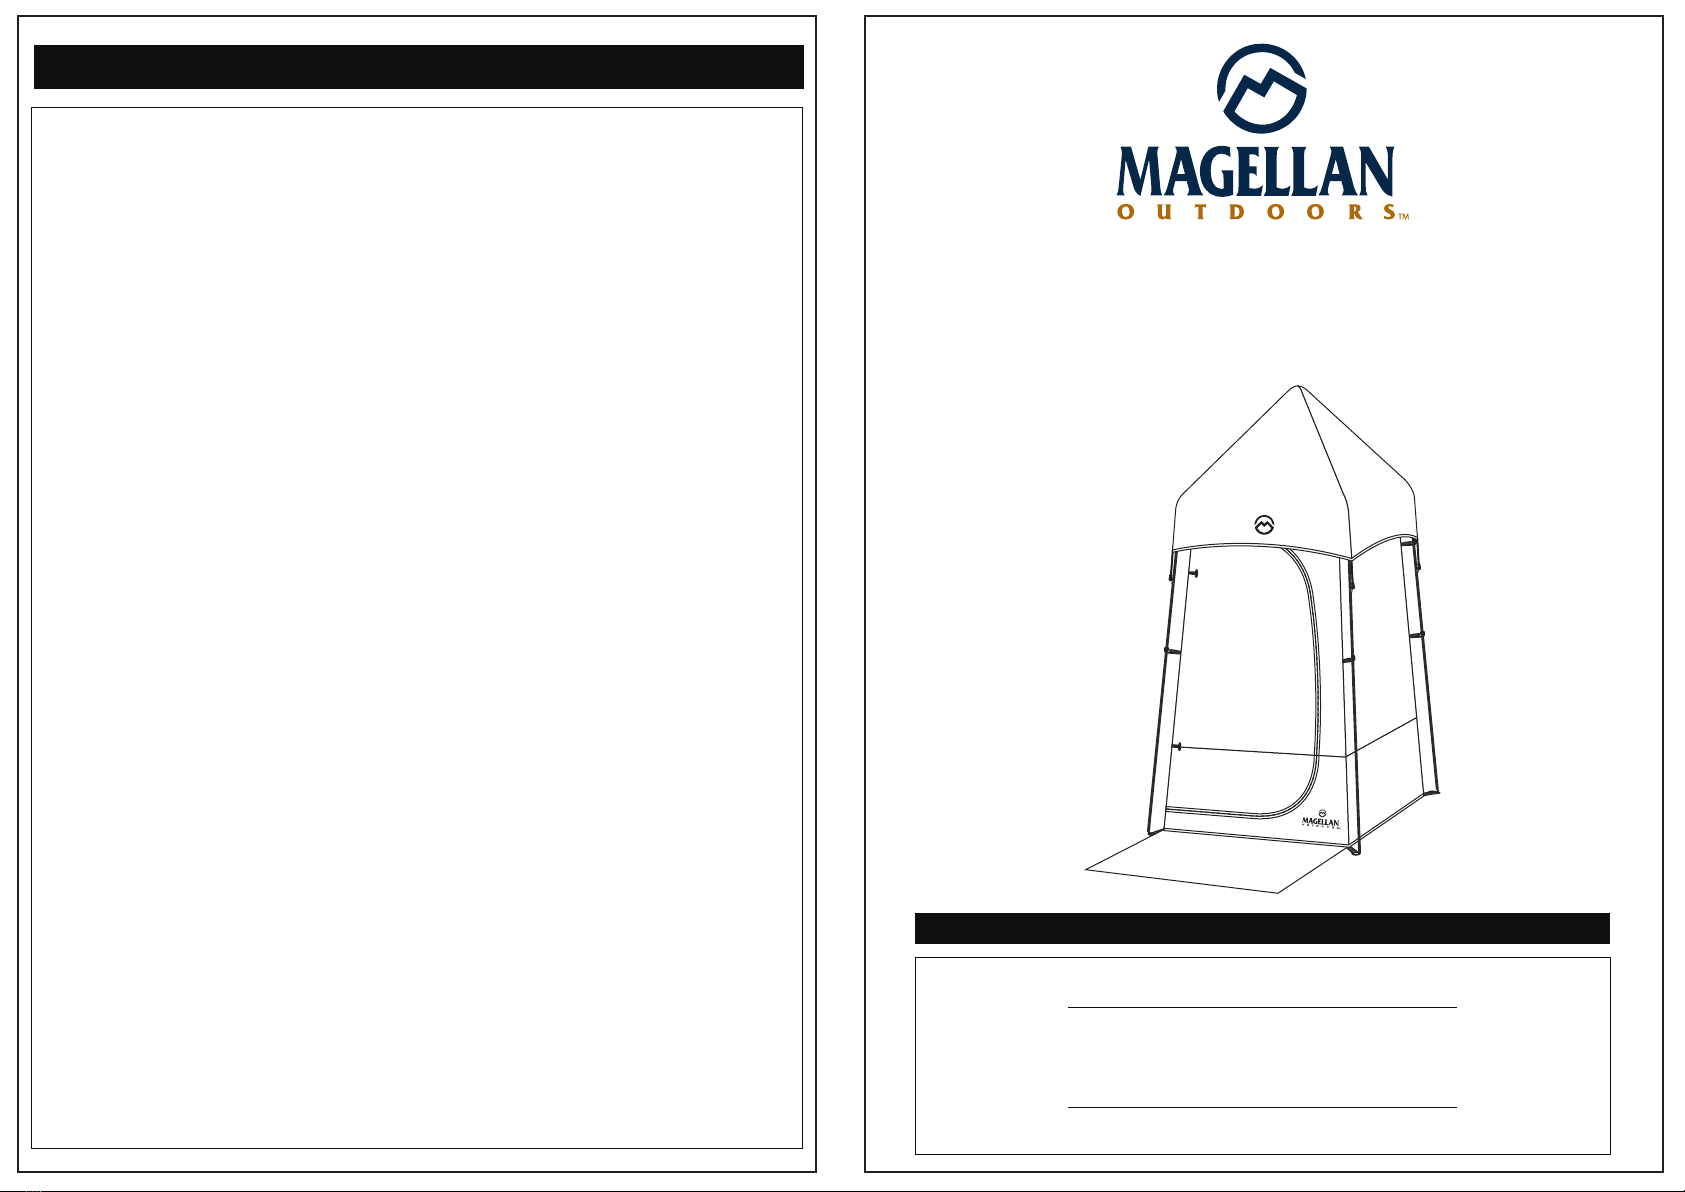
Instruction Manual
MAGELLAN OUTDOORS PORTABLE UTILITY TENT
Academy’s Style: FSMGCT4003
Please keep this instruction manual for future reference
Customer Service: (888) 922-2336
Monday thru Friday
7:00am to 10:00pm, Central Standard Time
Sunday
8:00am to 8:00pm, Central Standard Time
(Made in Bangladesh)
A Tent 1each
1each
1each
1each
1each
4each
4each
B Rainfly
C Hanging Shelf
D Organizer
E Steel Poles
F Tent Stakes
G PVC Mold 4 way
Parts List
Step 1:
Step 2:
Spread tent and insert roof poles
Attach leg poles
1) To raise the shower tent, place the bottom
of the leg poles onto the pins attached to
the stake loop along the perimeter of
the tent.
2) Clip the pole hooks along the walls to
the frame.
1) Spread out the tent flat, floor side down.
2) Use the illustration below as a guide. Insert
the 4 leg poles through the pole sleeves
and into the center connector, attached.
Make certain the metal springs lock into
place in the connector.
Assembly Instructions
Step 3:
Step 4:
Stake tent, fasten hooks
Position fly
1) Unfold the fly and stretch out all corners.
Place the fly over the shower tent.
1) Stake down the shower tent by inserting a
stake through the stake loops, located
along the perimeter of the shower tent.
2) Make certain the tent floor is pulled out
evenly and tightly.
3) Hammer the stakes into the ground at a
45 degree angle using a hammer or mallet.
Assembly Instructions
Body assembled
Tent appears as shown.
Warnings
WARNING!
DANGER!
- KEEP ALL FLAME AND HEAT SOURCES AWAY FROM THIS FABRIC.
This product is made with flame resistant fabric, which meets CPAI-84
specifications.
IT IS NOT FIREPROOF!
The fabric will burn if left in continuous contact with any flame source.
The application of any foreign substance to the fabric may render the
flame resistant properties ineffective.
- Anchor properly at all times and carefully consider campsite choice.
Be aware of possible falling rocks or tree limbs, lightning strikes, flash-
floods, strong winds and other hazards which may cause injury to this
product or it’s occupants.
- Have a minimum of two adults for assembly. During assembly poles
are under tension. If not held firmly in place during assembly, poles
could break or flip up possibly causing serious injury.
- Safety glasses may be worn throughout the assembly process as an
additional precaution.
- Exercise care when using electric devices in and near tents.
Stoves, lanterns, candles, grills, heaters and other fuel burning
devices produce carbon monoxide and will consume the
available oxygen in this tent. Use of such devices in this tent
will cause asphyxiation, carbon monoxide poisoning, and
death or serious and permanent injuries. For this reason:
- DO NOT use fuel burning devices inside or near this tent
- Your failure to follow this warning will cause death or serious
and permanent injury to you or others using this tent.
Warnings
Tools and Parts
Hardware
Assembly Instructions
Care and Maintenance
Warranty Information &
Parts List- See tag in carry bag
Table of ContentsTable of Contents
Assembly Instructions
1) Attach the fly to the shower tent by
hooking the plastic s-hooks at the fly
corners to the rings on the leg poles.
2) Wrap the Velcro® fasteners, sewn on the
underneath side of the fly, around the
leg poles.
Step 5:
Step 6:
Fasten the fly
Fully assembled
Tent appears as shown.
Note: Interior accessories with this model
can be attached to loops inside
the tent. Accommodates five gallon
shower bag.