2
Contents
Precautions...............................................1
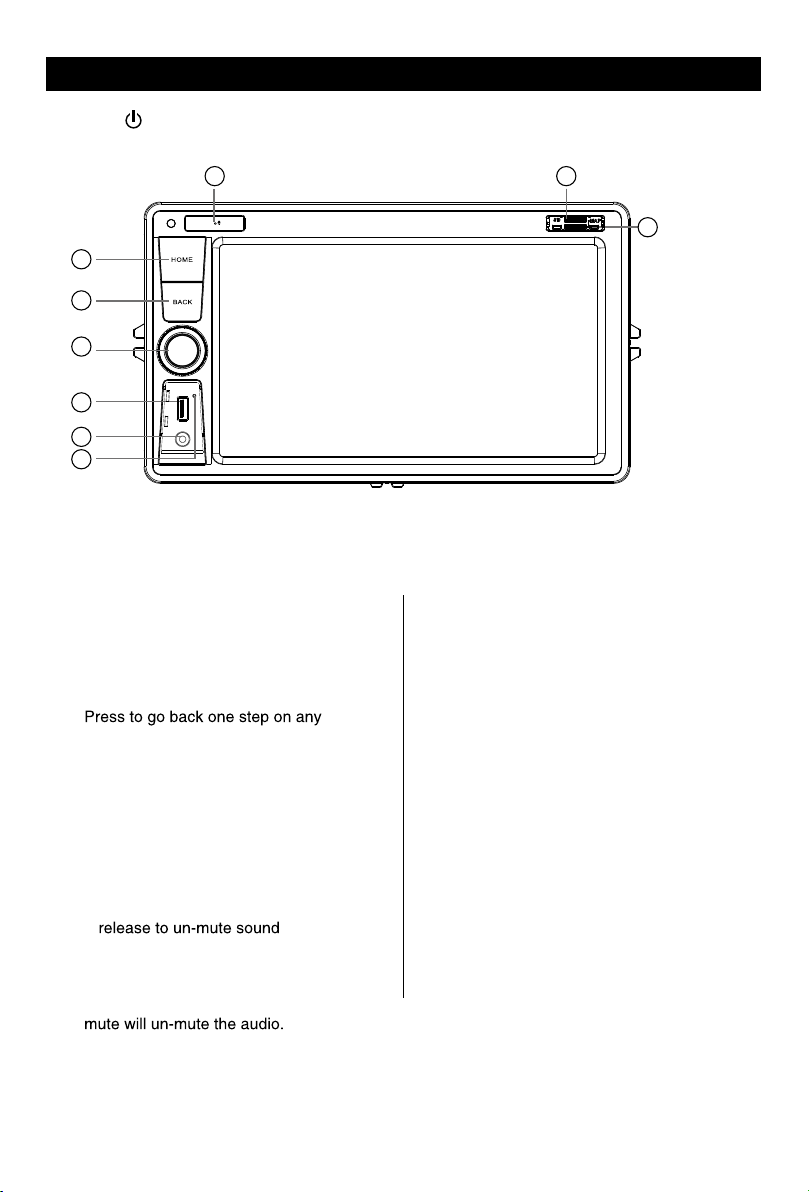
Control Panel ...........................................3
Basic Operations......................................4
Turn on/off the power..............................4
........................................................4
Adjust the Volume...................................4
Playing Source Selection........................4
Video Safety System ..............................4
Customized.............................................4
Main menu.................................................5
..............................................5
..................................5
Radio Operations......................................5
Select One Radio Band ..........................6
........................................6
Auto Tuning ............................................6
Auto Store...............................................6
..........................................6
Recall the Stored Stations ......................6
.........................................6
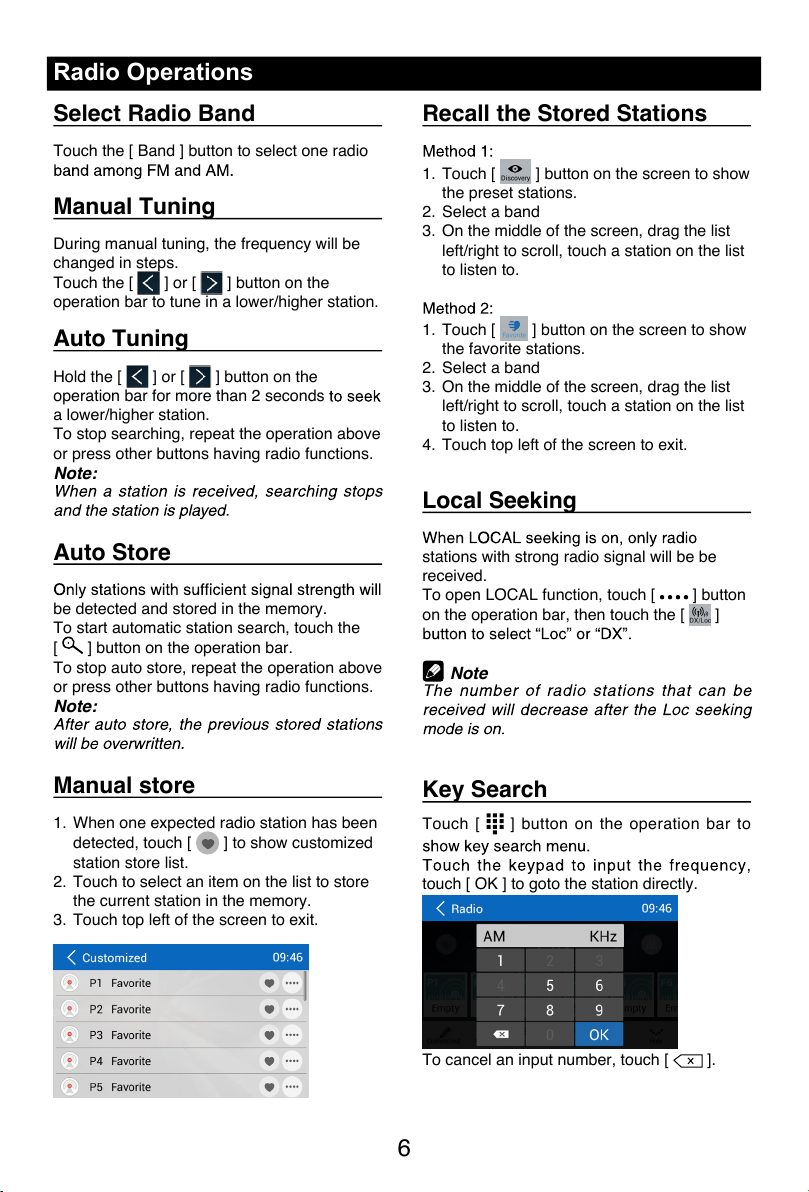
Key Search .............................................6
RDS Basics.............................................7
Adjust RDS Settings ...............................7
SD/USB Operations..................................8
Using a SD Card ....................................8
Using USB device...................................8
.......................................8
Play/Pause..............................................8
...............................8
.............................8
...........................
...................
Playlists...................................................
.......................................
Gallery Operations................................10
Bluetooth Operations.............................10
.......................................11
............................11
Call History ...........................................11
Bluetooth Audio Streaming...................11
Bluetooth Settings.................................12
iPod/iPhone Operations.........................13
Accessing iPod mode ...........................13
Pausing play .........................................13
...................................13
Fast forward/Fast reverse.....................13
Repeat play...........................................13
Random play.........................................13
Search function.....................................13
SiriusXM Satellite Radio ........................14
Other Mode..............................................17
Navigation Operations ..........................17
AUX Operations....................................17
.................................Black Out Screen 17
Sound setting..........................................17
System settings......................................18
Display System.....................................18
Steering Wheel Control ........................ 18
Adjust General Settings........................18
Adjust Video Settings............................19
Adjust Time Settings.............................19
Adjust Volumes Settings.......................19
Personal................................................
Device...................................................
System settings ....................................
Device Connections ...............................20
Troubleshooting .....................................24
.........................................25
FCC Statement........................................26
Warranty..................................................27