Makita KR401MP User guide

KR401MP
EN Cultivator Attachment ORIGINAL INSTRUCTION
MANUAL 2
FR Tête Moto-Bineuse INSTRUCTIONS D’EMPLOI 11
DE Kultivator-Aufsatz
ORIGINAL-BETRIEBSANLEITUNG
21
IT Accessorio coltivatore MANUALE DI ISTRUZIONI
ORIGINALE 31
NL Grondfreeshulpstuk ORIGINELE
GEBRUIKSAANWIJZING 41
ES Accesorio para Cultivador MANUAL DE
INSTRUCCIONES ORIGINAL 51
PT Implemento Cultivador MANUAL DE INSTRUÇÕES
ORIGINAL 61
DA Tilbehør til kultivator
OPRINDELIG BRUGSANVISNING
71
EL Προσάρτημα καλλιεργητή ΠΡΩΤΟΤΥΠΟ ΕΓΧΕΙΡΙΔΙΟ
ΟΔΗΓΙΩΝ 80
TR Kültivatör ek parçası
ORİJİNAL KULLANIM KILAVUZU
90
ZHTW 耕耘器組件 原始操作手冊 99

2ENGLISH
ENGLISH (Original instructions)
SPECIFICATIONS
Model: KR401MP
Dimensions: length x width x height (with rotor blades) 933 mm x 235 mm x 256 mm
Net weight 3.2 kg
Cultivating width 220 mm
Outer diameter of the rotor blade 220 mm
Gear ratio 1/43
• Duetoourcontinuingprogramofresearchanddevelopment,thespecicationshereinaresubjecttochange
without notice.
• Specicationsmaydifferfromcountrytocountry.
Approved power unit
Thisattachmentisapprovedtouseonlywiththefollow-
ing power unit(s):
• EX2650LH Multi function power head
• BUX360, BUX361, BUX362, UX360D, UX361D,
UX362D, DUX60 Cordless Multi Function Power
Head
WARNING: Never use the attachment with
non-approved power unit. Non-approved combi-
nation may cause serious injury.
Symbols
Thefollowingsymbolsareusedontheattachmentand
thisinstructionmanual.Understandthesedenitions.
Take Particular care and attention!
Read instruction manual.
Wearprotectivehelmet,eyeandear
protection!
Wearsturdybootswithnonslipsoles.
Steeltoedsafetybootsarerecommended!
Keepyourbodyclearofrotatingblades.
Keepbystandersatleast5m(17ft)away.
Hotsurfaces-Burnstongersorhands.
Intended use
Thisattachmentisdesignedforonlythepurposeofcul-
tivatingsoilinconjunctionwithanapprovedpowerunit.
Never use the attachment for other purposes. Abusing
theattachmentmaycauseseriousinjury.
EC Declaration of Conformity
For European countries only
We as the manufacturers: Makita Europe N.V.,
Business address: Jan-Baptist Vinkstraat 2 3070
Kortenberg BELGIUM. Authorize Yasushi Fukaya for
thecompilationofthetechnicalleanddeclareunder
oursoleresponsibilitythattheproduct(s);Designation:
Cultivator Attachment.DesignationofType(s):
KR401MP.
Fulllsalltherelevantprovisionsof2006/42/EC and
are manufactured in accordance with the following
Harmonised Standards: EN 709:1997+A4:2009.
Place and date of declaration: Kortenberg, Belgium.
5.11.2017
Responsible person: Yasushi Fukaya, Director -
Makita Europe N.V.
SAFETY WARNINGS
Cultivator safety warnings
WARNING: Read all safety warnings,
instructions, illustrations and specications pro-
vided with this machine as well as the instruction
manual of the power unit before using. Failure
tofollowallinstructionslistedbelowmayresult
inreand/orseriousinjurytotheoperatorand/or
bystanders.
Save all warnings and instruc-
tions for future reference.
The term “cultivator” and “machine” in the warnings and
precautions refer to the combination of the attachment
and the power unit.
The term “motor” in the warnings and precautions refers
to the engine or electric motor of the power unit.

3ENGLISH
General safety
1. First-time or inexperienced operator should
ask the dealer for training in all operation of
the machine. Never allow children, persons
with reduced physical, sensory or mental
capabilities or lack of experience and knowl-
edge or people unfamiliar with the instructions
to use the machine.
2. It is recommended only to lend the machine
to people who have proven to be experienced.
Always hand over the instruction manual.
3. Stay alert, watch what you are doing and use
common sense when operating the machine.
Do not use the machine while you are tired,
ill, or under the inuence of drugs, alcohol or
medication. A moment of inattention while oper-
atingthemachinemayresultinseriouspersonal
injury.
4. Avoid using the machine in bad weather
conditions especially when there is a risk of
lightning.
5. Follow your national and local regulation for
use of outdoor power machines.
6. Never attempt to modify the machine.
7. Keep in mind that the operator or user is
responsible for accidents or hazards occurring
to other people or their property.
Work area safety
WARNING: Keep the cultivator away from
electric lines and communication cables. Touching
or approaching high-voltage lines with cultivator can
resultindeathorseriousinjury.Watchpowerlines
and electrical fences around the work area before
starting operation.
1. Operate the machine under good visibility and
daylight conditions only. Do not operate the
machine in darkness or fog.
2. Start and operate the engine only outdoors in
a well ventilated area.Operationinaconnedor
poorlyventilatedareacanresultindeathdueto
suffocation or carbon monoxide poisoning.
3. Before operation, examine the work area for
wire fences, stones, or other solid objects.
Theycandamagetherotorblades.
4. During operation, never stand on an unstable
or slippery surface or a steep slope. During
the cold season, beware of ice and snow and
always ensure secure footing.
5. Avoid working close to fences, stumps or root
of trees.Theycandamagetherotorblades.
6. Avoid working close to buildings, cars and
other properties.Stonesanddebrishitbythe
cultivatormaydamagethem.
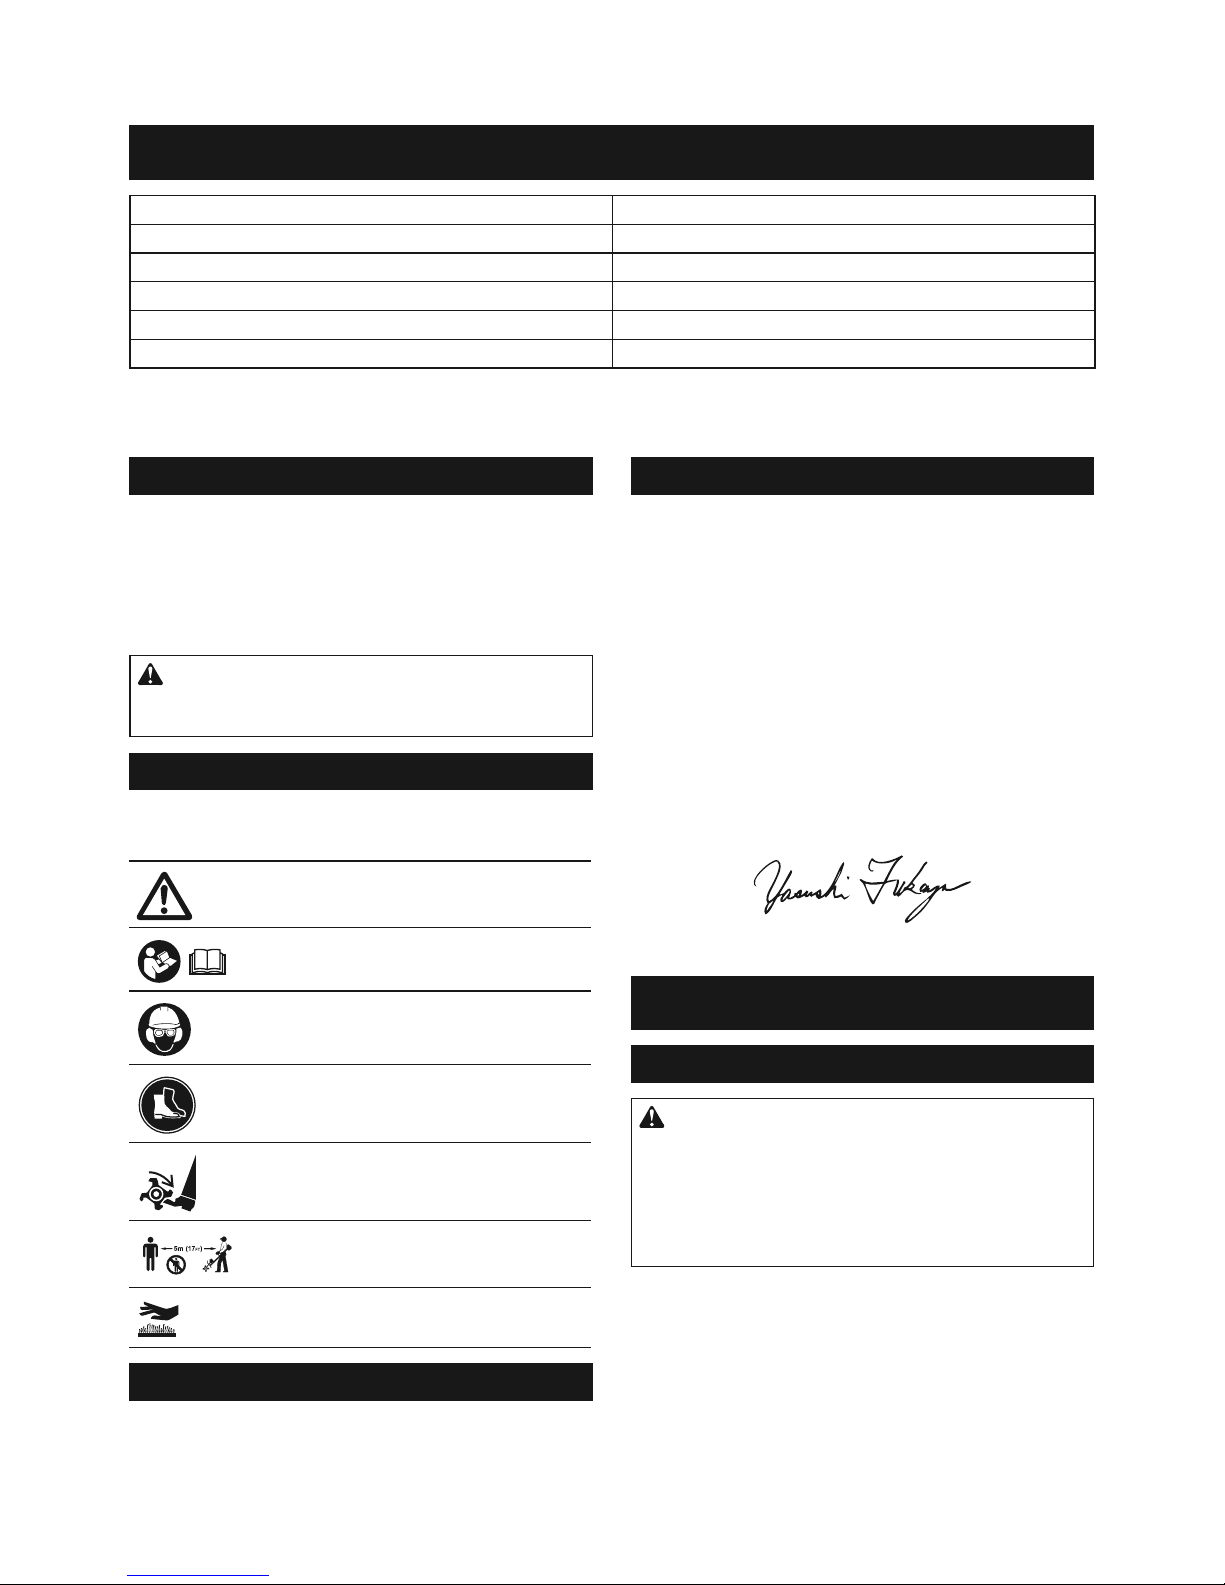
Personal protective equipment
1. Always wear heavy, long pants, sturdy boots,
gloves, and a long-sleeve shirt. Do not wear
loose clothing, jewelry, short pants, sandals,
or go barefoot. Secure hair so it is above
shoulder level.
2. Always wear protective goggles to protect
your eyes from injury when using the machine.
The goggles must comply with ANSI Z87.1 in
the USA, EN 166 in Europe, or AS/NZS 1336
in Australia/New Zealand. In Australia/New
Zealand, it is legally required to wear a face
shield to protect your face, too.
It is an employer's responsibility to enforce
the use of appropriate safety protective equip-
ments by the tool operators and by other per-
sons in the immediate working area.
3. Wear ear protection, such as ear muffs.
Exposure to noise can cause hearing loss.
4. Always wear sturdy shoes with a non-slip
sole.Thisprotectsyourfeetagainstinjuriesand
ensures a good footing.
5. Wear a dust mask as necessary.
Refueling
1. Stop the engine before refueling. Keep away
from open ames and sparks. Never smoke
during refueling.Otherwisereand/orexplosion
mayresult.
2. Refuel outdoors. Refueling in a closed room can
cause explosion of fuel vapor.
3. Avoid contact with fuel or engine oil. Do not
inhale fuel vapor. If fuel or oil spills, wipe it off
of the machine and/or ground immediately. If
fuel spills on your clothes, change it immedi-
ately to prevent it from catching re.
4. After refueling, carefully tighten the fuel tank
cap and check for fuel leak. Move at least 3 m
(10 feet) away from the fueling source and site
before starting engine.
5.
Only transport and store fuel in approved con-
tainers. Keep children away from the stored fuel.
Starting up the cultivator
1. Before assembling or adjusting the machine,
switch off the motor and remove the spark
plug cap or the battery cartridge.
2. Before handling the rotor blades, wear protec-
tive gloves.
3. Wear the personal protective equipments
before starting the motor.
4. Before starting the motor, inspect the machine
for damages, loose screws/nuts or improper
assembly. Check all control levers and
switches for easy action. Clean and dry the
handles.

4ENGLISH
5. Never attempt to start the motor if the machine
is damaged or not fully assembled with proper
guards, plates, or other safety protective
devices.Otherwiseseriousinjurymayresult.
6. Before starting the motor, carefully check that
the rotor blade is not touching the ground,
your body, and other objects. Starting the motor
withtherotorbladecontactingwithforeignobject
can cause serious accident.
7. Before starting the motor, make sure that there
is no person or animal in the work area.
8. Adjust the shoulder harness and hand grip to
suit the operator's body size.
9. Replace the rotor blades if they are cracked,
bent, or damaged. Damagedrotorbladesmay
shatterduringoperationandcauseseriousinjury.
10. Start and operate the machine only outdoors
in a well ventilated area.Operationinaconned
orpoorlyventilatedareacanresultindeathdueto
suffocation or carbon monoxide poisoning.
11. When starting the engine, place the machine
on rm ground and then maintain good bal-
ance and secure footing.
12. When pulling the starter knob of the engine,
hold the power unit rmly against the ground
by your left hand. Never step on the drive shaft
of the power unit.
13. If the rotor blades rotate at idle, stop the
engine and adjust the idle speed down.
Otherwise unintentional contact with moving rotor
blademayresultinseriousinjury.
14.
Stop the motor immediately if you notice any trouble.
15. Follow the instruction manual of the power
unit for starting the motor.
Transportation
1. Stop the motor during transportation.
Otherwiseunintentionalstart-upmaycauseinjury.
2. Ensure safe position of the machine during car
transportation to avoid fuel leakage.
3. Lift the entire machine from the ground when
carrying the machine. Dragging the machine
causes fuel tank damage and fuel leakage, result-
inginre.
4. When transporting the equipment, carry it in a
horizontal position by holding the shaft. Keep
the hot mufer away from your body.
Operation
1. During operation, keep bystanders or ani-
mals at least 5 m (17 ft) away from the culti-
vator. Stop the motor as soon as someone
approaches.
2. In the event of an emergency, switch off the
motor immediately.
3. If you feel any unusual condition (e.g. noise,
vibration) during operation, switch off the
motor. Do not use the machine until the cause
is recognized and solved.
4. With the engine running only at idle, attach the
shoulder harness.
5. During operation, use the shoulder harness.
Keep the machine on your right side rmly.
6. Hold the front handle with the left hand and the
rear grip with the right hand, no matter you are
right-hander or left-hander. Wrap your ngers
and thumbs around the handles.
7. Never attempt to operate the machine with one
hand. Loss of control may result in serious or
fatal injury. To reduce the risk of cut injuries,
keep your hands and feet away from the rotor
blades.
8. When operating, do not raise the rotor blades
above waist height.
9. The rotor blades continue to move for a short
period after releasing the throttle trigger or
switch off the motor. Don’t rush to contact the
rotor blades.
10. Do not overreach. Keep proper footing and
balance at all times. Watch for hidden obsta-
cles such as tree stumps, roots and ditches to
avoid stumbling.
11. Use extreme caution when reversing the blade
rotation or pulling the machine toward you. If
the power unit has reverse rotation function,
do not use it more than necessary. When oper-
ated in reverse rotation, the cultivator will push
youiftherotorbladesareontheground.
12. Do not overload the machine capacity by
attempting to till too deep at too fast a rate. The
machine will do better work when used with proper
loadandthereislesslikelihoodofariskofinjury.
13. Do not accelerate the motor with the rotor
blades blocked. It increases the load and will
damage the machine.
14. Be careful when tilling in hard ground. The
tines may catch in the ground and propel the
tiller forward. If this occurs, let go of the han-
dles and do not restrain the machine.
15. If the machine gets heavy impact or fall, check
the condition before continuing work. Check
the fuel system for fuel leakage and the con-
trols and safety devices for malfunction. If
there is any damage or doubt, ask our autho-
rized service center for the inspection and
repair.

5ENGLISH
16. Do not touch the gear case. The gear case
becomes hot during operation.
17. Take a rest to prevent loss of control caused
by fatigue. We recommend to take a 10 to
20-minuteresteveryhour.
18. When you leave the machine, even if it is a
short time, always switch off the engine or
remove the battery cartridge. The machine unat-
tendedwiththeenginerunningmaybeusedby
unauthorized person and cause serious accident.
19. Follow the instruction manual of the power
unit for proper use of the control lever and
switch.
20. During or after operation, do not put the
hot machine onto dry grass or combustible
materials.
21. If the rotor blades catch weeds or the like,
switch off the motor and remove the spark
plug cap or battery cartridge, and then remove
the obstructions.
22. Keep your hands and feet clear of the rotor
blades. Contacting the rotor blades can result
in serious injury. When handling the rotor
blades, stop the motor and remove the spark
plug cap or battery cartridge.
23. Check the rotor blades frequently during oper-
ation for cracks or blunt edges.
24. Always switch off the engine or remove the
battery cartridge when removing the debris
of plants such as roots tangled in the rotor
blades.
25. Refer to the instruction manual of the power
unit for how to start and control the machine.
Vibration
Exposing to excessive vibration injures blood ves-
sels or nervous system of the operator and causes
the following symptoms in the ngers, hands or
wrists: “Falling asleep” (numbness), tingling, pain,
stabbing sensation, alteration of skin color or of
the skin. If any of these symptoms occur, see a
physician.
To reduce the risk of “white nger disease”, keep
your hands warm during operation and well main-
tain the machine and accessories.
Maintenance
1. Before doing any maintenance or repair work
or cleaning the machine, always switch off
the motor and remove the spark plug cap or
the battery cartridge. Wait until the motor gets
cold.
2. To reduce the risk of re, never service the
equipment in the vicinity of re.
3. Always wear protective gloves when handling
the rotor blades.
4. Always clean dust and dirt off the equipment.
Never use gasoline, benzine, thinner, alcohol
or the like for the purpose. Discoloration, defor-
mationorcracksoftheplasticcomponentsmay
result.
5. After each use, tighten all screws and nuts,
except for the carburetor adjustment screws.
6. Keep the rotor blades sharp. Replace the rotor
blades if they have become blunt.
7. Never repair bent or broken rotor blades by
straightening or welding. It may cause parts
of the rotor blade to come off and result in
serious injury. Contact our authorized service
center for the genuine rotor blades to replace
them.
8. Do not attempt any maintenance or repair not
described in this booklet or the instruction
manual of the power unit. Ask our authorized
service center for such work.
9. Follow instructions for lubricating and chang-
ing accessories.
10. Always use the genuine spare parts and acces-
sories only. Using parts or accessories supplied
byathirdpartymayresultintheequipmentbreak-
down,propertydamageand/orseriousinjury.
11. Request our authorized service center to
inspect and maintain the machine at regular
interval.
Storage
1. Before storing the machine, perform full clean-
ing and maintenance. Remove the spark plug
cap or the battery cartridge. Drain the fuel after
the engine gets cold.
2. Store the equipment in a dry and high or
locked location out of reach of children.
3. Do not prop the equipment against something,
such as a wall.Otherwiseitmayfallsuddenly
andcauseaninjury.
First Aid
1. In case of accident make sure that a rst-aid
box is available in the vicinity of the cutting
operations. Immediately replace any item
taken from the rst aid box.
2. When asking for help, give the following
information:
— Place of accident
— What happened
— Number of injured persons
— Kind of injuries
— Your name
WARNING: Use of this product can create
dust containing chemicals which may cause
respiratory or other illnesses. Some examples of
these chemicals are compounds found in pes-
ticides, insecticides, fertilizers and herbicides.
Your risk from these exposures varies, depend-
ing on how often you do this type of work. To
reduce your exposure to these chemicals: work
in a well ventilated area, and work with approved
safety equipment, such as those dust masks that
are specially designed to lter out microscopic
particles.

6ENGLISH
PARTS DESCRIPTION
1
4
2
3
5
6
7
8
9
►1. Cap 2. Pipe 3. Protector 4. Gear case 5. Rotor
blade 6. Lock pin 7. Clip 8. Hub 9. Hexalobular
wrench
ASSEMBLY
WARNING: Before assembling or adjusting
the equipment, switch off the motor and remove
the spark plug cap or battery cartridge. Otherwise
thecuttingtoolorotherpartsmaymoveandresultin
seriousinjury.
WARNING: Before handling the rotor
blades, wear protective gloves. During the assem-
blyoradjustment,yourngersmaycontactwiththe
rotorbladeanditmaycauseseriousinjury.
WARNING: When assembling or adjusting
the equipment, always put it down. Assembling or
adjustingtheequipmentinanuprightpositionmay
resultinseriousinjury.
WARNING: Follow the warnings and precau-
tions in the chapter “SAFETY WARNINGS” and
the instruction manual of the power unit.
Mounting the attachment pipe
CAUTION: Always check that the attach-
ment pipe is secured after installation. Improper
installationmaycausetheattachmentfallingofffrom
thepowerunitandcausepersonalinjury.
Mount the attachment pipe to the power unit.
1. Turn the lever toward the attachment.
1
►1. Lever
2. Align the pin with the arrow mark. Insert the
attachment pipe until the release button pops up. Make
sure that the position line is on the tip of the arrow mark.
1
2
3
4
►1. Release button 2. Arrow mark 3. Pin 4. Position
line
3. Turn the lever toward the power unit.
1
►1. Lever
Make sure that the surface of the lever is parallel to the
pipe.
NOTICE: Do not tighten the lever without the
attachment pipe inserted.Otherwisethelevermay
tighten the entrance of the drive shaft too much and
damage it.

7ENGLISH
To remove the pipe, turn the lever toward the attach-
ment and pull the pipe out while pressing down the
release button.
Fig.12
3
1
2
►1. Release button 2. Lever 3. Pipe
OPERATION
WARNING: Follow the warnings and precau-
tions in the chapter “SAFETY WARNINGS” and
the instruction manual of the power unit.
WARNING: Adjust the hanger position and
shoulder harness to your comfortable position
before operating.
Tilling the soil
CAUTION: Before operation, remove hard
and/or long objects such as stones, cans, and
ropes from the working area.Theymaydamagethe
rotor blade or hinder the rotation of the rotor blade.
CAUTION: When tilling the soil, do not move
the cultivator faster than walking speed.
CAUTION: When walking with the running
cultivator or pulling it, keep a safe distance
between your feet and the rotor blades.
The rotor blade rotates in the direction as illustrated.
Choosetheappropriatewayofcultivatingdependingon
the size of the work area, terrain, and ground condition.
Basic operation
Press the rotor blades into the soil and then accel-
erate the motor. Move them forward and backward
alternatively.
Breaking up the soil
Holdthecultivatorrmlyandtilltothedesireddepth.
Mixing soil improver
Spread soil improver, such as compost, leaves, fertiliz-
ersorthelikeevenly.Applytherotorbladesandmixthe
soil improver into soil.
Furrowing
Slowlydragtherotorbladesbackward.Ifitisdifcult
to make a desired depth in one go, trace the tilled line
again.
NOTICE: The roots of the plants may be dam-
aged by tilling. Be careful of the tilling depth if
there are plants are nearby.
NOTE:Thedebrisofplantssuchasrootsmaytangle
in the rotor blades. In this case, stop the motor and
remove the rotor blade from the gear case and then
wash off the debris.
MAINTENANCE
WARNING: Before inspecting or maintaining
the equipment, switch off the motor and remove
the spark plug cap or battery cartridge. Otherwise
thecuttingtoolorotherpartsmaymoveandresultin
seriousinjury.
WARNING: When inspecting or maintaining
the equipment, always put it down. Assembling or
adjustingtheequipmentinanuprightpositionmay
resultinseriousinjury.
WARNING: Follow the warnings and precau-
tions in the chapter “SAFETY WARNINGS” and
the instruction manual of the power unit.
NOTICE: Never use gasoline, benzine, thinner,
alcohol or the like. Discoloration, deformation or
cracks may result.
To maintain product SAFETY and RELIABILITY,
repairs,anyothermaintenanceoradjustmentshould
beperformedbyMakitaAuthorizedorFactoryService
Centers,alwaysusingMakitareplacementparts.

8ENGLISH
Cleaning the cultivator
Thecultivatorcanbewashedwithwater.Useanylon
brush or the similar to wash off dirt.
Foreaseofcleaning,youcanremovetherotorblade
from the gear case. Refer to "Removing the rotor
blades" in "Replacing the rotor blades" section for how
to remove.
1
2
3
►1. Power unit 2. Pipe end 3. Gear case
NOTICE: Do not pour water over the power unit
and pipe end and inside the gear case. When the
rotor blade is removed, be careful not to let for-
eign objects come into the gear case.Itmaycause
a malfunction of the cultivator.
Overall inspection
• Tighten loose bolts, nuts and screws.
• Check for damaged parts and blades. Ask our
authorized service center to replace them if
necessary.
Inspecting the rotor blades and
protector
Checkandcleantherotorbladesandprotectordaily.If
theyareworn,bentandcracked,replacethem.
Replacing the rotor blades
Optional accessory
CAUTION: Be sure to use the genuine rotor
blade from Makita.
Removing the rotor blades
1
2
►1. Clip 2. Lock pin
1. Remove the clip on the lock pin using pliers.
2. Remove the lock pin.
3. Remove the rotor blade.
4. Remove the rotor blade on the other side in the
samewayasabove.
Installing the rotor blades
1
2
3
4
►
1. Clip 2. Lock pin 3. Hub of the rotor blade 4. Arrow mark
1.
Put the hub of the rotor blade onto the gear case. Be
sure to install the rotor blade so that the arrow marks on the
rotor blade and the gear case point the same direction.
2. Insert the lock pin into the hole on the hub of the
rotor blade.
3.
Insert the clip into the hole on the lock pin until it is secured.
4. Install the rotor blade on the other side in the
samewayasabove.

9ENGLISH
Lubricating moving parts
NOTICE: Follow the instruction of the fre-
quency and amount of grease supplied. Otherwise
insufcientlubricationmaydamagemovingparts.
Gear case:
CAUTION: Do not apply grease when the
gear case is hot. Hot gear case can cause burn
injury.
Fill approx. 30 ml of grease (Makita grease SG No.0)
throughthegreaseportevenlyevery25hoursof
operation.
With the supplied hexalobular wrench, remove the bolt
near the lubrication marking on the gear case. Loosen
the bolt on the other side so that the air in the gear case
canbereleasedwhenapplyingthegrease.
Afterapplyingthegrease,besuretotightenthebolts.
1
2
►1. Bolt 2. Gear case
Drive axle:
Applygrease(MakitagreaseSGNo.0)every25hours
of operation.
NOTE:GenuineMakitagreasemaybepurchased
fromyourlocalMakitadealer.
Storage
WARNING: Follow the warnings and precau-
tions in the chapter “SAFETY WARNINGS” and
the instruction manual of the power unit.
When storing the attachment separated from the power
unit, put the cap onto the end of the shaft.
Interval of inspection and maintenance
Operating hour Before
Operation
Daily (10h) 25h
Whole unit Visuallyinspectfordamagedparts - -
Allxingscrewsandnuts Tighten - -
Rotor blades and protector Cleanandvisuallyinspectfordam-
aged parts
--
Gear case Supplygrease - -
Drive axle Supplygrease - -
Power unit Refer to the instruction manual of the power unit

10 ENGLISH
TROUBLESHOOTING
Beforeaskingforrepairs,conductyourowninspectionrst.Ifyoundaproblemthatisnotexplainedintheman-
ual,donotattempttodismantlethemachine.Instead,askMakitaAuthorizedServiceCenters,alwaysusingMakita
replacement parts for repairs.
State of abnormality Probable cause (malfunction) Remedy
Motor does not start. -Refer to the instruction manual of the power unit.
Motor stops soon. -Refer to the instruction manual of the power unit.
Motor speed does not increase. -Refer to the instruction manual of the power unit.
Rotor blade does not rotate.
Stopthemotorimmediately.
The pipes of the power unit and the
cultivator attachment are not connected
properly.
Connectthepipesinthecorrectway.
Rotor blade caught a root or the like. Remove foreign matter
Abnormaldrivesystem Contact an authorized service center for repairs.
Powerunitvibratesabnormally.
Stopthemotorimmediately.
Broken or bent rotor blade Replace the rotor blade.
Loose attachment of the rotor blade Tightenthescrewsontherotorbladesecurely.
Irregular attachment of the rotor blade Installtherotorbladeinthecorrectway.
Abnormaldrivesystem Contact an authorized service center for repairs.
Rotor blades continue to rotate even
if the switch trigger/lever is released.
Stopthemotorimmediately.
Thepowerunitdoesnotworkproperly. Adjusttheidlespeedifthepowerunitisengine-op-
erated. Contact an authorized service center for
repairs.
OPTIONAL
ACCESSORIES
CAUTION: These accessories or attach-
ments are recommended for use with your Makita
tool specied in this manual.Theuseofanyother
accessories or attachments might present a risk of
injurytopersons.Onlyuseaccessoryorattachment
for its stated purpose.
Ifyouneedanyassistanceformoredetailsregard-
ingtheseaccessories,askyourlocalMakitaService
Center.
• Rotor blade set (L/R)
NOTE:Someitemsinthelistmaybeincludedinthe
toolpackageasstandardaccessories.Theymay
differfromcountrytocountry.
Table of contents
Other Makita Tiller manuals
Popular Tiller manuals by other brands

Pattfield
Pattfield PE-AB 36 Li Basic Translation of the original instructions

Troy-Bilt
Troy-Bilt Pro-Line 12183 parts catalog

Craftsman
Craftsman C459.62103-1 Operator's manual

EarthQuake
EarthQuake MC440 Operator's manual

Coopers of Stortford
Coopers of Stortford 6672 Instructions for use

Brill
Brill 28 VE manual