manuals.online logo
Brands
  1. Home
  2. •
  3. Brands
  4. •
  5. manfred frank
  6. •
  7. Light Fixture
  8. •
  9. manfred frank ANGUTEC MFH100 User manual

manfred frank ANGUTEC MFH100 User manual

INSTRUCTIONS
ANGUTEC MFH100
CONTACT & SUPPORT:
support@manfredfrank.com
+64 9 272 3690
www.manfredfrank.com
DISCLAIMER OF LIABILITY:
Since the conditions or methods of installation, operation, use and maintenance of this product are beyond its control; Manfred Frank Limited
does not assume responsibility and expressly disclaims liability of loss, damage, or expense arising out of or in any way connected with such
installation, operation, use or maintenance
General Safety Information Tools required for Hinge Adjustment:
 Do not shut / open hinged doors with excessive force.
 Install door stop to prevent door from opening too far.
 When installing glass panels, ensure all staff are properly qualified and trained.
 Always wear protective clothing when mounting glass panels.
 Always allow and adjust for sufficient panel clearances so that the glass does not touch other parts such as metal, glass and concrete.
 Always use the required correct torque force when tightening mounting screws.
 Avoid creating local stress areas. Do not over tighten mounting screws. Do not use excessive force.

11mm open-ended spanner
 4mm Hex / Allen key
(Preferably Ball-Nose)
Installation:
FRAME ATTACHMENT:
IMPORTANT: DO NOT USE COUNTERSUNK CSK SCREWS FOR THE HINGE – TO – FRAME ATTACHMENT.
 Attach the hinge to the frame first.
 Always use standard washers for M8 screws.
 Always use standard M8 Hex Bolts or standard Hex-Cap-Socket screws.
 Always tighten screws properly (12Nm(9ft-lb)).
 Always ensure that the frame structure is of suitable material and strength.
DOOR ATTACHMENT:
 Attach door panel after the hinge has been mounted to the frame.
 Ensure that the door mount flanges are properly attached to the door panel before removing the support/lifting gear.
 All hinges are supplied in the mid-range adjustment position.
 When adjusting the door panel height, wind out the top height adjustment screws on both hinges before raising the panel height by
winding in the bottom height adjustment screws on both hinges.
 When adjusting the door panel height, adjust both the top and bottom hinges to ensure the load is being shared equally by both.
 After the door has been height adjusted, wind back in the top adjustment screws on both hinges. USE ONLY VERY SLIGHT FORCE
(1NM / 0.8FT-LB). DO NOT OVER TIGHTEN THE TOP HEIGHT ADJUSTMENT SCREWS WHEN THE BOTTOMING OUT POSITION HAS BEEN
REACHED.
 Check all the hinges and fittings at regular intervals for correct positioning and adjustment.
 Use properly trained staff to inspect / maintain the proper condition of hinged doors, especially for frequently used panels.
Torque
Recommended tightening
torque settings for screws:
 Monolithic, tempered (single panel) glass door = 12Nm (9ft – lb)
 Laminated, tempered (multiple panels) glass door = 12Nm (9ft – lb)
 Countersunk CSK glass screws = 12Nm (9ft – lb)
 Frame mount bolts = 12Nm (9ft – lb) if possible
W
e recommend using thread locking compound when possible.
INSTRUCTIONS
ANGUTEC MFH100
DOOR INSERT GUIDE
DISCLAIMER OF LIABILITY:
Since the conditions or methods of installation, operation, use and maintenance of this product are beyond its control, Manfred Frank
Limited does not assume responsibility and expressly disclaims liability of loss, damage, or expense arising out of or in any way
connected with such installation, operation, use or maintenance
INSET
-
BOLTED
-
NON
-
GLASS DOOR
-
NON
-
GLASS FRAME
Installation Manual
MFH100 / MFH200 / MFH300
CONTACT & SUPPORT:
support@manfredfrank.com
+64 9 272 3690
ROUTING GUIDES FOR PANEL THICKNESS FROM 32MM (1.25”) TO 51MM(2”)
INSTALLATION

Popular Light Fixture manuals by other brands

Eaton 303-W1 installation instructions

Eaton

Eaton 303-W1 installation instructions

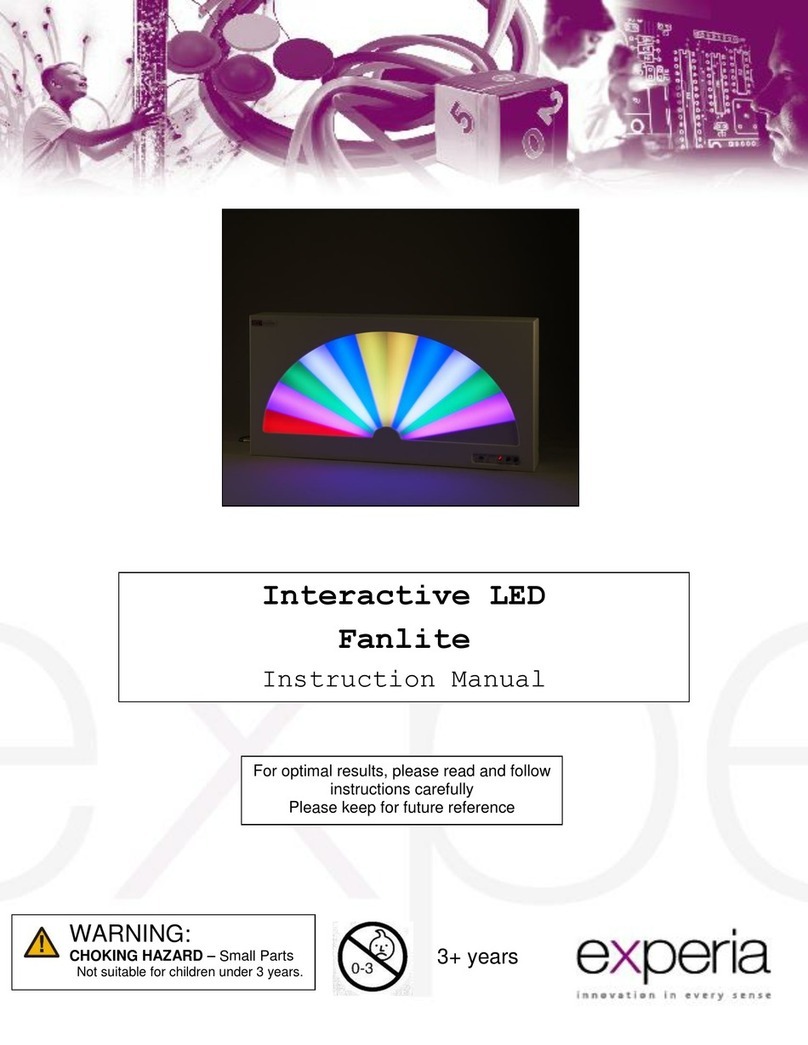
Experia Interactive LED Fanlite instruction manual

Experia

Experia Interactive LED Fanlite instruction manual

Osram Traxon e:cue ProPoint Pixel Mounting guide

Osram

Osram Traxon e:cue ProPoint Pixel Mounting guide

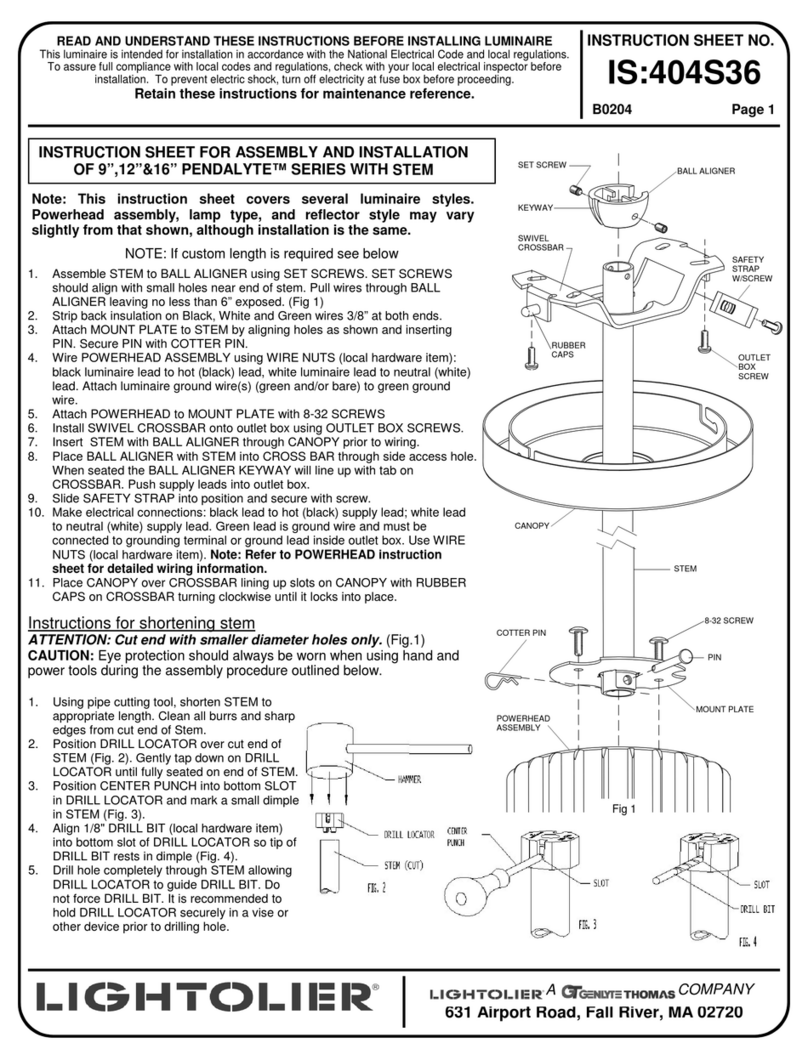
Lightolier PENDALYTE SERIES Instructions for maintenance reference

Lightolier

Lightolier PENDALYTE SERIES Instructions for maintenance reference

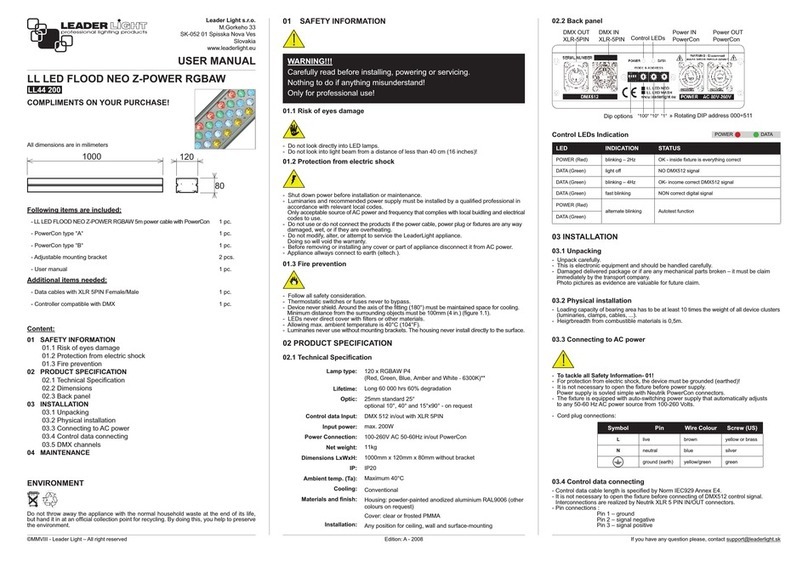
Leader Light LL LED FLOOD NEO Z-POWER RGBAW user manual

Leader Light

Leader Light LL LED FLOOD NEO Z-POWER RGBAW user manual

KRINNER Lumix PREMIUM mini operating manual

KRINNER

KRINNER Lumix PREMIUM mini operating manual

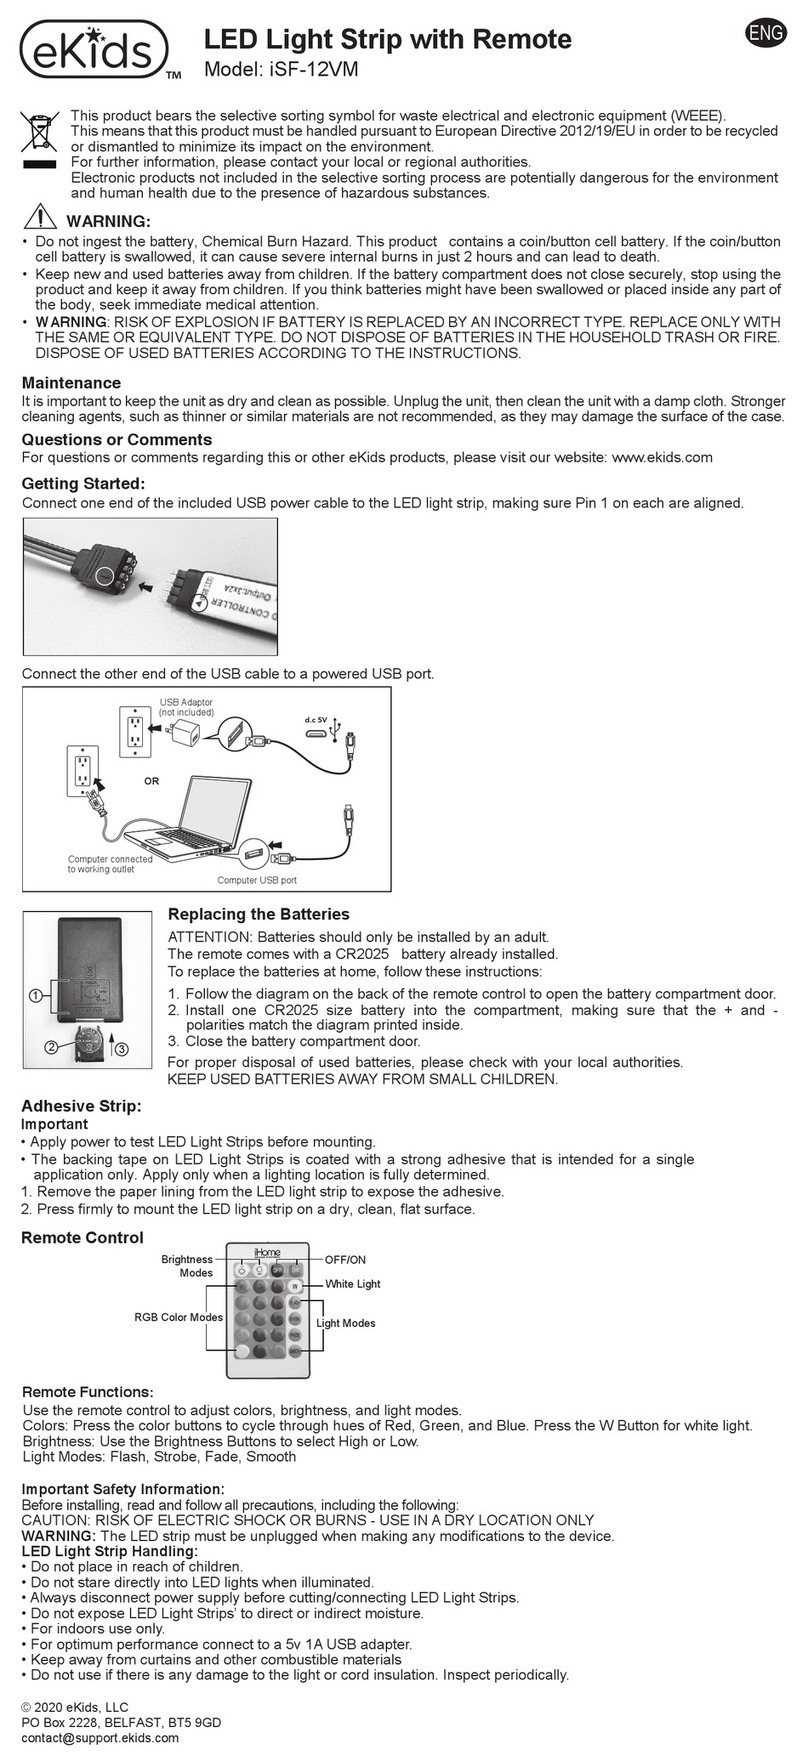
KIDdesigns eKids iSF-12VM quick start guide

KIDdesigns

KIDdesigns eKids iSF-12VM quick start guide

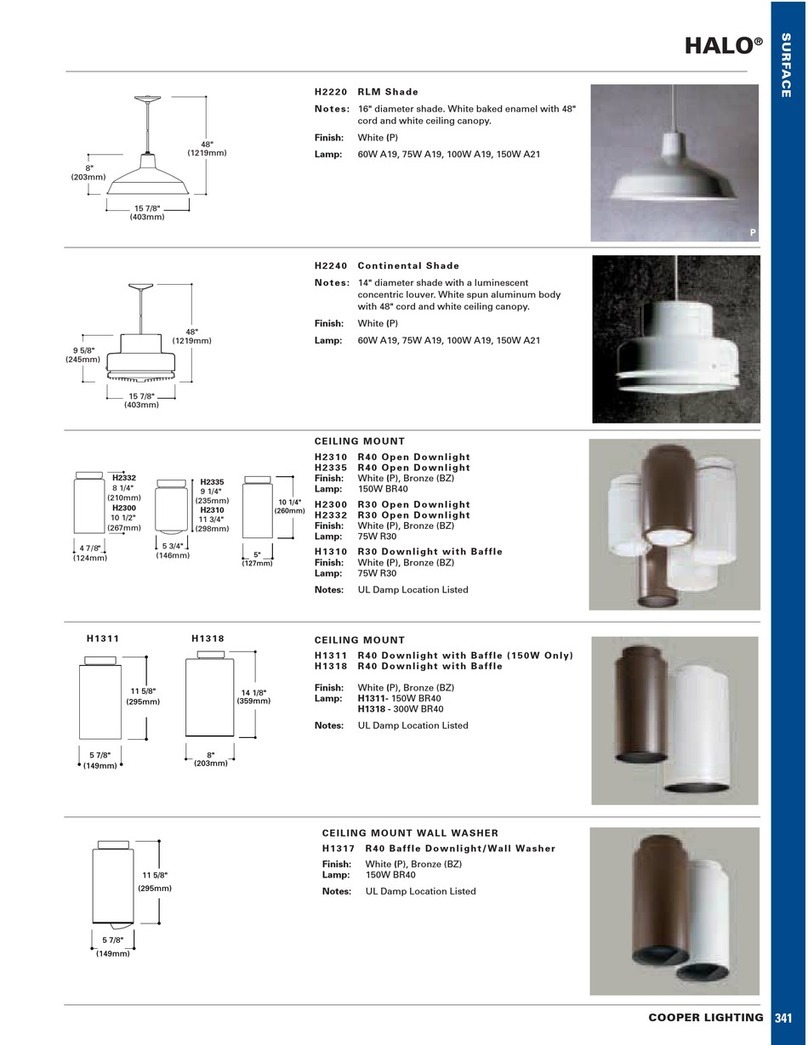
Cooper Lighting HALO H1310 Specification sheet

Cooper Lighting

Cooper Lighting HALO H1310 Specification sheet

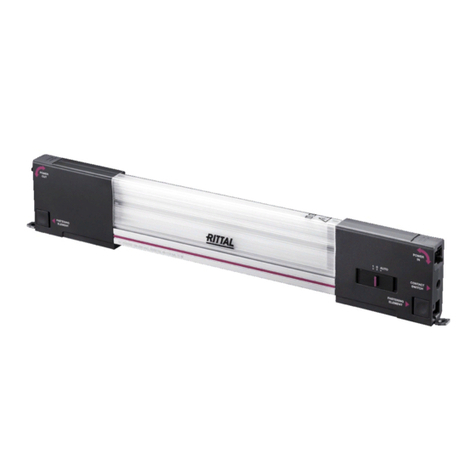
Rittal SZ 2500.200 Assembly and operating instructions

Rittal

Rittal SZ 2500.200 Assembly and operating instructions

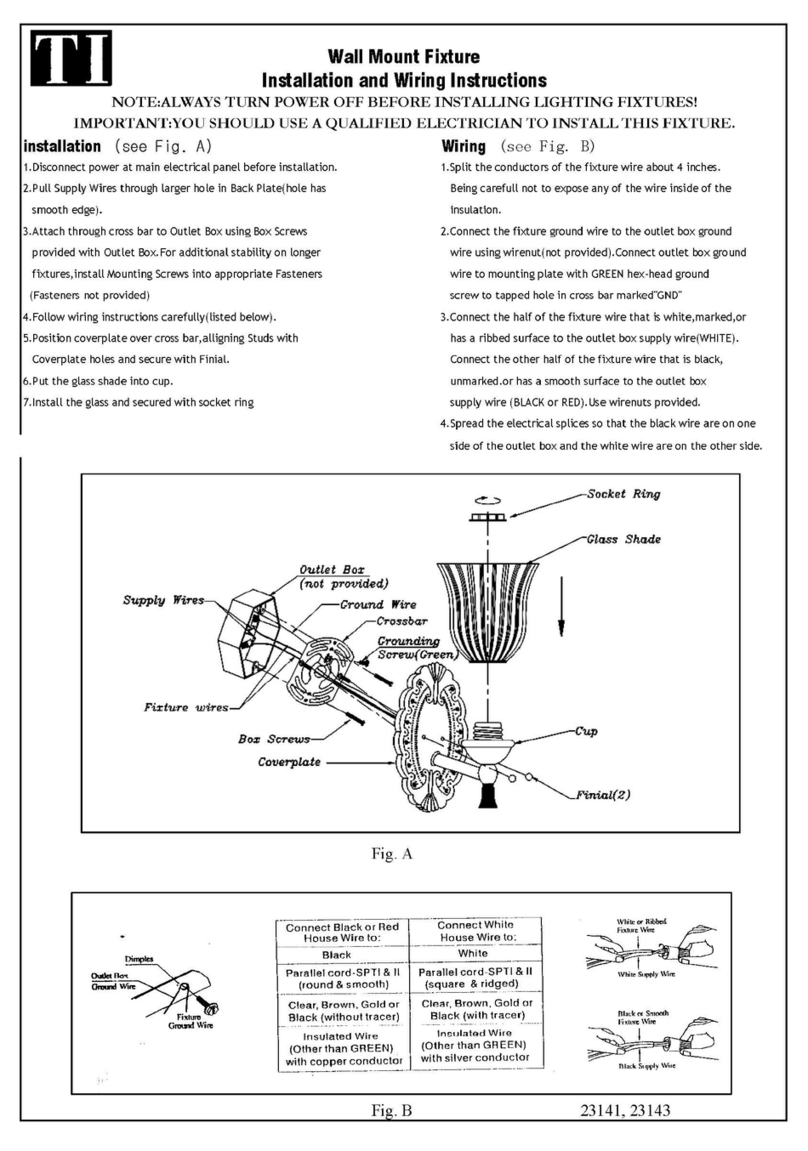
TI 23141 Installation and wiring instructions

TI

TI 23141 Installation and wiring instructions

StudioDesk LED02 Assembly manual

StudioDesk

StudioDesk LED02 Assembly manual

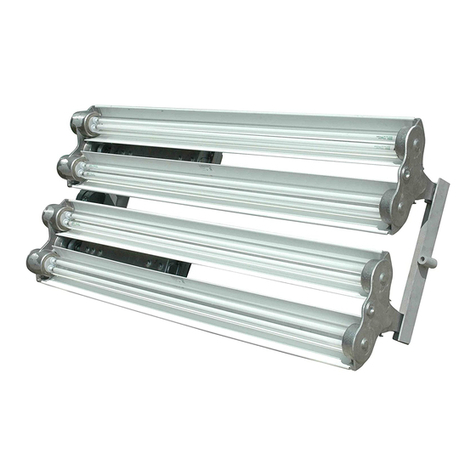
Larson Electronics EPLC-48-432 instruction manual

Larson Electronics

Larson Electronics EPLC-48-432 instruction manual

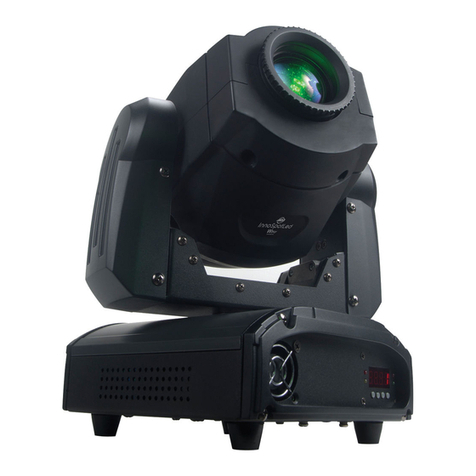
American DJ INNO SPOT LED WIFLY User instructions

American DJ

American DJ INNO SPOT LED WIFLY User instructions

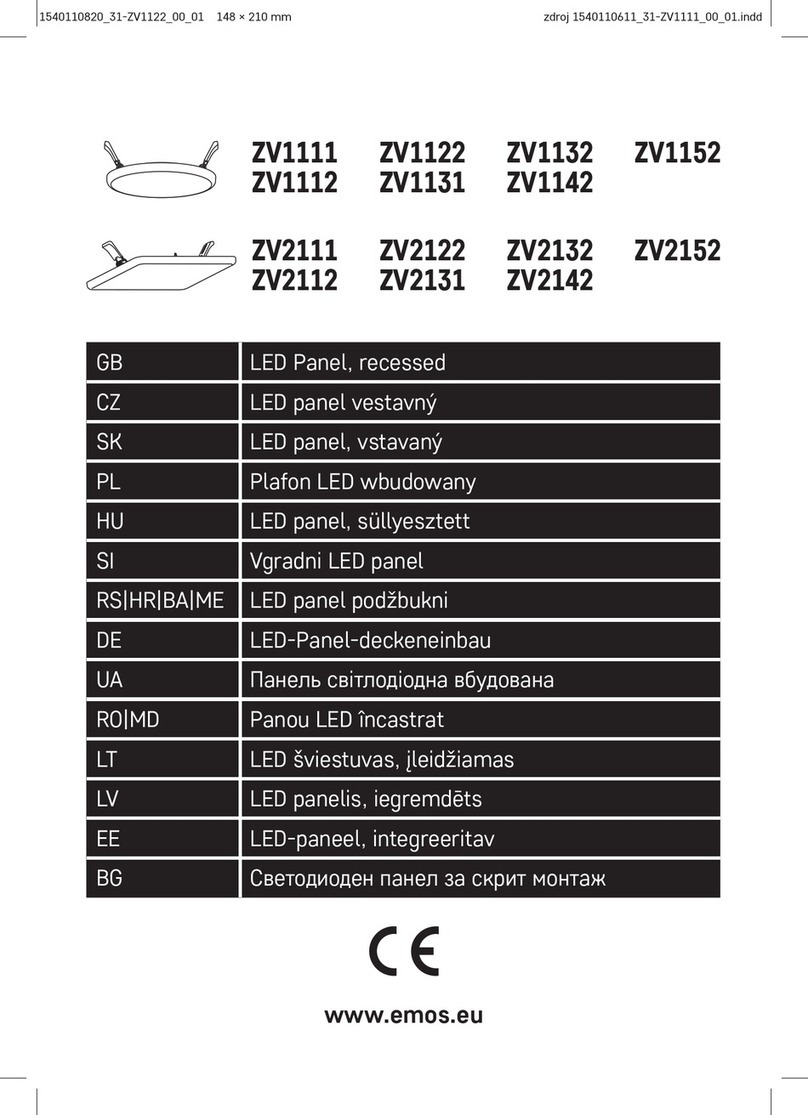
Emos ZV1111 manual

Emos

Emos ZV1111 manual

BlissLights BlissRadia user guide

BlissLights

BlissLights BlissRadia user guide

Whelen Engineering Company PAR36 Super-LED installation guide

Whelen Engineering Company

Whelen Engineering Company PAR36 Super-LED installation guide

IKEA GRUNDTAL SPOTLIGHT 3PK instructions

IKEA

IKEA GRUNDTAL SPOTLIGHT 3PK instructions

Lightolier Brisa FC21U_3d specification

Lightolier

Lightolier Brisa FC21U_3d specification

manuals.online logo
manuals.online logoBrands
  • About & Mission
  • Contact us
  • Privacy Policy
  • Terms and Conditions

Copyright 2025 Manuals.Online. All Rights Reserved.