Marco C 36 HC Wiring diagram


This manual suits for next models
1
Table of contents
Other Marco Indoor Fireplace manuals
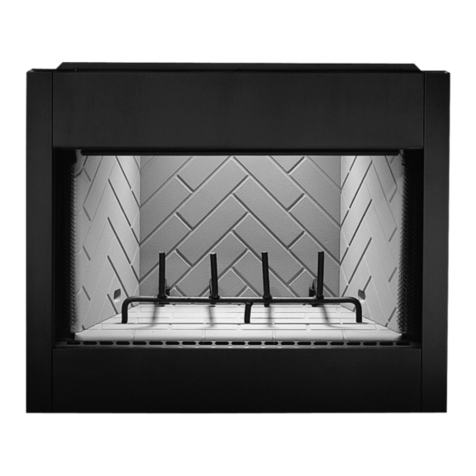
Marco
Marco Designer Series User manual
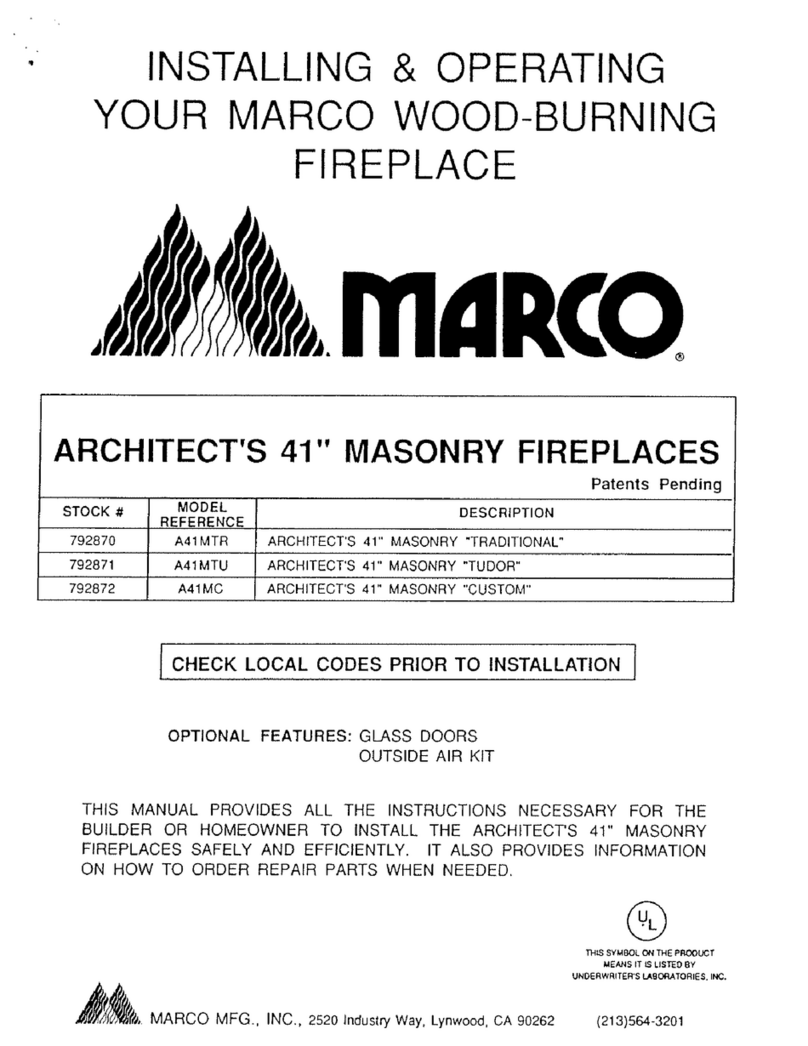
Marco
Marco Traditional A41MTR Wiring diagram
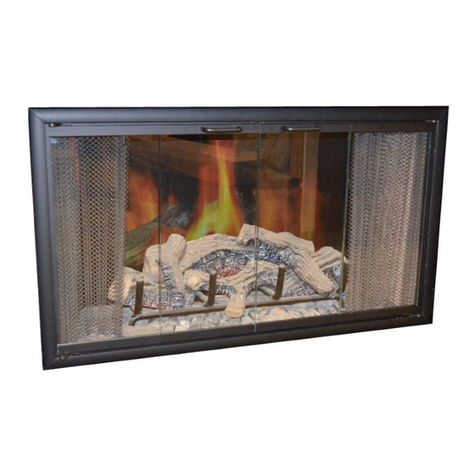
Marco
Marco B36CF Wiring diagram
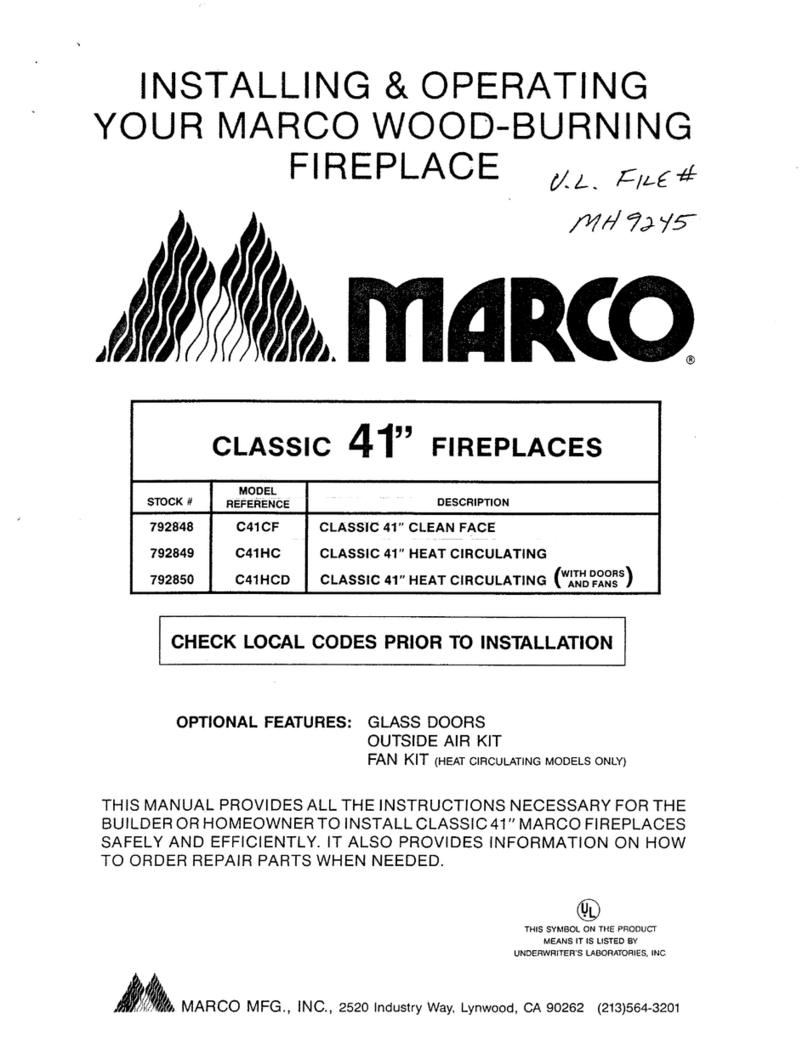
Marco
Marco C41CF Wiring diagram
Marco
Marco DWF36GO-3 User manual
Marco
Marco galaxy d36-dv User manual
Marco
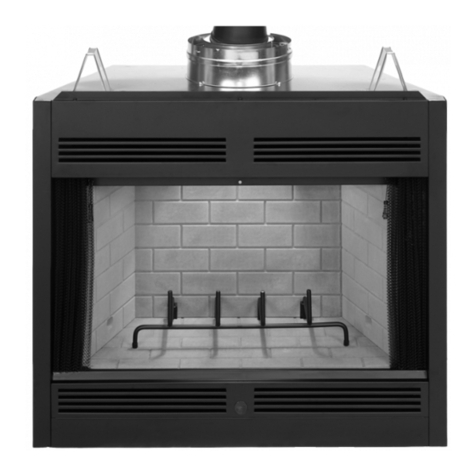
Marco Builder Series User manual
Marco
Marco Builders 41" Series Wiring diagram
Marco
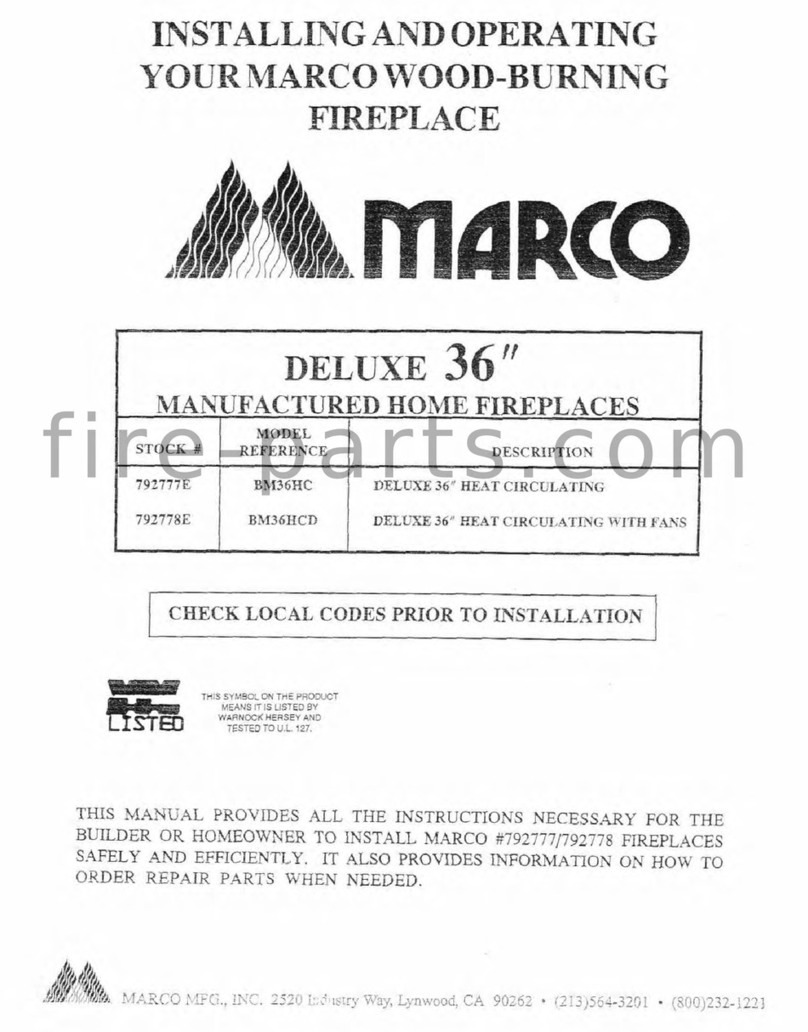
Marco Deluxe 36" Wiring diagram
Popular Indoor Fireplace manuals by other brands

Napoleon
Napoleon NEFL42CHD-1 manual

Masport
Masport WOOD FIRE installation guide

JAYLINE
JAYLINE SS280 Installation & operation instructions

Heat-N-Glo
Heat-N-Glo SL-32S Installation

kozy heat
kozy heat Bellingham 52 quick start guide

Paragon Fires
Paragon Fires ROOM SEALED INSET LIVE FUEL EFFECT GAS FIRE owner's manual

Monessen Hearth
Monessen Hearth LCUF32CR-B Installation & owner's manual

PuraFlame
PuraFlame Galena owner's manual

Dimplex
Dimplex Toluca Deluxe instruction manual

SEI
SEI TENNYSON FA8544AO Assembly instructions

Dru
Dru G25 installation manual

Capital fireplaces
Capital fireplaces Designline DL700 Installation and user instructions

IronStrike
IronStrike VINTAGE VINT-DVS-U Installation and operation

ACR Heat
ACR Heat HERITAGE N25 Installation and operating instruction manual

European Home
European Home HVF-42 Installation, operation and owner's manual

Quadra-Fire
Quadra-Fire MTVERNINSAE-MBK Owner's manual operation & care

Harman Home Heating
Harman Home Heating Accentra Insert Installation & operating manual

Trimline Fires
Trimline Fires Zircon 1024 installation instructions