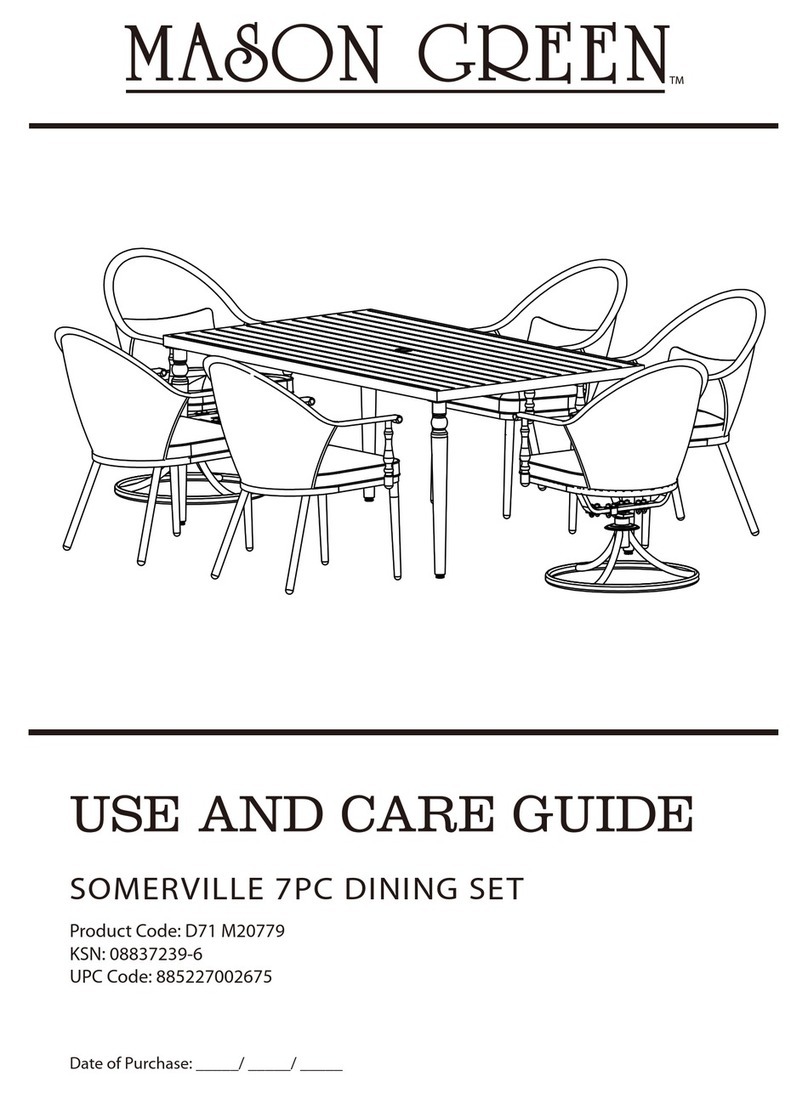
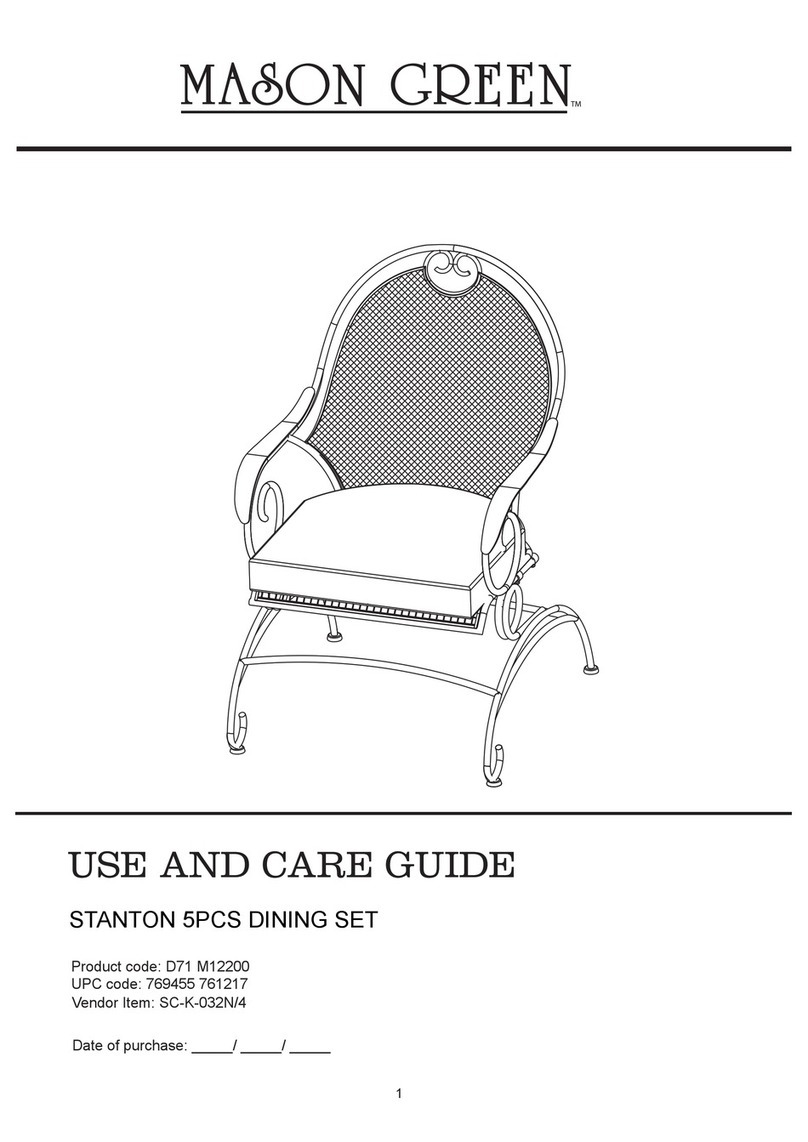
Mason Green DURHAM D71 M34646 User manual


2
Table of ContentsTable of Contents
Table of Contents....................... 2
Safety Information...................... 3
Examine Your Furniture............... 3
Warranty....................................... 3
What is Covered....................... 3
What is Not Covered................. 3
Care and Maintenance................. 4
Pre-Assembly.............................. 5
Planning Assembly...................... 5
Hardware Included...................... 5
Observe Weight Limits................. 5
Package Contents....................... 6
Assembly Instructions
Chair............................................. 7
Loveseat..................................... 10
Coffee Table................................ 13
Customer Service........................16
Set Up Your Furniture Properly..... 3
Thank you for your purchaseThank you for your purchase
Thank you for your purchase!
We are pleased that you have chosen Sears for your outdoor furniture
purchase. We hope that you enjoy the unmatched quality, comfort, and
style of your new patio set. Every piece is meticulously considered all the
way down to the smallest details, exclusively for you, by our world class
design team. We know you have a choice when it comes to your patio
furniture needs, so from our team to yours, thank you for letting us be a part
of your outdoors.

WarrantyWarranty
1 YEAR WARRANTY FOR FRAME, RESIN WEAVE AND CUSHIONS1 YEAR WARRANTY FOR FRAME, RESIN WEAVE AND CUSHIONS
WHAT IS COVEREDWHAT IS COVERED
We warrant to the original purchaser for one year, from the date of
purchase, that the frame, resin weave and cushions will be free from
manufacturing defects. This warrant also covers peeling, crackling,
blistering, discoloration, or fading for this one year period.
WHAT IS NOT COVEREDWHAT IS NOT COVERED
This limited warranty is extended to the original purchaser and applies to
defects in material and workmanship of your patio furniture, provided
your furniture is maintained with care and used only for personal,
residential purposes.
Resin wicker is warranted to be free from defects in material or
workmanship for a period of one (1) year.
WARRANTYWARRANTY
3
Safety InformationSafety Information
SET UP YOUR FURNITURE PROPERLYSET UP YOUR FURNITURE PROPERLY
Ensure that all parts are assembled properly and fully tightened as per
instructions.
When placing in the desired location, ensure that all legs are resting on
the same surface. You may adjust the legs levelers as required to ensure
that the item stands in a stable position.
EXAMINE YOUR FURNITUREEXAMINE YOUR FURNITURE
Examine occasionally to ensure that there are no loose parts. If loose
parts are found, they must be retightened fully before further use.
It remains the customer's responsibility for freight and packaging
charges to and from our service center. This warranty does not cover
commercial use, acts of nature, fire, freezing, and abusive use.
Discoloration or fading of the finish or fabrics as a result of chemicals or
spills is not covered. Glass tabletop breakage and corrosion or rusting of
hardware are not covered. In addition, purchased parts are not covered
under this warranty. Proof of purchase (dated register receipt) is
required for warranty claims. We reserve the right to make substitutions
with similar merchandise, if the model is no longer in production.
Warranty is to the original purchaser and is not transferable. As some
states do not allow exclusions or limitations on an implied warranty, the
above exclusions and limitations may not apply. This warranty gives you
specific rights, and you may also have other rights, which vary from state
to state.

Care and MaintenanceCare and Maintenance
Wash the frame with a mild solution of soap and water, rinse with clean
water, and dry thoroughly.
Cushions may also be cleaned by hand with a mild solution of soap and
water. Rinse the cushion cover thoroughly and allow to drip dry. The
back cushion and pillow should be spot cleaned with a soft cloth. Do not
machine wash or tumble dry, as cushions may shrink. Do not use bleach
or solvents on fabrics. Never use cleaners that contain acid or abrasive
materials.
Use and operation: To improve the lifespan of this furniture, cover when
not use and store in a dry place in the off season.
4
WarrantyWarranty
Cushions are covered for a period of one (1) year against defects in
material or workmanship.
Frames are warranted to be free from defects in material or
workmanship for a period of one (1) year.
Exclusions: Items used for commercial, contract, or other non-
residential purposes, or items damaged due to acts of nature, vandalism,
misuse, or improper assembly is not covered. Discoloration and fading
of the finish or fabrics as a result of chemicals or spills are not covered.
Glass table top breakage and corrosion or rusting of hardware is not
covered. If, within the stated warranty period, this product is found to be
defective in material or workmanship, the purchaser must contact the
customer service department at 1-800-327-2978. The manufacturer, at
its option, will repair or replace the defectives parts. Proof of purchase
(date register receipt) is required for warranty claims. It remains the
customer’s responsibility to pay for freight and packing charges to and
from the service center. Warranty is to the original purchaser and is non-
transferable. Any replacement of warranted items will be in the original
style and color, or a similar style and color if the original is unavailable or
has been discontinued. As some states do not allow exclusions or
limitations on an implied warranty, the above exclusions and limitations
may not apply. This warranty gives you specific rights, and you may also
have other rights, which vary from state to state.
Care instructions: Protecting furniture from the elements, when not in
use is highly recommended. Wipe frame With a lightly damp cloth and
dry completely, do not use bleach or solvents. Wash cushions with mild
solution of soap and water, rinse thoroughly. Do not machine wash.
Customer service 1-800-327-2978

5
NOTED:Hardware not shown
to actual size.
NOTED:Hardware not shown
to actual size.
HARDWARE INCLUDEDHARDWARE INCLUDED
_II _JJ
_AA _BB _CC _DD
_MM _NN
LOCKING NUTS
WASHERS
( 8mm)
( 8mm)
( 8mm)
CAPS FOR NUTS
WRENCH (13#)
10
22
10
1
Part Description Size QTY.
BB
AA
CC
DD
BOLTS ( 8x12mm)
ALLEN WRENCH (5mm) 1
4II
JJ
MM BOLTS
( 8x20mm)
12
( 8mm)
16
NN CAPS FOR BOLTS
Pre-AssemblyPre-Assembly
PLANNING ASSEMBLYPLANNING ASSEMBLY
Toprevent damage, place all parts on a soft surface during assembly.
Remove all protective caps before beginning assembly. It takes about
90 minutes for two people to complete all the assembly.
CAUTION:If you overload your
furniture, injuries can occur.
CAUTION:
OBSERVE WEIGHT LIMITSOBSERVE WEIGHT LIMITS
The recommended weight limits for the following products are listed below:
Chair: 250 lbs
Loveseat: 450 lbs
Table: 50 lbs

6
Pre-Assembly(continued)Pre-Assembly(continued)
Package ContentsPackage Contents
Safety InformationSafety Information
1. EVERY BOLT NEEDS TO BE USED WITH A WASHER.
2. WHEN SCREWING THE LOCKING NUT “AA” INTO PLACE, THE WHITE SIDE
SHOULD FACE TO THE OUTSIDE.
1. EVERY BOLT NEEDS TO BE USED WITH A WASHER.
2. WHEN SCREWING THE LOCKING NUT “AA” INTO PLACE, THE WHITE SIDE
SHOULD FACE TO THE OUTSIDE.
PARTPART
A
B
QUANTITYQUANTITY
1
1
DESCRIPTIONDESCRIPTION
THE SEAT OF CHAIR
THE BACK OF CHAIR
A
B
1 2

7
Attaching the seat to the backAttaching the seat to the back
1
X4
_MM
X4
_BB
INSERT TWO PINS ON SEAT “A” IN TO HOLES ON BACK “B”,FASTEN WITH LOCKING NUT “AA”
HALF THE WAY USING WRENCH DD .
FIXED BOLTS ON INNER SIDES OF "B" GOING THROUGH THE BRACKET HOLES ON "A".
TIGHTEN WITH BOLTS "MM" HALFWAY USING ALLEN WRENCH "JJ”.
11
BB
_BB_BB
_MM_MM
55
44
X2
_AA BB
55
44
66
77
AA
33
22
BB
6677
_BB_BB
2233
_AA_AA
Assembly InstructionsAssembly Instructions

8
Adding the capsAdding the caps
2
CHECK AND MAKE ADJUSTMENT AS NEEDED, FULLY TIGHTEN THE NUTS “AA” WITH
WRENCH “DD” AND BOLTS WITH ALLEN WRENCH “JJ”.
COVER THE NUTS WITH CAPS “CC” AND THE BOLTS WITH CAPS “NN”
X4
_NN
_JJ
X1
_CC
X2
X1
_DD
AA
BB
_DD_DD
_JJ_JJ
Assembly InstructionsAssembly Instructions

9
Pre-Assembly(continued)Pre-Assembly(continued)
Package ContentsPackage Contents
Safety InformationSafety Information
1. EVERY BOLT NEEDS TO BE USED WITH A WASHER.
2. WHEN SCREWING THE LOCKING NUT “AA” INTO PLACE, THE WHITE SIDE
SHOULD FACE TO THE OUTSIDE.
1. EVERY BOLT NEEDS TO BE USED WITH A WASHER.
2. WHEN SCREWING THE LOCKING NUT “AA” INTO PLACE, THE WHITE SIDE
SHOULD FACE TO THE OUTSIDE.
PARTPART
A
B
QUANTITYQUANTITY
1
1
DESCRIPTIONDESCRIPTION
THE SEAT OF LOVESEAT
THE BACK OF LOVESEAT
1 2
A B

10
Attaching the seat to the backAttaching the seat to the back
1
X4
_MM
X4
_BB
INSERT TWO PINS ON SEAT “A” IN TO HOLES ON BACK “B”,FASTEN WITH LOCKING NUT “AA”
HALF THE WAY USING WRENCH DD .
FIXED BOLTS ON INNER SIDES OF "B" GOING THROUGH THE BRACKET HOLES ON "A".
TIGHTEN WITH BOLT "MM" HALFWAY USING ALLEN WRENCH "JJ”.
_BB_BB
_MM_MM
55
44
X2
_AA
6677
_BB_BB
2233
_AA_AA
BB
11
BB
AA
AA
33
22
BB
55
4466
77
Assembly InstructionsAssembly Instructions

AA
BB
11
Adding the capsAdding the caps
2
CHECK AND MAKE ADJUSTMENT AS NEEDED, FULLY TIGHTEN THE NUTS “AA” WITH
WRENCH “DD” AND BOLTS WITH ALLEN WRENCH “JJ”.
COVER THE NUTS WITH CAPS “CC” AND THE BOLTS WITH CAPS “NN”
X4
_NN
_JJ
X1
_CC
X2
X1
_DD
_DD_DD
_JJ_JJ
Assembly InstructionsAssembly Instructions

12
Pre-Assembly(continued)Pre-Assembly(continued)
Package ContentsPackage Contents
PARTPART
A
B
C
QUANTITYQUANTITY
1
4
1
DESCRIPTIONDESCRIPTION
TABLE TOP
LEGS
LOWER SHELF
Safety InformationSafety Information
1.REMOVE THE PLASTIC PROTECTIVE CAPS BEFORE ASSEMBLY.
2. YOU MAY NEED TO MAKE ADJUSTMENTS TO THE FOUR LEGS ENSURE THAT
THE TABLE IS LEVEL.
3.EVERY NUT NEEDS TO BE WITH A WASHER.
1.REMOVE THE PLASTIC PROTECTIVE CAPS BEFORE ASSEMBLY.
2. YOU MAY NEED TO MAKE ADJUSTMENTS TO THE FOUR LEGS ENSURE THAT
THE TABLE IS LEVEL.
3.EVERY NUT NEEDS TO BE WITH A WASHER.
ABC
12
A
B
A3

44
_II
X4
13
Attaching the leg to the topAttaching the leg to the top
1
PUT THE LEGS “B” METAL SIDE INTO THE FOUR HOLES OF TOP “A”.
ATTENTION: THE LEGS "B” MUST BE PUT AS ILLUSTRATED.
FASTEN WITH BOLTS “II” AND TIGHTEN.
_II_II
B
A
66
33
22
AA
B
A
B
11
55
77
Assembly InstructionsAssembly Instructions

1111
1010
99
_AA
X4
14
Attaching the shelfAttaching the shelf
2
FIX THE BOLTS ON THE SHELF “C” AND USE LOCKING NUTS “AA” TIGHTEN IT BY HAND.
X4
_BB
A
C
B
C
B
A
_BB_BB
_AA_AA
88
Assembly InstructionsAssembly Instructions

15
Adding the capsAdding the caps
3
_CC
X4
CHECK AND MAKE ADJUSTMENT AS NEEDED, FULLY TIGHTEN THE NUTS “AA” WITH
WRENCH “DD” AND BOLTS WITH ALLEN WRENCH “JJ”.
COVER THE NUTS WITH CAPS “CC”.
_DD_DD
_JJ_JJ
_CC_CC
Assembly InstructionsAssembly Instructions
_NN_NN
_NN
X4

16
FAR EAST MANUFACTURING CO.,LTD.FAR EAST MANUFACTURING CO.,LTD.
BASKET CO. INC.BASKET CO. INC.

This manual suits for next models
2
Table of contents
Other Mason Green Indoor Furnishing manuals
Popular Indoor Furnishing manuals by other brands

Regency
Regency LWMS3015 Assembly instructions

Furniture of America
Furniture of America CM7751C Assembly instructions

Safavieh Furniture
Safavieh Furniture Estella CNS5731 manual

PLACES OF STYLE
PLACES OF STYLE Ovalfuss Assembly instruction

Trasman
Trasman 1138 Bo1 Assembly manual

Costway
Costway JV10856 manual