018-03 - Electric fry-top 7
Warning!
- Beware of inexpert handling!
Ignition
Check that the fat tray is in place. Turn on the main switch
upstream of the appliance.
Switch on: the green light will come on, indicating that the
appliance is on.
Turn the thermostat from '0' on desidered temperature,
between 50°C and 300°C inclusive; the yellow light shows
that the resistances are on.
As soon as the required temperature is reached, the yel-
low light will go off.
Turn off the appliance by turning the thermostat and on/off
knobs to the '0'.
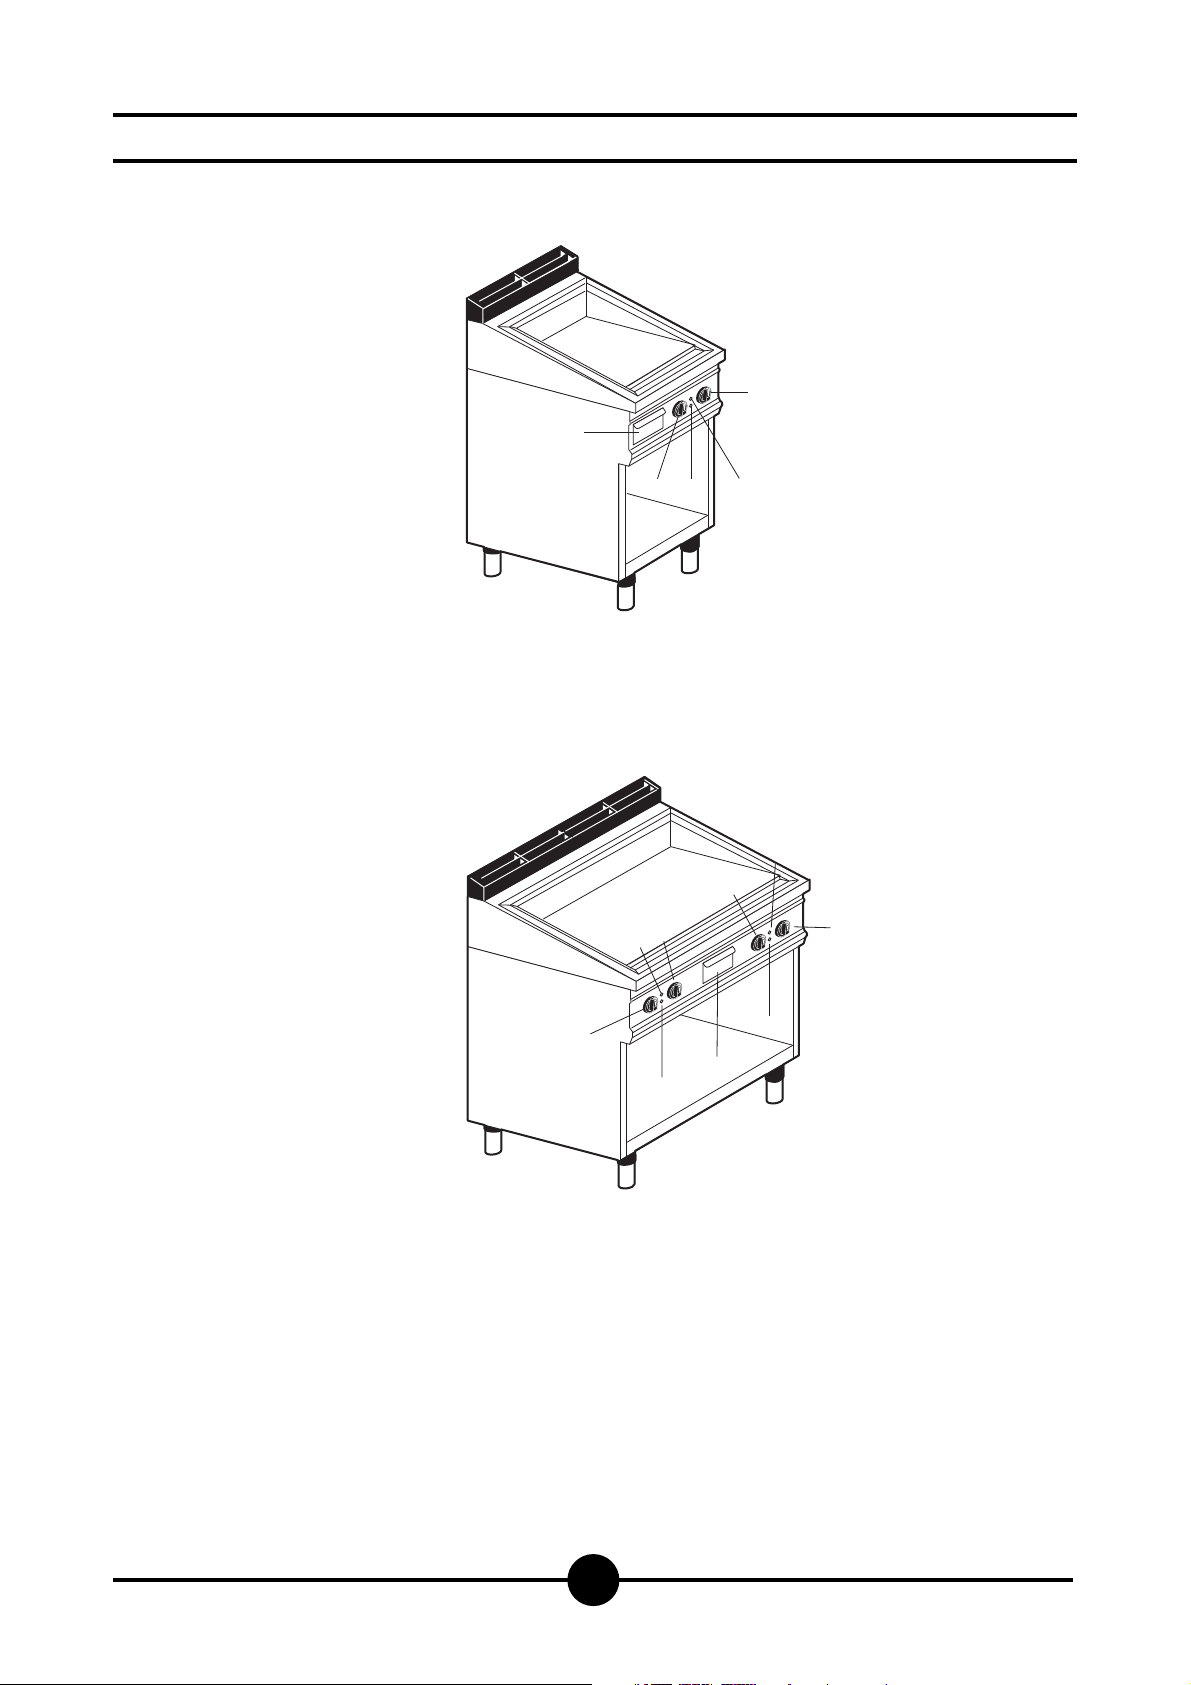
Nota:
Appliances AKFT8E/8EC/8ER/8ELR/8E23C
OPFT8E/8EC/8ER/8ELR/8E23C have 2 separate, inde-
pendent cooking areas.
Special precautions
It is recommanded to keep cleaning the plate during use,
using a scraper or a dampf cloth to remove particles of
food which could start smoking and causing unpleasant
smells.
CLEANING AND TAKING CARE OF THE
MACHINE
Warning!
Never clean the appliance with jets of water, whether
direct or pressurised.
Never clean the appliance before it has cooled down.
Before starting to clean the appliance, disconnect from
the mains.
Remove, empty and wash the fat tray.
Remove any remaining particles of food using the scaper
or a dampf cloth.
The plate and steel parts should be washed in warm water
using a neutral detergent.
Rinse the plate with a soft cloth to get rid of all traces of
detergent.
Thoroughly dry the appliance.
Avoid using abrasive or corrosive detergents which could
damage the steel.
After cleaning the appliance, grease the plate with vegeta-
ble oil*
What to do if not using the appliance
for a long time
Thoroughly clean and dry the machine as described.
Disconnect the power supply. Grease the plate with vege-
table oil*..
USING THE APPLIANCE
What to do if something goes wrong
If anything goes wrong, immediately turn the appliance
off, then turn off the power supply at the switch located
upstream of the appliance, and call the aftersales depart-
ment.
MAINTENANCE
All maintenance should be carried out by qualified per-
sonnel only. Before carrying out any maintenance work,
unplug the appliance or turn off the switch upstream of the
appliance.
Note:
This is not indispensable for the chromium plate.
THE 2002/96/EC DIRECTIVE (WEEE):
information to users
This informational note is meant only for owners
of equipment marked with the symbol shown in
Fig. A on the adhesive label featuring the techni-
cal specifications applied on the actual product (the label
also giving the serial number).
This symbol indicates that the product is classified, accor-
ding to the regulations in force, as an item of electrical and
electronic equipment and conforms to EU Directive
2002/96/EC (WEEE) meaning that, at the end of its service
life, it must be treated separately from domestic waste, i.e.
it must be handed in free of charge to a separate waste
electrical and electronic equipment collection centre or re-
turned to the reseller when buying a new equivalent item
of equipment.
The user is responsible for delivering the unit at the end of
its life to the appropriate collection facilities. Failure to do
so shall result in the user being subject to the penalties
prescribed by the legislation in force on waste.
Suitable separated collection so that the unit no longer
used can be sent off for environmentally compatible recy-
cling, treatment and disposal helps avoid possible negati-
ve effects on the environment and on health and facilitates
the recycling of the product's component materials.
For more detailed information on available collection sy-
stems, contact the local waste disposal service or the
shop you purchased the unit from.
Producers and importers fulfil their responsibility for envi-
ronmentally compatible recycling, treatment and disposal
both directly and by joining a collective scheme.