CHARGING THE PCC
• Aach the USB end of the charging cable into the wall charger
• Aach the other end of the charging cable into the input port of the portable
charging case (PCC)
• Plug the charging unit into the wall. The input LED will turn red indicang that
the charging is starng, and it will keep being red during the charging period.
• The input LED will turn green when the PCC is fully charged, and will keep on
being green unl you stop the charging.
• Recommended charging me: 2.5-3 hours.
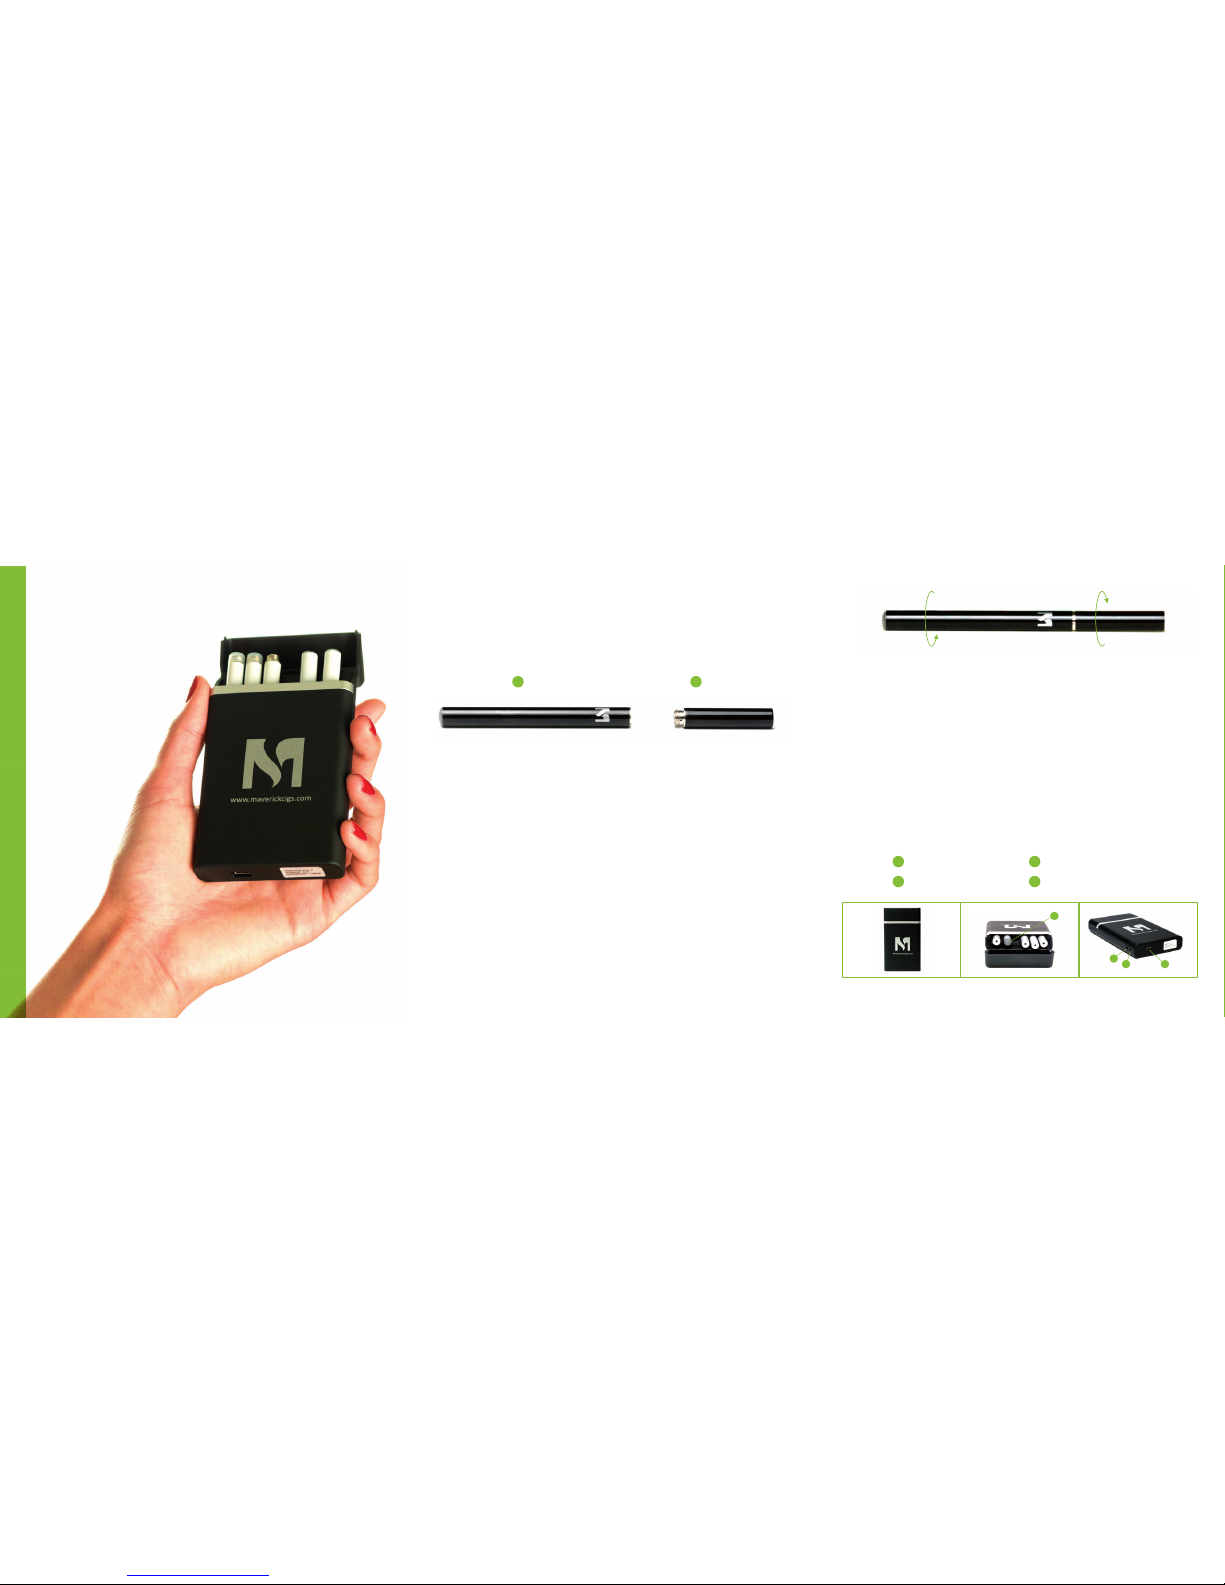
CHARGING THE BATTERY WITH PCC
• Simply screw the baery into the corresponding charging hole in the PCC. Do
not use any force while doing this.
• The output LED will turn red once a solid connecon is made. The baery
LED will also turn on at the same me. The output LED will keep being red
during the charging period.
• When the baery is nearly fully charged (when baery voltage comes up to
4.2V), the baery LED will go o and the charging procedure is sll going on.
The output LED will turn green and will keep being green for 3 more minutes.
When the charging is fully completed, the output LED goes o and the PCC
will automacally shut down the charging circuit to save power.
Remarks: There are intelligent microchips inside both the baery and PCC,
providing an automac cut-o funcon and overcharge protecon.
Noce: The output LED will keep blinking red to indicate that the PCC needs
recharging when its voltage is under 3.3V. You can sll charge the baery with the
PCC at this me. When the voltage goes below 3V the PCC will stop working and
run in to a safe mode to protect itself.
CHARGING THE BATTERY WITH USB
Gently unscrew the cartomiser by turning counter clock-wise. Once removed,
gently screw the baery onto the USB charger’s corresponding thread. Plug the
USB charger into your PC, laptop or your Maverick wall charger. The baery light
should ash 5 mes once a solid connecon is made with the charger.
DO NOT OVER TIGHTEN BATTERY INTO CHARGER as it can ruin the charging unit.
The charger should turn from green to red, indicang the baery is charging. Once
the light on the charger turns green, your Electronic Cigaree baery is now ready
and fully charged. Charging must be within normal room temperatures.
BATTERY LED BLINKING NOTICE
• 2 mes, it indicates that you have taken a long pu which has been
over 5 seconds
• 10 mes, it indicates that the baery is in need of recharging
MAINTENANCE
• Be sure to keep your baery threads and charger threads clean. This can be
done using a dry ssue. Cleaning your threads will provide a good connecon
ensuring a proper charge and good vapour producon. If your connecons
are not clean the baery might not charge or vapour producon might be
low.
When you put the whole E-cigaree into the PCC, keep the
cartomiser up. DO NOT put the E-cigaree upside down;
otherwise liquid may leak into the PCC from the cartomiser.
PRECAUTIONS
• Only Maverick supplied accessories should be used and the correct operaon
procedures must be followed to prevent malfuncon and damage to the
product. We do not accept warranty claims if you use other operaon
procedures other than those spulated herewith.
• Keep your E-cigaree and PCC away from other arcles such as keys and coins
which could cause cosmec or funconal damage to your E-cigaree and PCC.
Warranty claims for cosmec damage will not be accepted.
• Should a problem arise with your E-cigaree or PCC please contact us and
do not try to dismantle yourself. Opening the baery compartments or PCC
inside cabin will result in complete malfuncon and void the warranty.
• Keep away from high temperature extremes and humidity.
• Keep the whole kit out of children’s reach and avoid improper operaon.
MaverickCigs PO Box 63296 London N2 2DD
t: 020 3286 0229 e: info@maverickcigs.com
www.maverickcigs.com