manuals.online logo
Brands
  1. Home
  2. •
  3. Brands
  4. •
  5. Maytag
  6. •
  7. Dishwasher
  8. •
  9. Maytag Jetclean 9502 User manual

Maytag Jetclean 9502 User manual

This manual suits for next models

25

Other Maytag Dishwasher manuals

Maytag DWU8460AAX Operating instructions

Maytag

Maytag DWU8460AAX Operating instructions

Maytag MDBH945AW User manual

Maytag

Maytag MDBH945AW User manual

Maytag Dishwasher User manual

Maytag

Maytag Dishwasher User manual

Maytag MDB4629AWS - Jetclean Plus 24 in. Dishwasher User manual

Maytag

Maytag MDB4629AWS - Jetclean Plus 24 in. Dishwasher User manual

Maytag Jetclean MDB6800 User manual

Maytag

Maytag Jetclean MDB6800 User manual

Maytag MDB6759AWQ - 24 Inch Fully Integrated... User manual

Maytag

Maytag MDB6759AWQ - 24 Inch Fully Integrated... User manual

Maytag BUILT-IN DISHWASHER User manual

Maytag

Maytag BUILT-IN DISHWASHER User manual

Maytag MDB6709AWQ - Jetclean Plus 24 in. Dishwasher User manual

Maytag

Maytag MDB6709AWQ - Jetclean Plus 24 in. Dishwasher User manual

Maytag MDB4709AWQ User manual

Maytag

Maytag MDB4709AWQ User manual

Maytag MDB7749SAQ User manual

Maytag

Maytag MDB7749SAQ User manual

Maytag MDB4621AWB - Full Console Dishwasher User manual

Maytag

Maytag MDB4621AWB - Full Console Dishwasher User manual

Maytag MDB6701AWW - BI DW 5LVL SANI ESTAR User manual

Maytag

Maytag MDB6701AWW - BI DW 5LVL SANI ESTAR User manual

Maytag MDB5601AWQ - Jetclean II Undercounter... User manual

Maytag

Maytag MDB5601AWQ - Jetclean II Undercounter... User manual

Maytag JENN-AIR User manual

Maytag

Maytag JENN-AIR User manual

Maytag W10532762A User manual

Maytag

Maytag W10532762A User manual

Maytag ADB1500AWW User manual

Maytag

Maytag ADB1500AWW User manual

Maytag MDB8979SEZ1 User manual

Maytag

Maytag MDB8979SEZ1 User manual

Maytag MDB8551AWS - 24 Inch Full Console Dishwasher User instructions

Maytag

Maytag MDB8551AWS - 24 Inch Full Console Dishwasher User instructions

Maytag Jetclean MDB3100 User manual

Maytag

Maytag Jetclean MDB3100 User manual

Maytag MDB9959SKZ User manual

Maytag

Maytag MDB9959SKZ User manual

Maytag DWU8750AAE User manual

Maytag

Maytag DWU8750AAE User manual

Maytag Timer Control Dishwasher User manual

Maytag

Maytag Timer Control Dishwasher User manual

Maytag DWU8450AAX User manual

Maytag

Maytag DWU8450AAX User manual

Maytag MDB4949SDM User manual

Maytag

Maytag MDB4949SDM User manual

Popular Dishwasher manuals by other brands

Samsung DW-FN320T user manual

Samsung

Samsung DW-FN320T user manual

LG LDS 5811WW Service manual

LG

LG LDS 5811WW Service manual

Elba EDW-B1462D owner's manual

Elba

Elba EDW-B1462D owner's manual

VESTEL NOVUS Series Service manual

VESTEL

VESTEL NOVUS Series Service manual

Bosch SMS4EMW00E Instructions for use

Bosch

Bosch SMS4EMW00E Instructions for use

Global-Tek GT-CR 2 manual

Global-Tek

Global-Tek GT-CR 2 manual

Smeg Dishwasher 85028 Instructions for installation and use

Smeg

Smeg Dishwasher 85028 Instructions for installation and use

LG LD-4080W Service manual

LG

LG LD-4080W Service manual

Bauknecht GCF 625 operating instructions

Bauknecht

Bauknecht GCF 625 operating instructions

Sharp QW-HX13F47EI-EU user manual

Sharp

Sharp QW-HX13F47EI-EU user manual

Asko D5536XLFI operating instructions

Asko

Asko D5536XLFI operating instructions

Modena WP 7134 WVM User manual book

Modena

Modena WP 7134 WVM User manual book

Beko DFN39340X instruction manual

Beko

Beko DFN39340X instruction manual

AEG FAVORIT 65050 VI1P user manual

AEG

AEG FAVORIT 65050 VI1P user manual

Siemens SN23HI37VE user manual

Siemens

Siemens SN23HI37VE user manual

Hotpoint Ariston LL 42 Instruction book

Hotpoint Ariston

Hotpoint Ariston LL 42 Instruction book

Siemens SN45ZW56CS user manual

Siemens

Siemens SN45ZW56CS user manual

Asko DFI766UXXL.AU user manual

Asko

Asko DFI766UXXL.AU user manual

manuals.online logo
manuals.online logoBrands
  • About & Mission
  • Contact us
  • Privacy Policy
  • Terms and Conditions

Copyright 2025 Manuals.Online. All Rights Reserved.

Models: 9502, 9302, 9202, 8912, 8702, 8602, 8402, 7802,7702, 6902, 6812,6802, 5912
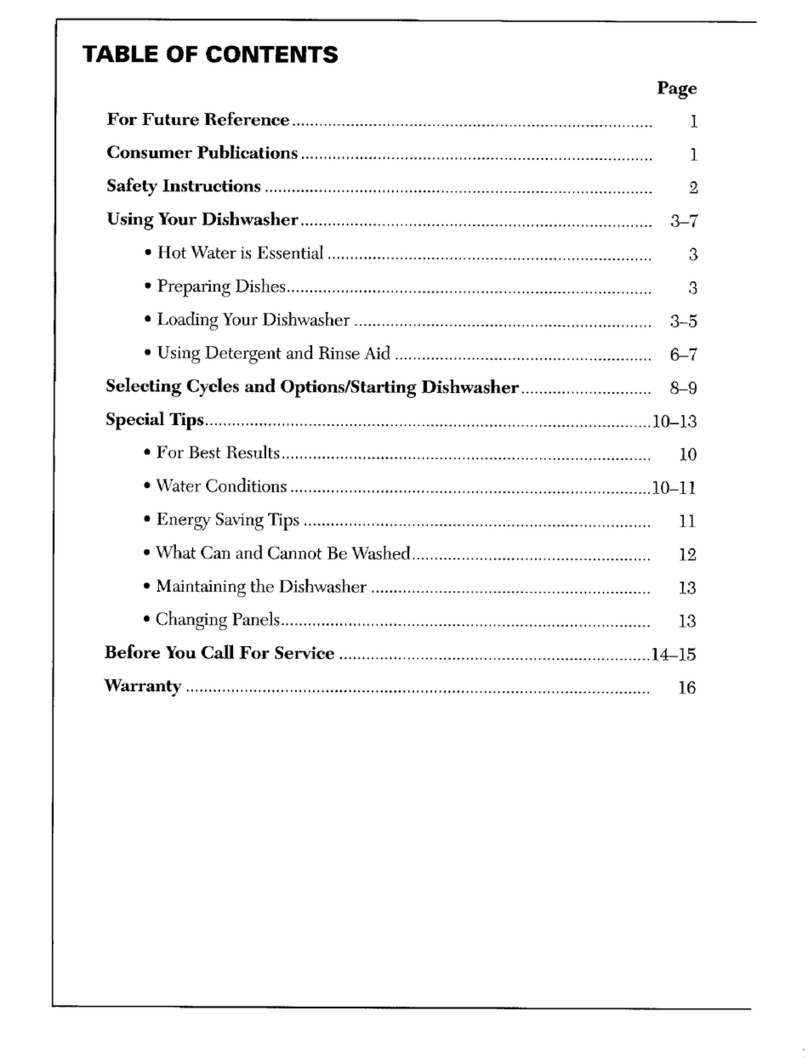
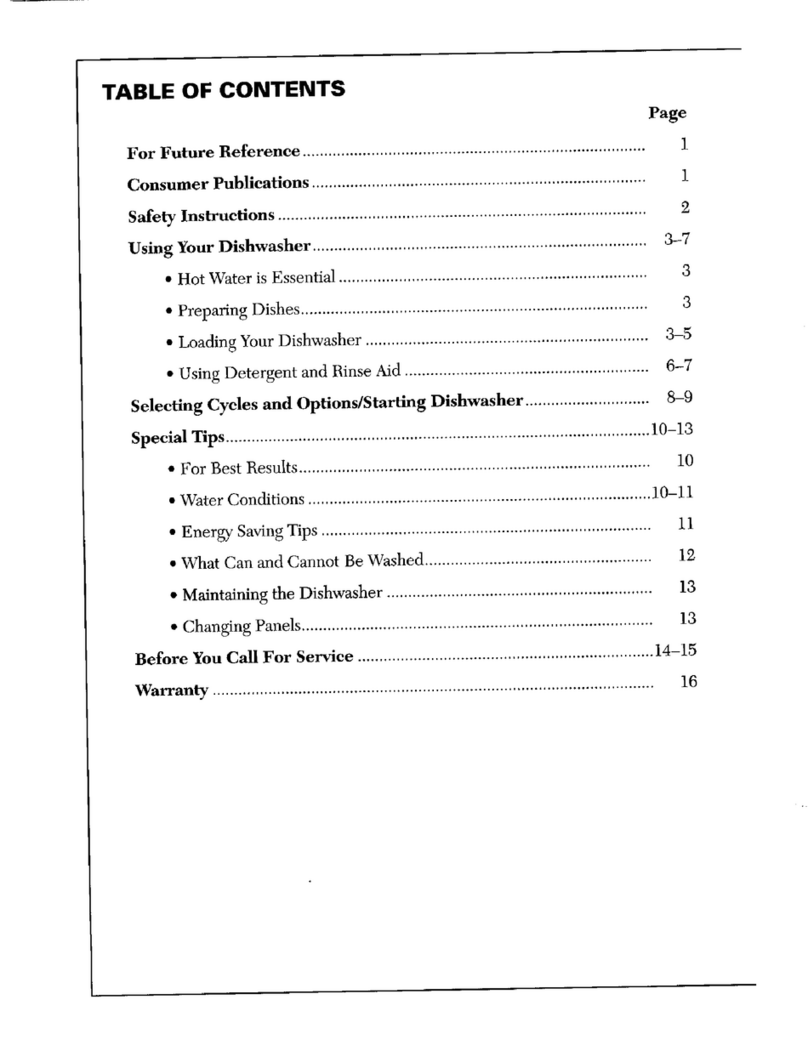
TABLE OF CONTENTS Wesuggestyouretainthisman.alfuturereference.
Please record the model and serial numbers in the
Page spaces below. These can be found in the upper let_ cor-
ner of the tub opening.
Safety Instructions .......................................... 1
LoadingInformation ...................................... 2-4Model Number
Adding Detergent ............................................. 5 Serial Number
Checking Rinse Aid ......................................... 6
Ensuring Hot Water ........................................ 6 WAIINING -Check Wifh the in_aller tomake sure
Selecting Cycles/Options ................................ 7 die algpliance has been properly grounded to avoid
Starting the Dishwasher ................................ 8 possible electrical shock. Be sure you read the
IMPORTANT PERSONALSAFETY INSTRUC-
Special Tips ....................................................... 8 .TIONS on page 1 before vou start to use this dish-
Washing Special Items .................................... 9 washer.
Water Conditions ............................................. 10 NOTE: In our continuing effort to improve the
Energy" Saving Tips ......................................... 10 quality of our dishwashers, it may be necessary to
make changes to the appearance without revising
Maintaining the Dishwasher ......................... 11 this manual.
Before You Call ................................................ 12-13 CONSUMER PUBLICATIONS
FOR FUTURE REFERENCE For additional inforrnation order the follox@lg booklets
Congratulations on your choice of a Maytag Jetclean TM from Maytag at the prices indicated _. Send your name,
dishwasher[ As von use your new appliance you will address, booklet title, form mnnber and payment to the
appreciate the many features that have made it the address listed earlier on this page.
Consumer Rated No. ] Dishwasher. Accomodating Kitehens 43PR .......................... $1.00
The following pages provide a wealth of information Appliance Buying Guides .............................. $0.50 each
regardiug your new May_ag dishwasher,If you have any
additional questious, please contact us. (Be snre to pro- Washer 211YG
xdde a complete model nnmber,) Diyer-- 212YG
MAYTAG CONSUMER EDUCATION Dishwasher -- 213YC
ONE DEPENDABILITYSQUARE
NEWTON,IOWA 50208 Refrigerator -- 276YG
(515) 791-8911 Cooking Appliances 277YG
Mon. - Fri.,8am - 5pro CST
Intemet: http://vavw.maytag.eom *Please allow 4-6 weeks for delivery.
INOTE: For service information see pages 12-13. I
R
IIMPORTANT: Keep your sales slip or cancelled I
check for warranty service. Proofoforiginaldateof ]
purchase is neede d. ...... [
IMPORTANT PERSONAL SAFETY INSTRUCTIONS
Products with a (_) label have been listed with 8. Be earefnl not to toneh the heating element on
Underwriter's Laboratories, Inc. - those with a CSA tag the bottom of the tub during or at the completion
have been listed with Canadian Standards Association. of a cycle. It may be hot.
Nevertheless, as with any other equipment using elee- 9. Use only detergentsand rinse additivesdesigned
trieity and moving parts, there is a potential hazard, for an autolnatie dishwasher. Never use soap,
WARNING - When using your dishwasher, follow laundD"detergent, or hand washing detergent in
basic precautions, including the following: -v°ur dishwasher. Keep these products out of _
reach of"children.
. . , , ., . ., ,, . .,,
1. Read all instructions before using the dishwasher. 10. Do not sit stand on or abuse the door or dish
2. Use the dishwasher only for its intended function, racks of the dishwasher.
3. Disconnect electrical power to dishwasher before 11. Under certain conditions, hydrogen gas may be
attempting to service, produced in a hot water system that has not [_een
usedfor two weeks or more. Hydrogen gas is
4. To avoid electrical shock hazard, the sides and explosive. If the hot water system has not been
back must be enclosed and the front panels nmst used for such a period, mm on 'all hot water
be attached before electrical power is applied to faucets and let the water flow frmn each for scy-
the dishwasher. Refer to the installation instrue- eral minutes. This will release any accumulated _'_
tions for proper grounding procedures, hydrogen gas. As the gas is flammable, do not
5. Connect to a properly rated, protected and sized smoke or use an open flame during this process.
power supply circuit toavoid electrical overload. 12. Do not wash plastic items unless marked "dish-
6. Children should never be permitted to operate, washer safe" or the equivalent. For plastic items
or play-in, with, or around this dishwasher, not so marked, cheek the manufacturer's reeom-
7. To reduce the risk ofinjm'y when loading items to mendations.
be washed, sharp or pointed items should be 13. Do not tamper with controls.
located with the handles up. Also, load sharp 14. Always remove the door to the washing emnpart-
items so the), are not likely to damage the door ment when removing an oJd dishwasher fi'om ser- ¢_
seal. vice or discarding it.
_lld,*,
SAVE THESE INSTRUCTIONS
r_
Page 1
LOADING INFORMATION
Before Washing Upper Rack
(Features vary depending on model)
T}?ically, the majority of loads contain items of vai?'ing
size and type. That_ why your new Maytag dishwasber The npper rack is designed with great flexibili b'and
is designed to accommodate a variety of dishes, glasses, versatility. Classes, cups, stemware, light weight plas-
stemware, utensils and pots and pans. tics, small plates, bowls, pans, long handled utensils
The following illustrations and information will help etc. can be loaded in this rack.
you become more familiar with your dishwasher rack-
ing system. After a few dishloacis, you will be able to
determine the best arrangement for your iterns.
•Don't Prerinse. Simplyserape off anybonesor
large food particles. The disposer in yonr dish-
washer will handle the occasional pits, fruit seeds and
popcorn. These items will be chopped into small
pieces during drain and removed with the drain
water. You may hear a chopping noise during drain.
This is normal.
• If connected to a food waste disposer, make certain
the disposer isempty" before starling the dish-
washer. This allows proper draining.
• Remove eertain foods (such as mustard, mayon- Items can be centered behind a single tine or loaded at
naise, lemon juice, vinegar, salt or dressings) from an angle to maximize space. For best results, leave a
stainless steel flatware as soon aspossible. These small space between pieces so they do not touch during
foods may cause rusting and pitting if allowed to the cycle.
remain in contact _,ith the surface fbr an extended
period of time.
• Serape orsoak items with burnton foods as they
require more ener_7than the rest of the load to clean
satisfactorily.
• Soak or wipe a starchy film from utensils used to
cook foods such as potatoes, pasta, rice, oatmeal,
etc...as they require more energy than the rest of the
load to clean satisfactorily.
General Recommendations Classes, tumblers, stemware and cups can be placed in
• Place all items in the racks so they are separated and the top rack. Donot load these items over the tines.
facing centei_ This ensures the water spray"can reach It makes them more dimcnlt to rinse.
soiled surfaces for good washing and rinsing results. Correct Incorrect
• Wedge flat, lightweight items (such as plastic lids)
next to the silverware basket oralong the sides and
back of the racks.
• Load items so they do not rest overthe top of the
wash tower. This watersprav is needed to properly
clean items in the upper rack. Tine
• Avoid blocking the upper and lower spray arms by not in
allowing items to extend beyond the racks.
• Place glasses in any row of the racks for proper clean-
ing and rinsing. Do not load glasses over the tines.
Page 2
g
Place stemware in the Stem-Lock area(s) for added lOINel'Rack _"
support. The curved design on the Vari-Loek Support (Features vary depending on model) Qr_
(left) and Stack Rack (right) holds stemware in place.
Taller stemware will fit better on the right side as the The lower rack is designed to accommodate a variety of _'_
rack is deeper there, large items such as dinner plates, mixing bowls, pots _'_
and pans, baking dishes, etc.
Back
=
The%fi-Lock Smlgger on the left (select models)ean
be adjusted by grasping the wJre and rotating it left or
right as needed. Simply, move the wire to the left to
snug items against the rack or to the right and rest it on
top of ligh_eight cups or plastics. Donot load items Front
on top of the wire. Tall items such asbakeware and large platters can be
placed on the left side or across the back of this rack,
Back
The Staek-t/aek design on the 1,ight side of the upper
rack folds up or do,am for loading tlexibili b' of avariety of
items. Fold it down to hold long-hmrdled knives, spatn-
las and spoons or short items like cups or juice glasses.
Fold it up for taller items like glasses, bowls, plates, etc. Front
Page 3
With tile Stack-t/ack shelf raised, thin items like cook- Create-A-Space tines across the center of the lower
ie sheets or pizza pans may be placed alolig the left side. rack allow saucers and bowls to be loaded between rows
With tile shelf down, two levels of glasses and enps can of plates.
also be loaded.
Create-
A-
Positioning the Fold-Away tines fla_ in the back ]eft Space
corner provides convenient loading space for large,
bul_' items like pots and pans or ,nixing bowls. Removable Utensil Basket
(Design varies depending on model)
The basket can be removed for ease in loading and
unloading items. Place items in the basket with some
handles up and some down. This prevents them from
nesting together and improves cleaning results. (Most
knives or sharp, pointed items should be placed in the
basket \_dth the handle up. Be sure thin, finely pointed
items do not extend through the basket and block the
lower wash arm.)
Use the covered section of the basket ibr small, light-
weight items like baby spoons, plastic measuring
spooi_s, small plastic items, etc. Close the cover.
Convertible tines in the back right comer can be posi-
tioned to paMde narrow spacing for loading dilmer plates
or wide spacing for loading deep bowls, pots or pans.
Page 4
ADDING DETERGENT
Use a detergent designed specifically for use in an auto- Detergent Placement
matic dishwasher. Be sure itis fresh and stored in a Add detergent just before starting the cycle.
cool dry place (not tinder the sink). _,_
Never use laundrydetergent or hand dish-_*_
washing detergent in yourdishwasheras it
will eause severeoversudsingandpossible
leaks. _'.
Recommended Amount
The amount of detergent to use depends on the water
hardness (measured in grains pergallon -- gpg) and
the amount of soil on the dishes. Too little detergent _'.
results in poor cleaning, hard water filming and spot- "
ting and poor dD4ng. Too much detergent causes per-
manent etching/clondiness.
As a rule, nse 1 teaspoon of detergent per grain of water For Normal, Pots & Pans orPower Scrub cycles
hardness, Use a mininmm of 3 teaspoons in soft water, place the rceommended amount of detergent in both
Place the recommended amount of detergent in both the PB,E WASH and MAIN WASIt cups. Close the
cups for Normal and longer cyeles. Do notdivide the cover. The dishwasher antomaticalIv releases detergent. (l_
recommendedamount between the cups. "
A Light/China cycle requires determent in the main _e.,,
The tbllowing chart includes specific recommenda- wash cup (right side) only. Close the cover after adding
tions. (Refer to the package directions on concentrated detergent.
detergents.) The Quick Wasl_Rinse cycle needs detergent in the
IVaterHardness* Detergent Use PRE WASH cup (le_c side) only. Close the cover after
Soft(0-3 gpg) :3teaspoons adding detergent.
Medinm (4_ gpg) 4-9 teaspoons Rinse & Hold does not nse detergent.
Hard (10-12 gpg) 10-12 teaspoons
°Your local water utility or state universityextension service
can tell you the degree qf water hardness in !/ourarea.
For water hardness of 13-14 gpg add more detergent (1
teaspoon tbr each gpg) to the beginning of the maJn
wash portion of the cyele. Unlateh the door. Open it
slowly and add detergent to the bottom of the tub. The
dishwasher will continue through the cycle.
If water hardness is 15 gpg or harder, it is virtually
impossihle to get good resnlts with anydishwasher.
The only solution is a mechanical water softener to
improve water quality and determent effect%eness.
Page
CHECKING RINSE AID ENSURING HOT WATER
Regular use of a rinse aid improves drying and For good cleaning and drying results, hot
reduces spotting and filming, water is necessary. The incoming water tem-
perature should be120-140°Fto properly
Your Maytag Jetelean TM dishwasher features an auto- activate thedetergent and melt greasy food
matie rinse aid dispenser located near the detergent soils.
cups in the door. If for any reason (such as laundering, showers,etc.) the
The clear window inthe centerof tile dispenser cap incoming water temperature isbelow 120°F (49°C),
allows you to see if there is rinse aid in the reservoir, select the Terap Sense option to have the dishwasher
When the window is colored,there is rinse aid in the thermostatically heat the water to proper temperature.
dispenser. When the v4ndow becomes clear,it is time
to refill the dispenser. (As a guide,cheek the dispenser To check the incoming water temperature,turn on the
monthly.) hot water fhucet nearest the dishwasherand let it run
into a glassin the sink. Place a candy tllermometer in
.... _ the glass and check the temperature once it has stopped
rising. If the temperature is below 120°F (49"C), have a
qualifiedperson raise the water heater thermostat set-
ting.
iv Beforestarting the dishwasher, turn on the hot water
faucet and let it run until the water ishot.
To add rinse aid to the dispenser,turn t:he cap counter-
eloeGvise to open. Remove the cap and pour liquid
rinse aid into the opening. Replace the cap and turn it:
clockwise.
Anadjustablecap foundon somemodels allows you to
adjust the amount of rinse aiddispensed. Araised dot
on the cap indicates the recommendedinitial setting.
Typically, use the LESS setting for soft water and the
MORE setting for hard water. Set the cap anywhere
between these amounts as needed. To improve dwing,
turn the cap towards the MOREsetting. When adJust-
ing or replacing the cap, be sure it is securely in place
before closing the dishwasher door.
Page 6
SELECTINGCYCLES &
OPTIONS options
Your dishwasher featnres several cycles and options to (Located on buttons on the left side of the Q
provide good cleaning and dr)4ng results for a _ariety of panel)
loads. The tbllowing in_brmation _ill help you select 6-Button Models
the appropriate cycle and options for each. IPOTSflTE.PISA.,FANORY
r..l...c.es RESET PANS SENSE HEAT HEAT AIR
(Located around the knob on the right side
of the paneO
OFF
RINSE & _IBrHOLD_dW_ DELAY HOURS
prewash
RINS_ NORMAL WASH 8-Button Models
QUICK WASH /
OFF LIGHT /CHINA POTSASITE. SE SEISA,.E.TI F. OR Q
ON OFF ON OFF ON OFF HEAT AIR
_""_"turnknob to OFF
nse
POTS & PANSPreWashFAN DRY HEAT improves dr)_ng resultsby turning
2 Rinses ll the heating element on during a portion of fan dr?,.
Main Wash Gal. FANDRY AIRturns the heating element off during
on food soils. 2 Rinses the fan dry portion of the cycle. Towel dr)hug of some
items may beneeessar)_
Dry
NORMAL WASH PreWash I NOTE: with either dry option, it is normal to
I
is designed for loads Rinse 9 { notice vapor coming out of the vent area. Q
containing normally Main Wash Gal. SANI HEAT turnsthe heating element on during all ,,
wash and rinse portions of the cycle. It checks the main
soiled dishes.2Rinseswash and final rinse water telnperatnres and will extend
Dr), . ...... the heating and water circulation until proper water
LIGHT/CHINARinse temperature is reached. It also turns the heatil_g ele-
ment on fbr a longer portion of the dry cycle. This
is designed for lfghtly Main Wash 7 option doesnot sanitize the dishes. _.
soiled loads and china 2 Rinses Gal. TEMP SENSEchecks the main wash aud finalrinse
and crystal items. Dry'water temperatures and will extend the heating and
QUICK WASH/RINSE Wash water circulation m_til proper water temperatnre is
reached. See Ensuring Hot V_tter Section o11previous
washes dusty or very"lightly 2 Rinses 5 page.
soiled items you plan to OFF Gal. DELAYSTART allows you to program the dishwasher
store or reuse immediately, to operate at a more convenient time or during
Towel dry4ng is necessary, off-peak energy rate hours. Simply turn the cycle selec-
tor knob to the desired nmnber of delay hours and
RINSE& HOLD Rinse select the POTS & PANS option for a longer wash cycle
rinses dishes being held ibr with water temperature checks throughout the cvcle or
deselect POTS & PANS fur a shorter cvele.
a full load to reduce potential
food odor in the dishwasher.
Page 7
STARTING THE SPECIAL TIPS
DISHWASHER • use HOT Water
After loading tile dishwasher and adding detergenL set Hot water dissolves and activates the detergent,
the control knob to the desired cyele and press the dissolves grease from the load and improves drying
appropriate option button(s), results. Refer to page 6 for more information.
• Use Proper Detergent Amount
NOTE:Water heating and dry optionscan be used For best soil removal, good dDTingresults and pre-
separately or together. On 8 button models press vention of filming, etching and spotting, the proper
the corresponding ON/OFF button and On 6 but- amount of detergent must be used. Refer to page 5
ton models select the option by pressing the eorre- for recommended amounts.
spending button or cancel all options by pressing
the RESET button. •Use a Rinse Aid
Regular use of a rinse aid improves dD_ing results
Next, mn the water from the hot water tap to clear the and reducesspotting and fihning. See page 6 for
line of cold water befbre starting, more information.
Then, press the door until it latches. The cycle will •Load the Dishwasher Properly
begin with a drain prior to fill. To ensure soiled surfaces get adequate wash action,
carefillly tbllow the loading instructions on pages
Indicator Lights ,24.
DELAYSTART glows when this option is selected. • Select the Proper Cycle
The light stays on until the start of the cycle. The cycle selection depends on the amount of food
_ CLEAN glows at the end of the diT cycle and soil on the load. See page 7 for cycle descriptions.
remains lit until the control knob has been manually •Select Fan Dry Heat
adwmced to OFF.
IlsHEATING DELAY glows to indicate that the cycle For improved drying select FAN DRY HEAT.
is being extended to heat the water to proper tempera-
ture. The ss__symbol corresponds to the heating delay
portions of the cycle.
Adding a Forgotten Item
For best cleaning, the forgotten item should be added
early in the cycle.
1. Unlatch the door.
2. \¥ait for the water circulation to stop.
3. Open the door and add the item.
4. Close and latch the door.
5. The cycle resumes automatically.
Page8
WASHING SPECIALITEMS
Knowing what can and cannot be washed in your dish- t_aeturer, simply test wash one small item fbr several
washer is important. Most tableware, cookware and sil- washes before attempting to wash an entire set.
verware can be washed safely in your dishwasher.
ttowever, if you have any doubts about an item, check NOTE: It isthe user's responsibility to deter-
with the manufacturer. If you caunot reach the manu- mine if dishware should be washed in a dish-
w_sher.
Dishwasher_
SpeeialInformation
Material
Aluminum
Cast Iron
China/
Stoneware
Crystal
Glass
Gold-
Plated
Flatware
Safe? Special Information Safe?
Yes,except High water temperature No High water temperature
anodized alu- and detergents may affect and detergents may
minum and finish. Check cleaning discolor or pit finish.
some cook- instructions.
ware. No Cannot withstand high
water temperatures and
No Seasoning will be detergents.
removed, and iron will
rust. Yes Always check manufactur-
(If labeled er's recommendation
Yes,except Always check manufactur- "dishwasher before washing. Plastics
antique or er's recommendation safe") vary in their capacity to
hand-painted before washing. Antique withstand high water tem-
china, hand-painted or over-the- peratures and detergents.
glaze patterns may fade.
Gold leaf may discolor. If Yes Run a Rinse & Hold Cycle
in doubt, test-wash a (select models) if not wash-
small item for several ing immediately. Pro/onged
weeks before washing contact with foods contain-
entire set. ing salt, vinegar, milk prod-
ucts or fruit juice could
damage finish.
Yes, except Always cheek manufaetur-
antique or er's recommendation Yes, except Run a Rinse & Hold Cycle
lightweight before washing. Some with commer- (select models) if not wash-
delicate crys- types of leaded crystal cial "darken- ing immediately. Prolonged
tal. may etch with repeated ing'. contact with food contain-
washings. If in doubt,test ing salt, acid or sulfide
wash a small item for sev- (eggs, mayonnaise and
eral weeks before seafood) could damage fin-
an entire set. ish. Commercial "darken-
ing" may be removed by
detergent.
Yes, except
milkglass. [ishwasher No May rust.
' ' er's recommendation
before washing. Wood may
warp, crack or discolor.
Page 9