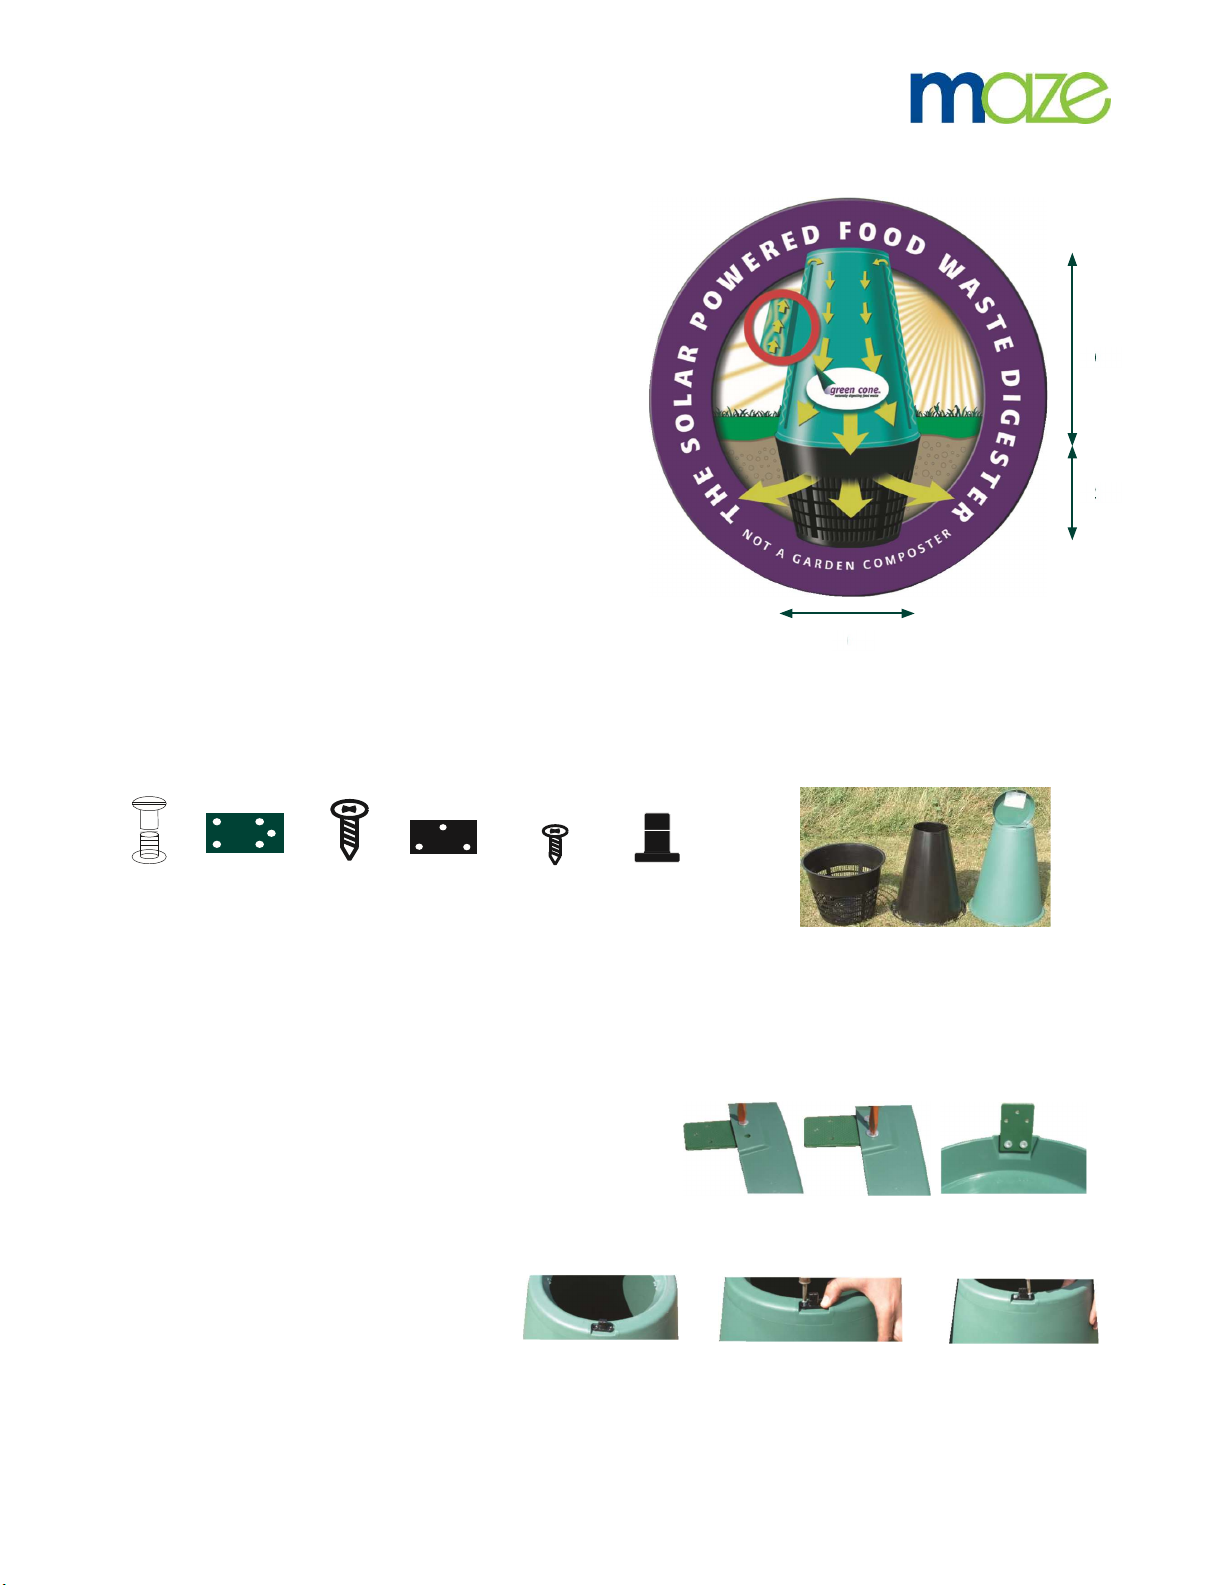
Using your Green Cone
Kitchen Caddy (sold separately)
The Green Cone is best used with a convenient caddy (sold separately) that can be kept in your
kitchen to reduce the number of trips you make to your Green Cone. Throughout the day food waste
can be put into the caddy before it is taken to your Green Cone.
Starting to use your cone.
In a Healthy working Cone the food waste will be covered in a blue/gray fur, this is the bacteria doing
it’s work. You should see this blue/grey fur start to build up over the first 10-14 days.
The Green Cone is designed to handle the following amount of waste.
1 full 4.5 litre caddy every 1-2 days during the summer months 1 full 4.5 litre caddy
every 2-3 days during the winter months
DO NOT USE ANY CHEMICAL ACTIVATER IN THE GREEN CONE AS IT COULD KILL THE
BACTERIA.
What can I empty into the Green Cone?
Fish, Meat, Poultry, Bones, Bread, Pasta, Soup, Curry, Fruit including peelings, Vegetables
including peelings, Dairy produce, Cooked food scraps, Crushed egg shells, Tea bags and coffee
grinds.
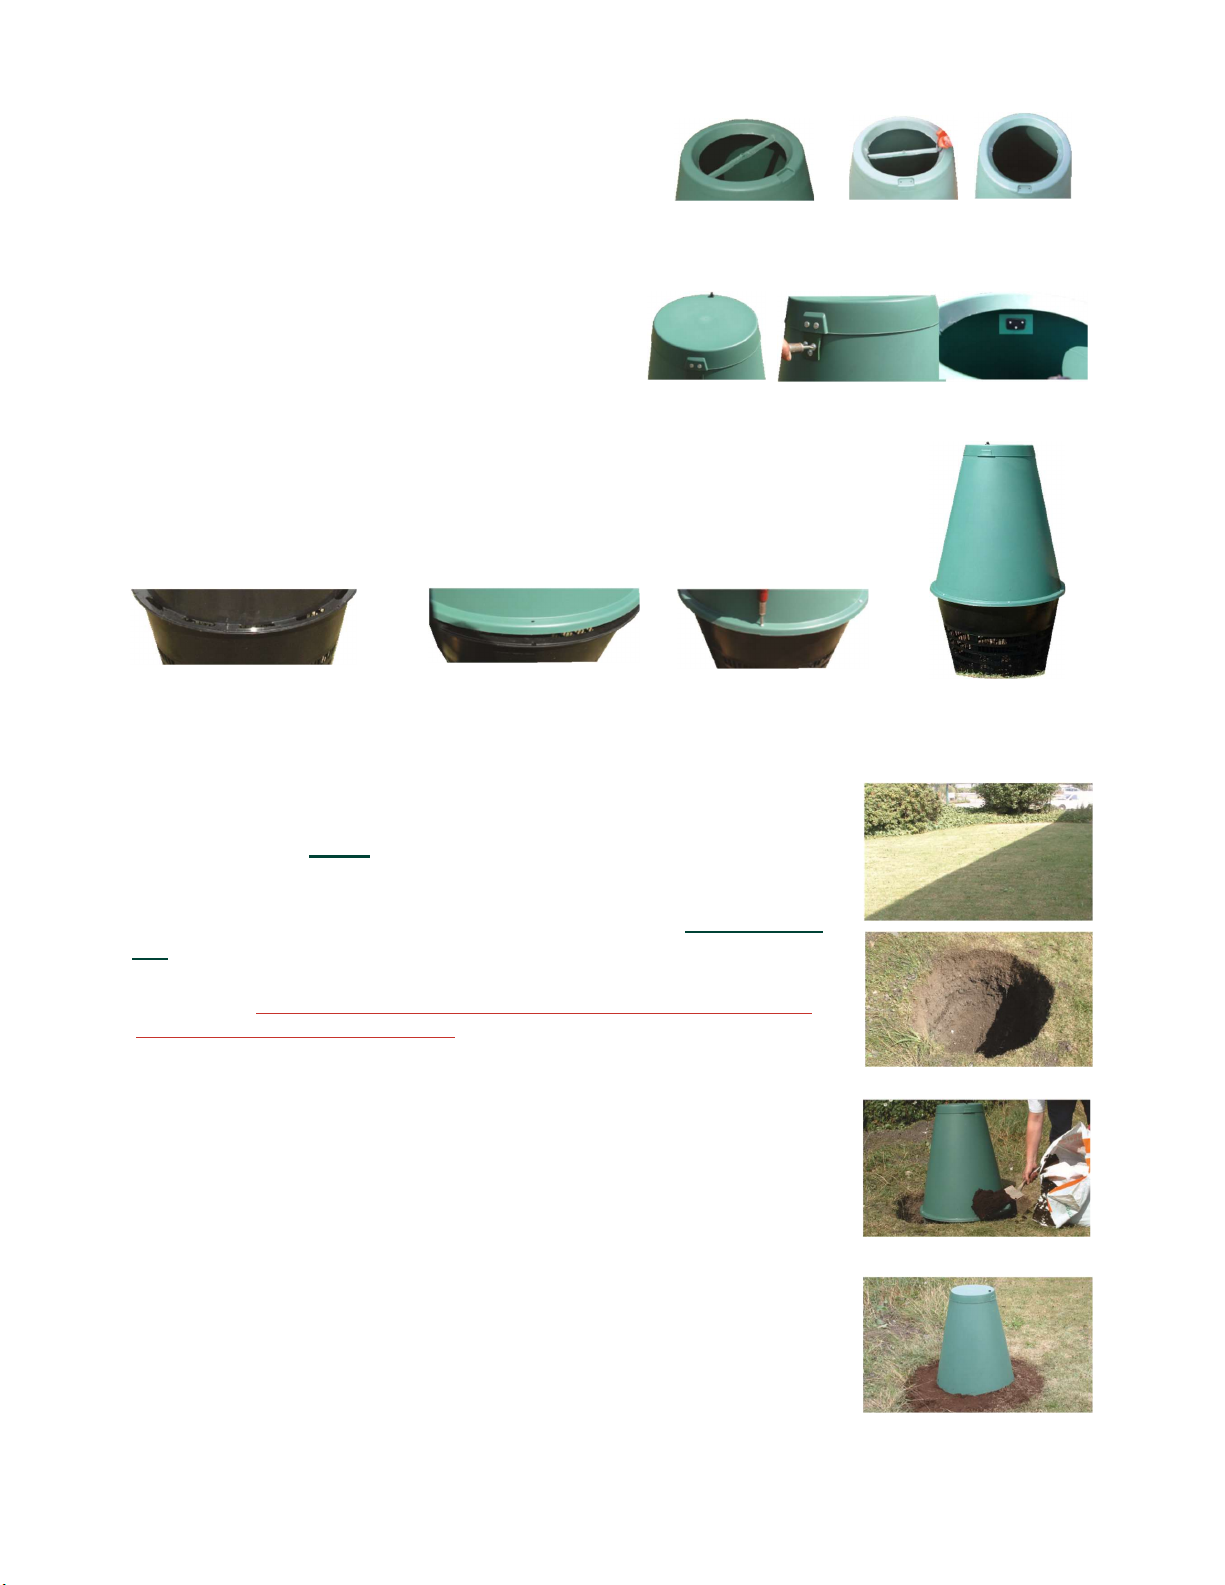
Maintenance
Your Green Cone needs very little maintenance. As noted in the section on installation, it is
important to ensure that the top of the basket and the bottom lip of the outer green cone are below
ground level and always fully covered with soil.
In a well operating Green Cone very little waste residue will be produced. Should the residue build-
up to ground level and not decrease, the upper cones can be removed to access the basket.
For an average family of 4 the basket should only need emptying every 2-3 years.
The residue (soil conditioner) can be dug into any suitable area of ground or added to a composter.
Make sure the lid and the green outer cone are kept clean and free from any food waste.
Do not spill food waste on the ground around the cone as this could attract vermin.
Remember the Green Cone is NOT a composter and will NOT deal with garden waste.