manuals.online logo
Brands
  1. Home
  2. •
  3. Brands
  4. •
  5. MCBATH
  6. •
  7. Bathroom Fixture
  8. •
  9. MCBATH Panel 06 User manual

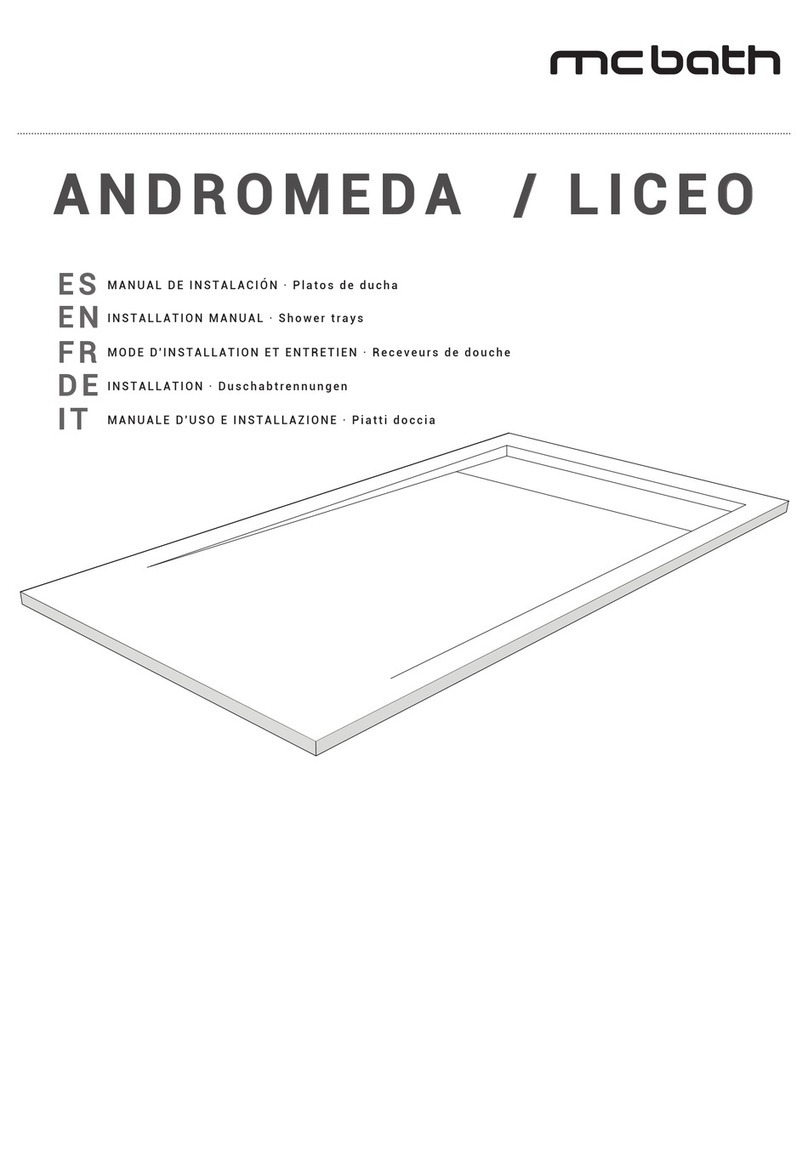
MCBATH Panel 06 User manual

MANUAL DE INSTALACIÓN · Paneles
ES
FR
EN
IT
MODE D'INSTALLATION ET ENTRETIEN · Panneaux
INSTALLATION MANUAL · Panels
MANUALE D'USO E INSTALLAZIONE · Pannello
FR
EN
ES
IT
Al recibir el producto verifique que corresponde con su pedido y que no haya sufrido ningún
tipo de desperfecto, arañazo, golpe, etc. y se encuentra en perfecto estado para su instalación.
Para la limpieza utilice jabones líquidos, agua y paños o esponjas no abrasivos.
Please check that the product is as ordered and not damaged or scratched upon receipt of
delivery, and that it is ready to be installed. For cleaning, use liquid detergents, water and
non-abrasive cloths or sponges.
Veuillez vérifier à la livraison que le receveur correspond bien à votre commande, qu’il ne
présente aucun défaut, rayure, choc, etc. et est en parfait état pour procéder à l’installation.
Pour le nettoyage utilisez des savons liquides, de l’eau et une éponge ou un chiffon non-abra-
sif.
Alla consegna, si prega di verificare che il prodotto corrisponda al suo ordine, che non abbia
nessun difetto, graffio o urto, e che sia in perfette condizioni per l'installazione. Per la pulizia,
utilizzare detersivi liquidi, acqua e panni o spugne non abrasive.
1 2
ES: Protege el plato. Las paredes deben ser de
cemento o similar.
EN: Protect the shower tray. The walls must be
concrete or similar material.
FR: Protéger votre receveur, les murs doivent être
en béton ou matériel similaire.
IT: Proteggere il piatto. Le pareti devono essere di
cemento o materiale simile.
ES: Dejar una junta de dilatación entre el plato y la
pared de un espesor mínimo de 2 mm.
EN: Leave an expansion joint of min. 2 mm
between the shower tray and the wall.
FR: Laisser un joint de dilatation entre le receveur
et le mur de minimum 2mm.
IT: Lasciare una giunta di dilatazione di almeno 2
mm tra piatto doccia e parete.
ES: Aplicar abundante Sikaflex-11FC+ en
cordones de 10 mm de espesor en la pared y en
el panel.
EN: Apply 10 mm thick beads of Sikaflex-11FC+
all over the wall and the panel.
FR: Appliquer une épaisseur de 10mm de
sikaflex-11fc sur tout le mur et le panneau.
IT: Applicare abbondante Sikaflex-11FC in forma
di cordoni di 10 mm di spessore sulla parete e il
pannello.
ES: La pared y el panel deben estar bien secos y
libres de polvo antes de pegar.
EN: The wall and the panel must be dry and free of
dust before glueing them together.
FR: Le mur et le panneau doivent être sec et
propre avant l'encollage.
IT: La parete e il pannello devono essere ben
asciutti e senza polvere prima di essere incollati.
3 4
≥ 2 mm
A
PANEL 09
PANEL 06
9 mm
A
6 mm
5-7 cm
Sikaflex -11FC+
Silicone
7 8
ES: Sellar la junta con silicona y dejar secar 24
horas.
EN: Seal the joint with silicone and leave to dry 24
hours.
FR: Appliquer les finitions au joint de silicone et
laisser sécher 24h.
IT: Sigillare la giunta con silicone e lasciar
asciugare 24 ore.
ES: Perfil
EN: Profile
FR: Profil
IT: Profilo
ES: Repetir los pasos de pegado.
EN: Repeat the glueing process.
FR: Répétez les opérations d'encollage.
IT: Ripetere le fasi di incollaggio.
ES: Fijar y nivelar los paneles dejando una junta
de dilatación de 2 mm.
EN: Secure and check the panels are level leaving
an expansion joint of 2 mm.
FR: Vérifier et contrôler les niveaux et le joint de
dilatation de 2 mm.
IT: Fissare e livellare i pannelli lasciando una
giunta di dilatazione di 2 mm.
Sikaflex -11FC+
5 6
5-7 cm
2 mm
51DOCU028-Ed1.200707
LIMPIEZA GELCOAT / CLEANING GELCOAT / GELCOAT NETTOYAGE / PULIZIA GELCOAT
Una vez instalado el producto, para eliminar posibles restos de cemento cola y mortero que hayan podido quedar en el
mismo utilizar desincrustante para juntas o quitacementos. Evitar frotar directamente sobre la superficie para no
rayarla.
Para la limpieza rutinaria utilizar, agua, limpiadores líquidos y paños suaves o esponjas no abrasivas, nunca estropajos
ya que pueden estropear la superficie. No mezclar diferentes productos.
Periódicamente para eliminar los restos de cal que puedan quedar, utilizar un antical doméstico del siguiente modo:
1.- Aplicar el antical con un paño húmedo en toda la superficie.
2.- Dejar actuar el producto durante 15 minutos, transcurrido este tiempo enjuagar con agua.
Evitar el contacto con lacas de uñas, quitaesmalte de uñas, disolventes, etc.
Once the product is installed, apply a descaler for expansion joints or a cement remover, in order to eliminate any glue
or concrete residue. To prevent scratches on the surface, avoid rubbing directly on it.
For daily cleaning, use water, liquid detergents and soft cloths or non-abrasive sponges, do not use scourers as they
can damage the surface. Do not mix different cleaning products.
Periodically, in order to eliminate any residue of limescale, use a limescale remover following these steps:
1. Apply the limescale remover on all the surface using a damp cloth.
2. Leave the product for at least 15 minutes, then rinse with water.
Avoid contact with nail polish, nail polish remover, solvents, etc.
Une fois le produit installé, pour éliminer les éventuels restes de ciment ou mortier qui peuvent demeurer en surface il
faudra utiliser un nettoyant laitances ou un nettoyant ciment. Évitez de frotter directement le surface pour ne pas la
rayer.
Pour le nettoyage régulier du receveur utiliser de l’eau, des nettoyant ménagers liquides et un chiffon non abrasif ou
éponge, ne jamais utiliser d’éponge abrasive ou grattoir sous peine d’endommager la superficie. Ne pas mélanger
différents produits à la fois pour le nettoyage.
Régulièrement pour éliminer les restes de calcaire et dépôts qui peuvent s’incruster sur la superficie utilisez un produit
anticalcaire en suivant ce procédé:
1.- Appliquez le produit anticalcaire à l’aide d’un chiffon humide sur tout la surface.
2.- Laissez agir le produit pendant 15 minutes, passé ce délai rincez abondamment.
Évitez le contact avec du vernis à ongle et avec tout dissolvant, etc.
Una volta installato il prodotto, per eliminare possibili residui di cemento o colla dalla superficie, utilizzare un disincros-
tante per giunti o un solvente per residui di cemento. Evitare di sfregare direttamente sul superficie per non rigarlo.
Per la pulizia quotidiana della superficie, utilizzare acqua, detersivi liquidi e panni soffici o spugne non abrasive, mai
spugne abrasive che possono rovinare la superficie. Non mescolare diversi prodotti per la pulizia.
Periodicamente, per eliminare i residui di calcare sulla superficie, utilizzare un anticalcare domestico in questo modo:
1.- Applicare l'anticalcare con un panno su tutta la superficie.
2.- Lasciare agire il prodotto per 15 minuti, trascorso questo tempo sciacquare con abbondante acqua.
Evitare il contatto con smalti per unghie, solvente per unghie, solventi, ecc.

This manual suits for next models

1

Other MCBATH Bathroom Fixture manuals

MCBATH ANGROMEDA User manual

MCBATH

MCBATH ANGROMEDA User manual

MCBATH SCALA User manual

MCBATH

MCBATH SCALA User manual

Popular Bathroom Fixture manuals by other brands

Kohler K-960 installation guide

Kohler

Kohler K-960 installation guide

BERNSTEIN BS371 Assembly instructions

BERNSTEIN

BERNSTEIN BS371 Assembly instructions

American Standard Comrade INSTALLATION INSTRUCTIONS CARE AND MAINTENANCE

American Standard

American Standard Comrade INSTALLATION INSTRUCTIONS CARE AND MAINTENANCE

Galvin Engineering CliniLever TCWTC150CC Product installation guideline

Galvin Engineering

Galvin Engineering CliniLever TCWTC150CC Product installation guideline

Signature Hardware Hibiscus 948805 manual

Signature Hardware

Signature Hardware Hibiscus 948805 manual

Signature Hardware 948058 manual

Signature Hardware

Signature Hardware 948058 manual

Grohe Rainshower 27 460 manual

Grohe

Grohe Rainshower 27 460 manual

HERMITAGE BATH 7151 Series installation manual

HERMITAGE BATH

HERMITAGE BATH 7151 Series installation manual

ZAZZERI NOOX 3703 K100 A00 Installation and Maintenance

ZAZZERI

ZAZZERI NOOX 3703 K100 A00 Installation and Maintenance

Olympia FANTOM 69201 Installation and Maintenance

Olympia

Olympia FANTOM 69201 Installation and Maintenance

FHC VEN06 quick start guide

FHC

FHC VEN06 quick start guide

Omnires QP93B-L LUX Installation and Maintenance

Omnires

Omnires QP93B-L LUX Installation and Maintenance

Fontaine Chatelet Installation

Fontaine

Fontaine Chatelet Installation

Glass Design METROPOLE ROUND 34 Technical Data Sheet & Installation Instructions

Glass Design

Glass Design METROPOLE ROUND 34 Technical Data Sheet & Installation Instructions

Hans Grohe Axor Starck 10410 1 Series installation instructions

Hans Grohe

Hans Grohe Axor Starck 10410 1 Series installation instructions

Artecristal KROSS instruction manual

Artecristal

Artecristal KROSS instruction manual

Thomasville Bradford THMSVL36FVJ Use and care guide

Thomasville

Thomasville Bradford THMSVL36FVJ Use and care guide

Wellis Mamba ACS0304 Instruction guide

Wellis

Wellis Mamba ACS0304 Instruction guide

manuals.online logo
manuals.online logoBrands
  • About & Mission
  • Contact us
  • Privacy Policy
  • Terms and Conditions

Copyright 2025 Manuals.Online. All Rights Reserved.