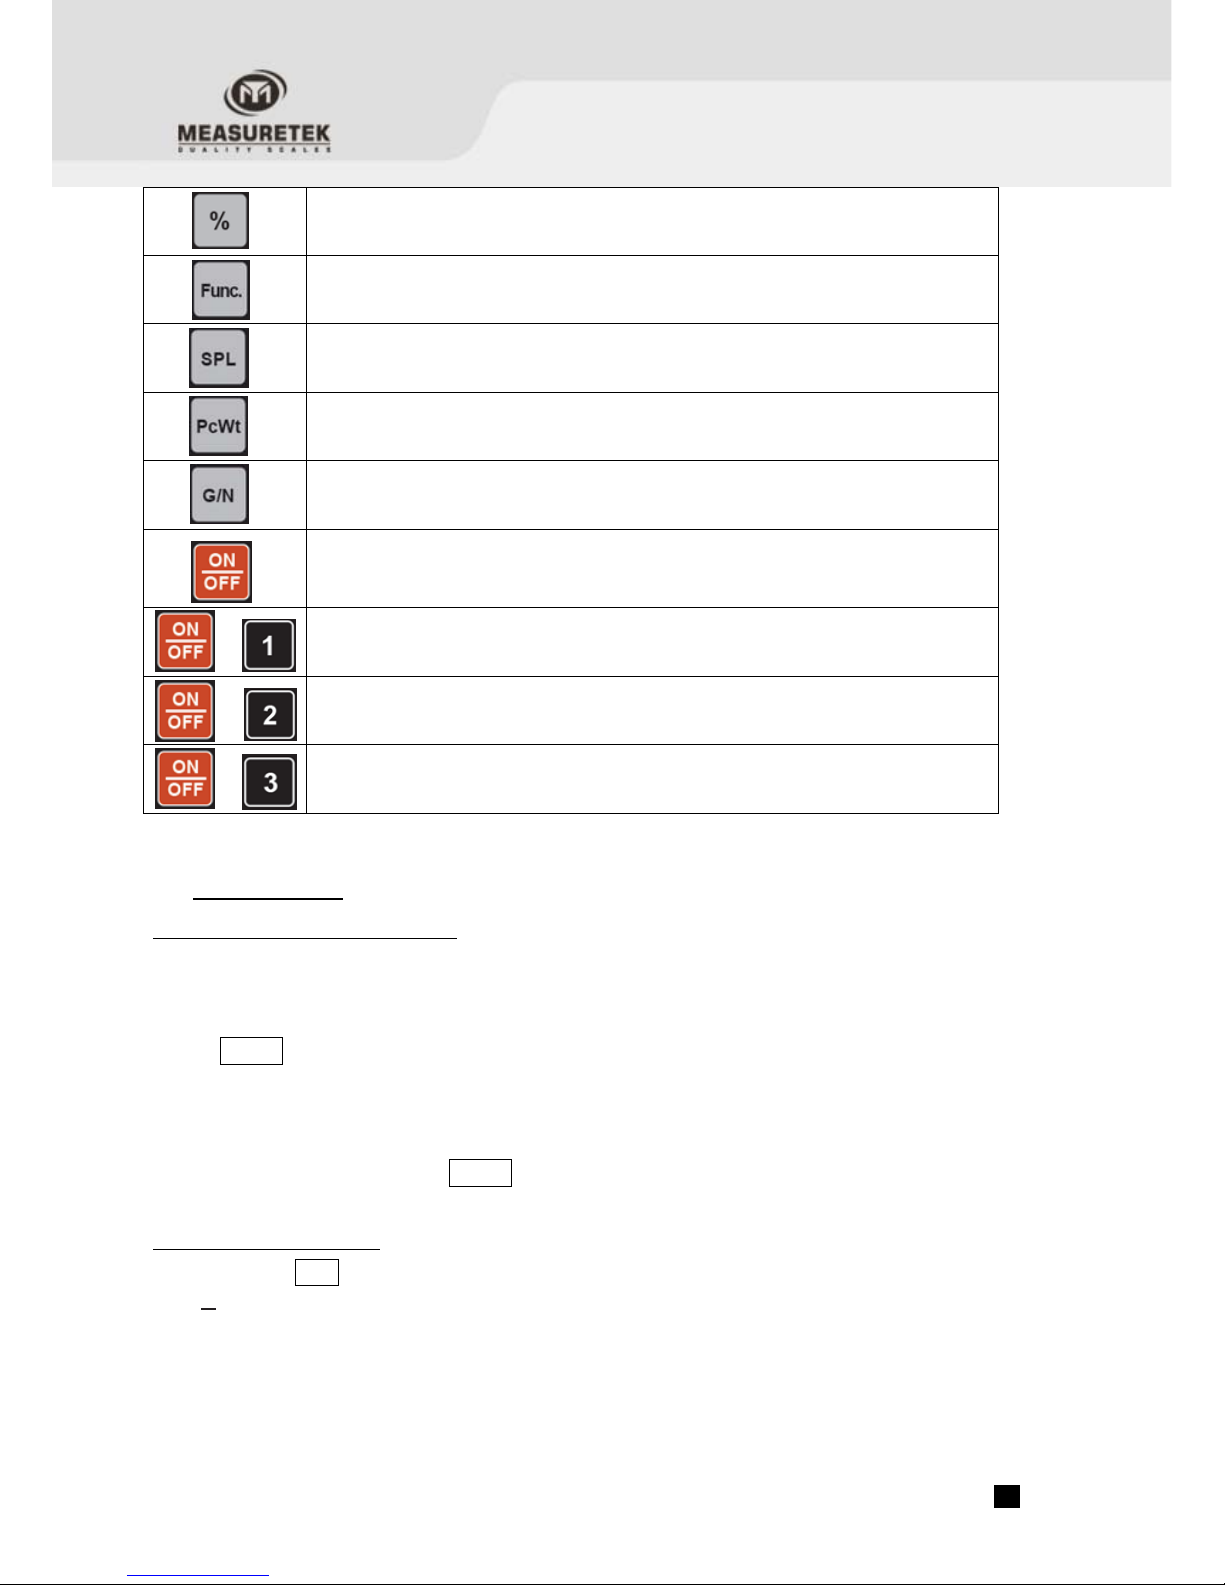
Measuretek EHC-WF-0612 User manual

EHC-WF
User/Technical Manual
Contents subject to change without notice
Version 1.0
7/2017

TABLE OF CONTENTS
1.INTRODUCTION....................................................................................................................1
General and Safety Information .................................................................................................................................. 1
Specifications .......................................................................................................................................................... 1
2.Unpacking and Setup ............................................................................................................2
Contents ................................................................................................................................................................. 2
3.OVERVIEW OF CONTROLS AND FUNCTIONS ..................................................................................2
3.1 Front Display...................................................................................................................................................... 2
3.2 Indicator Display Character Definitions ................................................................................................................... 3
3.3 Key Functions .................................................................................................................................................... 4
4.OPERATIONS ......................................................................................................................5
4.1 Power on / Power off scale .................................................................................................................................. 5
4.2 Zeroing the display ............................................................................................................................................. 5
4.3 Taring ............................................................................................................................................................... 6
4.4 Switching measuring unit ..................................................................................................................................... 6
4.5 Normal Weighing Mode ........................................................................................................................................ 6
4.6 Gross and Net weight .......................................................................................................................................... 6
4.7 Checking Weighing Mode...................................................................................................................................... 6
4.8 Counting Mode ................................................................................................................................................... 7
4.9 Percent Weighing Mode ....................................................................................................................................... 7
5.10 Mannual Accumulation ....................................................................................................................................... 8
5.11 Automatic Accumulation..................................................................................................................................... 8
4.12 Print (output) data via RS232 interface................................................................................................................ 9
5.Calibration .........................................................................................................................9
6.Parameter Setup Mode........................................................................................................10
7.Display and Key test ...........................................................................................................11
8.Display A/D code and working voltage .....................................................................................11
9.Display symbol meaning.......................................................................................................12
10.Troubleshooting ................................................................................................................13
10.1 Troubleshooting ............................................................................................................................................. 13
10.2 Battery and Charging ...................................................................................................................................... 13

EHC‐WF.1 .
1. INTRODUCTION
General and Safety Information
For use in dry environments only.
This product uses a Lead-acid rechargeable battery. Dispose of according to local laws and regulations.
Read and understand all operating instructions before using this product. Keep this manual for future
reference.
Allow sufficient warm up time. Turn the scale on and allow up to 10 minutes for internal components to stabilize
before weighing.
Record the weight shortly after placing a load on the platter. Leaving loads in place for extended periods may vary the
load cell’s output signature and may result in a less accurate reading.
Avoid extended exposure to extreme heat or cold. Optimum operation is at normal room temperature. See operating
temperature range in the specifications table. Allow the scale to acclimate to room temperature before using.
When storing the scale for extended periods, the battery must be charged every 90 days to avoid premature
performance degradation. Over time, the operating time per charge will degrade. If the operating time is no longer
acceptable even after recharging, the battery must be replaced.
Electronic scales are precision instruments. Do not operate near cell phones, radios, computers or other electronic
devices that emit radio frequencies that may cause unstable readings.
Specifications
Model EHC-
W
F-0612 EHC-
W
F-1530 EHC-
W
F-3060 EHC-
W
F-60120
Max. Capacity 6 kg (12 lb) 15 kg (30 lb) 30 kg (60 lb) 60 kg (120 lb)
Readability 0.2 g (0.0005 lb) 0.5 g (0.001 lb) 1 g (0.002 lb) 2 g (0.005 lb)
Display Resolution 1:30000
Min. Recommended Weight 4 g (0.01 lb) 10 g (0.02 lb) 20 g (0.04lb) 40 g (0.1 lb)
Min. Recommended Sample
W
eight (1%FS) 60 g 150 g 300 g 600 g
Construction Stainless steel pan, plastic housing
W
eighing Units kg/g/lb/oz
Calibration unit kg / lb
Modes
W
eighing, Counting, Check Weighing, % weighing, Accumulation, G/N weight
W
eight Display 1-
W
indow backlit LCD display, 50mm (2”) high, 6 1/2 digits, 7-segment
Zero Range Power-on zero range: calibration zero point±10%FS;
ZERO key range: powe
r
-on zero±5%FS
Tare Range Full capacity
Stabilization Time <5 seconds
Operating Temperature 14° to 105°F (-10° to 40°C)
Humidity Range <90% relative humidity, non-condensing
Power Supply 6V 4Ah lead-acid battery or AC power adapter (12Vdc/500mA with central positive)
Battery Performance 80 hours continuous use with 12 hour recharge time (with backlit OFF)
External Interface RS232 and USB
Safe Overload Capacity 150% of capacity
Platter Dimensions (L x W) 335 x 225 mm; 13.2" x 8.9"
Scale Dimensions(L x W x H) 355 x 370 x 133 mm; 14" x 14.6" x 5.24"

EHC‐WF.2 .
2. Unpacking and Setup
Remove the scale from the box and place it on a firm, level surface. Avoid locations with rapid temperature changes,
excessive dust, moisture, air currents, vibrations, electromagnetic fields, heat or direct sunlight.
Adjust the leveling feet until the bubble is centered in the circle of the level indicator
(located on the front panel).
NOTE: Ensure that the scale is level each time its location is changed.
The internal rechargeable battery should be fully charged for up to 12 hours before using the scale for the first time.
Connect the supplied AC adapter to the power input receptacle underneath the scale. Plug the AC adapter into a
properly grounded power outlet. The battery will begin charging.
If the scale will be stored or transported in the future, save the packaging material to ensure the best possible
protection for the scale.
Contents
Scale
12Vdc/500mA adapter
Manual
3. OVERVIEW OF CONTROLS AND FUNCTIONS
3.1 Front Display
- Scale is zeroed, gross weight is 0, tare is 0.
- Scale is stable.
NET - Display reading is net weight; tare is not 0.
GROSS - Display reading is gross weight;
- Display data is accumulated total times, weight, pieces.
TARE - Display reading is net weight; tare is not 0.
lb - Measure unit is lb.
oz - Measure unit is oz.
kg - Measure unit is kg or g.
%- Measure unit is % (in percentage weighing mode).
Pcs - Measure unit is pieces (in counting mode).
HI - Check-weighing is enabled. Current data is above the specified upper limit.
OK - Check-weighing is enabled. Current data is between the specified upper and lower limits.
LO - Check-weighing is enabled. Current data is below the specified lower limits.
- Battery level.

EHC‐WF.3 .
3.2 Indicator Display Character Definitions

EHC‐WF.4 .
3.3 Key Functions
~ Press to enter number in counting and checking weighing modes and calibration
Press to clear the input number or accumulated value
Press to tare the weight when reading is stable, tare range: 100%FS
Press to confirm the operation or entered data
Press to set the zero point after the scale is stable, zero range:power-on zero
point±5%FS
Press to add the value to the accumulation memory
Press and hold to display the accumulated total value
Press to switch the measuring unit between kg, g, lb and oz
Press to confirms the operation or saves the data
Press to output data via RS232 port
Press to enter checking weighing mode, set Hi and Lo value

EHC‐WF.5 .
Press to enter % weighing mode
In counting mode, press to display unit weight(g/pcs), total weight(kg) or count(pcs)
Press to enter into counting mode
Press to exit the current working mode and return to normal weighing mode
In weighing mode, obtain piece weight and enter into counting mode; In counting mode,
obtain piece weight by weighing a known quantity
In weighing mode, input piece weight and enter into counting mode; In counting mode,
input piece weight
In weighing mode, switch between gross weight and net weight
Press to power on the scale when the scale is off
Press and hold to power off the scale when the scale is on
Press to return normal weighing mode when scale is in parameter setting mode
+ Press to enter calibration mode
+ Press to enter parameter setting mode
+ Press to check inner code and voltage
4. OPERATIONS
4.1 Power on / Power off scale
Place the scale on a flat, stable surface. Level the scale using the leveling bubble at the lower left side of the display.
With the weighing platter empty, turn on power switch (located underneath on the left-hand side of the scale). Press and
hold the ON/OFF key to power on the scale. The self-check will run and the scale will display a zero reading.
When the scale is beyond the power-on zero point range (calibration zero point +/- 10%FS), after powering on, the
scale displays “Err04”or“Err05”.
To power off the scale, press and hold ON/OFF key again.
4.2 Zeroing the display
You can press the ZERO key at any time to set the zero point from which all other weighing and counting is measured,
within + 5% of power up zero. This will usually only be necessary when the platform is empty. When the zero point is
obtained the display will show the indicator for zero.
When the scale is beyond the zero key range (Power-on zero point +/- 5%FS), after powering on, the scale displays
“Err04”or“Err05”.

EHC‐WF.6 .
4.3 Taring
Zero the scale by pressing the ZERO key if necessary when reading is stable. The zero indicator will be on.
Place a container on the platform, a value for its weight will be displayed.
Press the TARE key to tare the scale. The weight that was displayed is stored as the tare value and that value is
subtracted from the display, leaving zero on the display. The "NET" and "Tare" indicator will be on. As product is added,
only the weight of the product will be shown. The scale could be tared a second time if another type of product was to be
added to the first one. Again only the weight that is added after taring will be displayed.
When the container is removed a negative value will be shown. If the scale was tared just before removing the container
this value is the gross weight of the container plus all product that was removed. The zero indicator will also be on
because the platform is back to the same condition it was when the ZERO key was last pressed.
4.4 Switching measuring unit
In normal weighing mode, press Unit key to switching the measuring units between kg, g, lb and oz.
4.5 Normal Weighing Mode
When scale is powered on and back to 0, first tare the empty container then place the sample in the container. The
display will show the weight and the units of weight currently in use.
4.6 Gross and Net weight
In tare mode, press G/N key to switch between gross weight and net weight. When gross weight is displayed, GROSS light
will be lit; when net weight is displayed, NET light will be lit.
4.7 Checking Weighing Mode
Check-weighing is a procedure to cause an alarm to sound when the weight, quantity or % weight on the scale meets or
exceeds values stored in memory. The memory holds values for a high limit and a low limit. Either limit can be used or
both can be used.
Press the Hi/Lo key. The display will show “COMP”, then show “HIGH”, then display 0, user 0-9 keys to input the
value, press the Enter key to confirm. If you want to reset the value to zero press the Clear key to clear the value.
After pressing the Enter key the display will then show “Low”. Enter the low limit in the same way the high limit was
entered.
After pressing the Enter key the scale will return to weighing with the Check weighing function enabled.
When a weight is placed on the scale the HI/OK/LO symbol will be shown if the weight is above or below the limits and the
beeper will sound as described below.
BOTH LIMITS SET
The display will show OK and the beeper will sound when the weight is between the limits.
LOW LIMIT SET, HIGH LIMIT is set to zero
The display will show “OK” and the beeper will sound when the weight is less than the Low Limit. Above the Low Limit the
display will show “HI” and the beeper will be off.
HIGH LIMIT SET, LOW LIMIT is set to zero
The display will show “LO” and the beeper will be off when the weight is less than the High Limit. Above the High Limit the

EHC‐WF.7 .
display will show “OK” and the beeper will be on.
BOTH LIMITS SET. LOW is set greater than HIGH
The beeper will never sound and the display will show “LO” if the weight is less that the LOW limit, and “HI” if the weight
is greater than the Low Limit.
NOTE: The weight must be greater than 20 scale divisions for the check weighing to operate.
To disable the Check-Weighing function enter zero into both limits by pressing the Clear key when the current
limits are shown then pressing the Enter key to store the zero values
Note: you can set high/low limit in all normal weighing, percentage weighing and counting mode.
4.8 Counting Mode
Before beginning, tare the weight of any container that will be used, leaving the empty container on the scale.
1. To enter a piece weight by weighing a known quantity (calculate the piece weight):
Place the samples on the scale, press the SPL key to begin. The scale will show "SPL. ---", use 0-9 keys to input the
samples quantity (001-999), press the ENTER key to confirm. If you want to reset the value, press the Clear key to clear
the value.
Now put more weight on the scale, the display will show the number of parts (pcs).
2. To manually enter a known piece weight:
Press PcWt key to enter piece weight entry mode. Use the number keys to input the known piece weight. Press the Enter
key to confirm or press the ON/OFF key to exit this mode without storing the piece quantity. If you want to reset the value,
press the Clear key to clear the value.
Now put more weight on the scale, the display will show the number of parts (pcs).
Press the % key to display unit weight (g/pcs), Total weight (kg) or the count (pcs).
Press the FUNC key to return to normal weighing.
NOTE: Sample piece weight should not be less than 0.5d, otherwise, scale will display “LO.PC.WT”, then back to
normal weighing mode in 2s.
4.9 Percent Weighing Mode
The scale will allow a sample weight to be shown as 1% - 100%. Then any other weight placed on the scale will be
displayed as a percentage of the original sample.
Press %key to enter percentage weighing mode, the display will show “SPL.100%”.
Press 0key to set to 1%, display shows “ SPL.001”
Press 1key to set to 2%, display shows “ SPL.002”
Press 2key to set to 5%, display shows “ SPL.005”

EHC‐WF.8 .
Press 3key to set to 10%, display shows “ SPL.010”
Press 4key to set to 20%, display shows “ SPL.020”
Press 5key to set to 50%, display shows “ SPL.050”
Press 6key to set to 100%, display shows “ SPL.100”
Put weighing objects on the platter, then press Enter key to confirm. Remove the sample, and put another weight on the
scale, it will display the percentage of the original sample.
For example, if 6kg is placed on the scale and the % key is pressed the display will show 100.00%. Press Enter key.
Removing the 6kg weight and putting a 3kg weight on the scale the display will show 50% as 3kg is 50% of 6kg.
Press the FUNC key will return the scale to normal weighing mode.
Note: if sampling weight is set to 1%, the weight must be more than 50d, if set to 2%, the weight must be more than
100d. The rest % need to be set in the same manner.
5.10 Mannual Accumulation
Accumulation can be used in both weighing and counting modes.
When the scale is set to manual accumulation the weight displayed will be stored in memory when the ACC key is pressed
and the weight is stable.
The display will show "ACC.01" and then the total in memory for 2 seconds before returning to normal.
Remove the weight, allowing the scale to return to zero and put a second weight on. Press ACC, the display will show
"ACC 002" and then show the new total, then show the total of the second weight
Continue until all weights have been added.
To view the totals in memory, press and hold the ACC key when the scale is at zero. The display will show the total
number of items "ACC xxx" then the total weight before returning to zero.
Note: In all cases the scale must return to zero or a negative number before another sample can be added to the
memory. More product can then be added and ACC pressed again. This can continue for up to 99 entries, or until the
capacity weight display is exceeded.
5.11 Automatic Accumulation
When the scale has been set to Automatic Accumulation the value is stored in memory automatically (refer to setting in
section 6).
Put a weight to the scale, the beeper will sound when the scale is stable to signify the value is accepted, remove the
weight, 2 seconds later the “total” symbol will be on, scale will show "ACC.01", then display the total value. Then
“total” symbol will be off after 2s and back to weighing mode.
Remove the weight, and add a second weight on the scale, repeat the process.
To view the totals in memory, press and hold the ACC key when the scale is at zero. The display will show the total
number of items "ACC xxx" then the total weight before returning to zero.

EHC‐WF.9 .
4.12 Print (output) data via RS232 interface
In normal weighing mode, when reading is stable, press Print key to output data via RS232 interface or USB interface:
Gross: xxx.xxxkg/g/lb/oz
Tare: xxx.xxxkg/g/lb/oz
Net: xxx.xxxkg/g/lb/oz
ACC.N: xxxxxxxxx
Total: xxxxxxxxxkg/lb/oz
In counting mode, when reading is stable, press Print key to output data via RS232 interface or USB interface:
Gross: xxx.xxxkg
Tare: xxx.xxxkg
Net: xxx.xxxkg
Pc.wt.: xxxx.xxg
Count: xxxxxxxxxpcs
ACC.N: xxxxxxxxx
Total: xxxxxxxxxpcs
In % weighing mode, when reading is stable, press Print key to output data via RS232 interface or USB interface:
Gross: xxx.xxxkg
Tare: xxx.xxxkg
Net: xxx.xxxkg
100%.WT:xxx.xxxkg
Precent: xxxxx.xx%
5. Calibration
5.1 Under the normal weighing mode,press and hold 1and ON/OFF key until scale displays “CAL”.
5.2 Then scale displays “Unit.KG” or “Unit.LB” for the calibration unit choosing.
5.3 Use UNIT key to choose the calibration unit kg or lb (the corresponding unit indicator will be lighted on), use
ON/OFF key to exit the mode, or ENTER key to confirm the unit and go to the next step.
5.4 The scale displays “unload” (this means that the scale is ready to calibrate the zero point, please move away
any weight on the scale). When scale is stable, press ENTER key to confirm the zero point calibration and go to the
next step automatically., or use ON/OFF key to exit the mode.
5.5 The scale displays “Load 1”,(this means the scale is ready to calibrate the first calibration point). Place a
standard weight (>10% FS) on the center of the scale platter, press ENTER to confirm the standard weight
calibration after the scale is stable and go to the next step automatically. Or use ON/OFF key to exit the calibration
mode.
5.6 The scale displays “InP.Ld” (Input Load Weight), then displays 0, use 0 - 9 key and Clear key to input
loaded standard weight, then press ENTER key for confirmation. Or use ON/OFF key to exit the calibration mode.
5.7 The scale displays “Load 2”,(this means the scale is ready to calibrate the second calibration point). Place a
standard weight (> first calibration point weight + 10d) on the center of the scale platter, press ENTER to confirm
the standard weight calibration after the scale is stable and go to the next step automatically. Or use ON/OFF key to
exit the calibration mode.
5.8 The scale displays “InP.Ld” (Input Load Weight), then displays 0, use 0 - 9 key and Clear key to input
loaded standard weight, then press ENTER key for confirmation. Or use ON/OFF key to exit the calibration mode.
5.9 The scale displays “Load 3”,(this means the scale is ready to calibrate the third calibration point). Place a

EHC‐WF.10 .
standard weight (> second calibration point weight + 10d) on the center of the scale platter, press ENTER to
confirm the standard weight calibration after the scale is stable and go to the next step automatically. Or use
ON/OFF key to exit the calibration mode.
5.10 The scale displays “InP.Ld” (Input Load Weight), then displays 0, use 0 - 9 key and Clear key to input
loaded standard weight, then press ENTER key for confirmation. Or use ON/OFF key to exit the CAL mode.
5.11 When the scale displays “unLoAd” again, the scale is ready to re-confirm the zero point, move away any weight
on the scale, press ENTER key to confirm.
5.12 After the calibration completes, the scale will re-initialize to be ready for normal weighing.
Note: If there is an error occurred in calibration, the scale will display “CAL.Er” (this normally means incorrect data
input or loading weight), please return back to the last step or use ON/OFF to exit the calibration mode.
6. Parameter Setup Mode
6.1 In normal weighing mode, press ON/OFF and 2 key until scale displays “SETUP”.
6.2 Then scale displays “A.O.T xx”, it means entering parameter setup mode.
6.3 In setup mode, use 0 - 9 key to input numbers, use Clear key to clear the input value, use ENTER key to
confirm and go to the next parameter, use ON/OFF key to exit the mode.
Parameter menu:
Parameter meaning option Default setting
A.O.T xx Auto off time
setting
00~30 minutes 5
BLT. x blacklight 0 - Backlight always off
1 - backlight always on
2 - Auto auto on when key operation or weight changing; auto off if no
operation in 15s
2
CST. x LCD contraction
level selection
0~7 4
ACC.xxx Accumulation
mode
0 - MAN, manual accumulation
1 - AUT, auto accumulation
MAN
BEEP.xx Beeper mode in
check weighing
mode
0-beeper always off 2
1-compare result is LO, beeper on
2- compare result is OK, beeper on
3- compare result is HI, beeper on
BPS.xxx Baud rate 1200bps, displays as “12”
2400bps, displays “24”
4800bps, displays “48”
9600bps, displays as “96”
19200bps, displays as “192”
96
DFT.xxx Byte format 1 - 8N1=8 data bits, No parity check bit, 1 stop bit;
2 - 7O1=7 data bits, 1 parity check bit, 1 stop bit;
3 - 7E1=7 data bits, 1 parity check bit, 1 stop bit;
1
CFT. x Output mode 0-no communication
1-output after reading is stable
2-output after PRINT key is pressed
3-output after reading is stable or after PRINT key is pressed
2

EHC‐WF.11 .
7. Display and Key test
7.1 When power off, press ON/OFF key to power the scale on. When full capacity is displayed,
press and hold CLEAR key until TEST is displayed, then release.
7.2 Use any key to test all segments of LCD
7.3 Display test: The LCD will be displayed as per the order F-G-E-D-A-B-C-P, pls watch and observe if
any unusual.
7.4 Keypad test: It will automatically enter into keypad testing after the display test. Display KEY.---, press each
key to display key value. Press ENTER key to enter into AD testing status.
7.5 AD test: Display inner code and observe if any unusual. For operation, please refer to 8.
7.6 Press ON/OFF key to exit the mode.
8. Display A/D code and working voltage
8.1 In normal working mode, press and hold ON/OFF and 3 key until scale displays “CODE”, then displays inner
code (if inner code is bigger than 999999, it will display on two pages H xxxx and L xxxx). Press Unit key to display
H xxxx, L xxxx or display both automatically.
8.2 Press TARE key to tare the inner code and display net inner code, “NET” symbol will be on. Press TARE key again to
display the inner code and “NET” symbol will be off.
8.3 Press FUNC. key to check the working voltage, shows “U.x.x” (Voltage x.x V), this means the inner working voltage
is x.x V. If the scale uses AC power adaptor, the voltage is the power adaptor voltage after regulating. If AC adaptor
is not used, this around voltage is battery’s voltage.

EHC‐WF.12 .
9. Display symbol meaning
Err01:weight is too big
Err04:exceed zero range
Err05:less than zero range
Err12:parameter is not correctly set
Err20:calibration error
Err30:inner code is too big
CAP.:capacity
UOL.: voltage
UNIT: measuring units
UnLoAd:no loading
LoAd:load weight
INP.Ld:input loaded weight value

EHC‐WF.13 .
10. Troubleshooting
10.1 Troubleshooting
SYMPTOM PROBABLE CAUSE REMEDY
Err01
Weight reading exceeds the overload limit or the
weight value cannot be displayed in the current
unit of measure.
Reduce load on scale until weight value can
be displayed, or use an alternate unit of
measure.
Err04 Weight exceeds Power On Zero limit (+10%), or
over ZERO key range (+10%).
Make sure scale platform is empty.
Power off scale and power on again.
Perform zero calibration.
Err05 Weight is below Power On Zero limit (-5%) or
below ZERO key range (-5%).
Install platform on scale.
Perform zero calibration.
Err30
Load cell wires to indicator are incorrectly
connected, shorted, or open; or ADC, load cell
are damaged.
Make sure wires are correctly connected.
Service required to replace load cell or ADC
chip.
Err10 EEPROM is damaged. Service required to replace main EEPROM IC
chip.
Err12 Setup parameters are not set, not correctly set,
or settings have been lost.
Re-set parameters.
Perform calibration.
Err20 Calibration error. Input data or loaded weight is
too small, too large, unstable, or not linear.
Input correct data, load correct weight onto
platform, or service is required.
Will not power on
Power cord not plugged in or properly
connected. Power outlet not supplying electricity.
Battery discharged. Other failure.
Check power cord connections. Make sure
power cord is plugged into the power outlet.
Check power source. Replace batteries. Or
service required.
Unable to zero the
display or will not
zero when turned on
Load on scale exceeds allowable limits.
Load on scale is not stable.
Load cell damage.
Remove load on scale.
Wait for load to become stable.
Service required.
Lo.bAt is shown Battery is discharged Charge battery
10.2 Battery and Charging
Power is supplied by an internal rechargeable 6V lead-acid battery (4Ah). When “Lo.bAt” is displayed, the battery must
be recharged. Plug in the AC power adapter to recharge the battery. The scale may continue to be used on AC power
during charging. Full charging time is approximately 10-12 hours.
Battery life and recharge time will vary with use. Over time, the operating time per each full charge will degrade. If the
operating time is no longer acceptable, the battery must be replaced. When storing the scale for extended periods, the
battery must be charged every 90 days to avoid premature performance degradation.
This manual suits for next models
3
Table of contents
Popular Accessories manuals by other brands

Level Sense
Level Sense Freezer Sentry user manual

Learning Resources
Learning Resources Eclipse RGB user manual

Yaohua Weighing System
Yaohua Weighing System XK3190-A23p user manual

ALLDOCK
ALLDOCK WIRELESS POWERBANK Assembly instruction

GRAUPNER
GRAUPNER Fatshark Attitude V2 manual

Hobo
Hobo S-LIA-M003 manual

WÄRTSILÄ
WÄRTSILÄ RS24 user guide

Aeotec
Aeotec Door / Window Sensor 7 user guide

TEC
TEC E Series operating manual

Simplex
Simplex 4098-9685 installation instructions

Heatcraft Refrigeration Products
Heatcraft Refrigeration Products Unit Coolers H-IM-UC Installating and operation manual

Di-soric
Di-soric OGL 051 P3K-TSSL Connection diagram