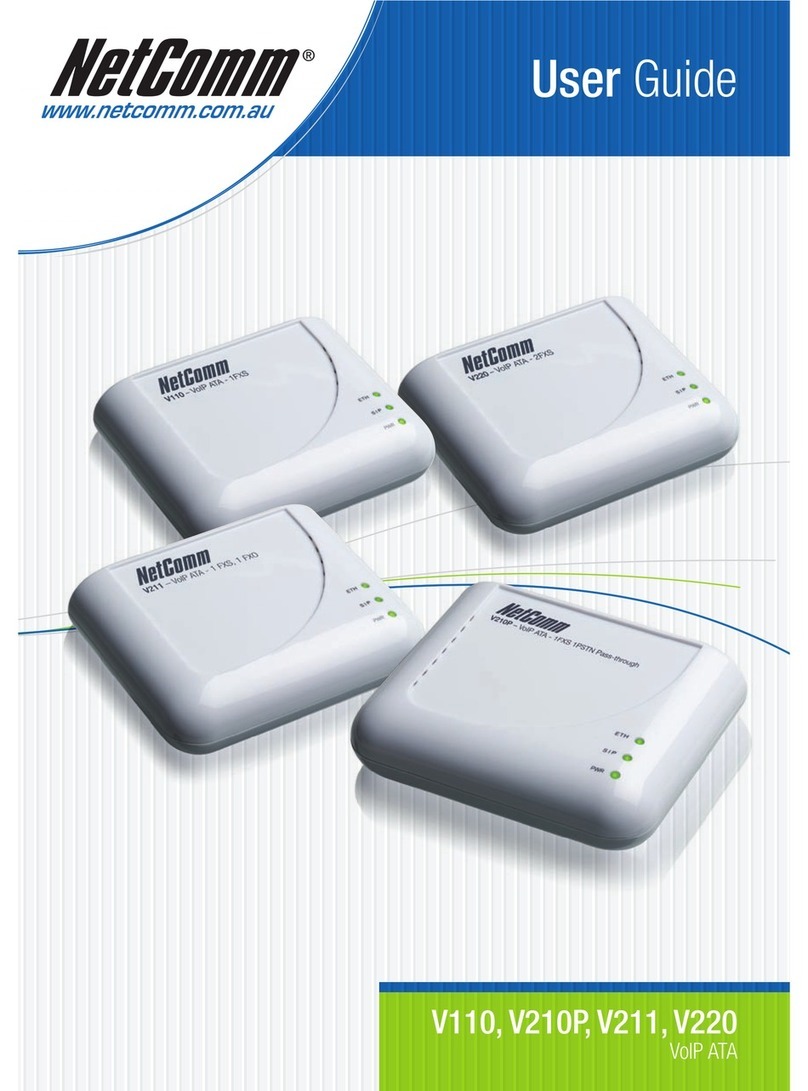
Media5 Mediatrix 4108iPBX User manual

Discover the Power of 5
© 2011, Media5 Corporation Document Revision 05
Mediatrix 4108iPBX
Installation – SIP
Warning: In the following installation procedures, do not disconnect the
Mediatrix 4108iPBX while the LEDs are flashing. Note that the
Mediatrix 4108iPBX may take a few minutes to boot the first time and
after a factory reset.
Thank you for choosing the Mediatrix 4108iPBX. This Quick Start will help you to properly connect all of the cables to the Mediatrix 4108iPBX and access
its web interface.
Please read the Mediatrix 4108iPBX Hardware Installation Guide for detailed installation information and the Mediatrix 4108iPBX
Software Configuration Guide for in-depth configuration information.
Step 1 Connecting Cables
The following describes how to connect the various cables to the Mediatrix 4108iPBX.
Before you begin, make sure that you have a working network connection. Then follow these steps to install the Mediatrix
4108iPBX.
1. Before you begin, be sure that the
Mediatrix 4108iPBX is powered off.
2. Connect the power cord to its
connector on the rear of the unit. Do
not connect the other end of the
power cord to an electrical outlet
3. Connect up to 8 analog telephones
or fax machines into the phone/fax
connectors.
Use a standard telecommunication cord with a minimum of 26 AWG wire size.
4. Connect a 10/100 BaseT Ethernet RJ-45 cable into the Ethernet connector of the Mediatrix 4108iPBX; connect the other end to a compatible
Ethernet interface that supplies TCP/IP network access (e.g., router, switch, hub or computer).
Use a standard telecommunication cord with a minimum of 26 AWG wire size.
5. Connect a SCN line into the Bypass connector of the Mediatrix 4108iPBX (optional).
Use a standard telecommunication cord with a minimum of 26 AWG wire size.
Step 2 IP Address Configuration
The purpose of this section is to be able to contact the Mediatrix 4108iPBX's web interface to start with unit configuration.
taking one of the telephones connected to the Mediatrix 4108iPBX and dialing *#*0 on the keypad. The current IP address of the
Mediatrix 4108iPBX (static or DHCP) will be stated.
By default, the Mediatrix 4108iPBX has the static address of 192.168.10.1. You must perform the following steps in order to contact it.
1. With a 10/100 Hub and two 10/100 BaseT Ethernet RJ-45 straight cables, connect both cables to the Hub; one of them is connected into the
Ethernet connector. The other cable links the computer to the Hub.
2. Reconfigure the IP address of your computer to 192.168.10.10 and the Subnet Mask to 255.255.255.0. Restart the computer.
3. Power on the Mediatrix 4108iPBX by connecting the other end of the power cord to an electrical outlet. The electrical outlet must be installed
near the Mediatrix 4108iPBX so that it is easily accessible.
4. Proceed with accessing the Mediatrix 4108iPBX web interface.
35
4

Page 2 Installation Quick Start
Access the Mediatrix 4108iPBX Web Interface SIP Version
Step 3 Access the Mediatrix 4108iPBX Web Interface
1. In your web browser's address field, type 192.168.10.1, which is the static IP address of the Mediatrix 4108iPBX.
The iPBX page opens.
2. Click the PBX Administration link.
3. The Login page opens.
4. Enter the following information:
User Name: admin
Password: admin
5. Click OK.
The iPBX Status Page web page displays.
Step 4 End User Technical Support
Media5 works through its partners to resolve technical support issues. All end users requiring technical support are encouraged to contact their vendor
directly.
2
4
5
Table of contents
Other Media5 VoIP manuals

