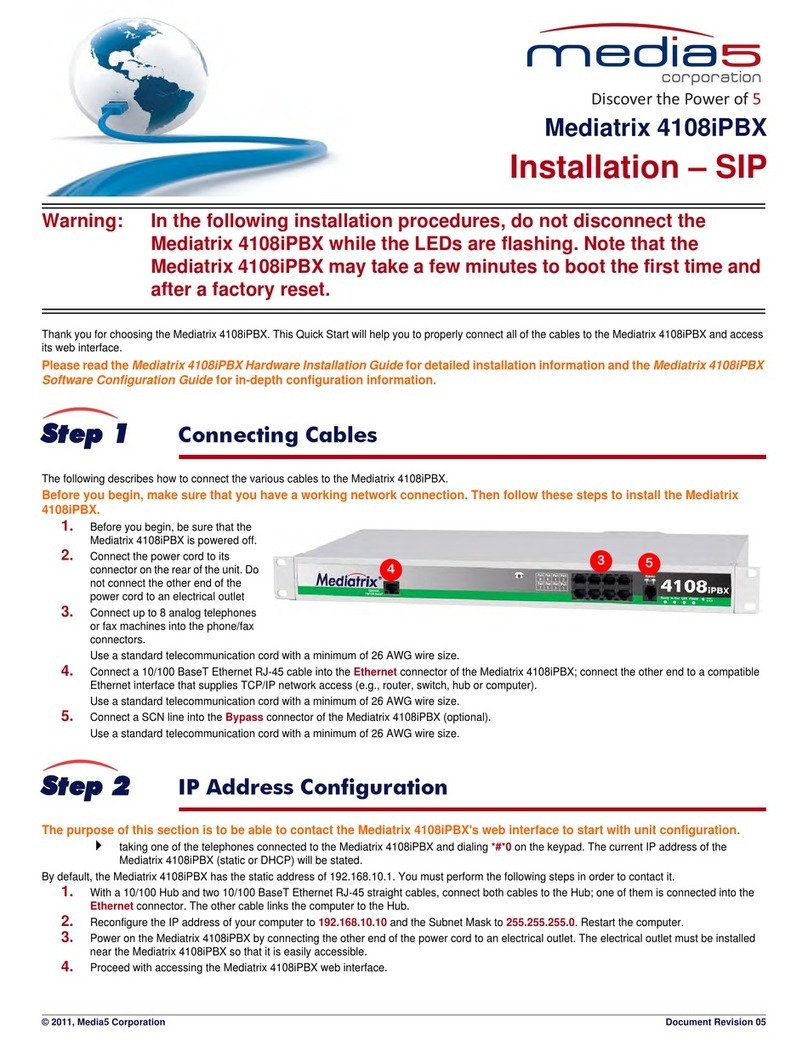
Media5 Mediatrix 4100 Quick start guide

C
Co
on
nf
fi
ig
gu
ur
ra
at
ti
io
on
n
N
No
ot
te
es
s
2
28
89
9
Mediatrix 4100 Series Units in a Nortel MCS SIP
Environment
June 22, 2011
Proprietary
2011 Media5 Corporation

Configuration Notes 289
Page 2 of 9
Table of Contents
Introduction........................................................................................................................................................................... 3
Application Scenario............................................................................................................................................................. 3
Running the Unit Manager Network Software....................................................................................................................... 4
Configuring the Mediatrix FXS Unit....................................................................................................................................... 7

Configuration Notes 289
Page 3 of 9
Introduction
This document outlines the configuration steps for deploying Mediatrix 4100 series FXS units, i.e., 4124 (24-ports), 4116 (16-
ports), 4108 (8-ports), and 4104 (4-ports) in an SIP environment with the Nortel MCS.
Application Scenario
The following configuration notes are not a substitute for the Mediatrix Administration Documentation for Mediatrix analog
products. Please have the following manuals available for reference:
Mediatrix 4104, 4108, 4116 and 4124 SIP Reference Manual
Mediatrix 4104, 4108, 4116 and 4124 SIP Quick Start
Mediatrix Unit Manager Network Administration Manual
All relevant Nortel MCS Manuals

Configuration Notes 289
Page 4 of 9
Running the Unit Manager Network Software
The Unit Manager Network (UMN) software is a configuration and management tool for Mediatrix devices. The UMN can be
downloaded from the Mediatrix Support Portal: https://support.mediatrix.com/DownloadPlus/Download.asp. It has a
default 3-units limit upon installation. This will suffice for most configurations.
It is recommended that the administrator uses the UMN to configure the Mediatrix devices. Please refer to the UMN Quick
Start guide for the installation of the software. Once the UMN software has been installed on your PC1, proceed with the
following steps.
Step 1: Start the UMN
Select from the Start Menu > Programs > Unit Manager Network 3.2 > Unit Manager Network.
Step 2: Login to the UMN
In the Administrator login window (Connect to Unit Manager), a User Name and Password are not required.
Click OK to proceed.
Step 3: Perform an Autodetect
On the left pane, right-click the Unit Manager level, then select Autodetect.
Set the IP Address Range to minimize the time it takes to auto-detect the unit. Click Start to begin Mediatrix
unit detection. When the unit is detected, the Result section lists the unit.
Select the unit and click OK. If no DHCP server is used in your subnet, you must connect one unit at a time
since they will start by using the default IP address 192.168.0.1 after a recovery reset. You will have to set a
different static IP address for every unit. Please see the Mediatrix 4104, 4108, 4116, and 4124 SIP Quick
Start Guide for more details on initial setup.
1If you are having trouble opening the UMN application, verify that the status of the “Unit Manager Network 3.2” service is started. See Page
5 to access Windows Services.

Configuration Notes 289
Page 5 of 9
Note: The UMN runs in the Windows background. Mediatrix highly recommends that the administrator stops and restarts the
UMN service whenever the IP address of the PC is changed. A restart may be needed depending on your Windows O/S.
Go to Start Menu > Settings > Control Panel > Administrative Tools > Services.
Stop and restart the Unit Manager Network 3.2 service.
Alternatively, you can configure multiple IP addresses on the same PC network interface card (only in static IP
mode –not DHCP) to avoid restarting the computer or stopping and restarting the UMN service whenever you
change the IP address and subnet of the Mediatrix unit. This is recommended for advanced IP network users,
the current configuration notes do not cover the step by step setting for this alternative.

Configuration Notes 289
Page 6 of 9

Configuration Notes 289
Page 7 of 9
Configuring the Mediatrix FXS Unit
Step 1: Setting Basic Network Parameters
Once the Mediatrix unit has been auto-detected, it should appear under the Unit Manager level. Right-click the
Administration level of the Mediatrix unit and select the Edit menu.
Configure the IP addresses to reflect your network. Uncheck Use DHCP if you are using static IP addresses.
Restart the unit after the configuration of IP addresses for the unit to accept the new addresses.
When using DHCP: you can also reserve the IP address for the Mediatrix unit by assigning the MAC address of
the unit to a specific IP address in your DHCP server –it will be easier to auto-detect the unit for provisioning.
An example of a unit IP address fetched by DHCP is shown in the figure below.
Another alternative to determine the IP address of the unit fetched by DHCP is to connect a telephone into port
#2 of the Mediatrix unit and dial *#*0. An internal IVR will provide the IP address of the unit.

Configuration Notes 289
Page 8 of 9
Step 2: Setting up SIP configuration
Select the Sip page and set the following:
oUncheck Use DHCP.
oSet the SIP Registrar field and the SIP Proxy field to the domain name of the MCS server.
oClick in the User Name field next to the port number and type the telephone, fax, or extension
number of the Mediatrix 41xx port. Each port on the 41xx requires a User Name. The User
Name value must match the value given in the Nortel MCS Server.
Step 3: Access the Edit SNMP Window
Right-click the unit and select Edit SNMP.

Configuration Notes 289
Page 9 of 9
Step 4: Set the Outbound Proxy
On the top menu bar, check the Automatic GET option.
Go to iso>org>dod>internet>private>enterprises> mediatrix>mediatrixConfig > ipAddressConfig>
ipAddressConfigSipServer > ipAddressConfigSipServerStatic> sipOutboundProxyStaticHost and set this
parameter to the PROXY address of the MCS Server.
Step 5: Restart the unit
Once the unit is in service, you are ready to make voice and fax calls across the VoIP network.
Table of contents
Other Media5 VoIP manuals
Popular VoIP manuals by other brands
Vivanco
Vivanco 22863 user manual
WELLTECH
WELLTECH ATA-171 - V2.0 user guide
Cisco
Cisco SPA921 - Cisco - IP Phone Provisioning guide

ADTRAN
ADTRAN TOTAL ACCESS 600R Specifications
XAVI Technologies Corp.
XAVI Technologies Corp. X5368r-P3 user manual
Allied Telesis
Allied Telesis MIB Structure (SIP/MGCP/NCS) Reference manual

