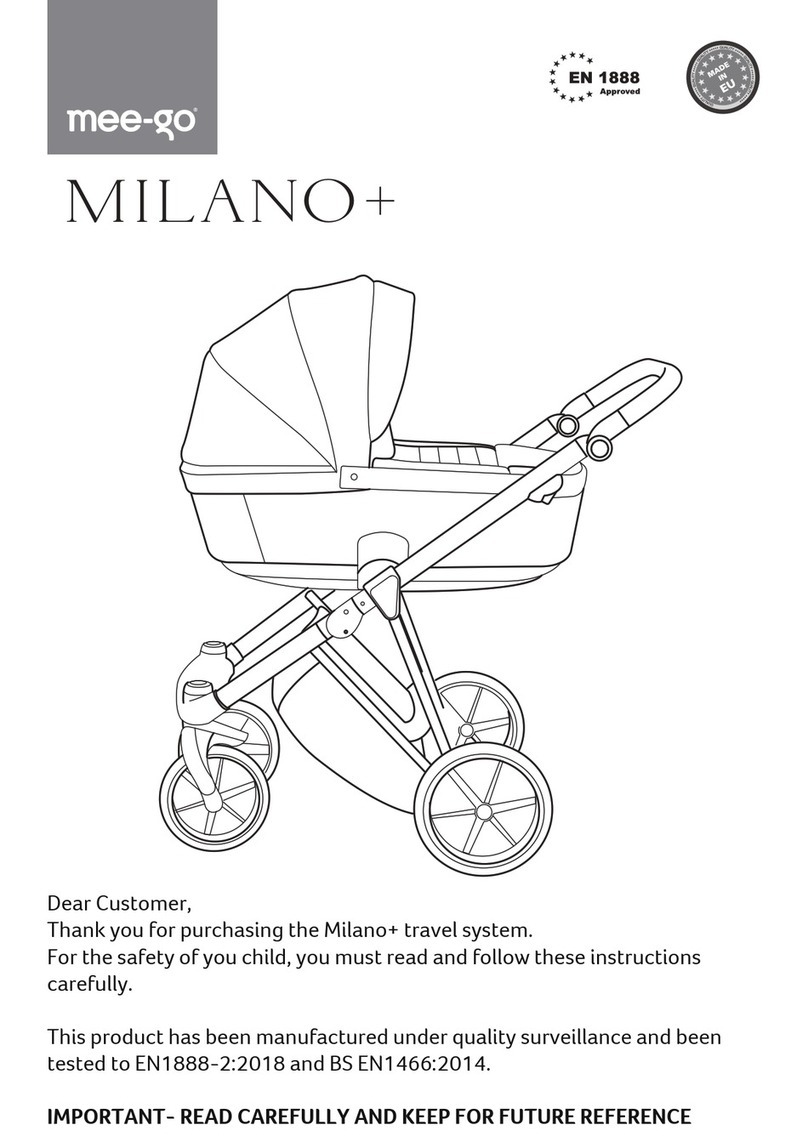
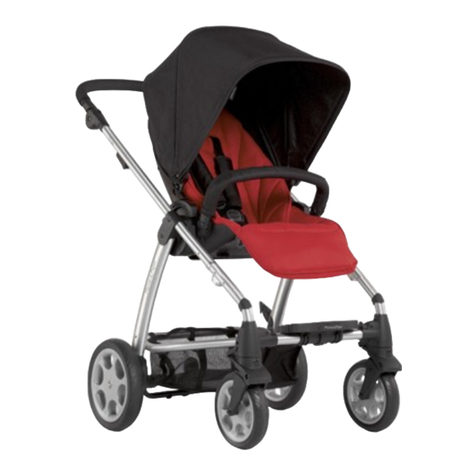
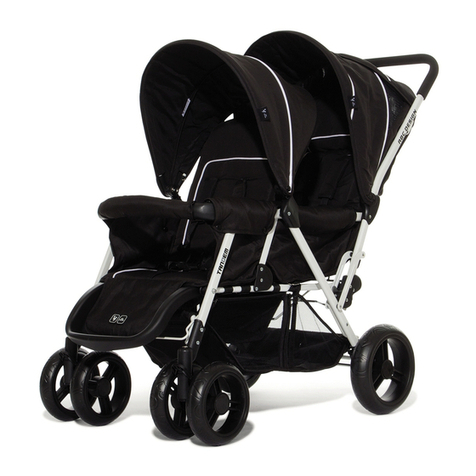
Mee-go Milano User manual

Instruction Manual

Important Safety Information
IMPORTANT - KEEP THESE INSTRUCTIONS FOR FUTURE USE.
This pushchair is intended for children from birth to a maximum of 15kg.
Carrycot 0 to 9kg, Car seat 0 to 10kg, Seat unit 6 months to 15kg.
WARNING: NEVER LEAVE YOUR CHILD UNATTENDED.
WARNING: BEFORE USING THE PRODUCT, MAKE SURE THAT ALL THE LOCKING
DEVICES ARE ENGAGED.
WARNING: IN ORDER TO AVOID ANY INJURIES, MAKE SURE THAT YOUR CHILD IS
REMOVED AND AWAY FROM THE PUSHCHAIR WHEN UNFOLDING OR FOLDING.
WARNING: DO NOT ALLOW THE CHILD TO PLAY WITH THE PRODUCT.
WARNING: THIS SEAT UNIT IS NOT SUITABLE FOR CHILDREN UNDER 6 MONTHS
OF AGE.
WARNING: ALWAYS USE THE 5 POINT SAFETY HARNESS.
WARNING: ALWAYS CHECK CARRYCOT, SEAT UNIT AND CAR SEAT ARE
CORRECTLY FITTED AND ENGAGED BEFORE USE.
WARNING: THIS PRODUCT IS NOT SUITABLE FOR RUNNING OR ROLLER SKATING.
WARNING: CHASSIS MAY BE USED ONLY WITH THE SEAT UNIT, CARRYCOT AND
CAR SEAT PROVIDED BY THE MANUFACTURER IN THE COMPLETE SET.
WARNING: THE CARRYCOT IS SUITABLE FOR A CHILD WHO CANNOT SIT UP
UNAIDED, ROLL OVER AND CANNOT PUSH ITSELF UP ON ITS HANDS AND
KNEES. MAXIMUM WEIGHT OF THE CHILD 9KG.
WARNING: ANY LOAD ATTACHED TO THE BACK OR SIDES OF THE PUSHCHAIR
WILL AFFECT THE STABILITY.
WARNING: NEVER LIFT/CARRY THE CHASSIS WHILE OCCUPIED.
WARNING: DO NOT ADD ANY ADDITIONAL MATTRESSES TO THE CARRYCOT.
WARNING: DO NOT USE THE PUSHCHAIR ON STEPS, STAIRS OR ESCALATORS.
WARNING: ALWAYS USE THE PARKING BRAKE WHEN THEPUSHCHAIR IS
NOT IN USE.
CAUTION:
• Contact your local Mee-go stockist immediately should any components
become damaged.
• Before proceeding with the mounting operations, make sure that the product
and all its components are in working order; if they are damaged, the product
should not be used.
• While folding and unfolding of the pushchair make sure that your child stays at
a safe distance.
• Ensureyourchild’sngersandotherbodypartsareclearwhenmakingany
adjustments to pushchair such as reclining the seat.
• Always apply the brake when stationary/leaving the pushchair and when
inserting or removing your child from the carrycot/seat unit.
• Always mount or descend curbs on the rear wheels.
• Check regularly that all the components of the pushchair are in good working
order and safe.
• Never use force to adjust the movable elements of the pushchair in the required
position. First, make sure that nothing is blocking the movement.
• Only attach the Milano changing bag to the handle. Its maximum weight is 2kg.
Anyotherloadhungonthepramhandleaectsitsstability.
• Never leave the pushchair with the child on a inclined surface even if the
parking device is engaged.
• Neverleavethepushchairwiththechildnearswimmingpools,stairsandre.
• Keep the plastic parts of the packaging away from the child to prevent the child
from choking.
• The maximum load of the basket under the pram is 2 kg.
• Always use the raincover in wet weather.
• Never leave the raincover over the pushchair with your child in the carrycot/seat
unit when indoors.
• Alwaysusethecarrycotonaat,rmsurface.
• The carrycot should NOT be used as a means of transport when travelling by car.
!
!
!
!
!
!
!
!
!
!
!
!
!
!
!

CLEANING AND MAINTENANCE.
• The fabrics can be cleaned with a wet sponge or cloth, using a mild detergent
and warm water.
• Do not remove the fabrics from the pushchair.
• Regularly check bolts and fastenings etc. to ensure they are secure. Replace any
parts which look damaged or in an inferior condition.
• Whenusingthispushchairduringthewinter,bytheseaoro-roaditis
important to clean using clean fresh water and always dry thoroughly. Salt water
and salt and grit from the roads will corrode metal parts unless removed.
• A silicone spray can be used to lubricate moving parts. Use petroleum jelly to
lubricate the front axle stubs. Periodically remove the front swivel wheel units to
clean and lubricate.
• Do not expose the product to excessive sunlight for extended periods of time.
Should you nd a defect with this product:
Please keep your original receipt of purchase safe as it will be required should you
unfortunatelyndadefect.Thereceiptmustshowthedateofpurchaseclearly.
Shouldyoundadefectwiththisproductyoumustrstcontacttheoriginalplace
of purchase. Repairs to any part of this product do not extend the warranty period.
Do not return your product direct to the manufacturer.
Warranty information:
For full warranty details please visit http://www.mee-go.co.uk/warranty/
To register your warranty:
Please visit http://www.mee-go.co.uk/register/
1. UNFOLDING AND FOLDING THE SPORT CHASSIS.
Tounfoldthesportchassis,layitat(g.1),unclipthetravellocklocatedonthe
sideofthechassis(g.2).Holdingthehandle,pullitupwards(g.3)untilthe
lockingmechanismclicksinplace(g.4).
WARNING! Ensure the locking mechanism is engaged before use.
Fig. 1. Fig. 2.
Fig.3. Fig.4.
Click

To fold the sport chassis, press the red push button safety lock located on the side
ofthehandle(g.5).Liftthetwoleversuponeithersideofthehandlebar(g.6)
andwhilestillholding,dropthehandlebartowardstheoor(g.7).Forasmaller
fold,adjustthehandlebardowntotuckinbetweenthewheels(g.8).
CAUTION! Remove the carrycot/seat unit/car seat and adaptors before folding
the chassis.
2. UNFOLDING AND FOLDING THE CLASSIC CHASSIS.
Tounfoldtheclassicchassis,layitat(g.9).Holdingthehandle,pullitupwards
(g.10)untilthelockingmechanismclicksinplace(g.11).
WARNING! Ensure the locking mechanism is engaged before use.
Fig. 5. Fig. 6.
Fig.7. Fig.8.
Fig. 9. Fig. 10.
Fig. 11.
Click

To fold the classic chassis, press the red push button safety lock located on the side
ofthehandle(g.12).Liftthetwoleversuponeithersideofthehandlebar(g.13)
andwhilestillholding,foldthehandlebaroverthetopofthechassis(g.14).
CAUTION! Remove the carrycot/seat unit/car seat and adaptors before folding
the chassis.
2. HANDLE HEIGHT ADJUSTMENT.
To adjust the handle height, press the buttons on both sides of the handle at the
sametimeandadjusttorequiredheight(g.15and16).
3. ATTACHING/REMOVING THE SPORTS CHASSIS REAR WHEELS
Slide the rearwheel onto the rear axle and push onto the wheel housing. Press the
redbuttonlocatedontherearaxletolockintoplace(g.17).
To remove; press the red button on the rear axle and slide the wheel from the wheel
housing(g18).
CAUTION! Check the wheels are secure by pulling outwards before use.
Fig. 12. Fig.13.
Fig. 15.
Fig.17. Fig.18.
Fig. 16.
Fig.14.

4. ATTACHING/REMOVING THE SPORTS CHASSIS FRONT WHEELS
To attach the front wheels, insert the wheel pin into the slot on the front wheel
housing.(g.19).
CAUTION! Check the wheels are secure by pulling downwards before use.
Toremovethefrontwheel,pressthebuttononthetopofthewheelhousing(1)and
pulldownwardstoremovethewheelfromtheaxle(2)(g.20).
5. ATTACHING/REMOVING THE CLASSIC CHASSIS WHEELS
Slide the wheel onto the axle, press the button in the centre of the wheel to click
intoplace(g.21).
CAUTION! Check the wheels are secure by pulling outwards before use.
To remove; press the button in the centre of the wheel and slide away from the axle
(g.22).
Fig. 19.
Fig. 20.
1
2
Click
Fig. 21.
Fig. 22.
Click

6. FRONT SWIVEL WHEELS (SPORTS CHASSIS ONLY).
Thesportschassisfeaturesxorswivelfrontwheels.Tolockthewheelspressthe
redbuttonlocatedonthefrontwheelhousingdownwards(1).Toputthewheels
backintoswivelmodepushtheredbuttonbackupwards(2)(g.23).
7. OPERATING THE BRAKE.
Pressdownonthebrakepedaltoengagethebrake.(g.24).
Todisengagethebrakeliftthebrakepedalup(g25).
CAUTION! Never leave the pushchair without rst applying the brake.
Fig.23.
1
2
Fig.24. Fig. 25.
8. ADJUSTING THE SUSPENSION.
To adjust the suspension toggle the switch which is located under the rearwheel
(g.26).
9. ATTACHING/REMOVING THE CARRYCOT
Linethecarrycotupoverthexingsateithersideofthechassis.Lowerthecarrycot
ontothechassisfacingparentuntilitclicksintoplace(g.27).
CAUTION! Ensure the carrycot is fully engaged on the chassis before use.
To remove the carrycot press the buttons on the side of the carrycot and lift
upwards(g.28).
Fig.27. Fig.28.
Fig. 26.
Click

9. ADJUSTING THE CARRYCOT BACKREST.
Locatethewheelunderneaththecarrycotbase,press(1)andtwist(2)toraiseand
lowerthecarrycotbackrest(g.29).
10. ADJUSTING THE CARRYCOT HOOD.
Press the buttons on either side of the hood to adjust the hood up and
down(g.30).
11. SUMMER VENTILATION CARRYCOT HOOD.
The carrycot features a secondary mesh hood for warmerweather to allow air to
circulate and keep baby cool.
Unzipthemainfabrichoodandremove(g.31).
12. CARRYCOT INSET NET.
Ziptheinsectnetintothefrontofthemaincarrycothood(g.32).
Fig. 29.
Fig.31.
Fig.32.
Fig.30.
1
2

13. CARRYCOT RAINCOVER.
Fullyextendthecarrycothood,placetheraincoverovertheentirecarrycot(g.33).
CAUTION! NEVER LEAVE THE RAINCOVER ON THE CARRYCOT WHILE INDOORS
OR IN A HOT ATMOSPHERE, YOUR CHILD MAY OVERHEAT.
14. ATTACHING/REMOVING THE SEAT UNIT. (Parent or forward facing modes).
Linetheseatunitupoverthexingsateithersideofthechassis.Lowertheseat
unitontothechassisuntilitclicksintoplace(g.34).
CAUTION! Ensure the seat unit is fully engaged on the chassis before use.
To remove the seat unit, press the buttons on the side of the seat unit and lift
upwards(g.35).
15. ATTACHING/REMOVING THE BUMPER BAR
Slot the bumper bar into the sockets located on either side of the seat unit until it
clicksintoplace(g.36).
To remove the bumper bar press the red buttons located on the inside of the
bumperbar(g.37).
16. ATTACHING/REMOVING THE SEAT UNIT HOOD.
Attachthehoodfromthefrontsideoftheseatunit.Slidethehoodxingontothe
xingsonthechassisandpullhoodovertothebackoftheseatunit(g.38).
Zipthehoodontotherearoftheseatunittosecureinplace(g.39).
Fig.33. Fig.36. Fig.37.
Fig.38. Fig.39.
Fig.34. Fig.35.
Click
Click

Toremovethehoodrstunzipthehoodfromthebackoftheseatunit(g.40).Press
theredbuttononthehood(1)andslideawayfromtheseatunit(2)(g41).
17. HOOD VENTILATION PANEL.
The seat unit hood features a ventilation panel for warmer days. Unzip the middle
sectionofthehood(g.42).
18. SEAT UNIT HOOD EXTENSION.
You can extend the seat unit hood to give extra cover by unzipping the front section
ofthehood(g.43).
19. ADJUSTING THE SEAT UNIT HOOD.
The hood is adjusted using the handle on the top of the hood, simply adjust into
desiredposition(g.44).
Fig.41.Fig.40.
Fig.43.
Fig.44.
Fig.42.
1
2

22. USING THE 5-POINT SAFETY HARNESS.
Fitthetwoshouldstrapconnectorstogether(1,2)andpushrmlyintothebuckle
housingonthecrotchstrap(3)untiltheyclick(g.48).
You can adjust the straps using the adjustment sliders on the harness.
To open, press the button on the buckle housing to release the two shoulder strap
connectors(g.49).
CAUTION! TO AVOID INJURY ALWAYS USE THE 5-POINT SAFETY HARNESS.
23. FITTING THE SEAT UNIT INSECT NET.
Fittheinsectnetovertheseatunitwithhoodfullyextended(g.50).Attachusing
thetogglesatthesidesofthehood(g.51).Theinsectnetfeaturesafrontzipfor
easy access to your child.
20. ADJUSTING THE SEAT UNIT BACKREST.
Adjust the seat unit back rest to the desired position using the handle on the
reverseoftheseatunit(g.45).
21. ADJUSTING THE SEAT UNIT LEG REST.
Tolowerthelegrestpressthebuttonslocatedonthesideofthelegrest(1)and
pushdownwards(2)(g.46).
Simplypushthelegrestbackupwardstoraise(g.47).
Fig.45.
Fig.46.
Fig.48.
Fig. 50.
Fig.47.
Fig.49.
Fig. 51.
1
21
2
3
Click

24. ATTACHING/REMOVING THE CAR SEAT ADAPTORS.
Pushthecarseatadaptorsontothecarseatbase(g.52).Lowerthecarseatonto
thechassisuntilitclicksintoplace(g.53).
CAUTION! ENSURE THE CAR SEAT IS FULLY ENGAGED ON THE CHASSIS
BEFORE USE.
To remove, press the button on the side of the adaptors and lift from the chassis
(g.54).Toremovetheadaptorspullthehandlelocatedonthesidesoftheadaptors
(g.55).
CAUTION! PLEASE READ CAR SEAT INSTRUCTIONS BEFORE USE.
Your Mee-go Warranty
Our testing process is rigorous and thorough to deliver you a product which will last day
to day trials and tribulations. Whereveryou and your Mee-go go, we aim to ensure your
pushchair will perform perfectly on every trip.
Register your product warranty at www.mee-go.co.uk/register
We guarantee the product has been manufactured to comply with all current safety
requirements and has already undergone stringent quality checks applicable and the
product is free from defects before being packaged and despatched. If however your product
doesshowsignsofamanufacturingdefectwithinthewarrantyperiod(listedbelow),we
will comply with our warranty terms and conditions, providing the product has been used
in accordance with our normal use policy and has been serviced and maintained correctly.
Please see our Care & Maintenance guidelines at the beginning of this manual. The warranty
of your product becomes valid from the date of purchase stated on your original receipt of
purchase. After purchasing your Mee-Go product please retain your original receipt from
your approved stockist. It is important the date of purchase is clearly shown on the receipt.
Thisdoesnotaectyourstatutoryrights.
For further details of these conditions please contact your locally approved stockist.
Warranty Terms
Chassisandseatframes 24months
Seat fabrics, carrycot fabrics and accessories 6 months
Additional warranty on chassis and seat frame
when registering within 6 months of purchase 6 months
The warranty is also not valid in the following circumstances:
This product has not been used for its purpose other than the purpose described in this
instruction and user manual.
If the product has been submitted for repair with an unauthorised retailer or distributor not
approved by Mee-Go Limited.
If the product has been purchased second hand or online through an unauthorised retailer.
If additional unauthorised products have been used on the product.
What warranty does not cover:
• Everyday wear and tear
• Accidental damage
• Negligence or improper usage
• Misuse and not following maintenance instructions
What to do in the case of a defect:
Keep your original receipt safe, the date of purchase must be clearly visible on the receipt.
Intherstinstanceyoumustcontacttheoriginalplaceofpurchase.Whererepairsare
carried out, this does not extend the warranty. Do not return your product direct to the
manufacturer.
Fig. 52.
Fig.54.
Fig.53.
Fig. 55.
Click

Mee-go Ltd
Unit 5, Wharf Street,
Dewsbury WF12 9AU
T:01924485552
E: [email protected]o.uk
W: www.mee-go.co.uk
Copyright Mee-go Limited
September 2016.
Table of contents
Other Mee-go Stroller manuals
