This document is copyright of:
Megger Limited, Archcliffe Road, Dover, Kent CT17 9EN. ENGLAND
T +44 (0)1304 502101 F +44 (0)1304 207342 www.megger.com
Megger Ltd reserves the right to alter the specification of its products from time to time without notice. Although
every effort is made to ensure the accuracy of the information contained within this document, it is not warranted or
represented by Megger Ltd to be a complete and up to date description.
This manual supersedes all previous issues of the manual. Please ensure that you are using the most recent issue of this
document. Destroy any copies that are of an older issue
Safety Information
Understand and follow the operating instructions carefully
WARNING
Identify hazardous conditions and actions that could cause BODILY HARM or DEATH
When using test leads or probes, keep your fingers behind the finger guards
Personal protective equipment should be used if there are ACCESSIBLE HAZARDOUS LIVE PARTS in the installation
where measurement is to be carried out
Use the meter only as specified in this manual otherwise, the protection provided by the meter may be impaired
Verify the instruments correct operation before each use
Do not apply more than the rated voltage, as marked on the meter, between the terminals or between any terminal
and earth
Use caution with voltages above 30 V AC rms, 42 V AC peak, or 60 V DC. These voltages pose a shock hazard
Do not use the meter around explosive gas or vapor
To reduce the risk of fire or electric shock do not expose this product to rain or moisture
Lead, probe and clip assemblies to be used for MAINS measurements shall be RATED as appropriate for MEASUREMENT
CATEGORY III or IV, according to EN 61010- 03, 1 and shall have a voltage RATING of at least the voltage of the circuit
to be measured
DO NOT USE if the internal white insulation layer of the test leads is exposed
DO NOT USE the test leads, probes or clips above the maximum ratings of CAT Environment or voltage that are
indicated each component
Do not apply or remove the test leads on or around uninsulated hazardous live conductors, where a potential to cause
electric shock, electrical burns or arc flash exists
CAUTION
1. The Megger MFL205 is designed to be used by suitably qualified or competent people who are familiar with the
electrical installation they are connecting to
2. All safety warnings within this manual must be read and understood before use of the MFL205. Failure to comply
may lead to serious injury or damage to the installation or meter
3. If possible, the system should be powered down when connections are made or removed
4. Always connect the black (negative) test lead before the red (live) test lead. The red lead should always be removed
before the black lead
5. The transmitter and receiver are designed for indoor use only and should not be used outside or in damp or wet
environments
6. Before use, always prove the meter is functioning correctly, as described in this manual
7. Do not expose the meter to extremes of temperature or high humidity
www.megger.com
2
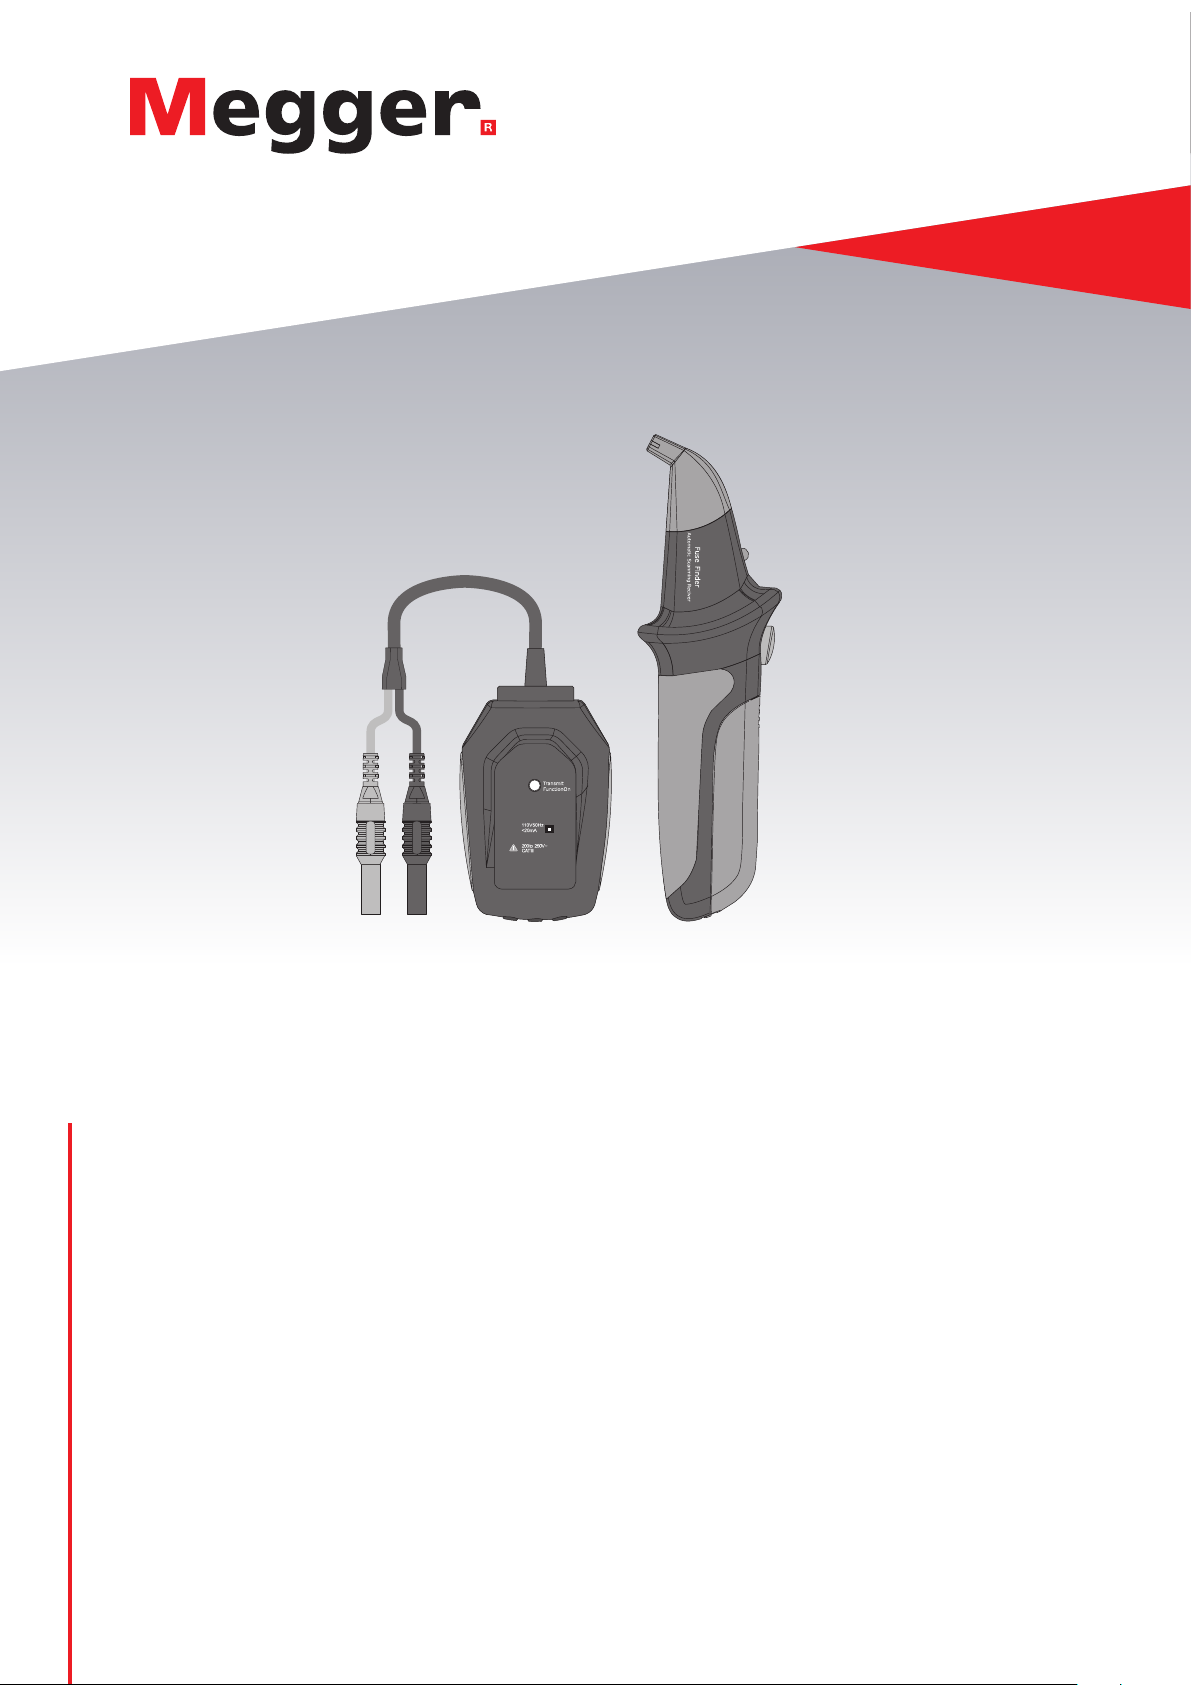
MFL205 Fuse Finder