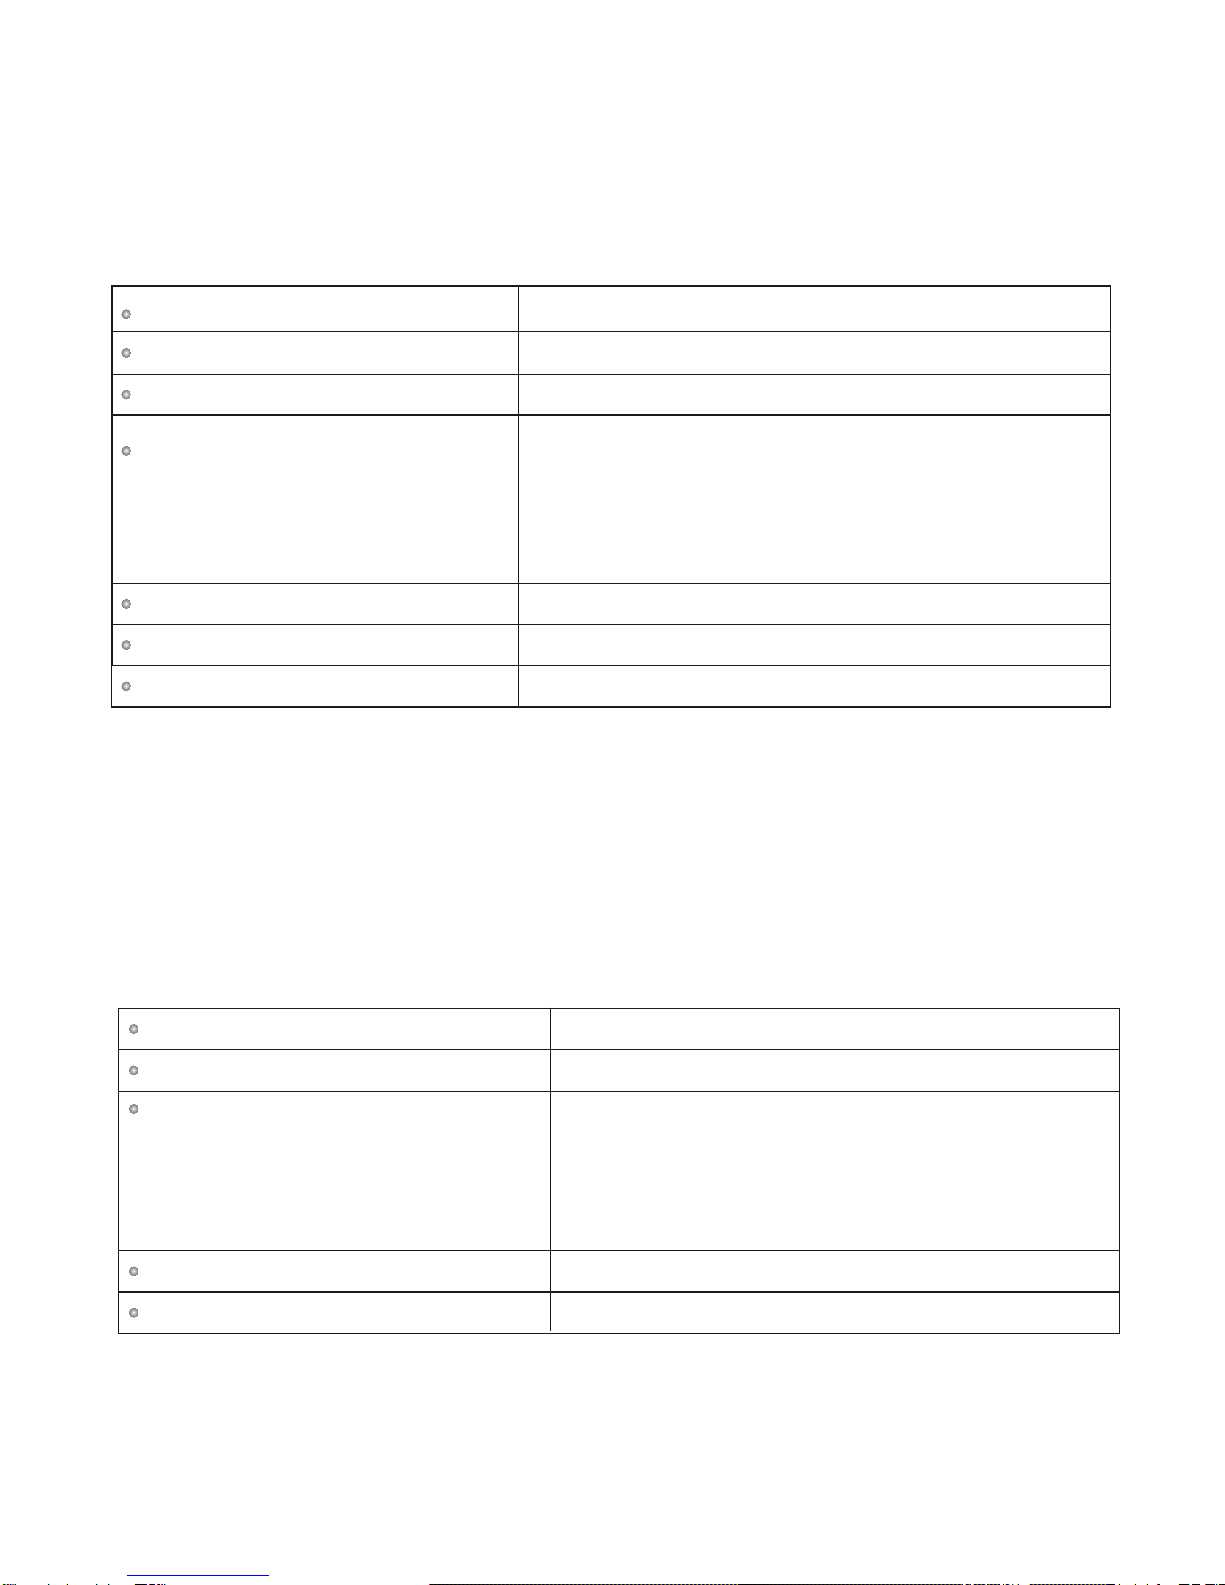
Meicheng GPA-366-566 User manual

M
Me
ei
ic
ch
he
en
ng
g
GPA-366-566
Portable Wireless Column Amplifier
USER MANUAL
www.meicheng.com.tw
®

-3-
Antenna
Speaker
Outeercasing
Shoulder Strap
Charging Indicator
Rechargeable Jack
Adaptor
Rechargeable and powersupply
AC Power
POWER
BATT.LOW
WIRELESS MIC IN MIC VOL.
AUX IN REC OUT
ON
OFF
Max. Max.
Min.
Power switch and
wireless mic.
volume control
Wired
microphone
input jack
Wired microphone
volume control switch
Audio source
input jack
(3.5mm)
Recording
output jack
(3.5mm)
Antenna
TNC socket
Power and low
battery power
indicator
1. Descriptions of Parts - TYPE 1 (20W)

-4-
Antenna
Speaker
Speaker
Outeercasing
Shoulder Strap
Charging Indicator
Rechargeable Jack
Adaptor
Rechargeable and powersupply
AC Power
RX A
BATT.LOW
RX B
CH.A
VOL.
MIC.
IN
CH.B/MIC.
VOL.
AUX/REC
TONE
ON
OFF
Max. ON
OFF
Max.
TREBLE BASS
CH-A wireless mic.
system power switch
and volume control.
CH-B wireless mic.
system power switch
and wired mic.volume
control.
CH-B wireless mic.
system received
indicator.
Wired
microphone
input jack
Tone volumecontrol
(TREBLE / BASS)
Aux in input
(0dB max.)
/ Recording
output(-20dB max.)
jack (3.5mm)
Antenna
TNC socket
Power and lowbattery
power indicator (red)
/CH.A wireless mic.
system received
indicatiod (green).
Descriptions of Parts - TYPE 2 (40W)

2.Application:
2.1 Connecting antenna to the top TNC jack.
2.2 Turn on wireless switch to the right,and turn to proper volume
(1/2position) power LED light up red once , then light up with
green ,indicating work normally (if light up with red, it means
the power is too low and need for recharging).
-5-
2.3 Insert Wired Mic. Plug into MIC/IN jack and adjust MIC/VOL
to proper volume level for Wired Mic. Appliance.
2.4 Adjust Tone control switch to the best performance of speaker.(YPPE 2)
2.5 When receiver's channel selector turn to channel "0",
that is setting on auto tracking function. For cancelling this
function, turn receiver channel selector to other channels
(1~F,total 15 ch.).
2.6 When receiver setting up at channel "0" with auto tracking
function, if need to change microphone to other channel.
Please turn off the receiver switch, then adjust microphone
channel first to required channel and turn on the receiver
power again, the receiver would auto tracking the operating
microphone channel, and receiver LED light up green
indicates in good receiving condition.
2.7 If want receiver setting up not at auto tracking function. Please
turn the channel selector of receiver to one of channel from 1~F,
then trun off the receiver switch. Select microphon channel to the
same as the channel set up on receiver, and turn on he receiver
switch again to work. At this time, if want change to other channel,
could change directly on microphone and receiver to same channel.
2.8 For connecting Aux innput signal (TYP. 0dB=1V), insert this
signal AUX/IN jack, could control the volume of this signal
by receiver AUX/IN VOLUME CONTROL.
2.9 For recording usage, connecting REC signal output to the
recorder ,recording volume controlled by the recorder.
2.10 When power lower than DC 10.5V ,low power LED light up.

2.11 For charging, connecting charger output plug to the Ch.input
jack ,Charging LED light up red to show in charging status,when
charging about 2 hours the LED gleam red and green interchange,
it means full charged.
2.12 When receiver's channel selector turn to channel "0",
that is setting on auto tracking function. For cancelling this
function, turn receiver channel selector to other channels
(1~F,total 15 ch.).
2.13 When receiver setting up at channel "0" with auto tracking
function, if need to change microphone to other channel.
Please turn off the receiver switch, then adjust microphone
channel first to required channel and turn on the receiver
power again, the receiver would auto tracking the operating
microphone channel, and receiver LED light up green
indicates in good receiving condition.
2.14 If want receiver setting up not at auto tracking function. Please
turn the channel selector of receiver to one of channel from 1~F,
then trun off the receiver switch. Select microphon channel to the
same as the channel set up on receiver, and turn on he receiver
switch again to work. At this time, if want change to other channel,
could change directly on microphone and receiver to same channel.
3-1.2 TNC spring antenna *1
3-2.2 Aluminum floor stand ST-35
3. Appendix
3-1 Standard pack
3-1.1 Power supply (Adaptor) AC 110V/230V , DC 12V/1A *1
3-1.3 Handheld Mic. (TS) *1
3-2 Optional Accessories
3-2.1 Body-pack transmitter - with head-set Mic (HT) or
tie-clip Mic.(LT)
-6-

4. Specifications - TYPE1 / 20W
-7-
Output power
Power Requirement
Frequency response
100Hz ~ 12 K H
z
MIC x 1 / AUX x 1
Battery 12V/ 1.3A ( rechargeable , Ni-MH.)
Controls volume Power / Wireless, MIC, AUX, TONE
Recharging time
3 ~ 4 hours
Battery operating time 4 ~ 6 hours
Max. 20W / 4 * 1
115V/230V AC adaptor 15V DC, 1A
External DC 12 ~ 16 V
Input / Output
. Specifications - TYPE2 / 40W
Output power
Power Requirement
Frequency response
100Hz ~ 12 K H
z
MIC x 1 / AUX x 1
Battery 12V/ 2.9A ( rechargeable , sealed lead-acid)
Controls Tone, Channel A &Channel B
Power / Volume, MICVolume, Master Power
Recharging time
4 ~ 8 hours
Battery operating time 5 ~ 8 hours
Max. 40W / 4 * 2
115V/230V AC adaptor 15V DC, 2A
External DC 12 ~ 16 V
Input / Output

. Wireless Overall system
Carrier frequency range UHF 740 ~ 865 MHz (according to requlation)
Double intermediate
Switching bandwidth Max. 12MHz
Tone key and noise lock dual-squelch
30 ~ 60 M (Opening Field)
Adjustable frequencies
Squelch
Operating range
70.7MHz / 10.7 MHz
Oscillation Type PLL synthesized control OSC
-8-
Pre-programmed :
15 (1~F) swichable frequencies
0 channel Auto-tracking
. Wireless Microphone Specification
Mike Dynamic mic.
10mW ( according to regulation )
R F output
Battery 1.2V (Ni-MH. 1300 mAH x 2 AA type
(rechargeable battery )
1.5V x 2 AA Alkaline disposable
Battery life Ni-MH. Rechargeable 10 hours typical
Battery life Alkaline disposable 17 hours typical

-9-
Channel Selecor : Frequency selecting switch (0~F ch.) Before channel ,
please turn-off power switch .
Rechargeable Jack :To charge batteries onto charging cup.
( rechargeable battery only )
LED Indicator : Light up green shows power on,
light up red shows low battery.
Power Switch : Used toturn-on or turn-off microphone power,
three power settings: off , stand-by , on.
Battery Cabin : Holds (1.5 V *2 AAtype ) b .atteries
Mesh Screen : Protects cartridge.Contains sponge toeliminate
popping sound.
Upper Mic. Housing: Contains PCboard for wireless radio transmitter.
Lower Mic. Housing: Protects batterycell , keeps battery in place.
Battery insert Step :
1. Switch power to off.
2. Open lower mic. housing from handheld mic. (anti-clock).
3. Exchange battery or installing new battery , Battery life is
10 hours (1.2 V * 2 AA type / 1300mA up ) .
4. Close lower mic. housing Please aware of poles when insert batteries.
Handheld Wireless Microphone

ON . OFF BATT.
LOW
MIC.
ANT.
Mic. Input : Head-set mic. or tie-clip mic. in-put jack.
Antenna : RF signal transmitter.
Channel Selection : Frequency selector switch (0~F ch.).
Before selecting channel , please turn-off
power switch.
Rechargeable Jack :To charge batteries onto charging cup.
( rechargeable battery only )
LED Indicator : Shows power and operation status of microphone
red light-on when less power.
Fixed lock
Mic. Vol : Adjuststhe volume level which transmitted from the
radio transmitter.
Power Switch : Used toturn-on or turn-off microphone power,
three power settings: off , stand-by , on.
Battery Cover : Keeps batteries in place.
Belt Clip : Used to hang the radio transmitter on belt.
Battery Cabin : Holds (1.5 V *2 AAtype ) .Batteries
Battery insert follow diagram :
1. Switch power to off.
2. Open battery cover.
3. Exchange battery or installing new battery , Battery life is 10
hours (1.2 V * 2 AA type / 1300mA up) .
4. Close battery cover Please aware of polarity when insert batteries.
Body-Pack Transmitter
Features
Match with bodypack transmitter
1.
Adopting 3V batterywith longer operatingtime.
3.Variable volume control ofinput level.
4.Fixed 3.5f screw jack prevents its connector drop off and noise, compatible withlavalier(LT),
headset(HT),collar(CT)microphone or guitarconnector(GT) .
Professional PLL Synthesized control wirelessbody pack transmitterwith preprogrammed
16 ch. UHFfrequencies.
2.
-10 -
00
2266
44
88
AA
CC
EE

Model
FCC ID
THIS DEVICE COMPLIESWITH PART15 OF THE
FCCRULES OPERATIONSIS SUBJECT TO THE
FOLLOWING TWO CONDITIONS: (1) THISDEVICE
MAY NOTCAUSE HARMFUL INTERFERENCEAND
(2) THIS DEVICEMUST ACCEPTANY INTERFERENCE
RECEIVED, INCLUDING INTERFEERENCE THAT MAY
CAUSE UNDESRIED OPERATION
Notice : Thechanges or modificationsnot expressly aprovedby the partyresponsible for compliance
could voide theuser's authority tooperate the equipment.
1. Keep awayfrom rain , water or the moisture places toavoid any damagescaused.
2. Avoid and exteranl forces or impact.
3. Do notuse it in high-temperature environment.
4. Do notconnect with others different specific power supply.
5. Keep thewireless microphone away from sources of interference such asoperating
COMPUTERS , VCD, DVD...ect orcommunication equipment.
6. If theunit is not using for long period , pleasemake sure thebatteries are moved out.
Attention:
-11 -

Meicheng
®MEI CHENG AUDIO VIDEO CO., LTD
Address: 5F., NO.111, SEC. 2, HUAN HO N. RD., TAIPEI, 10376 TAIWAN
Tel: +886(2) 2585 3869, Fax: +886(2) 2593 6672
Table of contents
Other Meicheng Amplifier manuals
Popular Amplifier manuals by other brands

Audio Analogue
Audio Analogue Bellini Anniversary owner's manual

EG&G
EG&G 128A Operating and service manual

Warwick
Warwick Wamp 800 Specifications

Pico Macom
Pico Macom TA-36 Installation and operation manual

Peavey
Peavey IPS 150 Specifications

Sony
Sony XM-2100GTX - Stereo Power Amplifier operating instructions

Whelen Engineering Company
Whelen Engineering Company 01-0886999-00 installation guide

Ecler
Ecler CA120HZ user manual

AR
AR 500W1000C Operating and service manual

Lenze AC Tech
Lenze AC Tech SimpleServo SS108DC user manual

HyperSound
HyperSound Clear 500P Instructions for use

Technics
Technics SA-EH550 Service manual