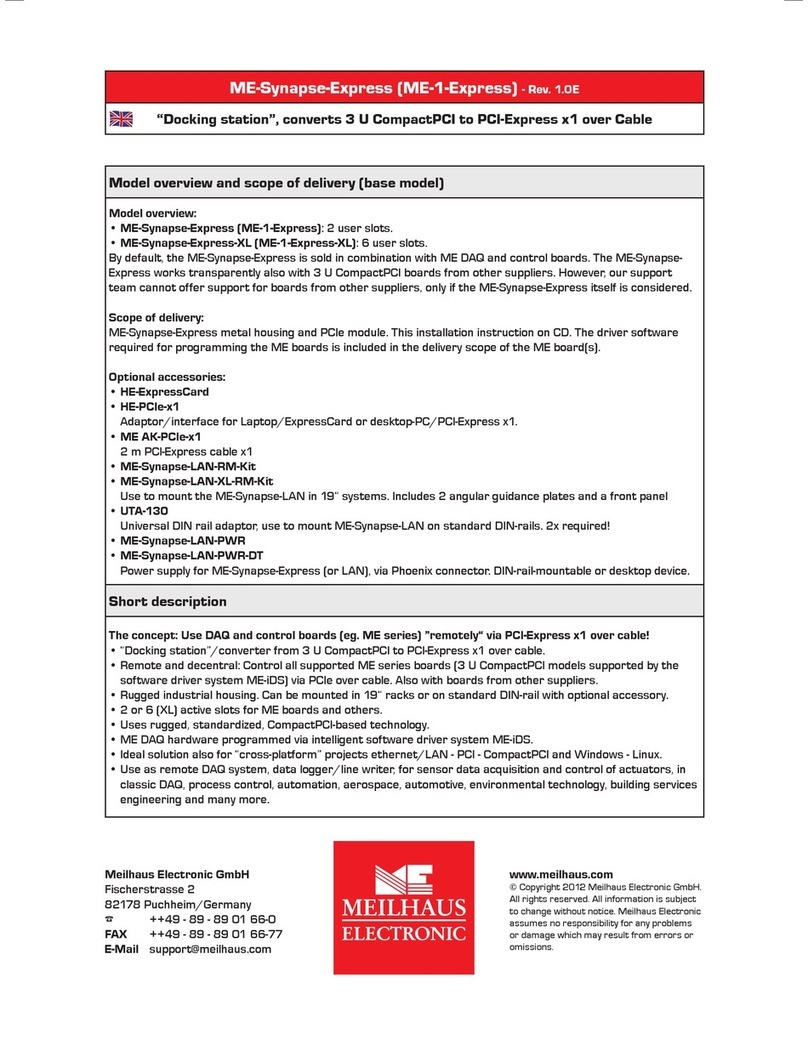
Meilhaus Electronic ME-1-USB User manual

ME-Synapse-USB (ME-1-USB) - Rev. 2.0E
“Docking station”, converts ME 3 U CompactPCI to USB 2.0
Model overview and scope of delivery (base model)
Model overview:
• ME-Synapse-USB (ME-1-USB)
By default, the ME-Synapse-USB is sold in combination with ME DAQ and control boards. If you want to use the
ME-Synapse USB together with an ME board you already own, please contact our technical sales teams.
Scope of delivery:
ME-Synapse-USB metal housing with USB port, 1 active and 1 passive slot. This installation instruction on CD.
1 m USB cable. Power supply.
The driver software required for programming the boards is included in the delivery scope of the ME board(s).
Optional accessories:
• ME-Synapse-USB-RM-Kit
Use to mount the ME-Synapse-USB in 19“ systems. Includes 2 angular guidance plates and a front panel
• UTA-130
Universal DIN rail adaptor, use to mount ME-Synapse-USB on standard DIN-rails. 2x required!
Short description
The concept: Use ME series DAQ and control boards ”remotely“ on the USB!
• “Docking station”/converter from 3 U CompactPCI to USB 2.0 full-speed.
• Remote and decentral: Control all supported ME series boards (3 U CompactPCI, models supported by soft-
ware driver system ME-iDS) via USB.
• Rugged industrial housing. Can be mounted in 19“ racks or on DIn-rails with optional accessory.
• 1 active and 1 passive slot for ME boards.
• Uses robust, standardized CompactPCI based technology.
• ME DAQ hardware programmed via intelligent software driver system ME-iDS.
• Ideal solution also for “cross-platform” projects USB - ethernet/LAN - PCI - CompactPCI and Windows - Linux.
Meilhaus Electronic GmbH
Fischerstrasse 2
82178 Puchheim/Germany
☎++49 - 89 - 89 01 66-0
FAX ++49 - 89 - 89 01 66-77
E-Mail suppor[email protected]
www.meilhaus.com
© Copyright 2010 Meilhaus Electronic GmbH.
All rights reserved. Meilhaus Electronic
assumes no responsibility for any problems
or damage which may result from errors or
omissions.
All information is subject to change
without notice.
ME-SynapseUSB 7 02.02.2010, 10:22:30 Uhr

Connectors and LEDs of the ME-Synapse-USB
➂ 2x slots (1x active, 1x passive) for
the supported ME series 3 U
CompactPCI baords
Robust metal
housing
Front side:
Fuse 10 A
LED status
5 V
LED status
USB active
Operation flat on the side (also when stacked
with other modules) or in upright position
(also 19“ mounted)
➀ Power supply
Anti-slip-pits for
module stacks
➁ USB type B
connector
Back side:
ME-SynapseUSB 8 02.02.2010, 10:22:30 Uhr

How to mount the DAQ board
In most cases the DAQ board is already installed in the ME-Synapse (when bought as a package). If you want
to mount an existing, supported ME CompactPCI board into the ME-Synapse, please note the following: Insert
the board so it can easily slide in the two rails and is held securely. Plug the board into the internal backplane
slot without using any force. The position of the CompactPCI IEL handle is at the bottom (ME-Synapse in upright
position) or on the right (flat on the side, see picture), so that it can snap into the grid when locked. Lock the
board, again without using any force,
and tighten all the screws at the front
panel and at the handle.
Note that the ME CompactPCI boards
are not hotpluggable: The ME-Synap-
se has to be switched off (ie. unplug
power supply and USB) to pull/insert
the boards. However, the ME-Synapse‘s
USB side is hotpluggable, it can be
connected to/from USB in powered
condition.
Connectors
➀Power supply
Connect the supply power as shown in the picture above (➀). Only use the power adaptor delivered with the
device or a power adaptor which is completely compatible.
➁USB
Connect the ME-Synapse-USB to the USB port of your PC. Only use the USB cable delivered with the device or a
high quality standard cable with the right connectors.
➂DAQ boards
Please find detailed information on the DAQ boards connectivity in the PDF user manuals supplied with the
boards, see ME-Power-CD.
Software installation and initialisation
• Before you begin…
please note, that a smooth installation requires the installation of the software first, before you connect
the hardware. Read the ReadME file included with the ME-iDS package. Here you will find updated information
on the installation and initialisation.
Windows:
• Start the program “meIDSWinInstall.exe” included in the driver package ME-iDS and follow the instructions.
Only the driver package ME-iDS supports all devices of the ME-Synapse LAN, ME-Synapse-USB series and local
boards via PCI, Compact PCI and PCI-Express boards in common.
• Connect the ME-Synapse-USB to your PC.
• The hardware wizard reports a new hardware. All driver files have already been installed into the system
directory before and have been registered to the system, so that you won‘t have to search through certain
directories, but you can simply click “continue” to continue the hardware installation.
• Operation of the ME-Synapse:
After the software has been installed and configurated on the control PC, you can used the ME CompactPCI
board in the ME-Synapse-USB, just like it was mounted directly in your control PC. However, also note that the
performance of your DAQ board in the ME-Synapse depends on the USB‘s speed and rate of utilisation.
A CustomerTraceTool can be used to write a protocol of all API calls, if required. This helps for easy
diagnosis, if needed.
Linux:
Refer to the Readme file for detailed information on installation.
Pair of rails Grid for CompactPCI
IEL handle
ME-SynapseUSB 9 02.02.2010, 10:22:32 Uhr

Specifications
Docking station
Function “Docking station”/bridge/converter for ME CompactPCI boards to USB
2.0 full speed
Number of slots 1 active peripheral bus slots for 1 3 U CompactPCI board and 1 passive
slot for 1 extender board, like for example ME-1000/64 with ME-1001
(= ME-1000/128) or ME-FoXX digital channels + 1 system slot for the
ethernet module
Supported boards All boards supported by the driver system ME-iDS, 3 U CompactPCI
versions of the ME series: ME-8200, ME-8100, ME-6x00, ME-FoXX
ME-46x0, ME-1600, ME-1400 (except C/D), ME-1000, ME-630, ME-96,
ME-95, ME-94
General data
Interface USB 2.0 full-speed
Interrupt Supported on the CompactPCI boards with interrupt functions
Housing Robust metal housingwith anti-slip-pits, stackable.
Optional mounting kit for 19“ and for DIN-rails.
Stacked mounting of ME metal connector blocks
Size (mm, HxWxD) ~65 x 147 x 262 (housing only)
Connectors USB type B (cable USB B-A included). 4-pin mini DIN power connector
for power supply (external power supply included)
The connector(s) for the DAQ, control or communication lines depend
on the ME CompactPCI board in use
Power supply External power supply, included, 24 V/7.2 A. 24 V/1.3 A at 5 V/5 A
load, 24 V/3 A at 5 V/10 A load
Fuse 1x 10 A, type car mini fuse
Environmental Don‘t operate in direct solar radiation.
Operating temperature 0…60°C. 20…55% rel. humidity, non condensing
Emission EN 55022
Noise immunity EN 50082-2
Expandability
Connectivity Use the same connectivity accessory as available for the CompactPCI
board versions (eg. cable ME AK, terminal blocks ME AB)
Expansions Use the same expansion accessory as available for the CompactPCI
board versions (eg. analog multiplexer ME-MUX32, external relay modu-
les or opto modules ME-631 to ME-635)
ME-SynapseUSB 10 02.02.2010, 10:22:33 Uhr

Mounting the ME-Synapse into 19“ racks
To mount the ME-Synapse into a 19“ systeme a mounting kit (available as optional accessory) is required. The kit
includes 2 angular guidance plates and a front panel. To mount the guidance plates, screw out the 4 screws on
the ME-Synapse top side. Use the 4 screws to fix the guidance plates to the ME-Synapse top side, as shown in
the picture below.
To mount the front panel, screw out the 4 screws on the ME-Synapsen front side (the side with the slots for
DAQ boards). Use the 4 screws to fix the front panel to the front side of the ME-Synapse. Now the ME-Synapse
is ready for 19“ systems, using standard rails as shown in the picture below.
ME-SynapseUSB 11 02.02.2010, 10:22:34 Uhr

Mounting the ME-Synapse-USB on DIN-rail
2 universal DIN-rail adaptors UTA-130 are required to mount the ME-Synapse-USB on standard DIN-rails. UTA-
130 adaptors are available as an option. Screw both adaptors to the bottom of the ME-Synapse-USB (use the
provided holes). With the adaptors attached, the ME-Synapse-USB can now be mounted to and from DIN-rails
easily.
Picture shows ME-Neuron -
ME-Synapse-USB analog
ME-SynapseUSB 12 02.02.2010, 10:22:37 Uhr
This manual suits for next models
1
Table of contents
Other Meilhaus Electronic Adapter manuals
