Melco HA-N1Z User manual

HA-N1
User Manual
HA-N1Z
HA-N1A
www.melco-audio.com
35020638-01
2014.10

1
Contents
Chapter 1 Getting Started .............................................4
About MELCO....................................................................................4
Diagrams...........................................................................................4
Installation........................................................................................7
Turning the HA-N1 On and Off........................................................8
Chapter 2 Basic Usage....................................................9
Displaying the Home Screen...........................................................9
Importing..........................................................................................9
Importing Music Files from USB Devices ................................................. 9
Importing Music Files from a Computer ................................................10
Streaming Music............................................................................ 12
Backing Up and Restoring............................................................ 12
Backing Up ...............................................................................................12
Restoring ..................................................................................................14
Deleting the Imported Music Files............................................... 15
Formatting the Drive ...............................................................................15
Deleting Each File Manually....................................................................15
Chapter 3 Advanced Usage......................................... 16
Using Direct Mode ........................................................................ 16
Playing Music Files from USB Devices ......................................... 18
Changing RAID Mode ................................................................... 18
Formatting Drives ......................................................................... 19

2
Erase Data on the HA-N1 Completely.......................................... 20
Changing the IP Address .............................................................. 21
Changing Friendly Name (Hostname) ......................................... 22
Configuring Date and Time .......................................................... 23
Time Zone Settings ....................................................................... 24
Display and LED Settings.............................................................. 24
Changing Display Brightness..................................................................24
Changing Power LED Brightness ............................................................25
Turning Off Rear-Side LED ......................................................................25
Auto Power Save ........................................................................... 26
Changing Display Language ........................................................ 27
Updating the Firmware................................................................. 27
Updating via the Network.......................................................................27
Updating from USB Device......................................................................28
Restoring Factory Defaults........................................................... 29
Chapter 4 Appendix .................................................... 30
Menu List ....................................................................................... 30
Status ........................................................................................................30
Display ......................................................................................................30
Backup ......................................................................................................30
Settings.....................................................................................................30
System Update .........................................................................................32
Language..................................................................................................32
Error Codes .................................................................................... 32
Default Settings ............................................................................ 34
Specifications ................................................................................ 34

3
Chapter 5 Regulatory Compliance Information........ 35
For Customers in Europe .............................................................. 35
EU Declaration of Conformity .................................................................35
CB ..............................................................................................................35

4
Chapter 1 Getting Started
About MELCO
Melco was established by Makoto Maki in 1975 in Japan. Maki, an enthusiastic audiophile, established the company
to design and manufacture the finest audio components of the time - the undoubted masterpiece of the Melco line
being the turntable, introduced into the UK in 1980, which set new standards in music reproduction.
From those early beginnings Melco developed into the largest computer peripherals manufacturer in Japan,
offering advanced products based on rigorous R&D, including wireless routers, Ethernet data switches and storage
devices such as NAS drives.
Now the company is proud to revive the highly-respected Melco brand, offering discerning audiophiles high
technology networked audio components in the spirit of those much revered early Melco products, while
incorporating the very latest research into reliable high performance networked devices and storage.
'MELCO' stands for Maki Engineering Laboratory Company.
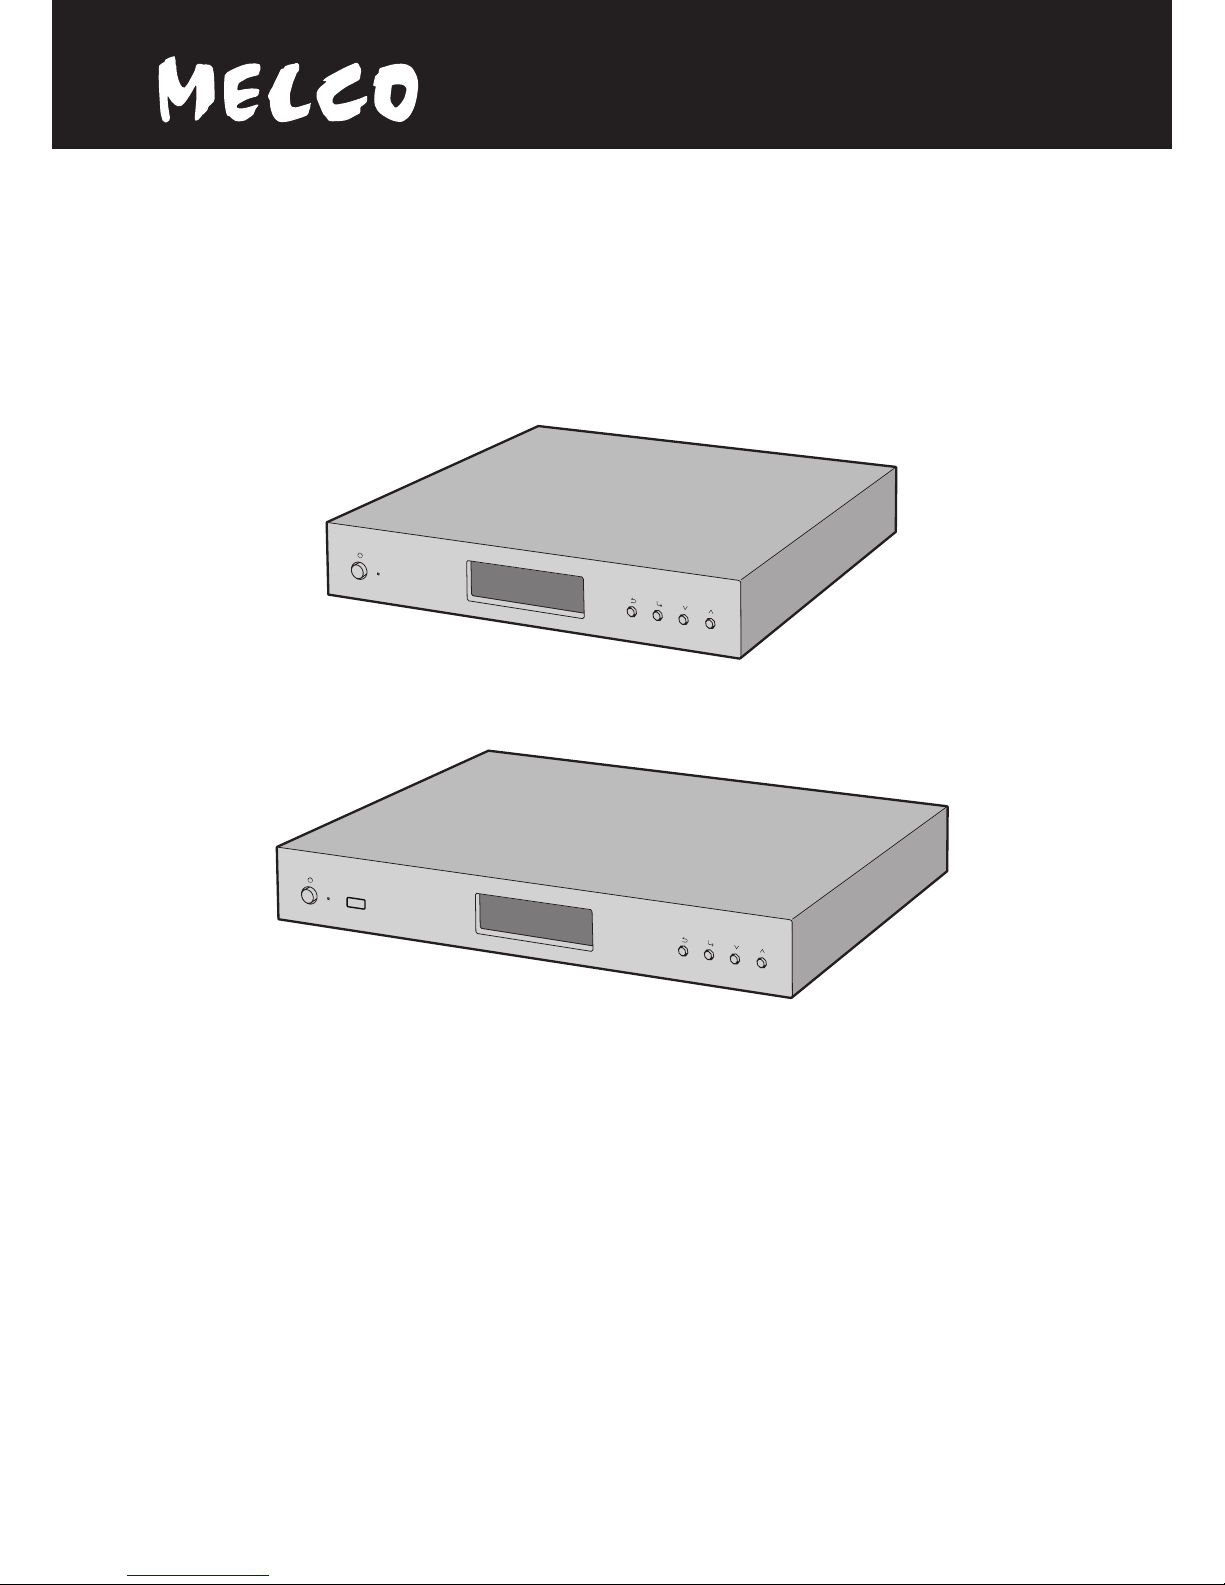
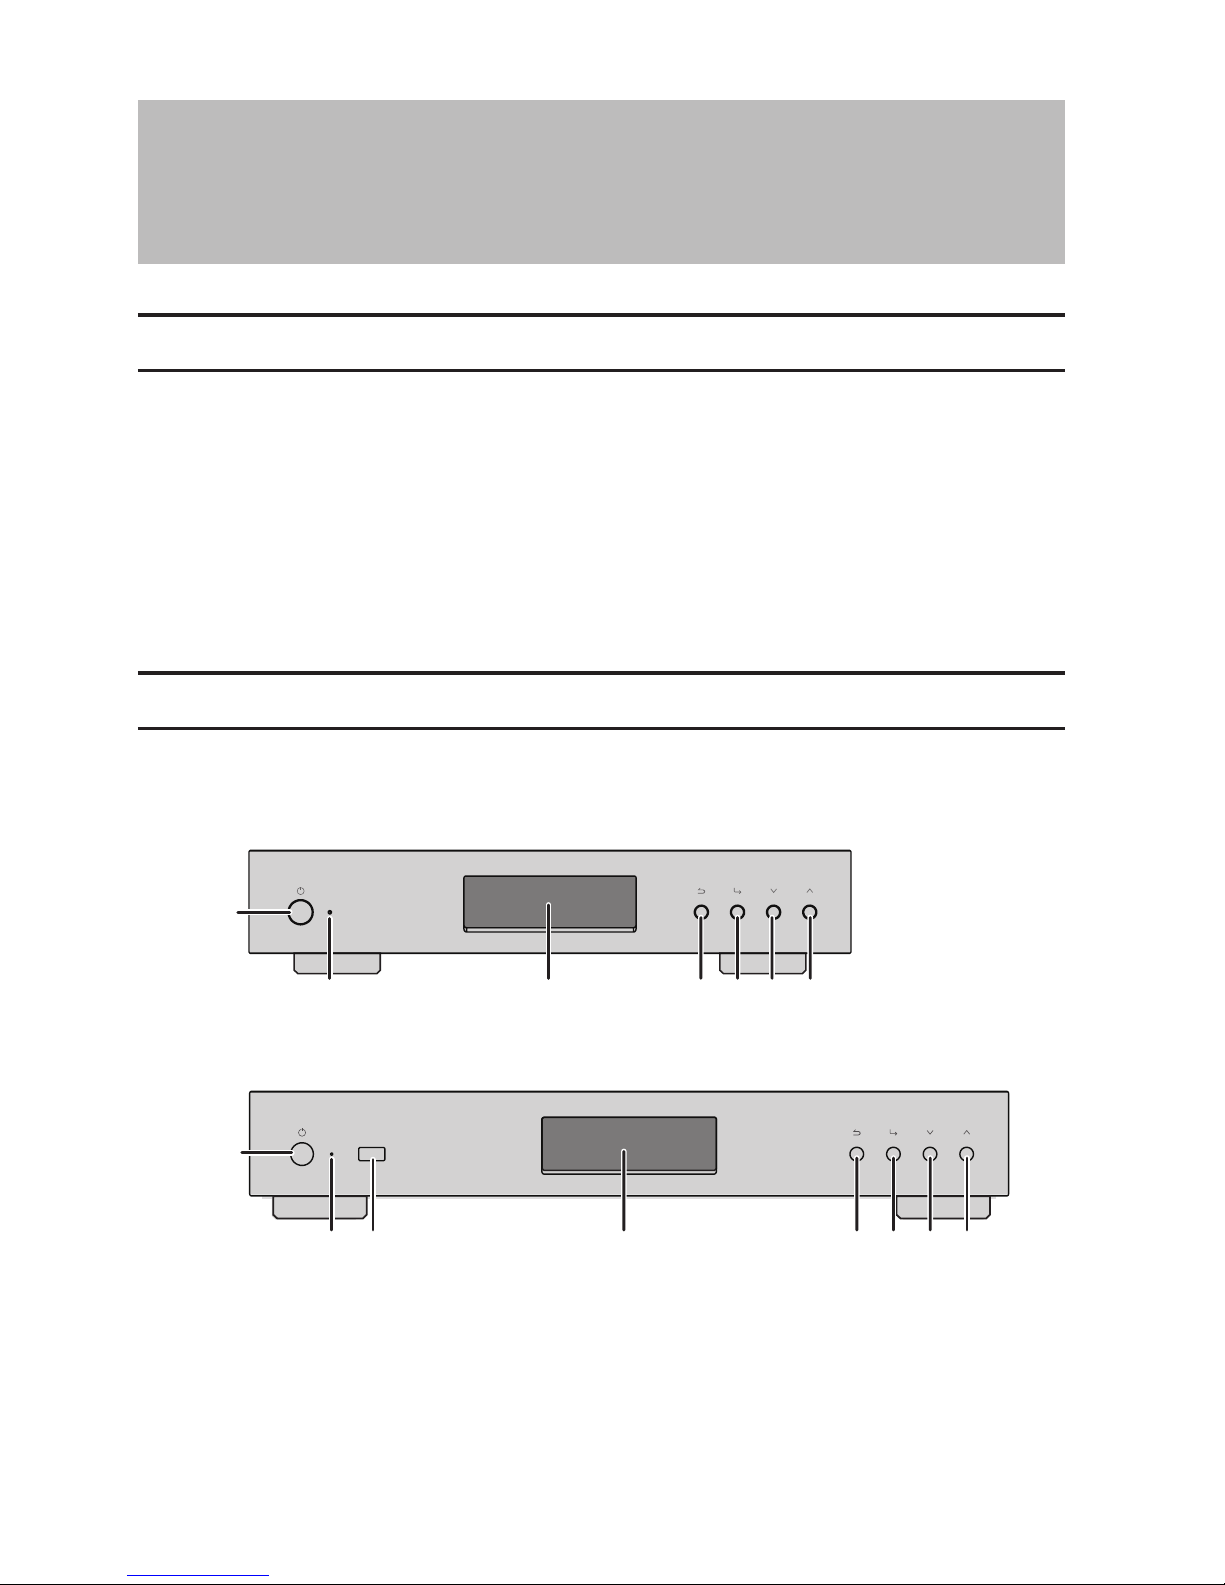
Diagrams
Front
HA-N1A
HA-N1Z
1
245673
1
24567
38

5
Rear
USB3.0 EXPANSION BACKUP PLAYERLAN
AUTO RANGING
AC IN 〜
AC100V-120V
〜
50/60Hz1.20A
AC220V- 240V
〜
50/60Hz 0.68A
AC100V-120V
〜
50/60Hz1.20A
AC220V- 240V
〜
50/60Hz 0.68A
USB3.0EXPANSION BACKUP PLAYERLAN
DC 5V OUT
AUTO RANGING
AC IN 〜
GND
HA-N1A
HA-N1Z
16 9101112131415
9101112131415
1
Press to turn the power on and off.
2 Power Indicator
The LED will light up while the HA-N1 is on.
Note: The brightness of the power indicator can be changed from Settings - Power LED Brightness.
3 Display Panel
Displays the device's status and settings. In case of an error, displays the error message and code.
Note: The brightness of the display panel can be changed from Settings - Brightness. If the display is set to Dark
Mode, the display panel will be turned off. If the display is turned off this way, you can press any button in front
to relight it.
4
Back
If you press and hold this button for 2 seconds while at the home screen, the display panel will be turned off.
5
Enter
6
Scroll down.
To initialize settings, press the power button while holding down the button.
7
Scroll up.
8 USB 2.0*
For importing music files from compatible USB devices.

6
9 GND
Grounding terminal.
10 USB 3.0*
For importing music files from compatible USB devices.
11 EXPANSION*, **
Connect a compatible USB hard drive or USB flash drive to expand the storage capacity for audio streaming.
12 BACKUP*, **
Connect a compatible USB hard drive here to back up or restore the contents or settings of the HA-N1.
13 LAN***
Use an Ethernet cable to connect this port to a wireless router, hub, or switch on your network. Then you will
be able to access the HA-N1 from computers and mobile devices on your network.
14 PLAYER***
This is a dedicated port for Network Audio Players. Use an Ethernet cable to connect this port directly to a
Network Audio Player or AV receiver.
Note: If your Network Audio Player is directly connected to the player port, it will not be visible on the network
when the HA-N1 is powered off. If this is an issue, connect your Network Audio Player to the router or switch
instead.
15 AC IN
Use the power cable.
16 DC 5V OUT
USB power port (500 mA). Not for data transfer.
Notes:
*The first partition of a connected USB device is mounted. Additional partitions are not recognized.
To recognize the whole capacity, connect the USB device to "EXPANSION" or "BACKUP" port, navigate to Settings
- Drive, select Format Expansion Drive or Format Backup Drive, and select Erase All Data to format all partitions.
Please note that all data will be removed with this operation.
**Do not disconnect the external USB drive while the HA-N1 is on. You must turn off the HA-N1 first, then
disconnect the drive.
***When the Ethernet cable is connected to the network, the link LED will glow. The act LED shows network
activity. On the front display panel, go to Settings - Rear Side LED and set to "Off" to extinguish both LEDs.

7
Installation
HA-N1Z
USB3.0 EXPANSION BACKUP PLAYERLAN
DC 5V OUT
AUTO RANGING
AC I N 〜
GND
Network Audio Player
PLAYER
2. On
3. On
Router
1. On
LAN
HA-N1A
USB3.0 EXPANSION BACKUP PLAYERLAN
AUTO RANGING
AC IN 〜
AC100V-120V
〜
50/60Hz1.20A
AC220V-240V
〜
50/60Hz 0.68A
AC100V-120V
〜
50/60Hz1.20A
AC220V-240V
〜
50/60Hz 0.68A
Network Audio Player
PLAYER
2. On
2. On
3. On
Router
1. On
LAN
Note: Give the HA-N1 plenty of space for airflow. Do not stack it with other devices that get hot.
1 Connect the HA-N1's "PLAYER" port and a Network Audio Player with the provided Ethernet cable.
2 Connect the HA-N1's "LAN" port and the routers with another Ethernet cable (sold separately).
Note: If directly connecting the Network Audio Player to the HA-N1 without connecting to the router, see the
"Direct Mode" section in chapter 3.
3 Connect the provided power cable to the outlet.

8
4 Turn on the router or hub first.
5 Then, power on the HA-N1.
Note: When the HA-N1 is powered down, the device connected to "PLAYER" port will not be recognized.
6 Finally, turn on the Network Audio Player.
Turning the HA-N1 On and Off
Connect the power cable and press the power button on the front panel to power on the HA-N1. When the home
screen (explained in the "Displaying the Home Screen" section in chapter 2) is displayed, the boot process is
complete. It will take about 20 seconds to complete.
To power off the HA-N1, press the power button. After 10 seconds, the power indicator will extinguish and the
device will be powered off.
HA-N1A
HA-N1Z
Notes:
• Do not disconnect the power cable without properly powering the device off first. You may lose music files or
the HA-N1 may malfunction.
• If connecting the HA-N1 to an amplifier's AC outlet, do not configure the amplifier's power settings to shut
down the HA-N1 when the amplifier is powered down.
• To power on again, wait 3 seconds after the power indicator extinguishes, then press the power button.

9
Chapter 2 Basic Usage
Displaying the Home Screen
Turn on the HA-N1. After it boots, the home screen will be displayed.
The home screen displays the following information:
• Friendly name
Displays the friendly name (hostname) of the HA-N1.
• IP address
Displays the IP address.
• Internal drive usage
Displays the used capacity of the internal hard drive in the HA-N1.
• If the "LAN" port is connected to the router or switch using the Ethernet cable, the icon will be displayed.
• If the Network Audio Player is connected to the "PLAYER" port, the icon will be displayed.
• If an external USB device is connected to the "EXPANSION" port, the icon will be displayed.
• If the shared folders on the HA-N1 are shared for computers (the file sharing is set to "On" from "Settings" - "SMB
File Sharing"), the icon will be displayed.
Importing
Importing Music Files from USB Devices
To import music files from a connected USB devices, follow the procedure below.
1 Turn on the HA-N1. The home screen is displayed when the HA-N1 is booted.
2 Connect the USB device which contains the music files to the port that is not labelled "BACKUP" or
"EXPANSION".
HA-N1Z HA-N1A
Notes:
• Use only the compatible USB devices listed at www.melco-audio.com.

10
• Connect only NTFS-formatted or FAT32-formatted USB devices.
3 When the following screen is displayed on the display panel, press the button on the front. If you connect
the USB device to the front USB port (HA-N1A only), the message will change to indicate importing from the
front USB device.
4 Wait until music importing is finished.
Notes:
• If a filename or folder name starts with a period (.), the file or folder cannot be imported.
• If the button is pressed while importing, the import process will be canceled after the HA-N1 finishes
importing the current file. If the imported file size is large, the cancellation process may take a few minutes to
finish.
5 Press the button after importing finishes.
File importing is now finished.
Note: There are two options to store the imported data in the HA-N1:
"Date" - If you select this option, imported data will be stored in a newly-created folder. The folder name will
include the import date. Even if the same data is included in the USB device, it will be copied to the HA-N1.
"All" - If you select this option, data will be imported in the selected shared folder's root directory on the HA-
N1. With this option, only files with changes will be imported to the HA-N1. Files with no changes from the
previous import will not be imported.
To change these options, go to Settings - Import Directory and select from "Date" or "All".
Importing Music Files from a Computer
To import music files from the computer, follow the procedure below.
Enabling File Sharing
1 Turn on the HA-N1.
2 When the home screen is displayed, press the button on the front.

11
3 Press and select "Settings", then press the button.
Note: This manual describes using the HA-N1 firmware version 1.05. Depending on the firmware version, the
screen layout may be different.
4 Press and select "SMB File Sharing", then press the button.
5 Press and select "On", then press the button.
6 When "Finished." is displayed, press the button.
7 Press the button three times to return to the home screen.
Enabling file sharing is finished. Go to "Windows" or "Mac" section below for how to import from the computer.
Windows
1 Make a note of the hostname of the HA-N1 displayed in the home screen.
2 In Explorer, enter "\\(the HA-N1 hostname)" into the address bar.
3 Copy files into the "Share" folder in the HA-N1.
Note: If no shared folder is displayed, wait for 30 seconds and try again.
Importing from Windows PC is finished.
Mac
1 Make a note of the IP address of the HA-N1 displayed in the home screen.
2 On the Mac, click Go - Connect to Server....

12
3 Enter "smb://(the HA-N1 IP address" into the server address bar and click Connect.
4 Copy files into the "Share" folder in the HA-N1.
Note: If no shared folder is displayed, wait for 30 seconds and try again.
Importing from Mac computer is finished.
Streaming Music
Imported music files can play from the Network Audio Player. Refer to your Network Audio Player's manual for
detailed information on how to play music.
Network Audio Player
HA-N1A
HA-N1Z
Display Panel While Streaming
When the HA-N1 starts streaming the music files, the display panel will show the music information.
Notes:
• If the music file is playing on a computer, the music information will not be displayed on the display panel.
• Depending on the Network Audio Player, file format, or file tag information, music information may not
always be displayed on the display panel.
Backing Up and Restoring
Backing Up
To back up imported music files, follow the procedure below. With this operation, both music files and settings are
backed up. Backed up music files can be restored if the files are deleted.
1 Turn on the HA-N1.

13
2 Connect the USB device (sold separately) to the "BACKUP" port.
HA-N1Z
HA-N1A
BACKUP
BACKUP
3 When the home screen is displayed, press the button.
4 Press and select "Backup", then press the button.
5 Select "Start Backup" and press the button.
Note: To format the USB device, select "Format".
6 When "Finished." is displayed, press the button.
The backup is now finished.
Notes:
• Use only the compatible USB devices listed at www.melco-audio.com.
• Connect only NTFS-formatted or FAT32-formatted USB devices.
• Do not disconnect the USB device connected to "BACKUP" port until the HA-N1 is powered down.
• Backed up data will be saved without deleting the existing data in the USB device.
• Backed up data will be saved in the following folder:

14
".Anas.bak"-"MAC address"-"backup date and time"-"disk1"
Restoring
To restore the backup data, follow the procedure below. Restroring from backup will delete all current data on
the drive. If needed, back up any data before continuing.
1 Turn on the HA-N1.
2 When the home screen is displayed, press the button.
3 Press and select "Backup", then press the button.
4 Press and select "Restore from Backup", then press the button.
5 Press and select the date of backup, then press the button.
6 Press and select "Restore Data", then press the button.
7 The message "All data will be erased. Continue?" will be displayed. Make sure that all files on the drive can be
erased before proceeding. To continue restoring the backup data, press and select "OK", then press the
button.

15
8 When "Finished." is displayed, press the button. The HA-N1 will automatically restart.
The restoration is finished.
Notes:
• To display the backup history, navigate to Backup - Backup History.
• To restore settings, select "Restore Settings" from step 6 above. "All settings will be initialized. Continue?"
message will be displayed. Select "OK".
Deleting the Imported Music Files
There are two ways to delete the imported music files. Follow the procedure below.
Formatting the Drive
Format the drive referring the "Formatting Drives" section in chapter 3.
Note: Formatting will delete all data on the drive. If needed, back up any data before continuing.
Deleting Each File Manually
Open the the HA-N1 shared folder from the computer, referring to the "Importing Music Files from a Computer"
section above, and delete each file manually.

16
Chapter 3 Advanced Usage
Using Direct Mode
Set the HA-N1 to direct mode if it is directly connected to the Network Audio Player with an Ethernet cable and no
other devices are connected to the network. By default, network mode is configured. To configure direct mode,
follow the procedure below.
Notes:
• Direct mode is not suitable if your Network Audio Player is operated only via a remote control app on mobile
devices.
• In direct mode, the HA-N1 will be the DHCP server that assigns an IP address to the Network Audio Player.
Routers cannot be used.
• Files cannot be copied to the HA-N1 from the computer via the network in direct mode. Use USB devices for
file copying instead.
HA-N1Z
USB3.0 EXPANSION BACKUP PLAYERLAN
DC 5V OUT
AUTO RANGING
AC I N 〜
GND
Network Audio Player
PLAYER
1. On
2. On

17
HA-N1A
USB3.0 EXPANSION BACKUP PLAYERLAN
AUTO RANGING
AC I N 〜
AC100V-120V
〜
50/60Hz1.20A
AC220V-240V
〜
50/60Hz 0.68A
AC100V-120V
〜
50/60Hz1.20A
AC220V-240V
〜
50/60Hz 0.68A
Network Audio Player
PLAYER
1. On
2. On
Note: Give the HA-N1 plenty of space for airflow. Do not stack it with other devices that get hot.
1 Connect the Network Audio Player to the HA-N1's "PLAYER" port (not "LAN" port) using an Ethernet cable.
2 Connect the power cable.
3 Turn on the HA-N1 first.
4 Turn on the Network Audio Player.
5 When the home screen is displayed, press the button at the front.
6 Press and select "Settings, then press the button.
7 Press and select "Network", then press the button.

18
8 Select "Player" and press the button.
9 Press and select "Direct Mode", then press the button.
Direct mode is now configured.
Note: To connect the HA-N1 and the Network Audio Player to the network via the router or hub, use network
mode instead. Select "Network Mode" at step 9 above to use network mode.
Playing Music Files from USB Devices
Even if music files are not imported from the USB device that is connected to the "EXPANSION" port of the HA-N1,
your Network Audio Player can play music files from the USB device.
HA-N1Z
HA-N1A
EXPANSION
EXPANSION
Notes:
• Use only the compatible USB devices listed at www.melco-audio.com.
• Do not disconnect the USB device connected to "EXPANSION" port until the HA-N1 is powered down.
Changing RAID Mode
The HA-N1 series are configured with a spanned array by default.
To change the RAID mode from the default, follow the procedure below. Changing the RAID mode will delete all
data on the drive. If needed, back up any data before continuing.
1 Turn on the HA-N1.
2 When the home screen is displayed, press the button.

19
3 Press and select "Settings", then press the button.
4 Press and select "Drive", then press the button.
5 Press and select "Format Internal Drives", then press the button.
6 Select the RAID mode to configure and press the button.
Notes:
• Spanned
Combines 2 drives in the HA-N1 into a single array. The usable disk space is the total space of all drives used.
Data is written to the first drive, then the second drive once the first drive becomes full. If a single drive in the
array fails, then all data in the array is lost.
• RAID 0
Combines 2 drives in the HA-N1 into a single array. The usable disk space is the total space of all drives used.
This simple RAID mode offers faster performance than a spanned array. If a single drive in the array fails, then
all data in the array lost. RAID 0 offers the least redundancy among the three RAID modes. In terms of saving
your data safely, using RAID 0 is not recommended.
• RAID 1
Combines 2 drives in the HA-N1 into a mirrored array. The available space in the array is the capacity of a
single drive. Identical data is written to each drive. If a drive is damaged, data can be recovered by replacing
the damaged drive. As long as one drive in the array remains undamaged, all data in the array can be
recovered.
7 The message "All data will be lost. Continue?" will be displayed. Make sure that all files on the drive can be
erased before proceeding. To continue changing the RAID mode, press and select "OK", then press the
button.
Formatting Drives
To format internal drives in the HA-N1 or connected USB devices, follow the procedure below. Formatting will
Other manuals for HA-N1Z
1
This manual suits for next models
2
Table of contents