PAGE 5
GRAPHIC EQ:
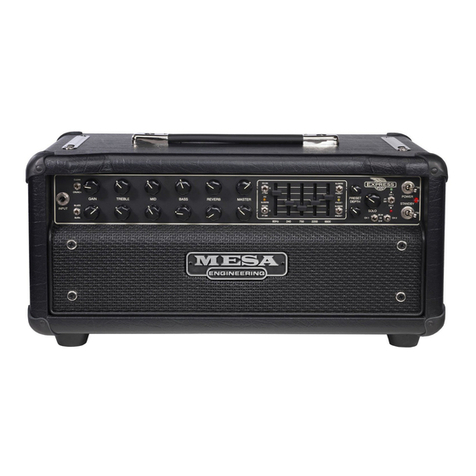
This wide band, seven point graphic equalizer is the alternate shaping tool for BUSTERS’ dynamic pre-amp and
by adding it to the already powerful rotary tone controls, virtually any sound you desire can be dialed up. The equalizer may be
assigned to affect the signal in two different ways. The three position toggle located just to the right of the sliders gives you these three
choices; “IN” puts the EQ in the signal path all the time - “OUT” bypasses the EQ altogether
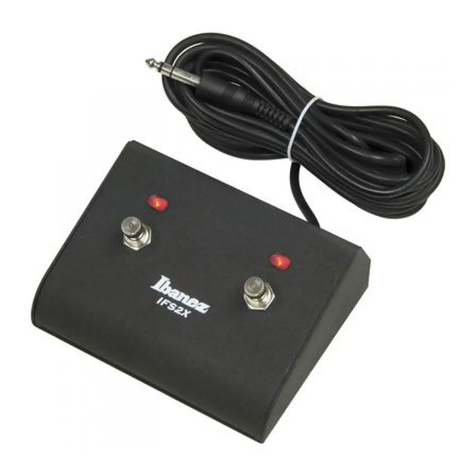
and “EQ FTSW” allows remote control of the EQ at will when the EQ footswitch is connected to
the “Footswitch” jack located on the left side of the Front Panel.
The EQ may be dialed in to produce some amazing sounds without necessarily knowing the
frequency you are searching for or understanding the relationship of the seven “Q” points. This
is largely due to its’ wide band nature. If you do want to use it for more frequency specific
shaping, it may be helpful to think of it as an enhanced set of tone controls that offer two slider
pots per region and a single “harmonic enhancer” slider pot up top. The “40” Hz and “100” Hz
sliders control the low end with “40” blending in sub-low harmonics and breath while the “100” defines the clarity and punch of the low
end. The “40” Hz can be helpful in getting the low “B” on a 5 string instrument to remain present in a mix. These frequencies tend to
require more attention due to their sub-low nature and the added power of the EQ is extremely apparent here.
The “250” Hz and “625” Hz sliders define both lower and high midrange frequencies and are very important to the feel of the strings
on your instrument and the attack characteristic of the sound. The “250” controls the low mids bringing in a rich, round quality that is
desirable for blues, jazz, rock and old style R&B. The “625” is a very sensitive band and it is most often used to scoop the higher mids
for thumbing style playing - rather than boosting this volatile region. When experimenting with this band you will probably find that too
much of this frequency adds a nasal quality that can become harsh if you are not careful. However, some players like to reinforce their
single note solo work with a little bit of this band as it helps bring the sound forward in a mix while adding punch to the higher notes.
The treble region of the sound is split between the “1560” Hz and the “3900” Hz bands. The “1560” blends in the aggressive low treble
attack and allows you to determine the amount of cut the sound has in relationship to other instruments. The “3900” takes responsi-
bility for the region often referred to to as “sparkle” and “shimmer”, giving you a finer resolution of the top end than is possible with the
rotary TREBLE Control. This brings us to the “6600” Hz, the top band of the EQ. This band controls the super high frequencies and
upper harmonics. This region has a lot to do with how open and transparent the sound will be, and even though it is far above the
fundamental top note on your instrument it is quite important. For Roots and Rock styles you will probably want to keep this band fairly
low in the mix to produce a rounder, richer tone. Conversely, for Funk and R&B styles where thumbing is used a lot, the “6600”
provides the snap at just the right frequency and will probably be desirable set higher in the mix. The “6600” can also come in handy
for giving new life to dead strings that have lost their luster. By blending in a small amount of this frequency you can squeak another
session or two out of old, flat sounding strings.
Now that you have a better understanding of all the bands in the EQ and how they relate to one another, we encourage you to spend
some time experimenting with this powerful tonal resource, keeping in mind that the only limitation is your imagination and that there
are no rules. Explore and enjoy. With a better understanding of how the VOLUME and Tone Controls interact and how you can further
shape the sound with the Graphic EQ, you now have the Front Panel fairly well mastered. Before we move on to the Rear Panel, lets
review the toggle switches and the important use of the POWER ON and STANDBY switches.
TOGGLE SWITCHES
EQ IN / OUT:
This mini toggle simply allows you to engage the EQ manually via the flip of a switch when the EQ Footswitch is
not available or you are without one.
250 625 1560 3900 6600
40Hz 100
POWER
STANDBY
ON ON
EQ. IN
EQ. FTSW.
EQ. OUT
